Putty grinding technology
At the final stage of finishing, it is very important to properly prepare the walls for painting or wallpapering. Experts recommend paying special attention to the sanding procedure, which is carried out after the putty layer has been applied. We will tell you how to properly carry out these works, what tools and abrasives are required for this.

Peculiarities
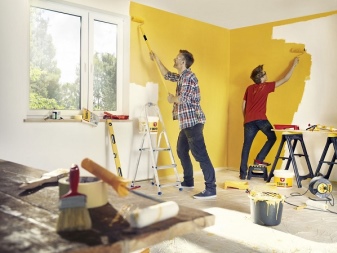
If we choose paint, we may notice that the packaging has a note that the products can be used to paint a wide variety of surfaces. She can work on concrete, drywall, brick and many other substrates. However, this indicator is not fundamental, because the most important thing is that the paint fits well on the putty... For this, it is very important to properly prepare the base.
A well-prepared surface will not create problems when applying paints and varnishes, and will also help visually expand the space. This effect is achieved due to the fact that the wall is perfectly flat, has no cracks and chips, dents and scratches. Light is best scattered on the flattest surface possible. For such a result, you need to know what grinding is and how to do it correctly.
In order to level the base as much as possible, putties are used. However, this does not mean that any material will work for any foundation. You need to know how to choose the right product and how to use it.
But in any case, paint and wallpaper will look as impressive as possible on the putty surfaces.
Surface filling can be divided into 3 stages:
- rough;
- starting;
- finishing.
When determining the number of layers, you need to focus on how prepared the base is. If the preliminary work was carried out with high quality, one layer of rough putty is enough, which is required only to bind the sand particles on the treated walls and fill the sinks on the concrete bases. Especially deep sinks may require a second layer of filler.
The starting putty is applied in 3 coats. However, this number can also be increased when working on not too even walls and ceilings. The main thing is to end up with a perfectly flat white base, under which the main material is not visible.
For the finishing putty, one layer is usually sufficient. With its help, small defects are closed that may remain from previous work.
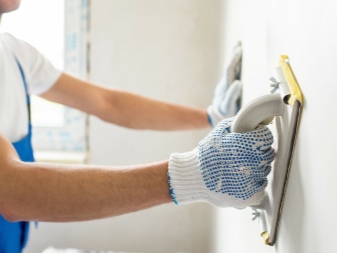
Before sanding the putty, you need to clearly understand why we are doing it. Two main tasks can be noted. As a result of the work, it is necessary not only to make the surface as flat as possible, but also to create special risks that ensure the adhesion of the putty and the primer. It will be possible to eliminate the shrinkage defect if the risks are completely filled with soil. Experts note that the most correct is an almost triangular section with a slightly rounded bottom.
This result can be achieved both with the help of special grinding machines and manually.

Tools and abrasive
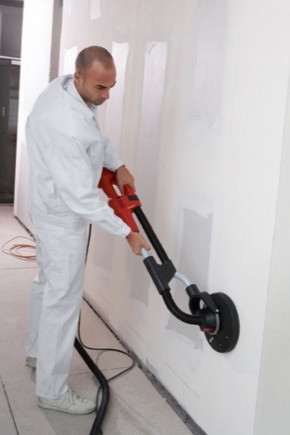
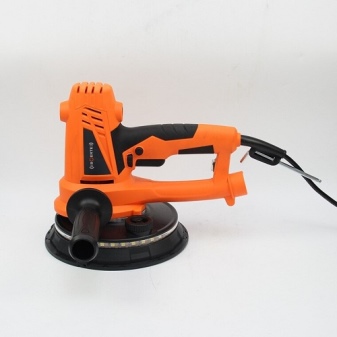
For sanding the putty in large volumes, you should stop at using a sander. The grinder is very convenient to process the first, coarse layers, as a result of which the surface is given the required profile.
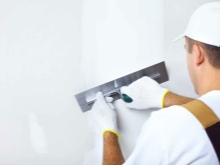
However, the sander is not suitable for all sanding steps.It is convenient to work with them precisely with coarse layers in order to reduce the risk and prepare the surface before priming. However, in order to give the final shape and more delicately level the base, you will have to use a hand tool.
In this case, the surface will be felt much better, respectively, it will be clear with what effort to act on it.
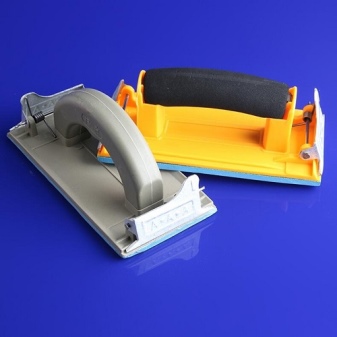
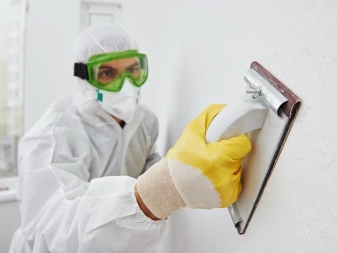
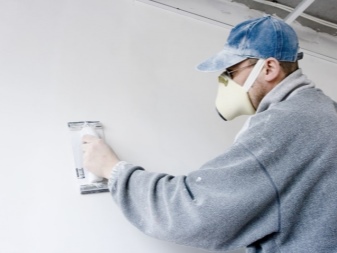
It should be noted that the cost of an electric grinder is quite high, therefore, in the case when an apartment or a small house is being repaired on its own, there is no sense in purchasing it. Better to sand the plaster or other surface by hand. In this case, you will need a grinding float, on which, with the help of special fasteners, an abrasive material is fixed, the role of which can be played by a mesh or sandpaper.
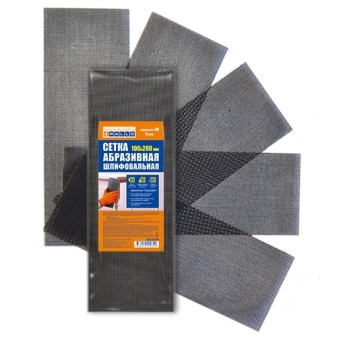
Which abrasive to choose - mesh or sandpaper, each master decides for himself. They both have their own characteristics. For example, the mesh has a pronounced perforated structure. Accordingly, the dust that appears as a result of work does not clog the surface, but comes out through the cells. There is also an increased wear resistance - such material will last much longer than sandpaper.
The decision to replace is made if the product starts to wear out, and the quality of work has become noticeably lower.
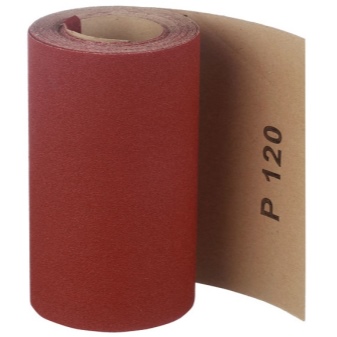
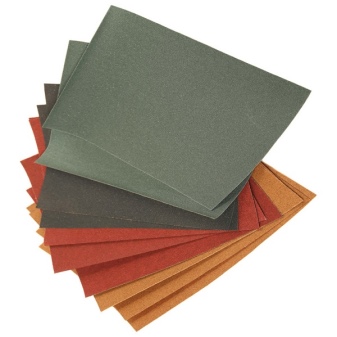
Concerning sandpaper, it remains the most popular sanding material for most craftsmen. The product is sold in rolls, fins or pieces that correspond to the size of standard graters. A significant advantage is the cost, which is much lower than that of the mesh. However, the sandpaper will have to be changed much more often than the mesh, since it becomes clogged faster with construction dust and becomes unusable. You also need to make sure that small pieces of putty do not get stuck in it, otherwise they will leave scratches on the surface.
The grit of the sandpaper plays an important role.... Coarse grain is used to work with the starting layer, but the finishing one will need a skin with a fine grain. This includes zero emery, which perfectly levels the surface before wallpapering or applying paints and varnishes.
The markings can be seen on the back.
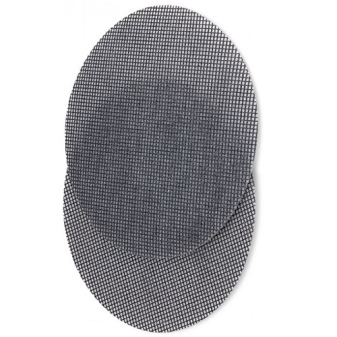
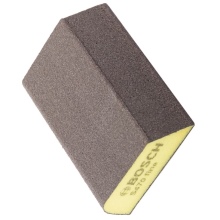
To process corners, experts recommend using sanding sponge with beveled edges. If such a tool is not at hand, fine-grained sandpaper will also do.
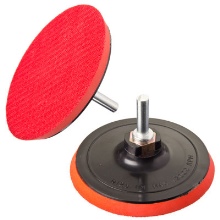
Another thing useful when sanding putty - grinder or drill. The use of these tools greatly speeds up the work. However, in this case, a special attachment is required, which bears the name "sanding pad" or "sanding disc". It is best to purchase a soft rubber product that has a movable shank. On the Velcro there is sandpaper, specially cut for this purpose.

Step-by-step instruction
I must say that the process of grinding the putty does not cause any particular difficulties even for beginners and does not require special skills. However, it is necessary to know certain subtleties, then the result of the work will turn out to be excellent. Let us analyze in detail how the process should take place.
First of all, you need to wait until the putty is completely dry. Only after the treated layer has gained the necessary strength, you can start working.
For work you will need:
- tool;
- ladder;
- spotlight;
- small spatula.


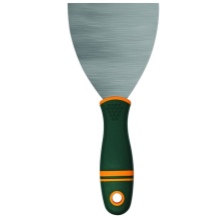
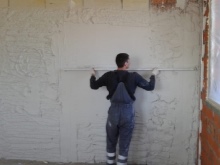
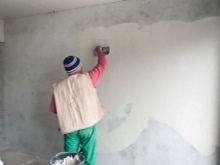
To begin with, use a spatula to remove particularly conspicuous irregularities and bumps. After that, the wall is processed from top to bottom. It is best to illuminate the areas with a spotlight - this way the result of the work will be better.
It should be noted that too much pressure on the grater must be avoided. This is especially true for the treatment of the finishing layer with latex putty, otherwise there is a risk of rubbing it.Pits and holes must first be sealed with putty and dried, and only then sanded. In addition, the walls themselves are initially processed, and at the end of the work - the corners and ledges.
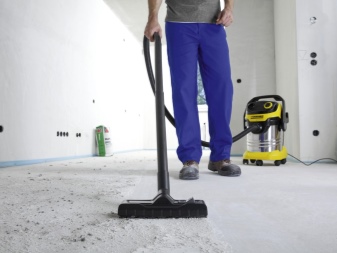
After that, you need to carefully remove the construction dust. You can use a special vacuum cleaner, as well as an ordinary soft broom or brush. This stage is final and very important, without it the work cannot be considered finished.
You can learn about three effective ways of grinding gypsum plaster from the video below.


The comment was sent successfully.