How to choose a tongue-and-groove planer?
There are many tools available for carpentry and joinery. All tools are distinguished by purpose. The tongue-and-groove planer is a tool for cutting out tongue-and-groove piles. Due to its design, the tool is easy to use. What is a tongue-and-groove plane, what is its purpose, how to choose it - this will be discussed below.
What it is?
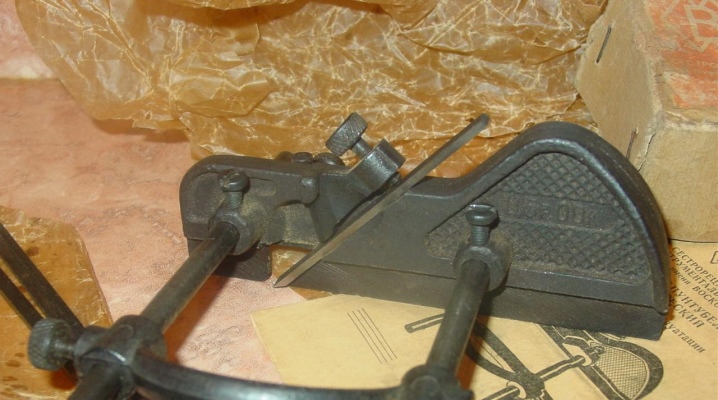
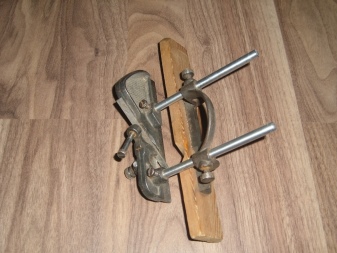
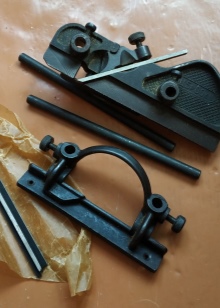
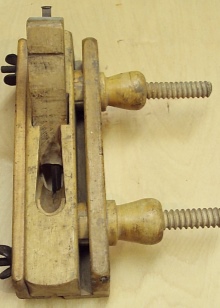
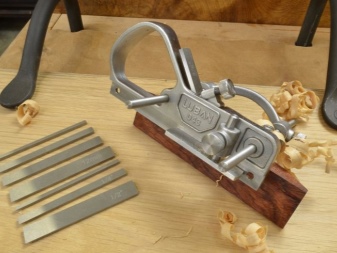
A tongue-and-groove plane is a plane for cutting grooves or grooves up to 1 cm wide parallel to the edge of the product. The tool has several guides, due to which it allows you to maintain the distance from the edge to the edge of the tongue. Thanks to the stop protrusion, which is located under the knife, it becomes possible to select a thin groove to a great depth. At the same time, the knife does not bend or tremble.
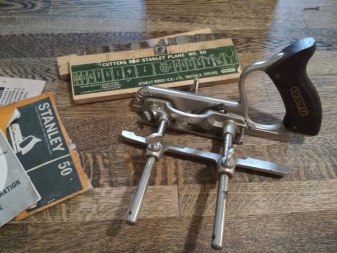
The base of the tool is made of steel. As a rule, knives of various widths are included in the kit.
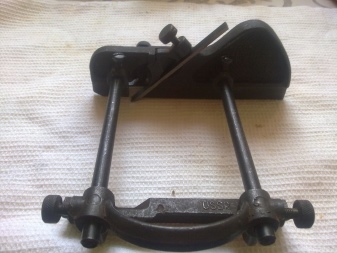
Carpentry tool refers to the devices of figured planing and is considered one of the complex planers. When working with a tongue and groove, the groove is planed at a certain distance from the edge of the wooden part. The plane is divided into left and right. This depends on how the groove is cut on the right or left side of the workpiece.
Exists universal sheet piling. Their peculiarity lies in the use of rectangular, trapezoidal, semicircular and curly sharpenings. If you use a tool with a rectangular blade, then the plane acts as an ordinary falzgebel... Using curly blades, the tongue is transformed into a molding.
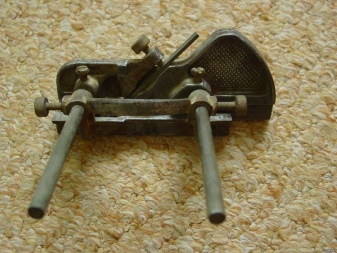
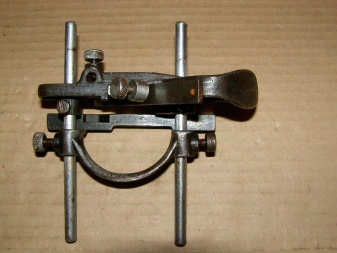
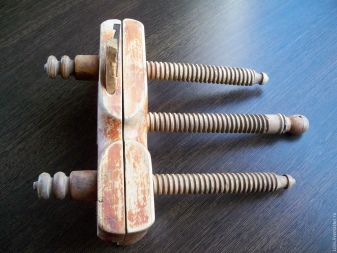
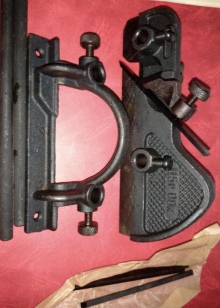
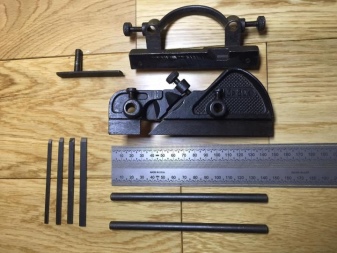
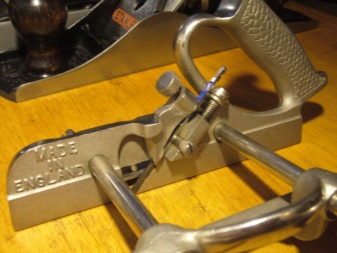
The tongue-and-groove planer is also divided into 3 types. The difference between the varieties of the device lies in the design of the guides of the limit ruler and the purpose.
Views
- The first kind - a tool with a guide equipped with a complex cross-sectional shape. On the one hand, the shape is rounded, on the other - flat. This design is provided for convenient fastening in the groove. The device has a wedge fastening mechanism. The slot depth is adjusted using a thumb screw.
- Second view. A planer with a limit ruler that moves along circular guides. The fixation is done with thumbscrews.
- The third type of sheet piling has a guide fence that moves along screw guides. The depth of the grooves is adjusted using a limit ruler from the other edge of the workpiece.
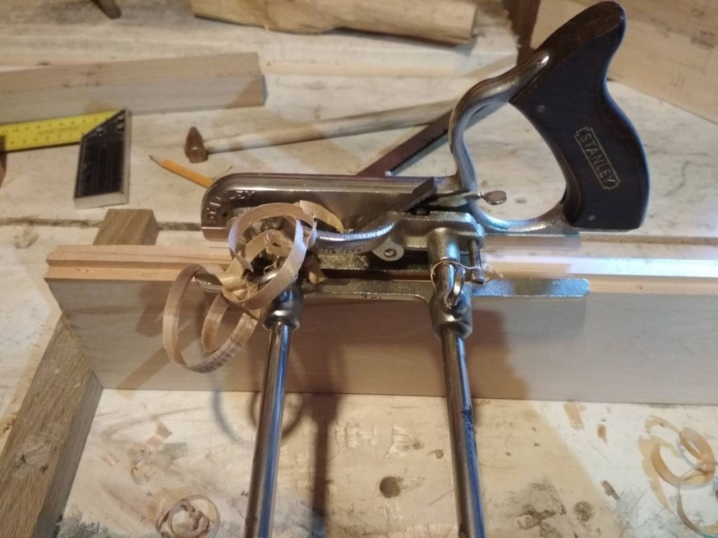
Using a planer, you can give a wooden surface the desired shape with straight lines. The use of the tool is widespread among joiners and carpenters who are engaged in flooring or ceilings.
Also, the device is used in furniture for moving moving parts. But the most common use of the planer is in woodworking.
Selection criteria
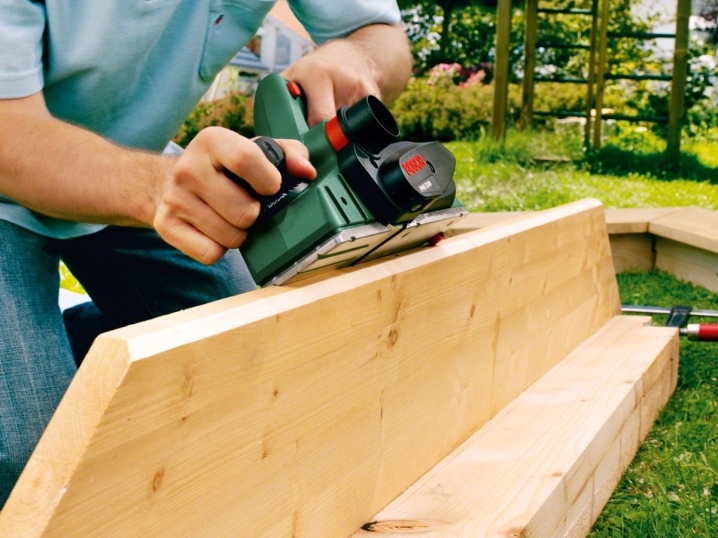
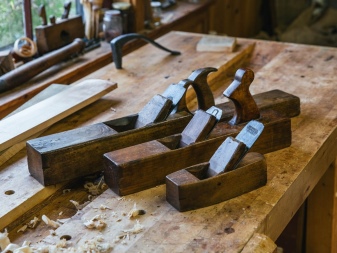
Before choosing a tool, it is worth knowing that there are hand and electric planers.
In the manufacture of the first type, plastic, wood or metal is used.... Such models practically do not differ from each other, but each device has its own function when processing wood. Electric groove planer used for fast processing of workpieces. It is also used for a large amount of work when you need to save time.
When buying a handmade product, the following aspects should be considered.
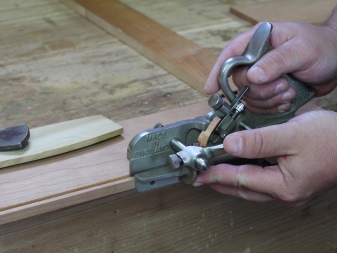
- Knives... It is better to choose steel products. They are durable and perfectly hold the sharpening angle. It is necessary to pay attention to the fastening of the knife to the sole. It has to be tough.A quality tool has an even blade without any surface deformation. The width of the knife is also an important factor when choosing. The area of the processed surface depends on the value.
- Lever. The handle of the planer must have a secure fit on the body. This takes into account individual feelings. The handle of the tool should be comfortable in the hand. Otherwise, prolonged operation may lead to discomfort.
- Sole. A device with a flat sole will provide an excellent final result of the work.
- Tool weight. When using a planer for volumetric work, it is better to purchase a product with a low weight. For infrequent use, you can choose a heavier tongue and groove. The heavier attachment reduces the load.
- Functionality. Universal planers are chosen for light carpentry work. To create a complex, grooved surface and to process sheet piles, a specialized tool is required.
If you plan to purchase an electric type sheet pile, then you should pay attention to the following parameters:
- optimal power - 600-900 W;
- the optimal number of revolutions is 1000 rpm;
- planing depth - the value varies in the range of 2.5-4 mm, the high performance of the planer has the greatest depth value;
- the presence of several handles for convenient work;
- a tool with a side stop will allow you to make a quarter sample, it is used quite often.
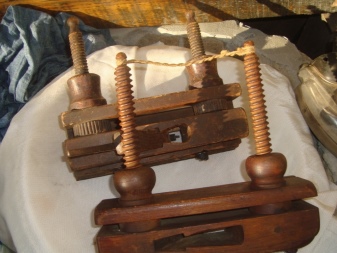
How to do it yourself?
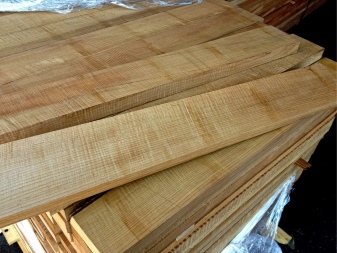
For the manufacture of a sheet piling at home, only hard woods are used: hornbeam, maple, beech, ash... The wood block for the last must be perfectly dry, without rotten areas, cracks and knots. For gluing the parts, waterproof glue is used. The blades are recommended to be purchased from specialized stores. They are inexpensive. Planer knives must be perfectly sharpened and have the required sharpening angle.

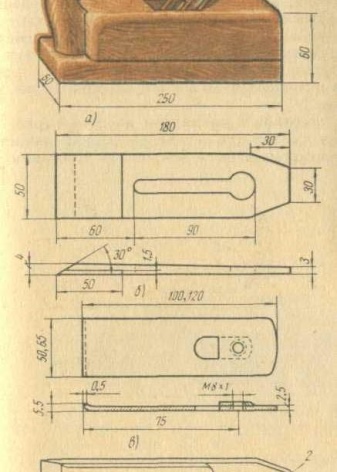
The sequence of actions for making a tool with your own hands will be as follows.
- Lines are drawn on the side edges of the workpiece and extended to other sides. Lines must be oblique and vertical.
- A hole is drilled in the central part of the product (diameter 6 mm). Holes with a diameter of 4 mm are formed at the corners on both sides.
- "Cheeks" are sawn off from the future block.
- The cut point is marked with a line.
- When cutting the "heel" and "toe", the passage of the saw should be close to the marked markings.
- Next, the block is assembled by gluing.
- The "toe", "heel" and "cheeks" are glued together. Wait until the glue is completely dry. After that, the lower part of the product is sanded.
- Use a pencil to mark the thickness of the pad. The excess is sawed off.
- Saw off the edges, which should be located on a par with the "cheeks".
- The oblique markings are extended to the lower part of the sole surface. A hole is formed with a drill.
- Create copies of the side template of the product and its fasteners to one of the "cheeks".
- A hole is created for the sharpening to pass.
- A rod is glued into the hole. Typically a brass rod is used. Next, the shape of the shoe is adjusted, then the surface is sanded.
- A wedge is made from a piece of wood and inserted between the core and the sharpening. The wedge should fit tightly between the parts.
- A wooden mallet adjusts the reach of the blade. To adjust this parameter, you need to lightly tap on the "heel". The angle of the blade should be 30 degrees when tilted at 45 degrees. This will allow you to work with soft and hard wood.

When drawing a conclusion, it should be noted that making a tongue-and-groove planer with your own hands requires attention to detail... It is also necessary to observe safety precautions when working with saws and drilling tools... Observing all the rules and following the instructions, you can create a plane that will meet all the requirements of the master.
Grooving planer - a complex carpentry device... The choice of tool directly depends on the purpose and type of work.
Today, there are many devices with different parameters, different values of the sharpening angle and blade width. These recommendations will help you choose a product for high-quality wood processing.
A demonstration of the tongue and groove is presented in the following video.


The comment was sent successfully.