The subtleties of the process of installing LED strip in the kitchen
In the interior of modern kitchens, you can often see light-emitting diode (LED) backlighting on a specialized tape. It makes it possible to distribute light in the room profitably and in accordance with all the rules of art, and in addition, forms a comfortable microenvironment for cooking. The LED backlighting for the kitchen is very bright, but at the same time consumes very little electrical energy. Such a tape can be installed with your own hands without much effort, especially since it will not take up extra space.
What is LED
An LED (or light emitting diode) is a semiconductor element that emits light when an electric current is applied to it. The glow intensity of a diode directly depends on the chemical composition with which it is filled. The LEDs are connected to the power source by means of a stabilizer, since direct connection threatens overheating and their failure.
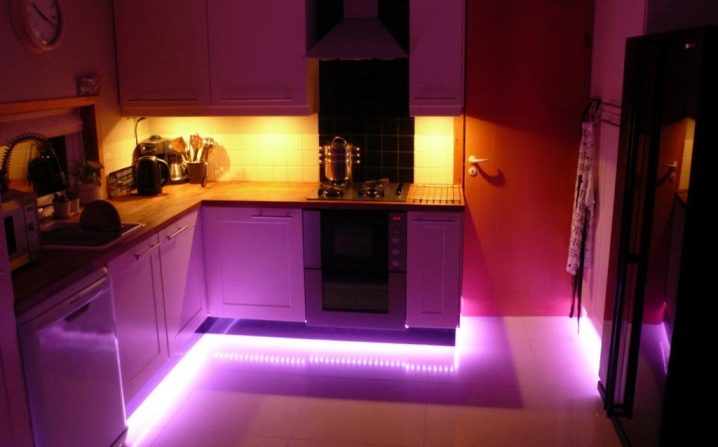
By concentrating the lighting, for example, on a matte apron, you can get a soft glow and a specific touch in the interior of the kitchen.
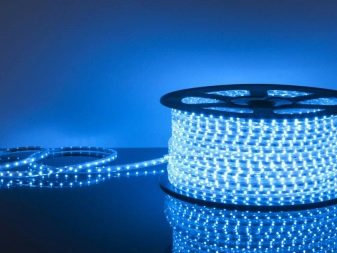
LED strip is a plastic base with a stabilizing load resistor on which light-emitting diodes are applied. A significant advantage of LED backlighting is the ability to adjust the intensity and color of the glow. LED lighting is used as illumination of useful areas of premises and as a decoration system.

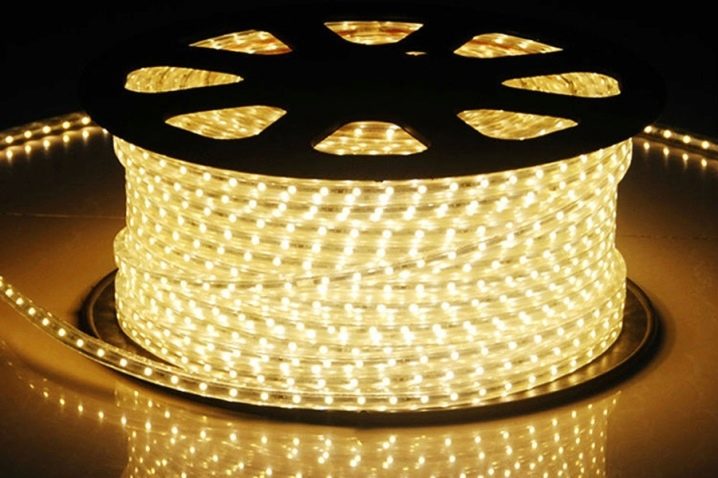
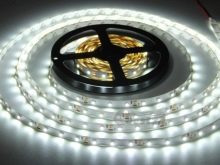
The ribbons differ among themselves by the variety of LEDs, their number per linear meter - from 30 to 240 units, direction, brightness and color of the glow.
The ribbons are available in two versions: plain and multi-colored.
SMD tape is monochromatic. She exudes a particular color. There are ribbons with the number of crystals from one to three, (the latter burn more intensely).
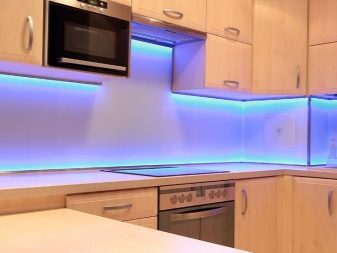
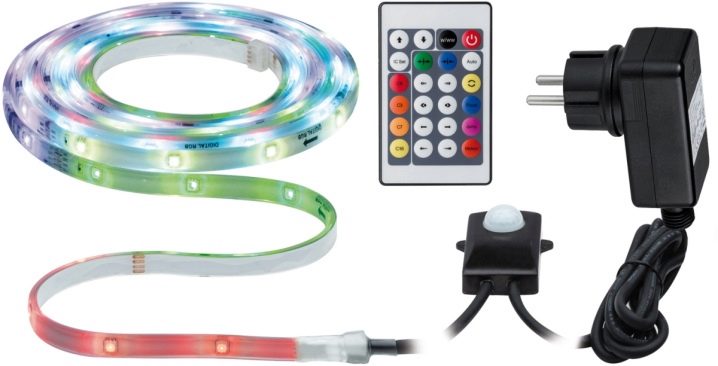
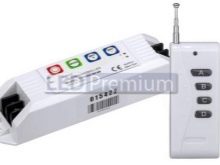
Another type of tape is produced - RGB, for the production of which light-emitting diodes with three crystals - green, red and blue colors are used. Their combination by changing the intensity or alternately connecting makes it possible to have a glow of various colors - white, blue, green, yellow, red, and so on.
Tapes of this type are usually supplied with a remote control, with which you can control the operation of the device at a distance.
Lighting using diode backlighting has the following advantages:
- long service life and great reliability;
- low power consumption with excellent light output;
- lack of dangerous components inside;
- high utilization rate of the luminous flux - close to 100%;
- small size, the ability to hide in any niche;
- electrical safety;
- resistance to mechanical stress;
- ease of installation and dismantling;
- the ability to highlight pieces of furniture of any configuration;
- simplicity of structure: no diffuser, lens, reflector.
DIY LED strip installation
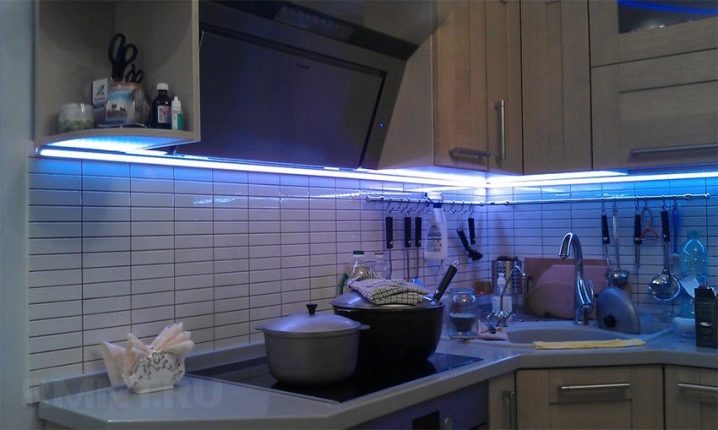
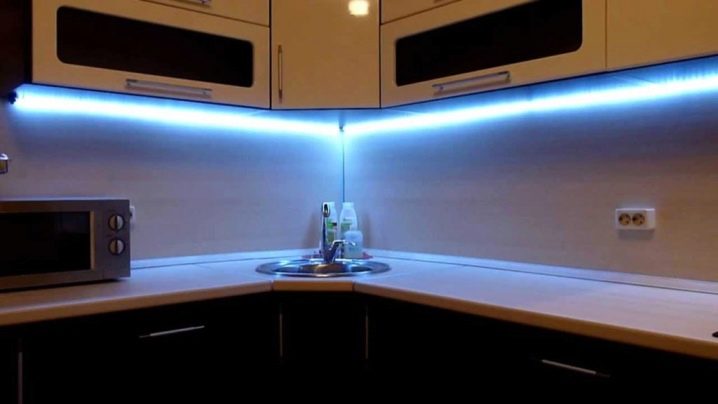
Illumination of the kitchen unit is required in order to more effectively illuminate the workplace where the hostess spends a significant part of the time, as well as additionally make the kitchen room the most attractive to the eyes.Another motivation to mount the tape is a convenient option to cook food or drink tea with the central lighting turned off, which leads to minimal energy consumption and saving the family budget. The tapes are installed on the surface of kitchen cabinets quickly and easily.
Where to install light sources?
Kitchen lighting can be created using various methods.
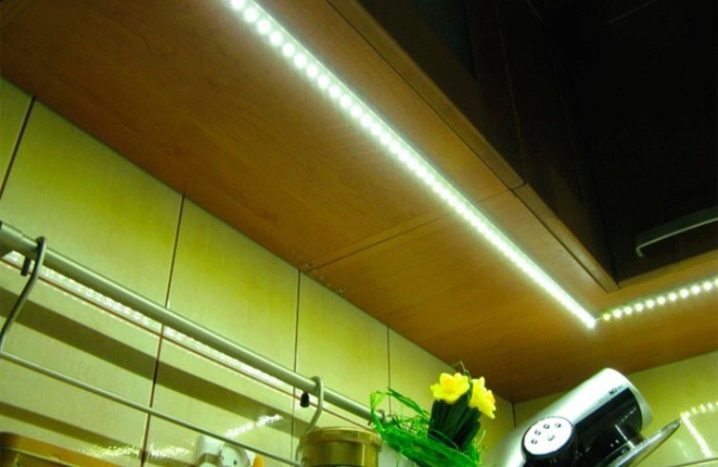
LED strips are typically located in the following locations.
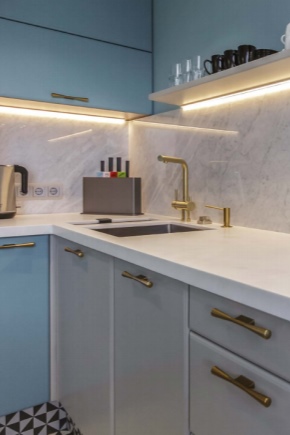
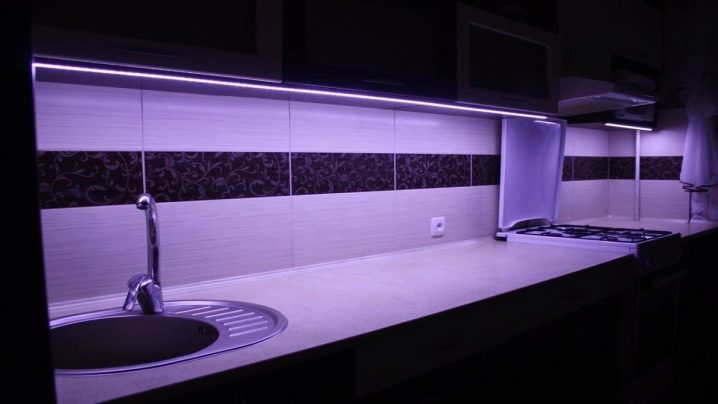
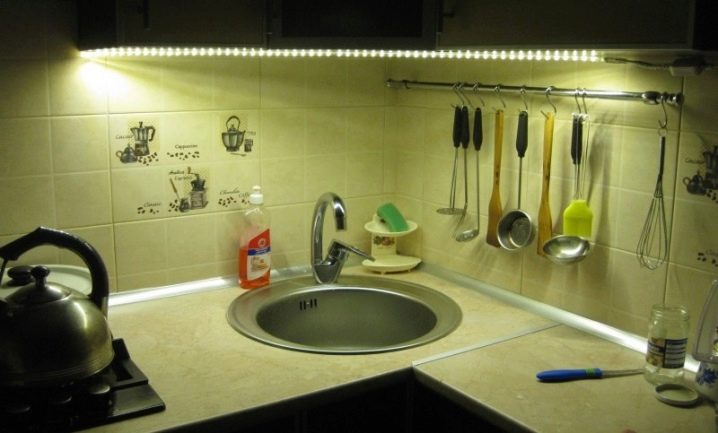
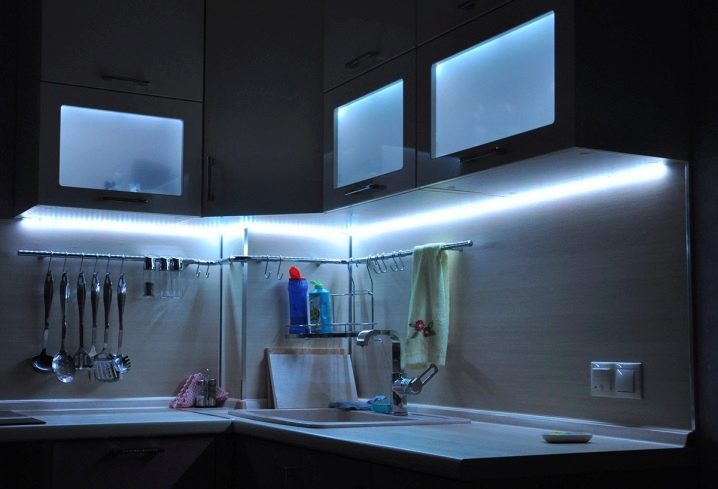
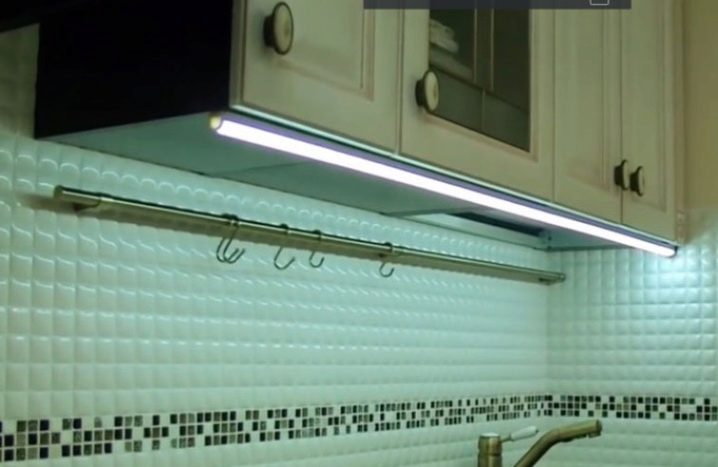
- Under the wall-mounted cabinets. They are installed in the corner between the bottom and the apron in the middle or at the edge of the cabinet.
- To the top cabinets.
- Inside cabinets and drawers.
- In the plinths.
Basic errors when mounting kitchen backlighting:
- poor layout of the backlighting circuit, as a result of which the need to change elements can give rise to the dismantling of the entire headset;
- typical for creative ascent with sudden fascination and placement of light sources in all accessible areas, including those where backlighting is not required.
What is needed to install a kitchen lighting?
Self-installation of diode backlight requires the use of the following parts and tools:
- set: tape reel (12 W), electric cable with a cross section of 0.74 mm;
- transformer - 12 W power supply and a dimmer with a control panel (if available);
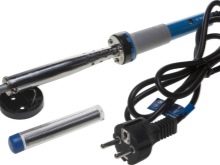
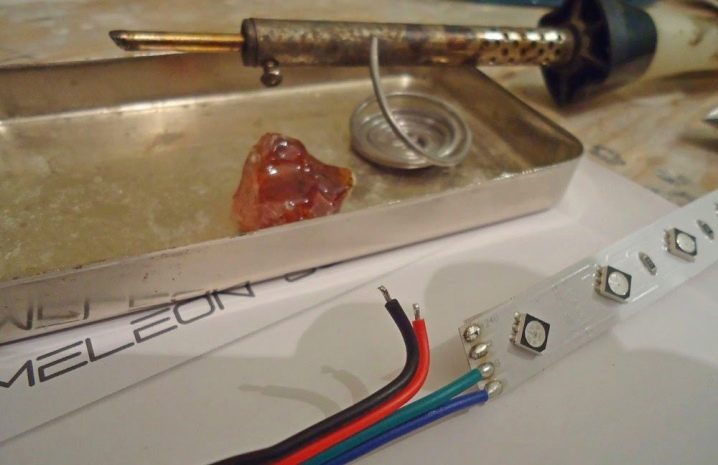
- soldering material and rosin;
- electric soldering iron;
- scissors;
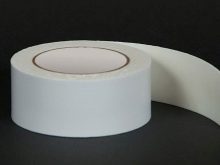
- 2-sided tape;
- electrical tape (or a heat pipe and a hair dryer);
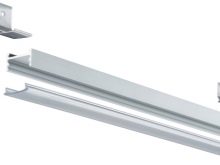
- aluminum profile or PVC corner for LED fixing - as required;
- electric drill - as needed;
- wiring brackets - as required.

Directly at the point of sale, it is necessary to inspect the tape - it should not be damaged, since any small flaw can affect the performance of the backlight.
Then the voltage of the power supply and the tape is checked, which must necessarily be the same.
If you do not have the skills to work with an electric soldering iron, you can connect the network components using connecting connectors, however, many people find them less reliable than a soldered connection.
Then it remains only to assemble all the components into an integral system and test its performance.
During the execution of the work, do not forget about maintaining the polarity, the strength of the soldered joints and the need to isolate the contacts.
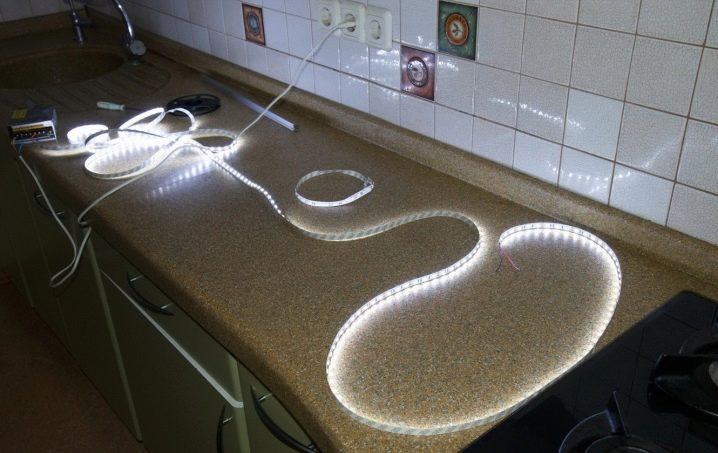
If everything turned out to be connected correctly, after connecting to the mains, the tape lit up with intense lights, you can start the final stage - fix the tape in the kitchen.
Mounting the tape
A well-done installation is based on a well-thought-out layout. The diode produces a concentrated light beam, usually in an area of 120 °. Sometimes there are options for 90, 60 and 30 °. If you attach the tape to the bottom of the wall cabinet, slightly stepping back from the wall, then a very distinct wavy strip appears between light and shadow on the sheer plane, which will negatively affect the whole picture.
It is necessary to disperse the light source so that the border of shadow and light from the backlight is between the edging of the work surface and the finish of the wall. The easiest option is to mount the tape close to the wall in order to illuminate it entirely.
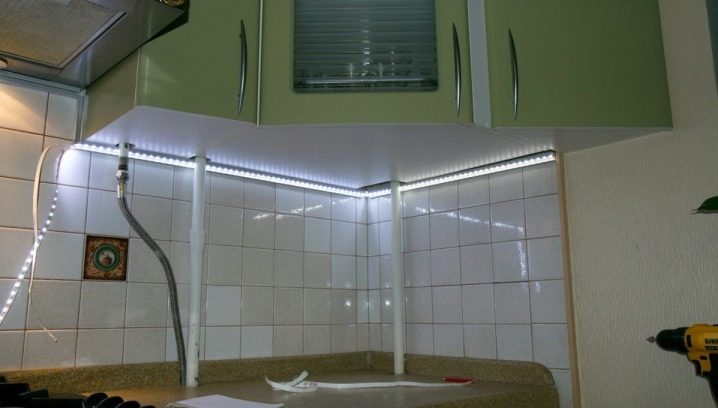
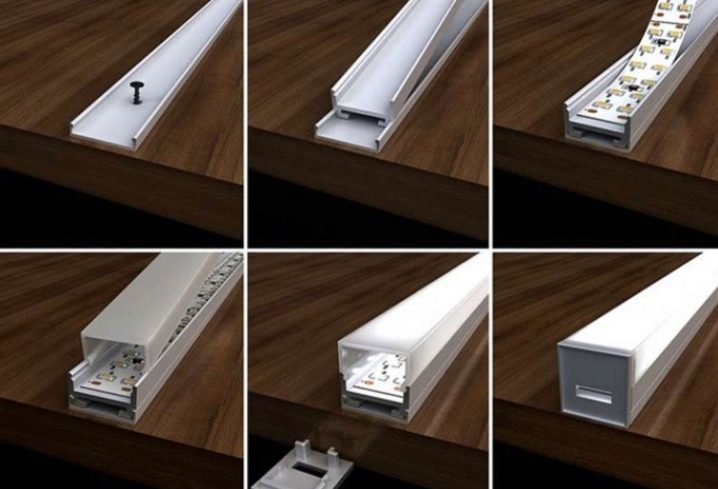
LED strips with a limited illumination area can be glued on the very edge under the cabinet so that the wall is not illuminated at all. A universal method for light distribution is considered to be the use of aluminum profiles with light-diffusing protective films. Sometimes the height of the sides of the profile can create the required configuration of the illumination spot.
The editing process itself, with certain skills in working with the tools, is not particularly difficult. First you need to run the cable to the connection area. This should be done as unobtrusively as possible by drilling small holes on the outside of the cabinet.
The low power tape can be installed directly on the degreased and prepared surface of the lower area of kitchen cabinets. Strips of measured length with an adhesive layer are simply attached to the selected area and pressed down, removing the protective film right before installation. If there is no such layer, you will need 2-sided tape. To hide the tape, you can close it with a profile to match the color of the cabinet.
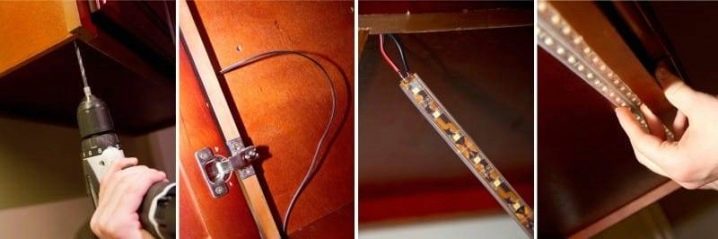
We fix the power supply, construct the electrical wiring, carefully fixing the cable with 2-sided tape or clips. We combine all the components into a circuit, we will certainly test the wiring for a short circuit among the supply wires with a tester, and only after that we plug it into the network. The backlight is complete.
If, due to high power or for artistic reasons, it is planned to install the tape in a profile, then it is easier to lay the tape in the profile and connect the power supply leads. Then, using 2-sided tape, the profile can be attached to the cabinets. The sequence will need to be changed only when the profile is fixed by means of self-tapping screws screwed flush from its inside.
How to quickly and easily make LED illumination of the kitchen working area, see the next video.


The comment was sent successfully.