Kitchen lighting with LED strip
Proper lighting will help create an interesting kitchen interior design. LED strips are not only decorative, but also functional. Thanks to the improved lighting, it will be more convenient to carry out all the usual manipulations in the kitchen. You can install the LED strip yourself, this lighting will change your kitchen beyond recognition.
Device
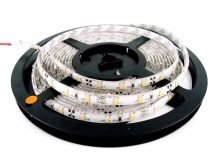
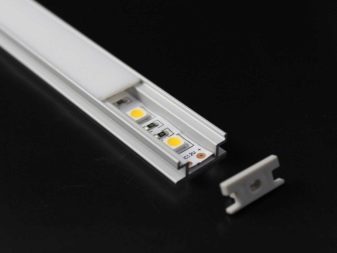
The kitchen LED strip complements the basic lighting. It is a flexible circuit board evenly dotted with diodes. Its width varies within 8-20 mm, and its thickness - within 2-3 mm. There are current limiting resistors on the tape. During the manufacturing process, it is wound into rolls of 5 meters.
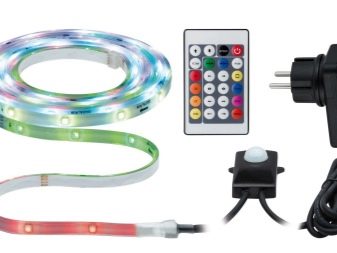
The tapes are elastic and have a self-adhesive base. The lighting scheme consists of:
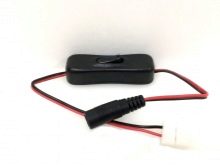
- block (power generator);
- dimmers (connect several elements together);
- controller (used for colored ribbons).
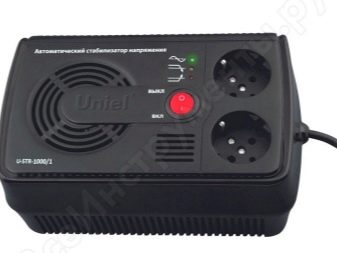
Remember not to connect the backlight directly to the power supply. Be sure to use a stabilizer to prevent overheating. Due to its compactness and variety of colors, LED strip is widely used both for decoration and for improving lighting.
Important nuances:
- the tape is powered exclusively from a direct current source, there are contacts on the working side, conductors are soldered to them, the terminals are marked with signs for easy recognition.
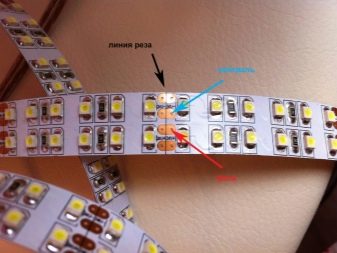
- the tape can be cut along a special black strip, which is marked with scissors, if you make a separation in another place, the device will stop working;
- the LED strip can be divided into pieces of 3 LEDs;
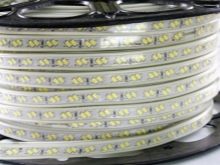
- for an LED strip, a 12 or 24 V network is usually used, in most cases the first option is found, although strips designed for 220 V can also be purchased.
Only 5 meters of tape can be connected to one power supply. If you connect more, then the far diodes will be dim due to high resistance, and the near ones will constantly overheat.
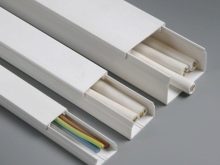
Tape lighting can be attached to the smooth surface of the cabinet using double-sided tape on the back. For other surfaces, you need to use a special box (profile). It is divided into several types:
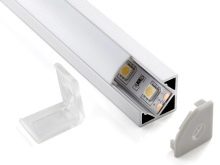
- the corner profile is used to highlight the work area or furniture in the corner;
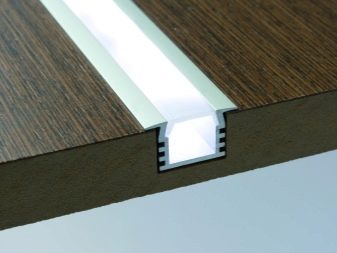
- the cut-in box allows you to hide the LED strip inside the wall or furniture, such a recess looks especially aesthetically pleasing;
- the overlay profile is in most cases used for general illumination.
Advantages and disadvantages
Additional lighting simplifies the cooking process. The main advantages of LED strip:
- not afraid of mechanical stress.
- it can be used for 15 hours a day for about 15 years without replacement;
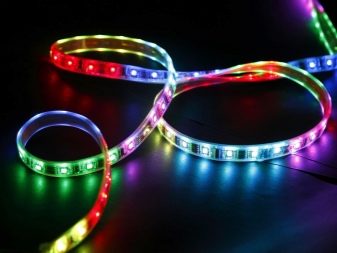
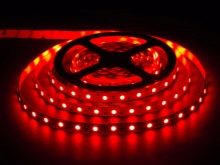
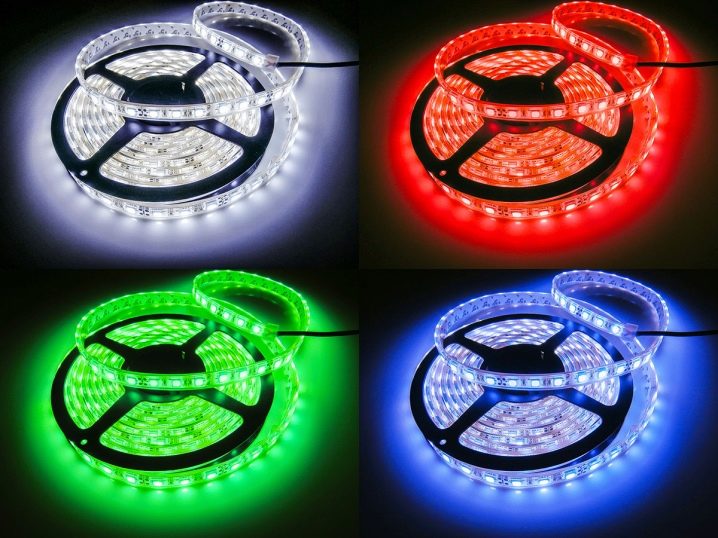
- you can choose a lighting color that is more suitable for the general interior of the kitchen: there are red, blue, yellow, pink, green and many other colors in a wide range;
- there are products that work in ultraviolet or infrared mode;
- the lighting is bright and does not need time to warm up (unlike incandescent lamps);
- it is possible to select a certain angle of glow;
- safety and environmental friendliness;
- work does not depend on the room temperature.
However, the LED strip also has a number of disadvantages:
- some varieties distort colors and tire the eyes;
- to install such lighting, you will need an additional power source (tapes are not connected directly, they can burn out);
- over time, the light dims a little, this is due to the fact that LEDs lose their chemical and physical properties;
- LED strip is quite expensive compared to other lamps.
Views
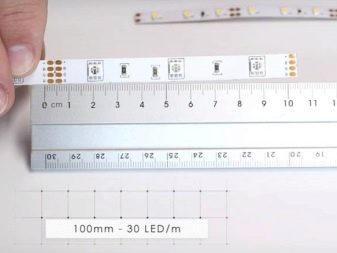
Light strips are divided into types according to several characteristics, for example, by the number of diodes per 1 running meter. The minimum value is 30 pieces per 1 meter. This is followed by tapes with 60 and 120 lamps per 1 meter.
The next criterion is the size of the diodes. They can be recognized by the first numbers of the product labeling. For example, in the SMD3528 model there are 240 lamps measuring 3.5x2.8 mm, and in the SMD5050 model there are 5x5 mm diodes.
LED strips also differ in the degree of protection against moisture.
- IP33 tapes not protected from moisture. All tracks and diodes are fully exposed. This product can only be installed in a dry room. In the kitchen, the tape can only be used inside the headset.
- IP65 tapes protected by silicone on top. A great option for the kitchen.
- IP67 and IP68 models completely covered with silicone. Protected both above and below.
Which one to choose?
When choosing a suitable option, do not forget that the kitchen has high humidity and there may be temperature jumps due to the operation of the stove, so give preference to protected models. For the kitchen, select tapes that have at least 60 diodes per 1 meter. The most popular models are SMD3528 and SMD5050.
Pay attention to color temperature. If you choose a tape to illuminate your work surface, then give preference to a warm white color (2700K). Such light does not tire the eyes and resembles lighting from an incandescent lamp. You can choose any color for decorative lighting.
You must be able to decipher the marking. For kitchen lighting, lamps of the LED 12V RGB SMD 5050 120 IP65 model are often used. Read the label like this:
- LED - LED lighting;
- 12V - required voltage;
- RGB - the colors of the tape (red, blue, green);
- SMD - the principle of installation of elements;
- 5050 - diode size;
- 120 - the number of diodes per meter;
- IP65 - moisture protection.
Before buying, we advise you to familiarize yourself with the following nuances of the product.
- Tapes with a working voltage of 12 V can be cut into pieces that are multiples of 5 or 10 cm. This feature allows high-quality illumination of the kitchen set and work areas.
- The tape can shine in one color or in several. The first option is optimal for functional lighting, the second is suitable for people who do not like consistency. The ribbon changes color depending on which button you pressed on the remote control. The full color spectrum is available for WRGB models. They are distinguished by their high power and cost.
- It is recommended to install tapes with silicone protection on a metal base.
- Enclosed LEDs overheat quickly and can become unusable.

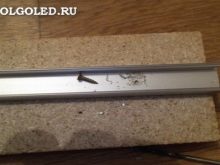
The LED profile can be made of aluminum or plastic. The box can be both overhead and built-in. The first one is simply mounted on a smooth surface, and for the second type it is necessary to make a special recess. Remember that the box serves to protect the LED strip from overheating, moisture and grease.
It is better to choose an aluminum profile. This material has good thermal conductivity and protects the tape perfectly. Please note that for such boxes, polycarbonate or acrylic inserts are provided.The first option is distinguished by its low cost and high resistance to mechanical damage. Acrylic inserts transmit light better, but are also more expensive.
Installation materials and tools
To connect the elements of the tape to each other, you will need a soldering iron, rosin, solder and a heat shrink tube. Instead of the latter, you can use connectors or crimped lugs for wires. You can use scissors to separate the ribbons into pieces. For self-installation, you will need the following tools:
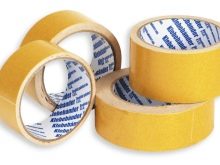
- fasteners, electrical tape, double-sided tape;
- jigsaw or any other tool for cutting holes in furniture;
- all elements of the wiring diagram;
- profile for mounting;
- cable;
- roulette;
- plastic box for wires.
For the installation of LED strip in the kitchen, a cable with a cross section of 0.5-2.5 mm2 is most often used.


Where to install?
LED strip can provide about 15 million colors by connecting diodes of different brightness. Thanks to this functionality, many interesting ideas can be implemented. This lighting element can be used as follows:
- can be installed in niches and cabinets for visual zoning of the kitchen.
- highlight decorative elements - paintings, shelves;
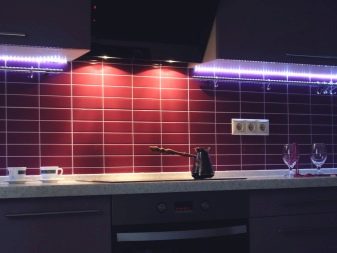
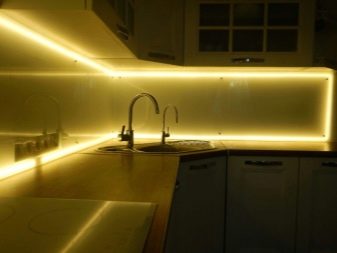
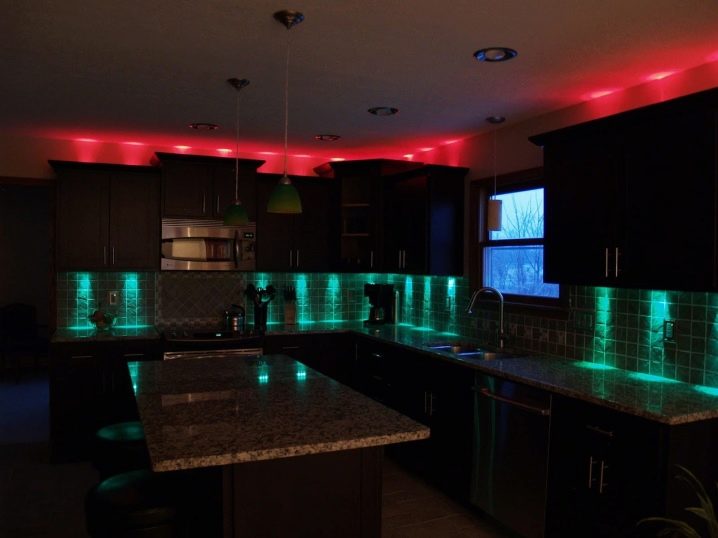
- frame the kitchen apron;
- use for additional lighting inside the kitchen set;
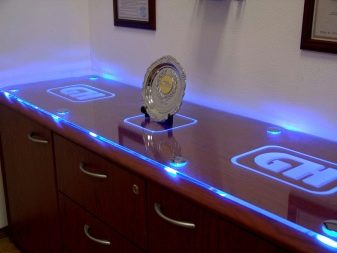
- highlight glass interior elements;
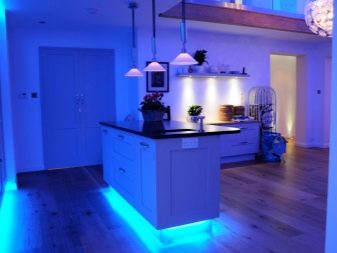
- create the effect of floating furniture, for this the lower part of the kitchen unit is highlighted;
- additionally illuminate the multi-level ceiling;
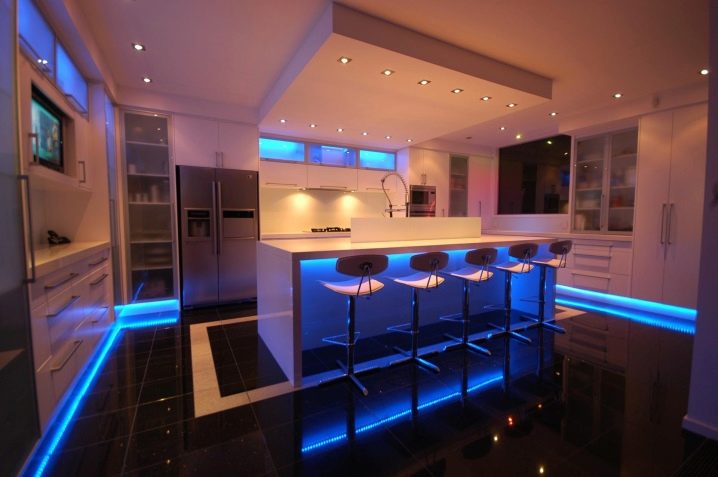
- illuminate the bar counter or dining area.
Installation work
Well-thought-out planning will avoid problems when installing LED strip on a kitchen set. The installation process itself is quite simple.
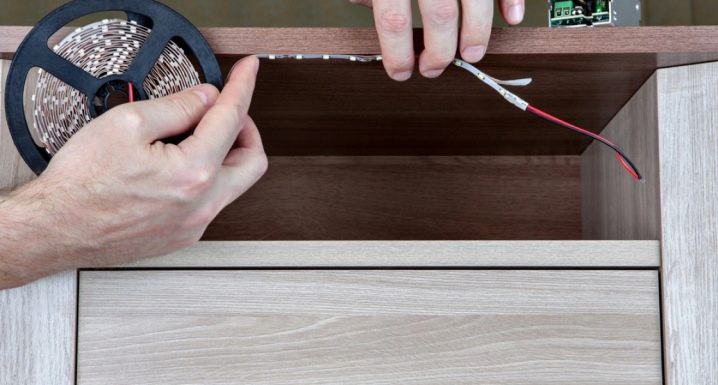
- Use scissors to cut the required amount of tape. It is better to measure with a tape measure.
- Gently strip the contacts about 1.5 cm.
- Using a soldering iron, you need to attach 2 cables to them. If desired, you can use connectors to connect.
- It is necessary to insulate the wires with special tape or heat shrink tubing. In the latter case, cut off 2 cm of the tube, install it in the place of soldering and fix it with a construction hairdryer. It is this type of insulation that is considered the most aesthetic and reliable.
- If the tape has a low power, then you can attach it directly to the furniture, if the power is high, then use a profile. Peel off the protective film from the LED strip and stick it in the right place.
- You need to install a transformer near the lamp, think over its location in advance. On the low voltage side, it is necessary to solder the tape wires, having previously cleaned them of insulation. Attach a cable with a plug to the opposite side of the transformer.
- Use a parallel circuit to connect the wires. Route the cables to the power supply.
- Hide the wires in a special plastic box and secure them inside with wiring brackets.
- Connect the dimmer (switch) and install the power supply. Amplifiers and a switch are needed if you want to change the brightness of the backlight during use. Such circuit details are installed together with the power supply. To control the lighting, you can use both a remote control and a conventional switch.
If necessary, a neat cable hole can be made on the back of the cabinet. Its diameter should be slightly larger than the wire cross-section. Pass the cable carefully and discreetly to the connection.
If the profile is fastened with self-tapping screws, then change the sequence of work. First, make holes for the fasteners and install the box. Place the tape gently inside and secure with double-sided tape. If you want to hide the box inside the furniture, first make a suitable groove.
Now let's look at the basic rules of installation.
- Before you start installing the backlight, you need to do a little preparation.Be sure to check the integrity of the wire insulation material (tape or tube). Check the compatibility of the LED strip and the transformer. If you neglect the simple rules, the backlight can quickly fail or not turn on at all.
- It is not recommended to use bright light to highlight the bar or dining table. Excessive obsession will constantly tire and distract attention from the overall interior.
- Select the level of moisture protection depending on the location of the product. Install a protected device above the washbasin and work surface, or you can choose a simpler option for the dining area.
- Remember that fastening the profile with self-tapping screws is more reliable than using double-sided tape. The second material is only suitable for mounting small pieces of tape on a smooth and level surface.
Consider the directionality of the light beam. Most models illuminate a 120 ° sector on the central axis. The 90 °, 60 ° and 30 ° options are much less common. Distribute light sources thoughtfully to create a natural border between shadow and light.
- Use aluminum profiles with light diffusion inserts.
- If you are doing corner lighting, then you need to properly extend the tape. Strip the contacts and attach the jumpers with a soldering iron. Connect plus with plus and minus with minus.
- It is better to hide the controller and power supply in a closed cabinet or behind it. If you leave everything in an open place, then after a couple of months the parts will be covered with a sticky layer of fat.
Examples in the interior
The diode strip will help solve lighting problems and make the interior more interesting. Before starting work, you should carefully think over all the details, draw a sketch with all dimensions if possible. We suggest that you familiarize yourself with interesting and functional ways of using LED strips.
Place the diode strip on the bottom edge of the kitchen unit. Such a simple trick creates the effect of furniture hanging in the air.
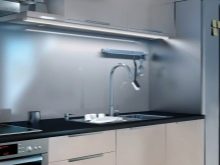
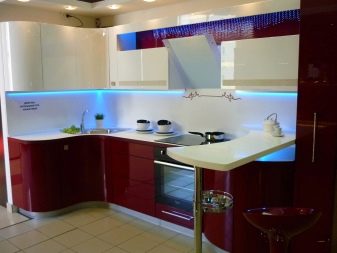
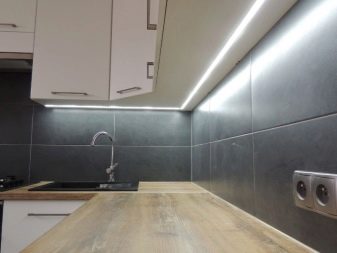
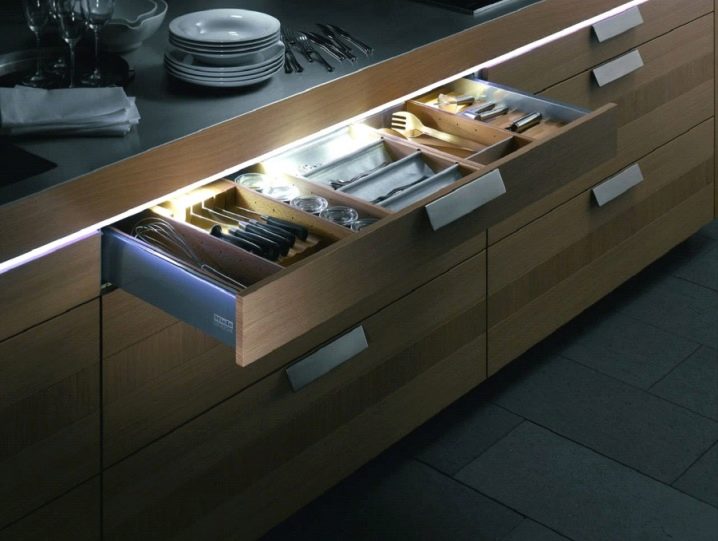
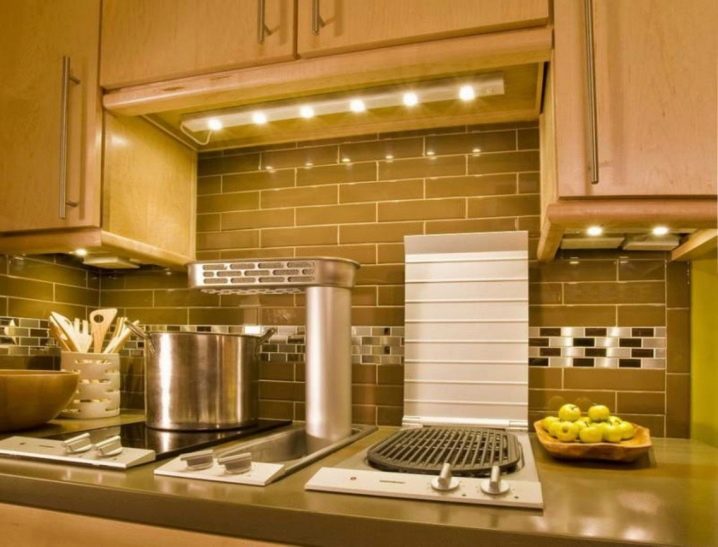
The location of the tape in the box at the bottom of the hanging drawers helps to further illuminate the work surface.
Colored tape can be used to highlight the furniture in the kitchen. This option will perfectly decorate the interior.
Cut the tape into small pieces and spread over the entire surface of the furniture. This option looks very stylish and interesting.
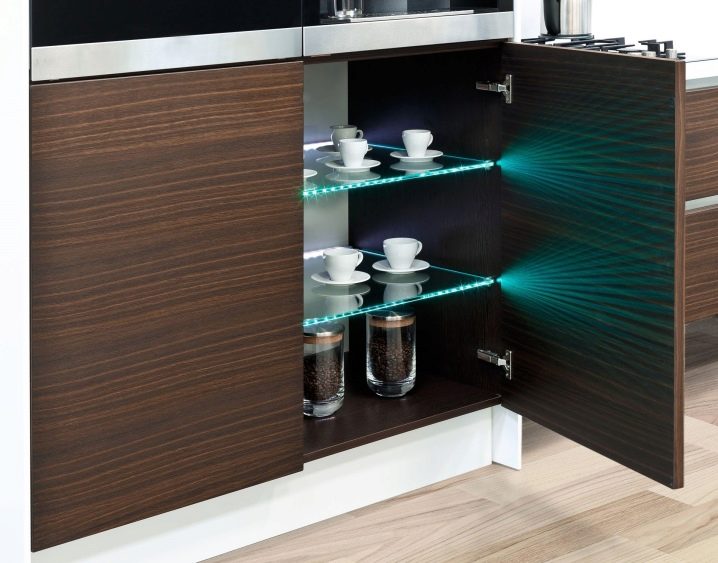
The LED strip in the cabinet can be used for both lighting and decoration.
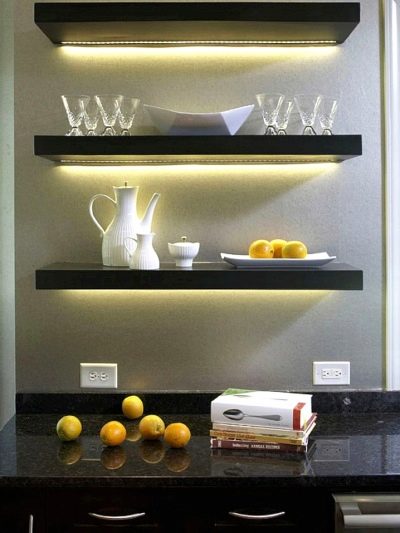
Hinged shelves designed in this way will look more interesting. You can display a beautiful set or decorative elements and draw attention to them with the help of light.
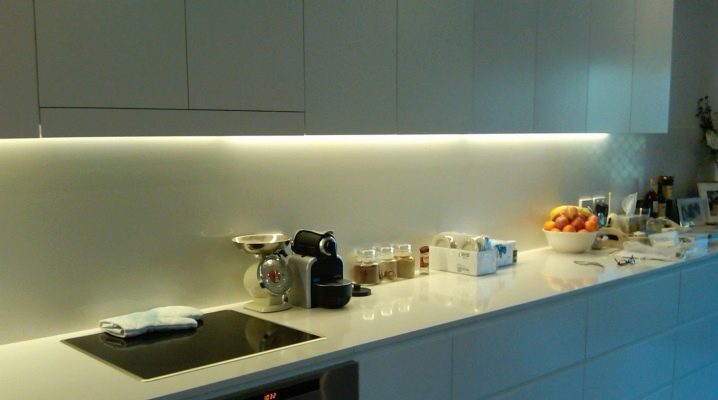
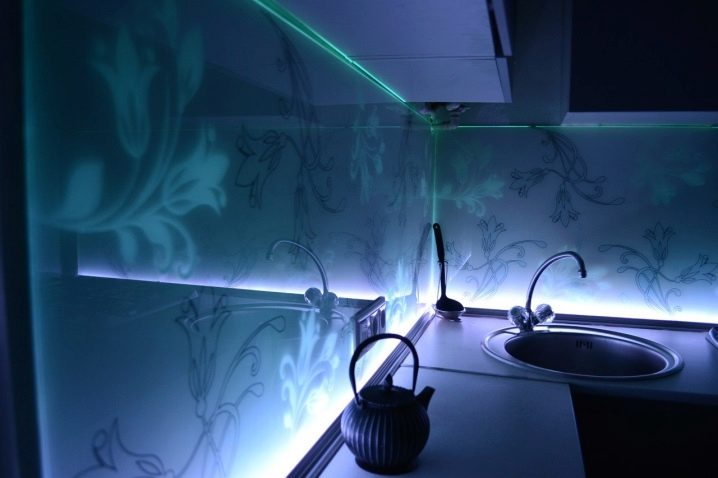
Hide the LED strip so that the kitchen backsplash stands out. This option looks very impressive.
Tips from a professional wizard for installing LED strip on a kitchen set are in the video below.


The comment was sent successfully.