LED lighting for the kitchen: features, types and tips for choosing
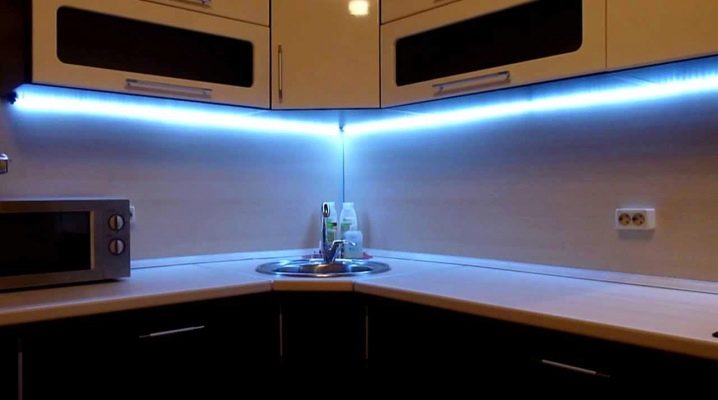
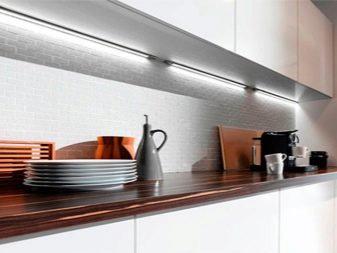
The key to any design is the right lighting. This is especially true for the design of the kitchen, where an even distribution of the light flux is required to create comfortable conditions during cooking. Today the market is represented by a chic selection of lighting fixtures, but LED lighting is especially popular in the interior of kitchens.
It originally emphasizes the style of the room and is quickly installed with your own hands.
Advantages and disadvantages
LEDs are unique semiconductors that emit light when electrical energy passes through. Depending on their chemical composition, they can generate light of varying brightness. During the installation of such devices, a stabilizer must be connected, since when using a direct circuit, the tapes quickly overheat and fail. Most often, LED lighting is chosen for kitchen lighting, as it has many advantages.
- Long service life. The device can reliably serve up to 14 years, regardless of the level of stress. The tapes are undemanding to the temperature conditions in the room.
- Resistant to external mechanical damage.
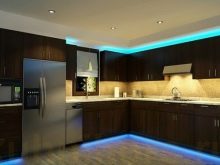
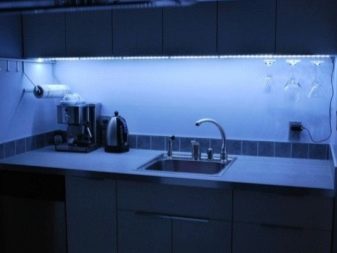
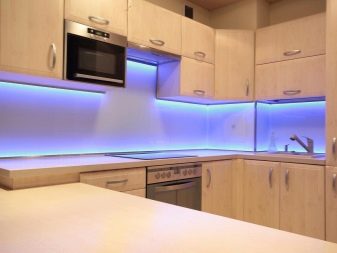
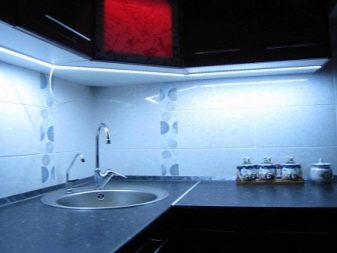
- Huge selection of color palette. The cabinets and backsplash can be illuminated in yellow, blue, white, purple, orange, green and red. In addition, LEDs are also commercially available that operate in the ultraviolet and infrared spectrum.
- The brightness of the lighting. After switching on, the devices immediately begin to scatter light, without requiring additional time to warm up.
- Possibility of mounting with different angles of light emission.
- Operational safety.
- Affordable price.
- Environmental friendliness.
- Compact dimensions. Unlike other types of devices, LED strips are invisible in the interior and are visible only when switched on.
- Large coverage area. Despite its small size, the device is capable of emitting intense light, creating a good working environment in the kitchen. In addition, flicker is completely excluded with such lighting.
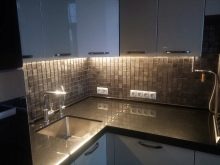
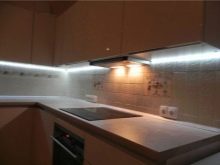
- Easy to install. LED fixtures can be easily attached to the backsplash and over cabinets. Even a novice master can handle their installation.
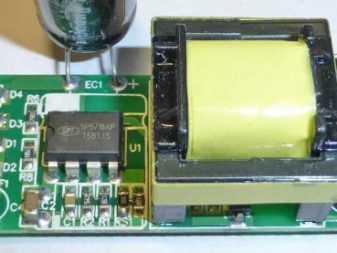
As for the shortcomings, the power supply of LED devices often fails. This is their only negative.
Views
For the installation of LED backlighting, you can use both ready-made luminaires and assemble the system from individual elements. To do this, purchase a set consisting of modules, which are connected by a conductor during installation into a single block. Lighting devices of this type are presented on the market in a huge assortment, and each of them is characterized by its own characteristics. Kitchen lighting is usually created using various built-in devices.
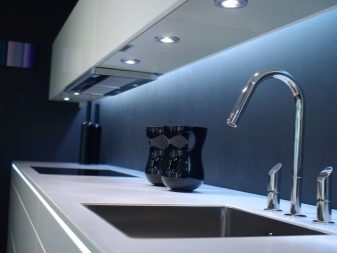
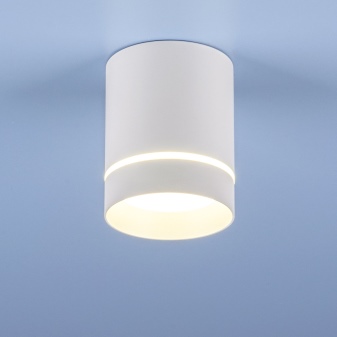
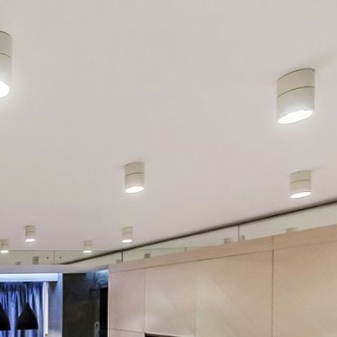
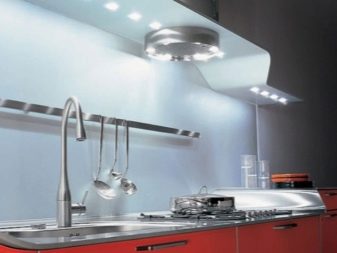
Spot light fixtures
They are ideal for installation under wall cabinets and in the ceiling. Sold as a set and per piece. It is best to purchase devices equipped with adapters, they are much easier to assemble into one system.
Such lamps provide excellent illumination, but their power supply unit requires periodic replacement, as it often fails.
Linear and recessed spot lamps
These devices, as a rule, are used as additional lighting for cabinets. They are easy to operate, compact, but some experience is required to carry out installation work.
Spot and linear luminaires may have a touch control system, thanks to which the light turns on and off when you lightly touch a certain place on their body. The touch switch operates on batteries and is highlighted by a constantly lit blue diode.
They are usually hidden in the lower shelves of the lockers. This type of backlight is used as an additional light source.
It creates a special atmosphere of comfort in the interior, but due to the complex scheme, devices can only be installed by an experienced specialist.

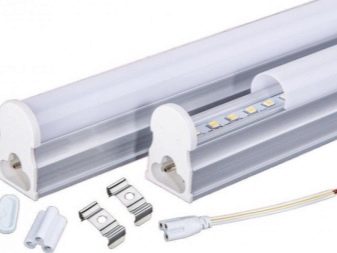
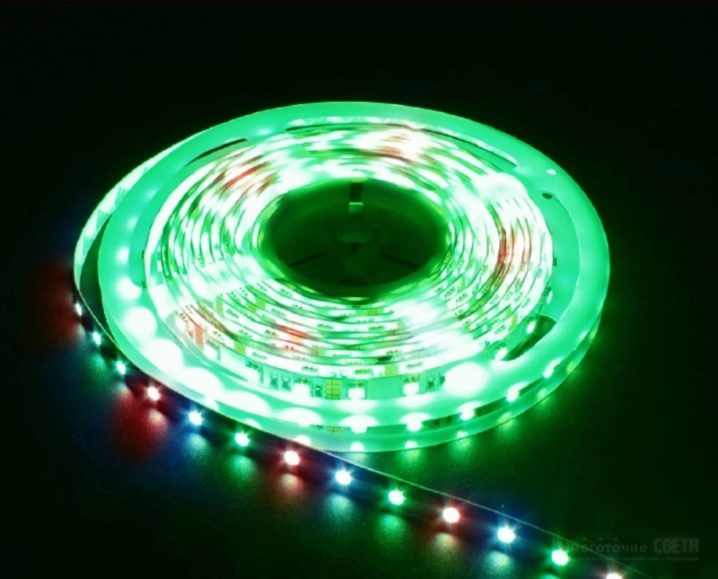
Linear diode tapes
They have more advantages over ready-made lamps, since they are available in different brightness and colors. In addition, the installation of the devices is quick and easy; for installation, it is enough to cut the required length of the tape and fix it to the surface. They are sold at an affordable price. For the kitchen, you can use both multi-color and single-color ribbons, while the former are more functional, as they allow you to create a different atmosphere.
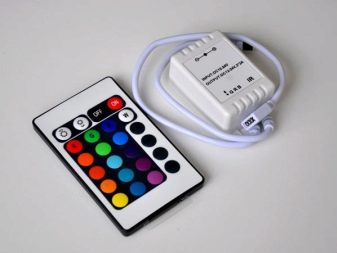
Color management is carried out using a special remote control.
How to choose?
When creating a kitchen design, you should pay special attention to its lighting. Most often, LED devices are used to illuminate the kitchen set and the room as a whole.
In order for such devices to last a long time and properly diffuse light, it is important to consider several points when purchasing them.
- Waterproof. Since cooking fumes and high humidity are constantly present in the kitchen, it is recommended to use IP54 lamps for installing lighting. They are resistant to moisture and are not afraid of temperature changes in the room.
- Fire safety. For kitchens where gas hobs are located, it is necessary to choose lamps protected by a sturdy housing. It must be made of impact resistant material.
- Easy to care for. It is best to give preference to appliances with a practical surface, as they are easier to clean. Devices of complex structures, after being coated with a fatty coating, are problematic to clean.
- Environmental friendliness. Experts recommend buying models of LED lamps that do not emit harmful substances when heated. To do this, you need to check their quality certificates.
- Luminous flux intensity. For the arrangement of the kitchen, strips with diodes in the amount of 30, 60, 120 and 240 are well suited. They are placed in the form of strips for each meter of the surface. It should be remembered that the quality of light flux diffusion depends directly on the mounting height of the tapes.
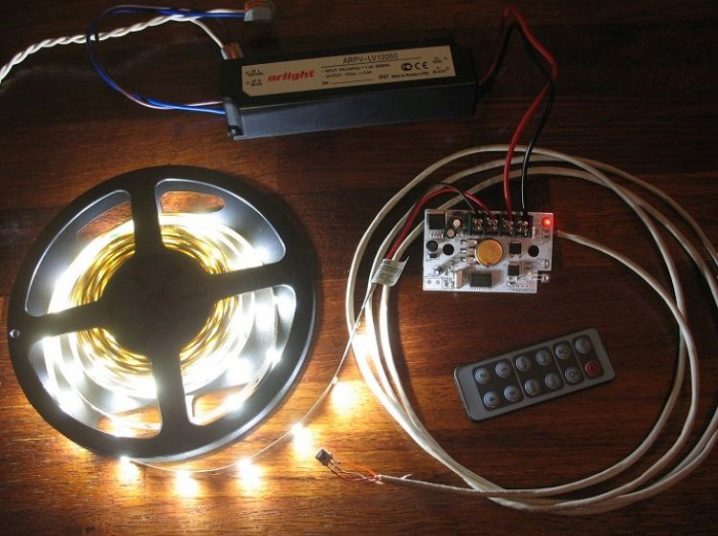
- Equipment. For the normal operation of tape devices, a 12 or 24 V power supply, an amplifier (with intense loads) and a controller (if you plan to install multi-colored tapes) are required. Most manufacturers supply products in a complete set, some separately. Therefore, in order to save money, it is best to immediately purchase devices complete with all the elements.
Installation subtleties
The process of installing lighting fixtures in the kitchen is simple, any home craftsman can handle it. Before you mount the system and connect the LEDs to it, you must have all the accessories and a set of tools. To install an LED device you will need:
- 12 W tape;
- Remote Control;
- power supply (power depends on the type of device);
- cable with a maximum cross-section of 0.75 mm2;
- rosin and solder;
- scissors;
- soldering iron;
- double-sided wide tape;
- construction hair dryer;
- drill;
- insulating tape;
- installation brackets.
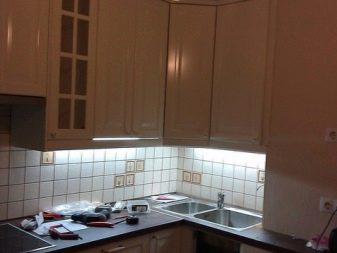
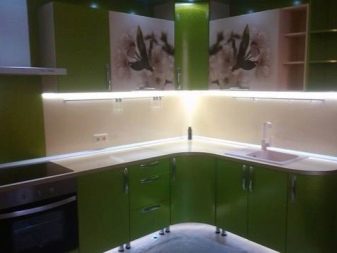
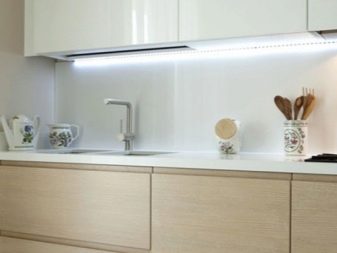
Depending on the type of tape, you should decide on the location of the backlight. It can be mounted under cupboards, inside drawers, above a backsplash and on tiered ceilings.
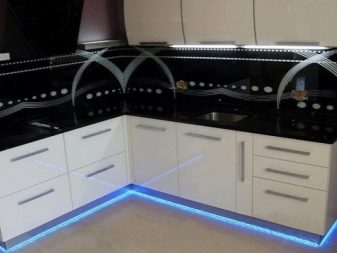
In addition, LED strips look beautiful on the bar counter and in niches, acting as decorative elements of the interior. For the kitchen, you can choose both multi-color and monochrome ribbons with the number of crystals from 1 to 4. It is also important to determine the number of diodes per 1 m of tape - the more there are, the brighter the light will be.
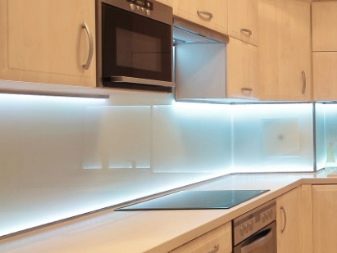
First, the power supply is mounted, it must be placed in such a place that there is always access in case of repair or replacement. It is best to fix the unit to a cable connected to the cooker hood. A backlight transformer can also be installed nearby. Then the protective layer is removed from the tape, and it is attached to the bottom of the cabinets. The tape has special markings for cutting the product.
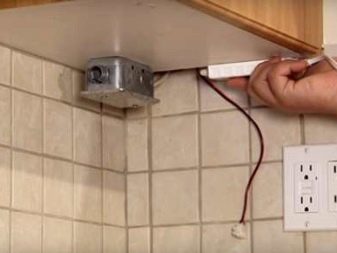
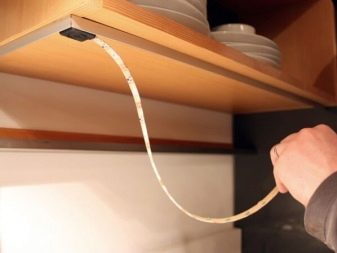
The cable coming from the power supply must be connected to the LED strip by soldering, since this method is considered much more reliable than using connectors. The joints are sealed with a thermal protection tube. Before sticking the tape, you need to thoroughly clean the work surface from grease and dust. First, they are fixed in several places, then they are trimmed and pressed tightly.
The electrical circuit is connected with the correct polarity. Since the LED strips are powered by direct current, they have markings - and +, the pole in the power supply is indicated by a red wire. Additionally, you will need to install a switch, it can be either push-button, touch-sensitive or infrared. When using several lights at the same time, the connection to the power supply is performed in parallel.
In the event that the wiring diagram is performed with a conventional switch, then a dimmer and LEDs are placed in the system after the power supply.
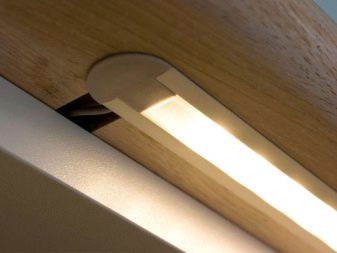
To save energy, when installing such a backlight, you need to choose a wire with a maximum cross section, and try to make fewer connections. When installing high-power tapes, you will need to use a profile box. If desired, the tape is hidden using a profile, it is chosen to match the color of the furniture.
As for the touch illumination, its installation requires linear device models that can be connected to the "smart light" system. Such devices must be positioned in such a way that darkened areas are not created. It is best to place the switches next to the tape, since they have a neat appearance of the module and do not spoil the aesthetic appearance of the kitchen. It should be noted that the sensors will respond instantly to any contacts. Therefore, their location should completely exclude accidental triggering of the sensor.
Installation takes place in the same way as with LED strips, the only thing is that motion sensors are additionally connected to the system, thanks to which the light will automatically turn on under the influence of the motion source.
DIY LED strip installation is shown in the following video.


The comment was sent successfully.