How to connect a doorbell?
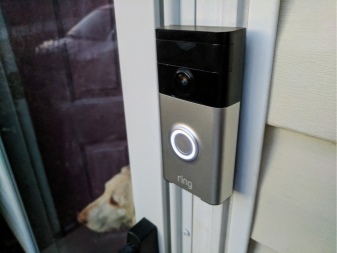
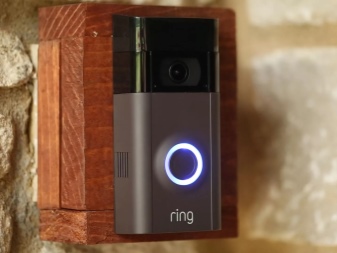
No human home can do without such a small and inconspicuous thing as a doorbell. This device notifies homeowners that guests have arrived. At the same time, after pressing the key, the guest, as a rule, hears a certain sound and knows that the hosts have already been notified of his arrival. If earlier some kind of bells on a rope were used, nowadays electric and wireless models of doorbells are used. In this article we will talk about the nuances of connecting such devices with our own hands.

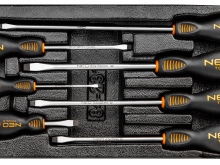
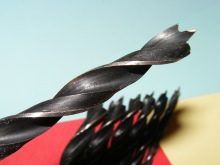
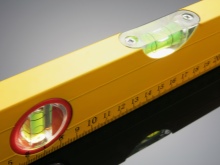
Required tools
Before starting the consideration of connecting wired calls, you should clarify what things and tools will be required for this in order for the whole process to be implemented correctly. So, for this you need to have on hand:
- the call itself, which usually consists of indoor and outdoor units;
- dowels and screws, which are required to fix the device on the wall;
- button;
- transformer;
- cable - required for low-voltage connections;
- drill and screwdriver;
- stripper for stripping the wire;
- electrical tape, plastic clamps and tape measure;
- screwdrivers;
- long nose pliers and regular pliers;
- side cutters;
- drill;
- level.
In addition, it should be said that another preparatory moment will be that if the call was not installed before, then you should choose the most suitable area for installation.
The device itself may have a diagram that shows exactly how it should be fixed.
Connecting wired calls
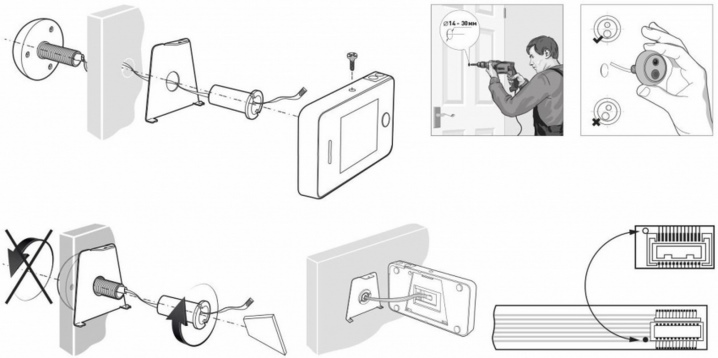
Now let's start analyzing how to connect a wired-type doorbell. It should be said that the instructions below will describe the connection of the simplest call. Quite rare, but there are models with two buttons. In this case, the model may not have 2, but 4 wires. But there are not very many such models on the market and they are connected in almost the same way as ordinary ones. You just need to take into account the slightly complicated design of such a model. Usually the first step in this process is to mount the speaker.
Installing the speaker
This is the initial stage in the process of connecting a call in an apartment or house. Most of the speaker models that come with the device have special holes for mounting, as well as a wire entry that will supply electrical energy. First, it is mounted on the wall, after which a hole is made for the conductors. To set it as level as possible, you can use a level.
When the hole is made, you should insert a wire there, and then lead it to the area where you plan to place the button.
Button mounting
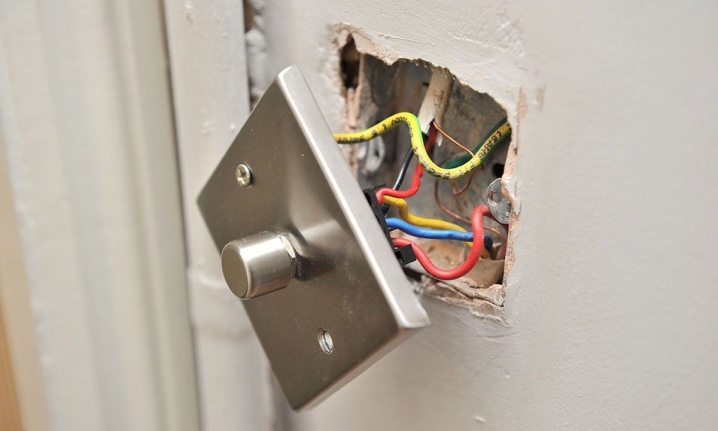
To install the bell button, you will need to make a hole for the conductor in the wall where it will be installed. Now you should thread the wire through the hole so that from the outside it protrudes from the wall by about 15 centimeters. After that, you should strip the cable. This can usually be done with a stripper or some other tool. The area should be cleaned no more than 20 millimeters.
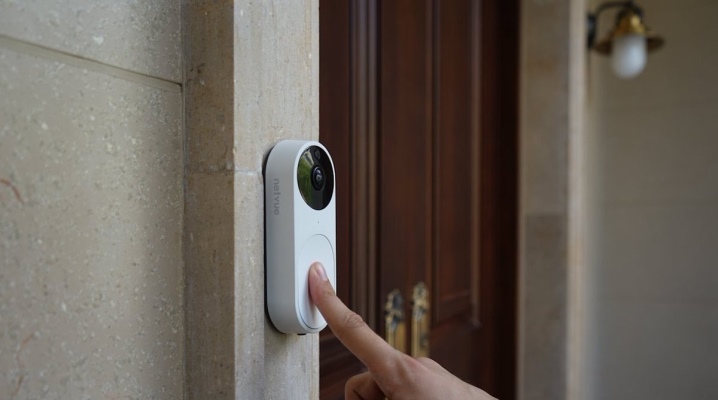
By the way, it should be said that the best height for mounting a button is 150 centimeters. This is a universal parameter calculated for comfortable use by a person of average height.
Electric wire connection
To make the connection of the electric wire, 2 wires that have been stripped should be separated in different directions. Now the tips should be installed in special clamps, which are usually located on the back of the key. Before that, it will be better to bend the cables so that they seem to be around the clamp.

It should now be tightened. This is done with an ordinary screwdriver. This will make it possible to securely fix the electrical cable and not be afraid that it will fall out while using the doorbell. When the wires are securely fastened, you can attach the button to the wall with dowels, drill and bolts. You should not forget and set it to the level.
Masking and securing the wiring
Now you need to fix and mask the wiring. This is done using clamps made of plastic. They are wrapped around the wire and attached to the wall with bolts and a drill.
And it is easy to mask the wiring with various decorative inserts and baseboards.
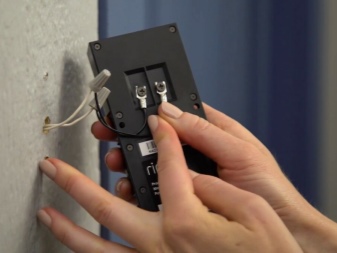
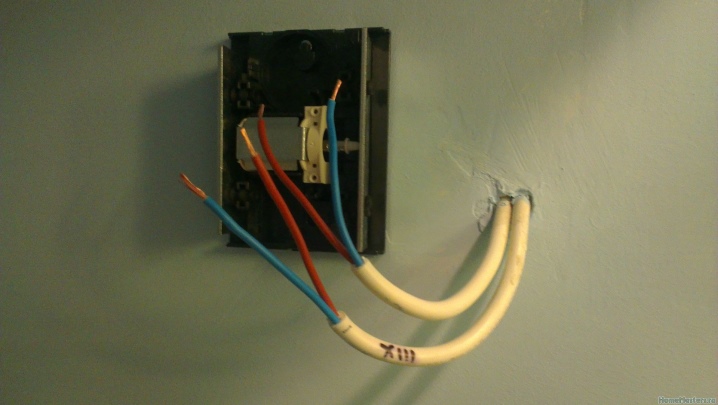
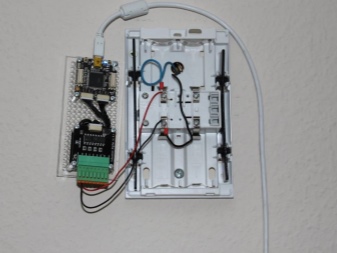
Connecting the main unit
The next step is to connect the main part. A wire of 2 cables usually goes to it. One provides power to the system, and the second transmits a signal when the guest rings the bell. It will be better to somehow distinguish between these wires. For example, mark them with different colors, if suddenly they have one-color insulation.

The wire that goes exactly from the key should be folded in half and inserted into a hole in the wall, then passed through the hole in the main part and taken out from there. You need to leave about 25 centimeters of cable as a reserve.
One important point should not be forgotten here - one end of the wire, previously folded in half, will go to the key, and the second will be connected to the power supply. That's why it is required to correctly calculate its length.
You can now hang the main unit on the wall. You can use a drill here. As a result of all the actions taken, we will have an open box that is attached to the wall. A cable that was previously folded in half will protrude from it.
Both ends of the wire will go into the hole and sit behind the wall.
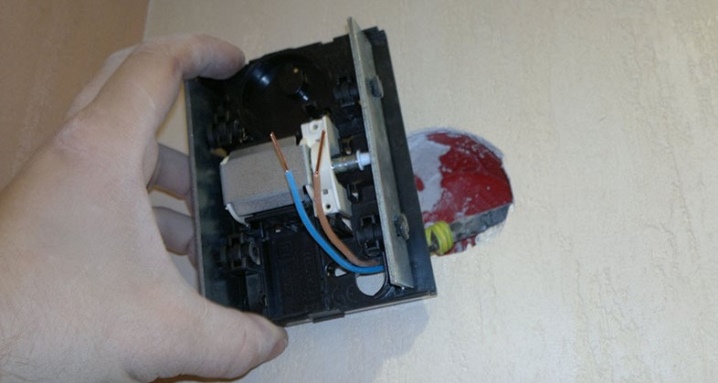
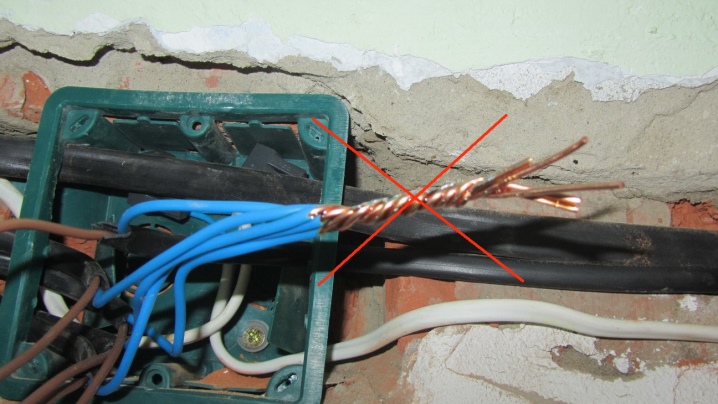
After that, two wires should be separated in the main part, and then cut one. After that, you get two ends of the electrical cable, which should be separated by the clamps located inside the main part of the device.
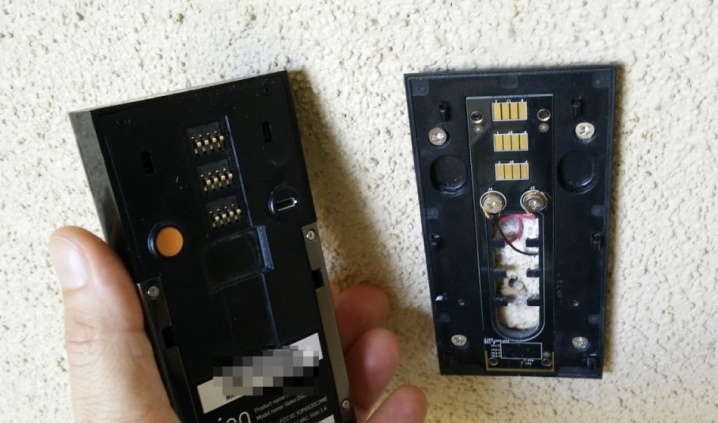
Now you should strip the ends of the insulation with a stripper or a knife. One tip is inserted into the clamp that goes to the transformer. He will be responsible for transmitting current to him, and the second is responsible for the operation of the key.
When everything is done, the excess cable can be neatly tucked away in the box of the main unit.
An important point, which should be said for sure, is that if the clamp is made in the form of a bolt, then you should wind the wire clockwise and then fix the bolt. This will make the contact quality and the connection durable.
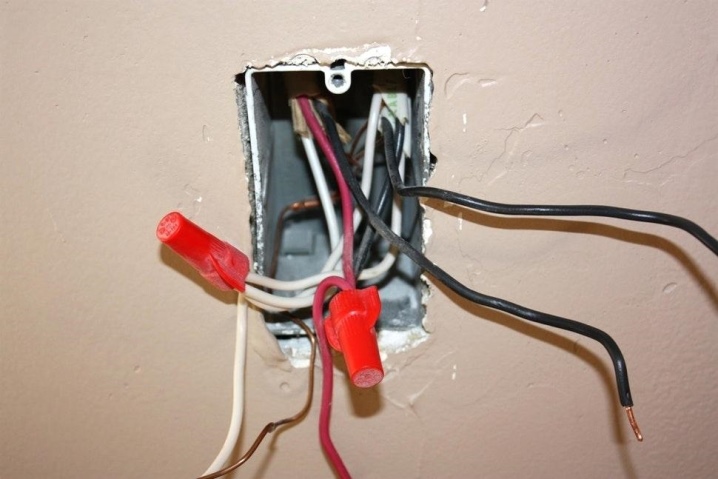
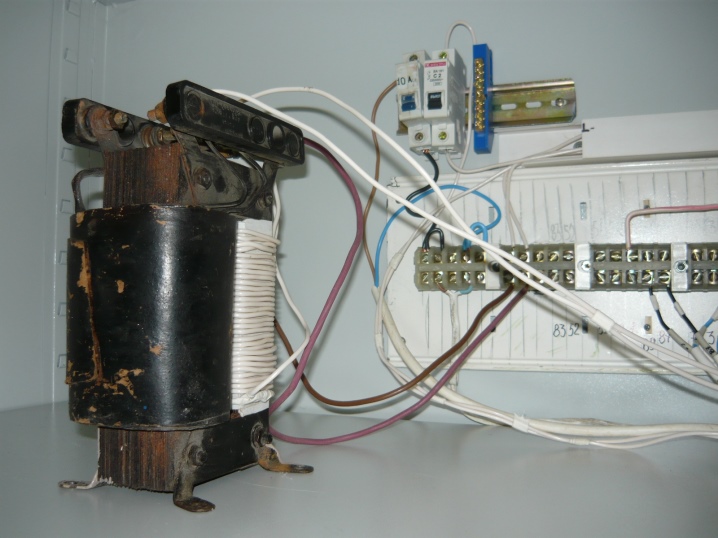
How to connect to power supply?
To connect an electric bell that is powered from a 220 V network to the switchboard, you should make a technological hole in the panel and install a special transformer there, which usually comes with the bell. It should be secured with screws so that the fixation is as secure as possible. After that, we attach the wire that goes from the bell to the transformer from the outside. Usually it has 2 ends and it makes no difference how to fix them. That is, the question of phase and zero is completely unimportant here. The reason for this is that after the transformer they will both be a phase. We fix them as tightly as possible in the clamps.
It is important to say here that after the transformer, the voltage in the wires will be no more than 20 V, which will make it possible to do this as safely as possible.
After that, the cables from the transformer are attached to the shield. In this case, the phase will be brown, the ground will be green, and the neutral will be blue. If suddenly cables with a short length come out of the transformer and there is no way to fix them on the shield, then you will have to increase their length.
Examination
The final stage of connecting the wired door law will be to check the operability of the installed mechanism. If the bell works as expected, then you can put the protection cover on the main part. Do not forget to close the shield and make a mark at the place where the transformer is connected and write, for the operation of which he is responsible. To turn off the doorbell, first turn off the power supply in the machine, then dismantle the covers, disconnect the cables, turn off the transformer and dismantle the bell parts.
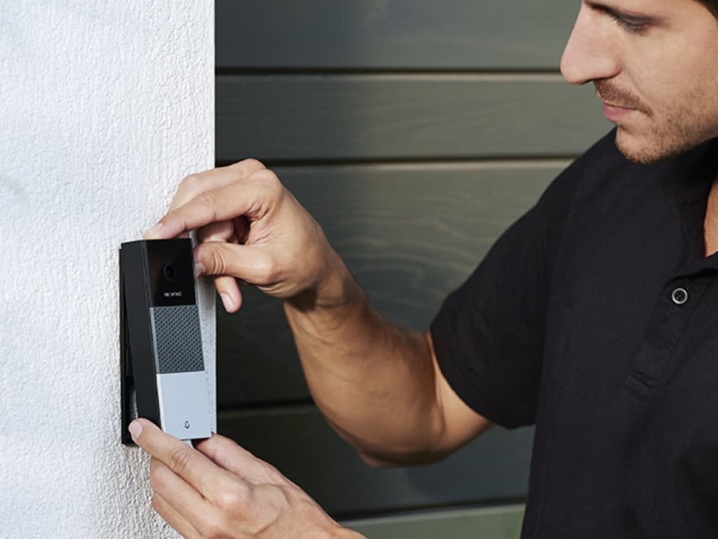
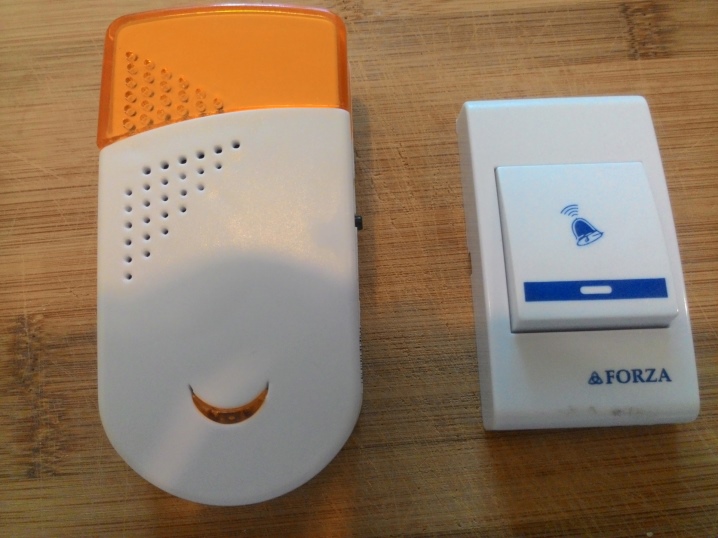
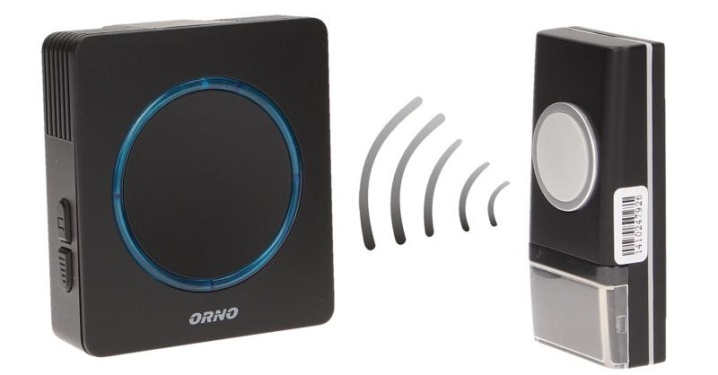
How to install wireless?
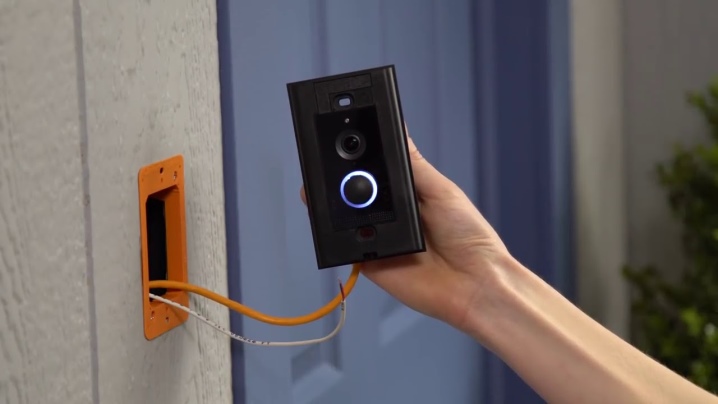
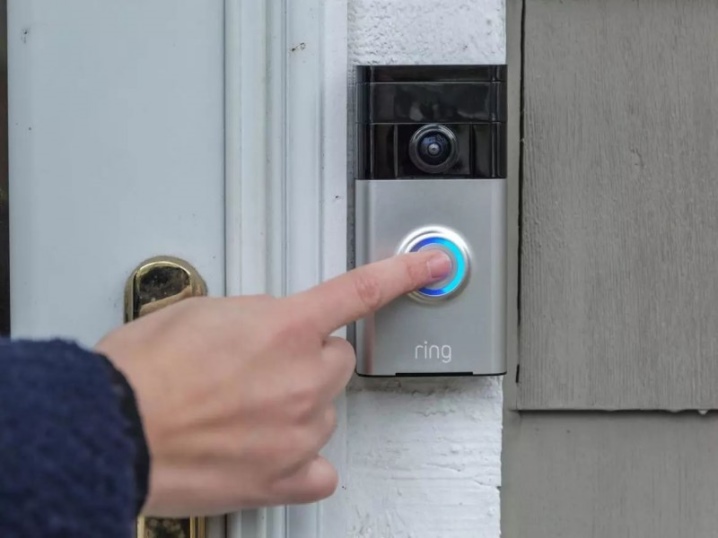
If we talk about installing a wireless analog, then everything is much simpler. Especially when it comes to models that work directly from the outlet. Then it is enough to put the bell button on the door or on the wall. Depending on the location of the key and the main unit, you can use dowels or self-tapping screws to fix them.
Also now, quite often, battery-powered models have just a special adhesive base and they can simply be glued to a wall or door.
First, the button should be attached to the surface and through the holes on which it will be fixed, make marks for future fastenings. After that with the help of a punch, holes are made into which dowels are hammered... Now you should attach and screw on the key where the energy source is inserted. If the installation is carried out on a surface made of wood, then it will be enough to use self-tapping screws.
Now we plug the main unit into an outlet, which should be located nearby in the hallway. In general, the closer it is, the better, because the call has a limited range.
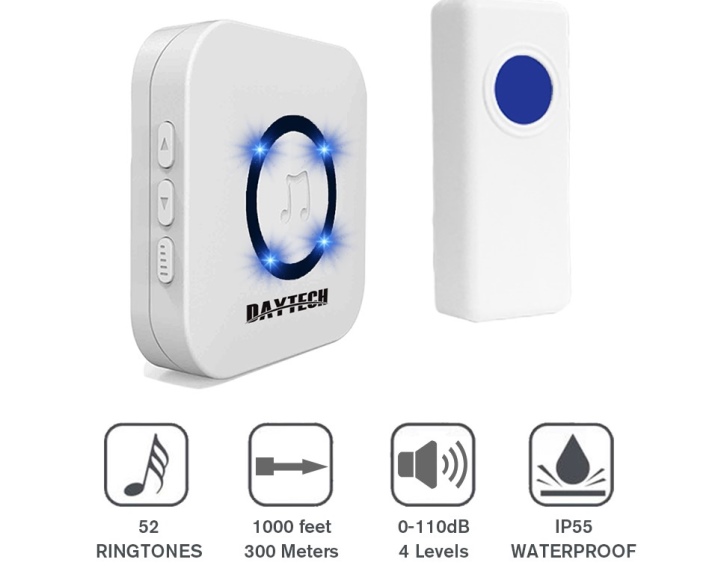
The features of the model will also be that the wireless doorbell is usually musical. That is, he plays a melody instead of some kind of ring.
Usually there are several such melodies, and you can customize the playback of one or the other with the help of a special key, which is on the main unit of the device.
Sometimes apartment owners make minor upgrades and connect a wireless call to a motion sensor. This allows you to make some kind of backup mechanism in case the button does not work. With wireless calls, this happens if there are some serious obstacles between the button and the main unit. For example, concrete walls. True, the failure of a call is still a rarity. But this option allows you to be more confident that the call will work, and sometimes there is no need to press a key at all. True, this method also has a disadvantage. If someone just walked on the site at the door, then the call will go off, which will bother the homeowners unnecessarily. For this reason, you should think as much as possible about the need for such a device.
Precautionary measures
The first thing that should be said is the need to disconnect the power from the old bell before installing the new model. Sometimes users, when installing with their own hands, neglect this rule. The natural result of this is an electric shock.
It should also not be forgotten that even if the voltage is small, the installation work should be carried out with rubber gloves. This will significantly reduce the likelihood of electric shock.

Before installing the doorbell, make the necessary calculations and make sure all supplies are on hand in the right amount. Sometimes it happens that the user begins to install, and then he does not have the required number of dowels, screws or the necessary tools. For this reason, he wastes money and time.
It is important to consider how exactly the electrical bell cable will be laid and hidden, if this option is used. In no case should you neglect the hiding of the cable in the box or some decorative elements. Otherwise, if it is laid on the floor, then there is a risk of deformation.It also shouldn't be routed over any other wire.
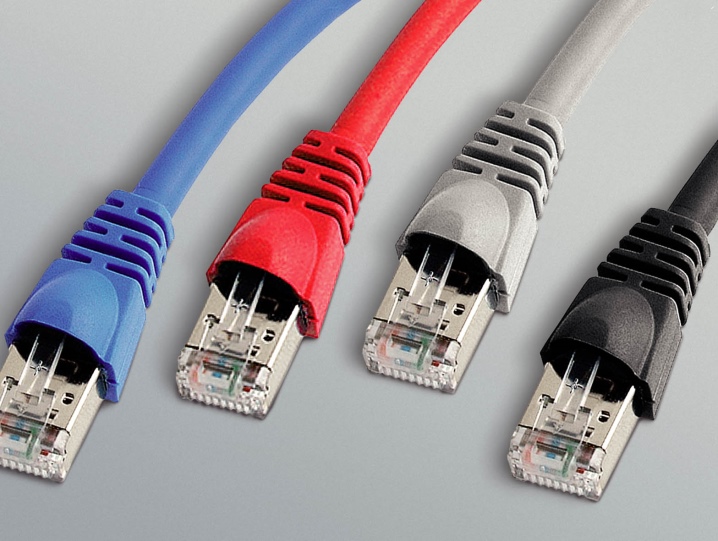
The important point is to use the correct type of wire for your doorbells. Considering that the current in such devices is relatively small, then when connecting in an apartment, you can use almost any cable that has insulation. We are even talking about an Internet cable, twisted pair or telephone wire.
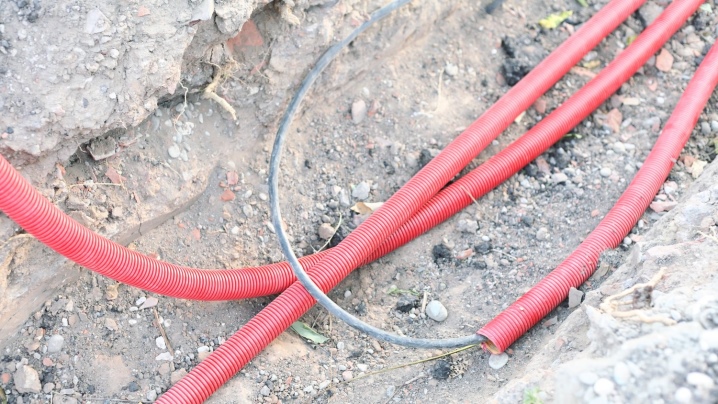
But if you need to stretch the power cable on the street, then there you already need to use a power wire - VVGng or NYM with a minimum section.
You can even use PVC or rubber sheathed wires for these purposes. But then they should be laid in a protective corrugated hose.

Recommendations
Now let's say a little about the recommendations for installing a doorbell in an apartment and in a private house. Installation in an apartment can be done in just a couple of hours. It is better to do this by stepping back 20 centimeters from the door jamb at a height of 150 centimeters. The interior is usually located next to the entrance, but at a higher level. If the device is wired, then the wires that connect both parts are led through a hole made in the door frame. You can also drill the wall itself, insert cables into the hole made and cover it on both sides. But here it all depends on the desire of the owner of the home.
When installing a wireless analog, the key is simply fixed in a convenient place within the range of the receiver, after which the internal part is installed and connected.
When installing a bell in a private house, its parts can be quite far from one another. The button is placed at the entrance or entrance gate, and the interior is located in the building. If you need to install a wired bell, then you need to increase the cable length, in contrast to the standard placement in the house.
And if you need to put a wireless model, then you should select such that the button's range is in the reception area of the main unit.
If the wired version of the call is connected, then the wires will be pulled either through the air or underground. In the first case, the cable will be fixed on all possible supports. And in the second case, there are a number of requirements that the trench must meet. Its depth should be about 75 centimeters, and it should be covered with protective tape from above. To supply power to 12 or 24 volts, you can lay the wire in a corrugation to a depth of about 40 centimeters. But there is a risk of damaging it with a shovel during excavation.
In the case of a wireless device, things can be tricky too. For example, the fence is solid and made of profiled sheet. The professional sheet shields the signal, which is why it simply does not work. Then you can simply make a hole in the fence so that the button is accessible. But this option is not for everyone.
Another option is to tamper with the structure. The transmitter button is installed from the inside of the fence with preliminary soldering of the wire to the input and output. And on the outside of the fence, an ordinary button is installed, which is connected in series.
How to connect a doorbell, see below.


The comment was sent successfully.