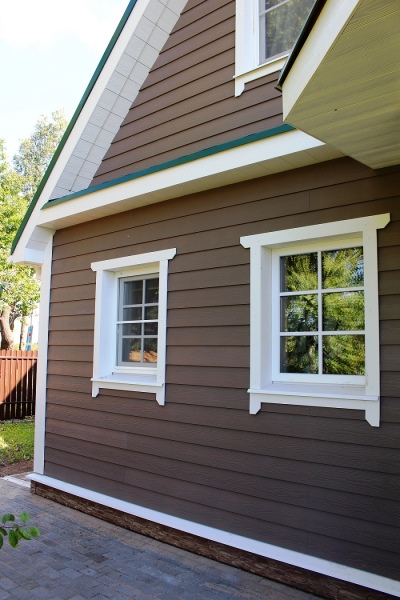
Siding starter profile
When installing siding, it is important to use additional elements for a reliable finish. One of these necessary parts is the starter profile, which greatly simplifies the installation process. This material is of different types and has its own characteristics. To perform siding well, it is advisable to familiarize yourself in advance with the specifics of installing such a profile and individual points.

Peculiarities
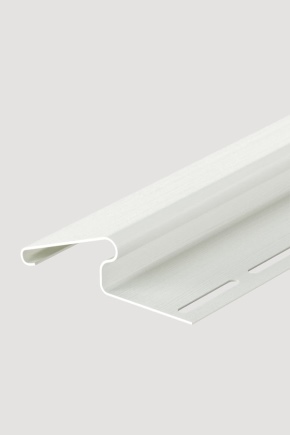
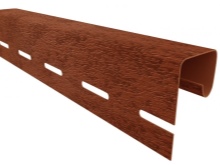
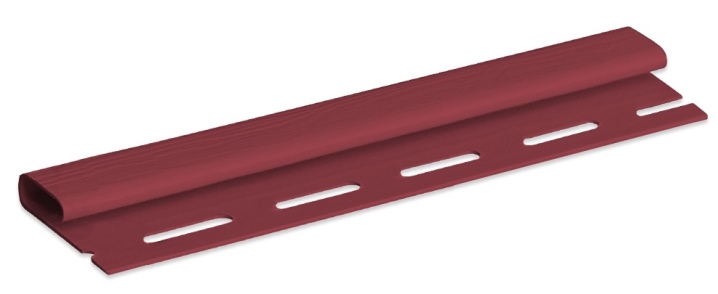
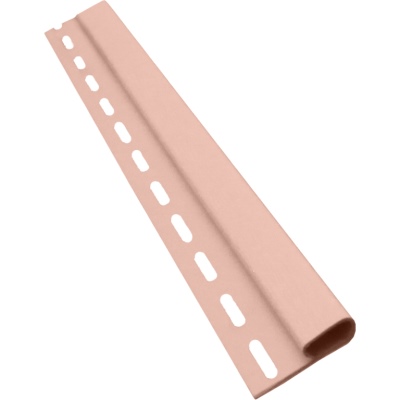
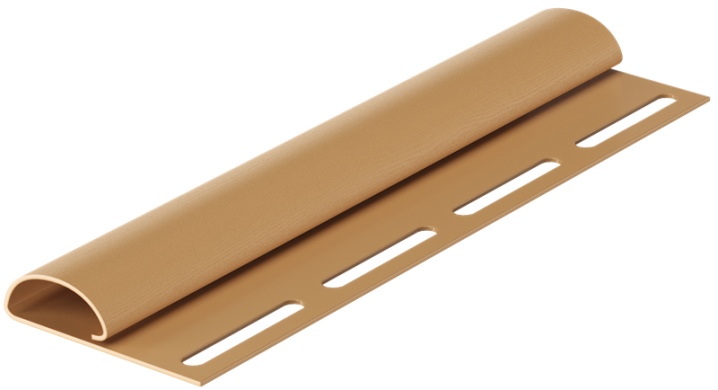
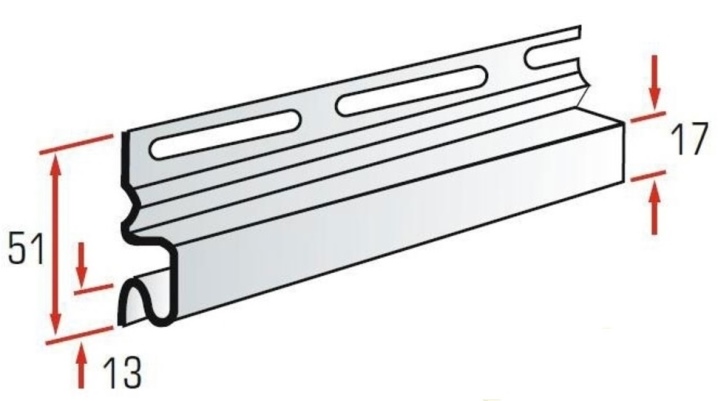
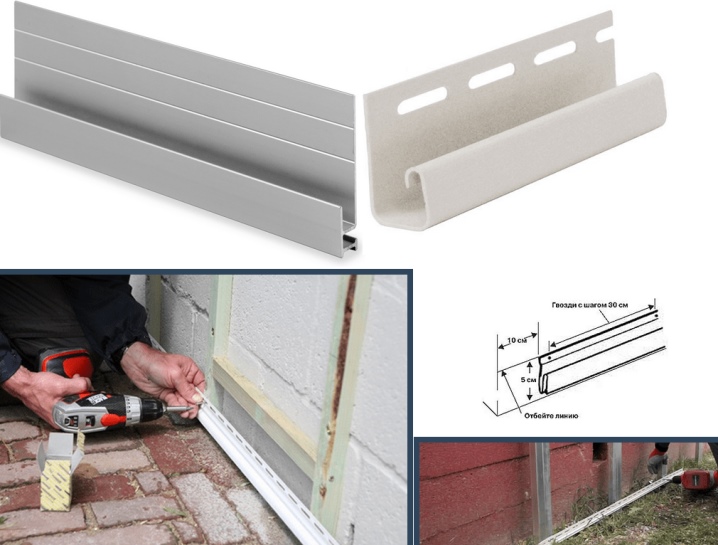
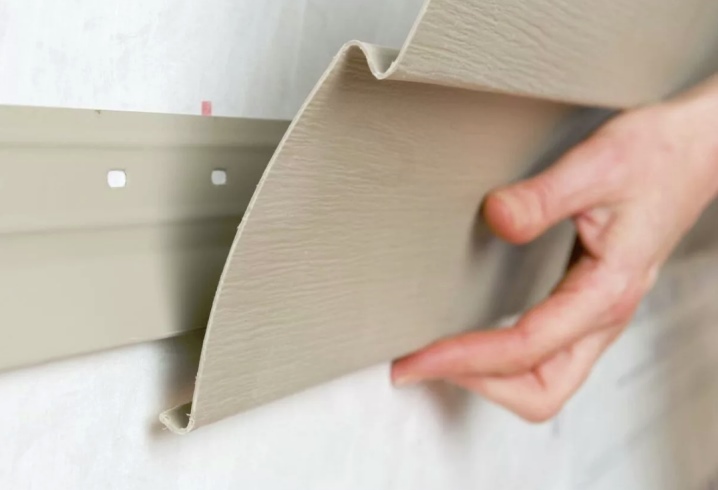
The starting profile for siding is the first and main piece that determines how successful the finish will be. The bar has a complex shape, which is conventionally subdivided into several elements.
-
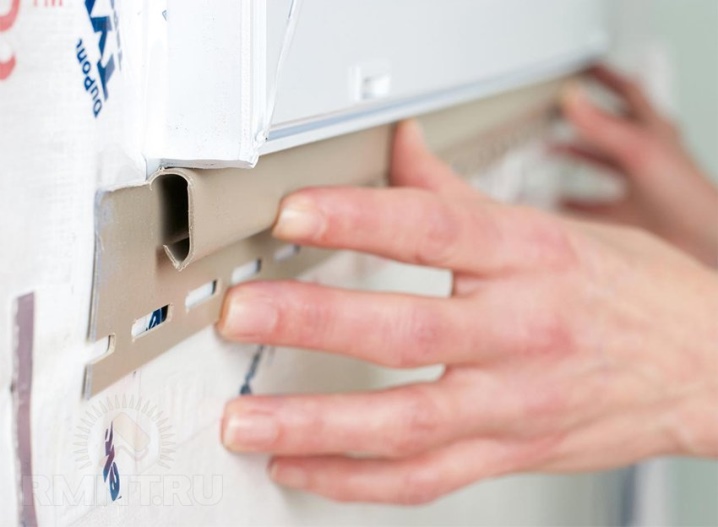
At the top, the strip is equipped with a series of elongated holes that allow it to be securely fixed to the base. Can be with one or two rows of fastening grooves.
-
At the bottom, the shape of the element looks like a zigzag and represents a lock connection. This also makes it possible to securely fasten the first siding piece.
When the metal siding is being mounted, the start panel should be placed in the reverse order. This is due to the fact that the laying takes place from the top to the bottom. For vinyl, everything is done in the usual way.
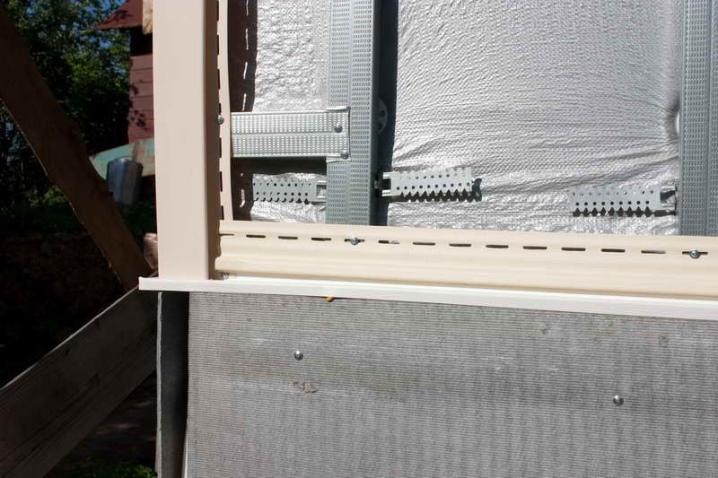
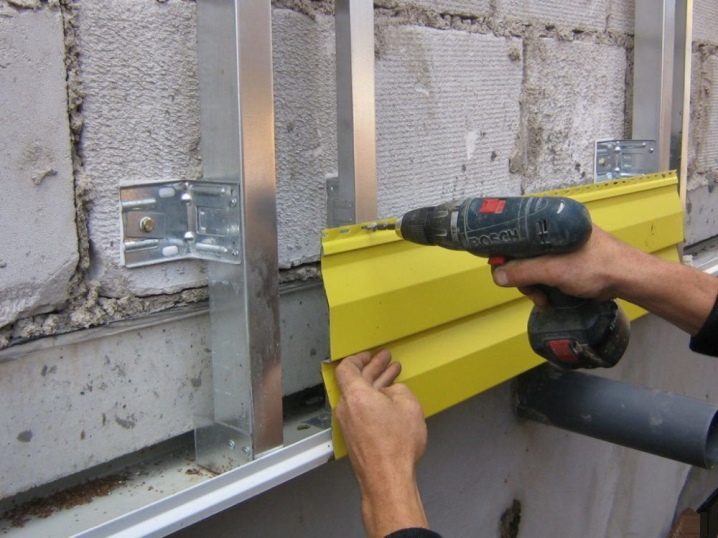
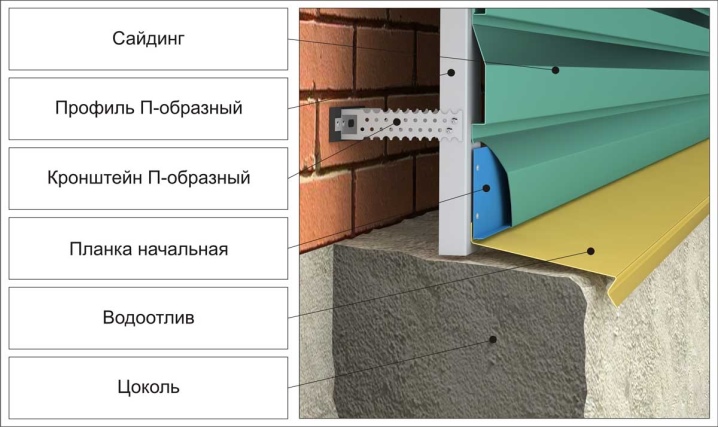
The starter bar is usually mounted across the batten, so it is important to make a rigid base under it, especially if it is metal siding. For example, for a wooden lathing, a perforated strip or corner is suitable. If the crate is galvanized CD, then the best solution would be to choose a UD profile.
In the case of installing a branded ventilated facade system, it is worth using the base recommended by the manufacturer. The color scheme of the starting bar does not matter, as it will be completely hidden by the panel. Thus, it is not visible on the cladding.
The starter profile is endowed with a number of positive qualities. One of the main ones is resistance to corrosion, various deformations, cracks. Weather factors do not affect durability. High-quality material, as a rule, tolerates temperature changes well, as well as exposure to sunlight. Installation of the starter strip can be carried out without special tools.
Views
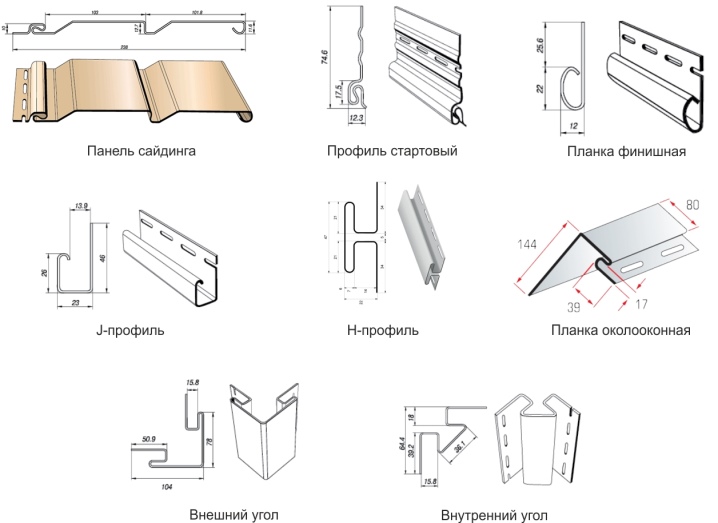
There are various profiles for siding panels, among which the following types stand out.
-
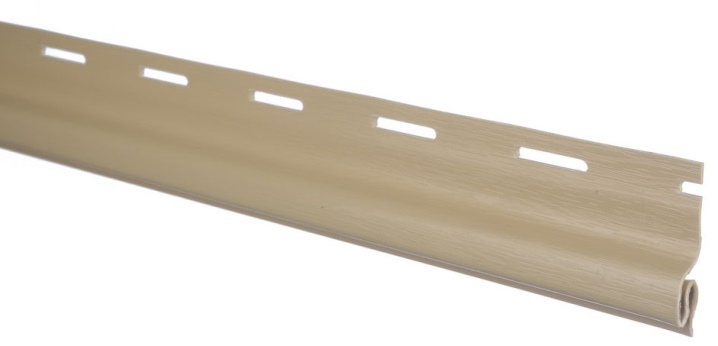
Starting - is a siding starting strip that is mounted across the battens. It is necessary to lay a rigid base under it and select a profile option depending on the material from which the crate is made. Of course, the best option is when the base is taken from the manufacturer.
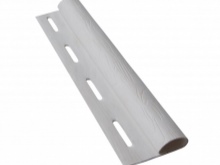
- Finishing is the last plank in siding trim and clamps the edges of the sheet that is trimmed. This type is also attached across the frame; a rigid base must be laid under it. The required rigidity can be obtained during installation using the same techniques as for the starting profile. The finish bar is fixed arbitrarily so that it can narrow and expand without obstacles during temperature changes.
This profile can be used for plinths to simulate natural finishing materials.
-
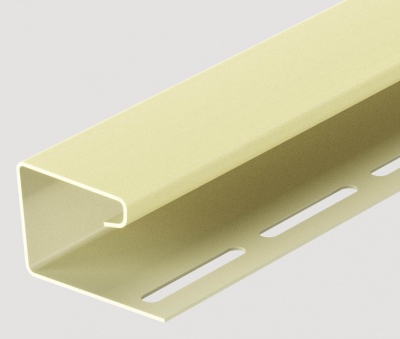
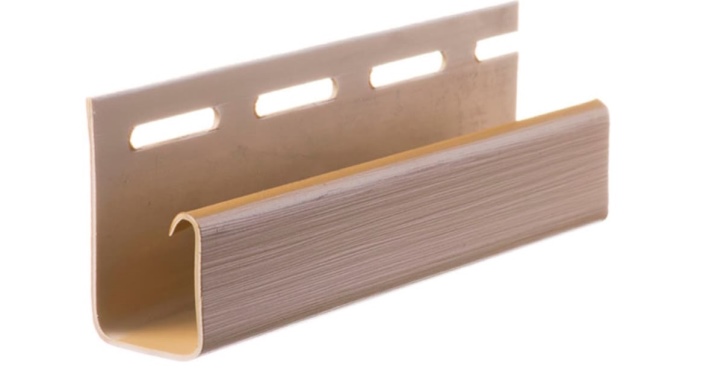
J-Trim - these are the elements that are used when the final design of the facing area is carried out. They are installed, as a rule, on a structure that protrudes on the walls.
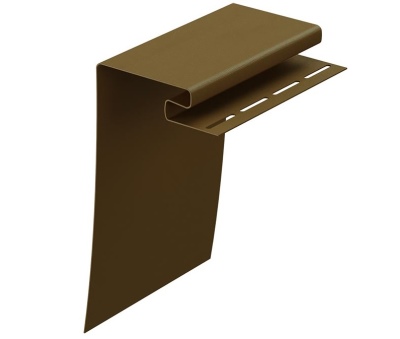
- Near-window or sloping necessary in areas where narrow depressions need to be blocked. Most often used on door or window slopes.For the installation of this profile, you can choose an arbitrary order of attachment.
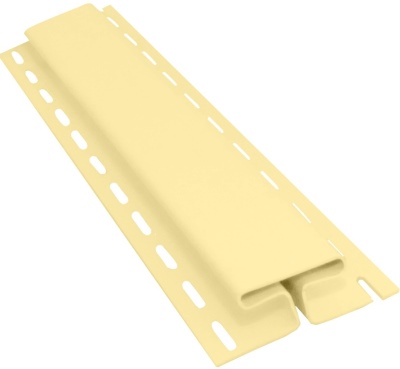
- H-shaped or connecting necessary when joining the siding panels along the length. Installation is carried out along the lathing, for which it is necessary to install additional profiles horizontally, observing a step of 400 mm. Fasteners can be performed in any order.
- Platbands are needed for decorative purposeswhen switching from one type of siding panel to another. Such hanging strips are actually a beautiful frame, which can also be attached arbitrarily.
It is customary to start the installation of the starting profile with preparatory work, and this is done when attaching to the ebb. They consist in cleaning the walls from various debris, pieces of dirt, and cement residues. If you wish, you can treat the surfaces with special agents against mold and mildew. Further, a crate is installed along the entire perimeter of the structure. It is fixed with a step exposure of 400 to 600 millimeters in the horizontal plane.
Dimensions (edit)
Initial profiles are similar in shape, but dimensions can vary significantly depending on the manufacturer. Of course, there are standard sizes ranging from 3050 x 44mm to 3850 x 78mm. The most common profile is 3660 millimeters long. The main parameter for the first panel is length. It is customary to select this indicator so that it corresponds to the size of the facing elements. It is advisable to purchase a starter profile together with siding in order to exclude any discrepancies.
Mounting
Before attaching the profile and siding, you should stock up on the necessary tools.
-
Hammer if installing with nails.
-
Screwdriver, if fixing with self-tapping screws is used during installation.
-
Power saw or hand saw to cut parts to the desired length.
-
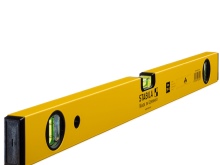
A building level that allows all elements to be arranged evenly. Without it, either it will not be possible to properly fix the finishing elements, or as a result, the type of siding will lose its presentability.
-
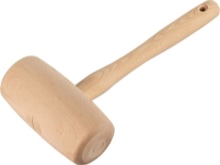
A wooden or rubber mallet will help level the material if no air gap has been made. In many cases, other interference will compromise the integrity of the structure.
-
Pliers will be needed to ensure that the fixing holes are in the correct shape.
-
A tape measure is needed to make accurate measurements. Siding will not work without them.

When the initial stage is completed, you can start marking. With correctly marked parameters, the entire cladding structure will turn out to be perfect. As a rule, an indent of 40 millimeters is made from the base, and then marks are placed on the frame. All this must be double-checked with the help of a building level. Also, a coated cord is used to measure a straight line.
At the installation stage, the plate must be attached to the marks made earlier and screwed to the crate with self-tapping screws. Usually this process starts in the middle and gradually moves towards the ends. It is important to check using the level.
The screws are tightened strictly in the center of the holes, it is advisable to leave one millimeter for free play in the groove in order to avoid deformation in the future. When connecting fragments, when the length is not enough, they should be fastened at a distance of 6 or more millimeters from each other.
Helpful hints
At first glance, setting a start profile is a simple task, but it requires adherence to a number of nuances. It is especially important to pay attention to how smoothly it will be screwed, since the slightest distortion will harm the entire structure. In this case, the connecting elements and joints at the corners do not coincide, and at some stage the entire system will have to be reassembled.
The most common mistake is overly screwed screws. When the temperature drops, they can come out of the fastening grooves, as a result, the panels will sag. This problem is clearly visible if the first row popped up.When installing between the joints, it is necessary to make gaps of up to 6 millimeters. Thus, a seam is created for various deformations, which will certainly be over time.
Before making siding, it is important to familiarize yourself with the instructions that come with the kit in advance. It is also worth reading the recommendations from the manufacturer. The entire profile must match the chosen finish, especially in terms of strength. Otherwise, deformations and even cracks will appear.
As a rule, the manual indicates exactly which profile should be used, most often it is a branded one - from the same manufacturer as the siding.
When connecting, all elements must be inserted exactly into the grooves. This will protect against the appearance of cracks in which snow or rain can fall, which will subsequently lead to freezing of the finish and the facade itself. Condensation will also form and excessive moisture will collect inside the walls. When installing siding, you should adhere to safety rules and be sure to work in special clothing that can protect. If a grinder is used in the work, then it is necessary to wear construction glasses so that the shavings do not get into the eyes.


The comment was sent successfully.