How to replace a bearing in a Candy washing machine?

Very often, the reason for the breakdown of household appliances is the wear of components and individual spare parts. Over the years, a certain mechanism develops its resource and becomes unusable, especially if you have to work in unfavorable conditions for it. Striking examples of this are the bearings of washing machines. In today's article, we will look at how to change this part in modern Candy devices.

Breakdown reasons
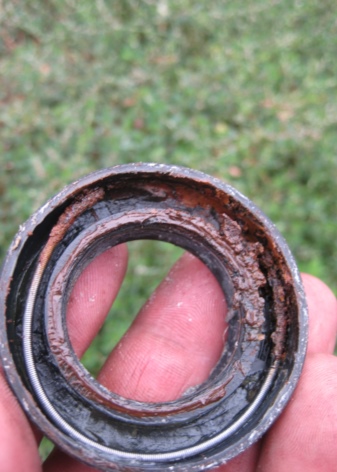
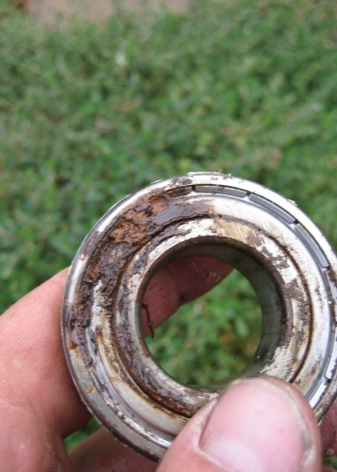
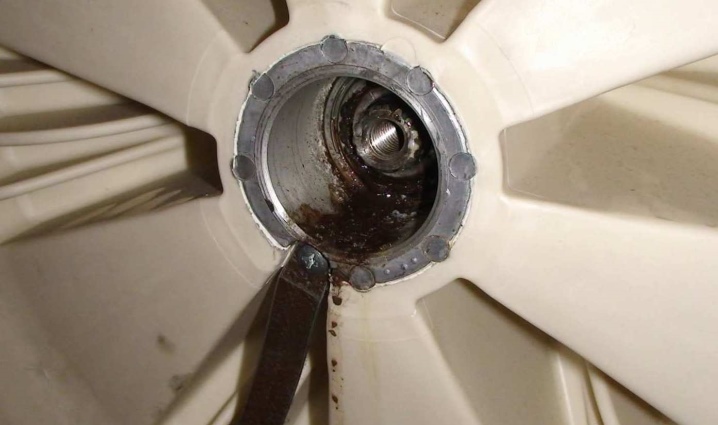
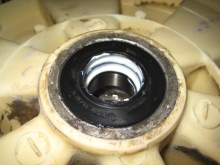
There can be several reasons for the failure of the bearing assembly on washing machines, and this does not depend on the manufacturer or the country of assembly. Such a malfunction follows absolutely any device. One of the reasons for the breakdown can be called a worn out oil seal of the support shaft. From time to time and unfavorable conditions for it, rubber often crumbles and, as a result, loses its ability to retain water. The water begins to flush out the grease from the bearings. After a while, when the lubricant mixes with water, the corrosion process begins.
Simply put, the described mechanism begins to rust. High revs, heavy loads and rust render the structure unusable.
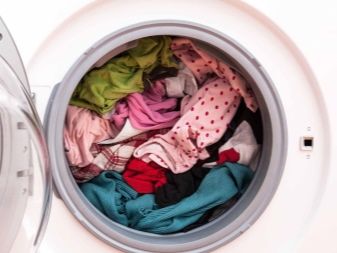
Another reason for the failure of the bearing unit is the frequent overloading of the drum with things during washing.... This is already the fault of the owners of the device. It often happens that in a small machine, the owners try to wash a double blanket, which, not only in weight, but also in size, does not always fit into the drum. The shaft section and bearing size are selected based on the maximum allowable weight of the full load of the tank - anything above these values can negatively affect the device.
Another reason for shortening the life of the bearing mechanism is installation of the machine with a bias. During installation and connection of the device, it is necessary to align it horizontally. For this purpose, you can use a building level.
If this is not done, then during the spin cycle the machine will start to make a lot of noise, shake and in some cases will "run away" from its place. Of course, excess vibration is not good for technology. At this point, too much load is applied to the bearings, for which they are not designed.

Malfunction symptoms
No matter how good and expensive a particular Candy washing machine model is, this does not mean that it will last forever. Any mechanism has its own service life.... Bearings have an average life of 5-6 years old... But it also happens less if a particular washing machine was operated in an unfavorable environment for it. When bearings run out of life, they need to be replaced to extend the life of your appliances.
Malfunctions in their design can be heard during operation. At first, you will hear the bearing humming during the spinning moments - this will mean that it is time to replace it. The next stage on the road to complete failure is a clanking sound when the drum rotates, as well as a strong rumble at high revs. When this happens, the repair cannot be postponed, because after the destruction of the bearing, the shaft will begin to break the seats for them. If this happens, then there will be nowhere to put new support mechanisms.
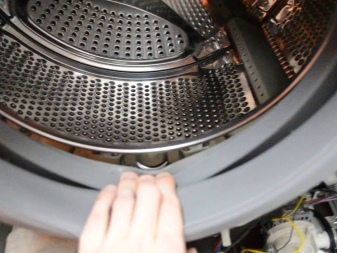
You can determine if there is a need to replace the bearings by shaking the drum with your hands.If there is a backlash on this part relative to the tank and metal tapping is heard, then this indicates the need to quickly replace the support unit.
Preparing for repair
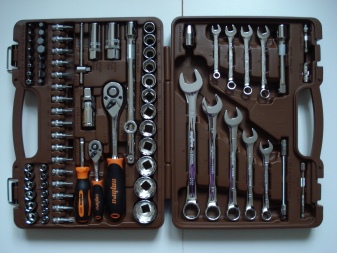
Before proceeding with the repair, it is advisable to prepare all the necessary tools and spare parts. To complete all the planned work, we need:
- set of wrenches;
- set of socket heads;
- pliers or pliers;
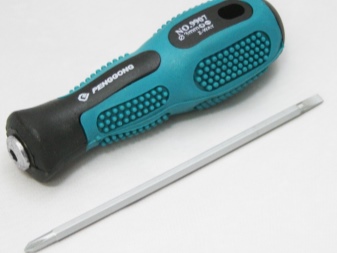
- flat and Phillips screwdrivers;
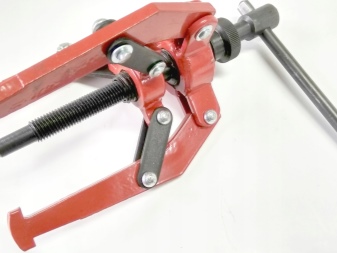
- bearing puller;
- hammer;
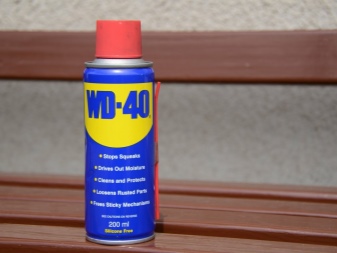
- grease WD-40 or similar;
- drift.
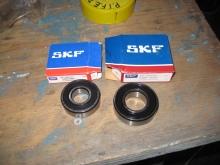
It is better to purchase all the spare parts necessary for repair in specialized stores or service centers for the repair of household appliances. In such establishments, it is enough to name the brand and model of your washing machine, and the sellers will accurately select the parts you need. If you know exactly the numbers and sizes of your bearings and oil seal, then you can order them online. At the same time, you can easily choose the quality you need and the country of the manufacturer.
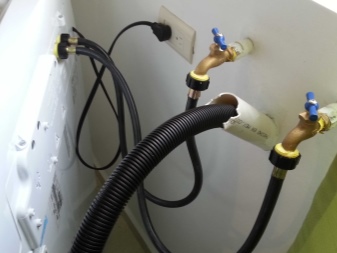
After you have purchased the necessary parts and prepared all the necessary set of tools, you can start repairing. But before that, it is necessary to disconnect the washing machine from the power supply and other communications.
It should be noted such an important point as Removal and re-pressing of bearings on Candy Aquamatic and Candy Activa washing machines. The design feature of these units is in plastic tanks and plastic seats for bearings. Therefore, it is undesirable to knock out and hammer the bearings with a hammer. In case of mishandling or inaccurate impact, the tank cap could be split.
If you do not have sufficient experience in the repair of household appliances, but still, for some reason, decided to carry out the work with your own hands, then when disconnecting the wires, it is advisable to mark them with a marker or photograph their original position. This method will save a lot of time when reassembling, and you will not have to remember where the extra wire comes from and where.
How to change?
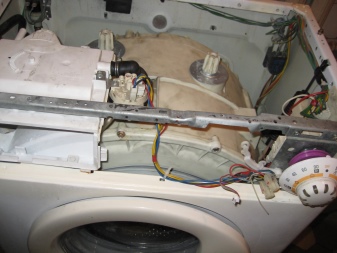
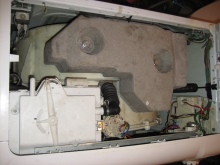
Candy washing machines, which have a front panel welded to the frame, are considered the most difficult to repair. To carry out repair work, you will need to pull out all the elements through the upper part. The sequence of work will be as follows.
- We remove all removable panels of the case.
- Disable the front panel, powder hopper, water supply hose, unscrew the fasteners of the control panel.
- Pull the drive belt towards you and remove it. Now you can dismantle the engine itself. To do this, disconnect the power terminal, unscrew the 2 bolts and gently pull it towards you.
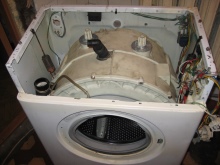
- We remove the hose, going from the tank to the drain pump.
- Check if so that all wiring is disconnected and the tank can be easily reached.
- After successfully removing the tank from the body you can unscrew the counterweights and remove the pulley. Next, unscrew all the bolts around the perimeter that hold both sides of the tank together.
- When you see the shaft itself, you need to knock it out of the bearings. To do this, you can use a wooden block and a hammer. You need to fix the plastic tank so that it is securely held and has as large a support area as possible. Otherwise, knocking out the drum could cause the tank to split. To preserve the thread, screw a nut onto it and place a block of wood on top. All strikes must go through the tree.
- After removing the drum from the bearings, you need to inspect its cross and the seat of the part in question... If they have a strong output, then you will also have to change the tank crosspiece.
- Now you can remove the bearings using a puller.
- Be sure to thoroughly clean the bearing seat and inspect them for damage. If there are no shortcomings, then before planting new parts, you can lubricate the landing sites with technical lubricants. This will make it easier to fit the bearing into place.
- The inner bearing is inserted first, then the outer one.
- Next, we install the oil seal. It slides into place easily with light blows from the hammer handle.
- We put the drum on new bearings. Sometimes this can be done by pressing firmly on the outside of the tank. If this does not work to put on the part, then old bearings and a nut can be used for pressing.
- When the shaft is fully fitted onto the support mechanisms, you can start connecting the two halves of the tank... Tighten the bolts as carefully as possible so as not to rip off the plastic threads.
- Further build process is performed in the reverse order of disassembly.


Operating tips
Do not overload the detergent hopper. Doing so can cause excess powder to clog the detergent supply hose. Pour in exactly the amount of detergent required for the specific wash program.
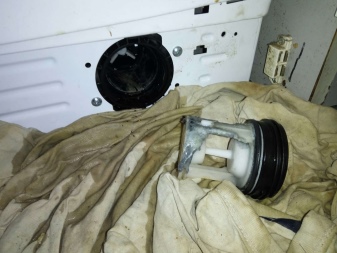
Remember to clean the drain filter. It is located at the bottom of the machine and collects all large fractions that can harm the pump. If this is not done, then sooner or later it will clog up to such a state that the water will stop draining from the tank.

Replacing the bearing in the Candy Aquamatic washing machine is presented in the video below.


The comment was sent successfully.