DIY Venetian plastering
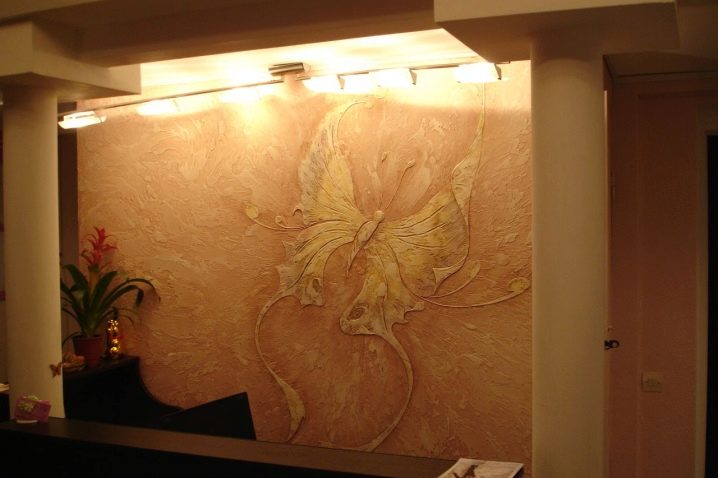
Venetian plaster appeared a long time ago, it was used by the ancient Romans. In Italian it is called stucco veneziano. Everyone knows that marble was the most popular in those days, and decoration was done with the help of its waste - stone dust and small fragments of stone. There are no external differences in such a finish from natural marble or other material, and it is much easier to handle it.
What it is?
Venetian plaster is a finishing layer when decorating walls, ceilings, or building facades. Possesses excellent decorative characteristics.
The price is high, but the effect is significant: the room acquires respectability and special sophistication.
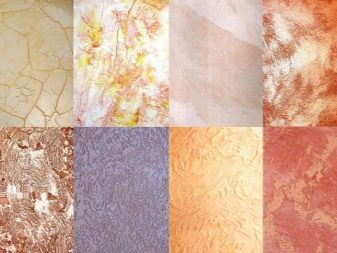
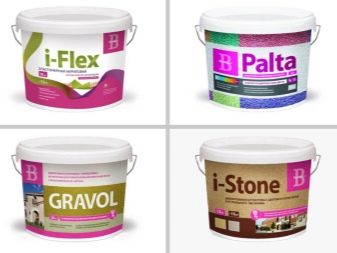
There are several types:
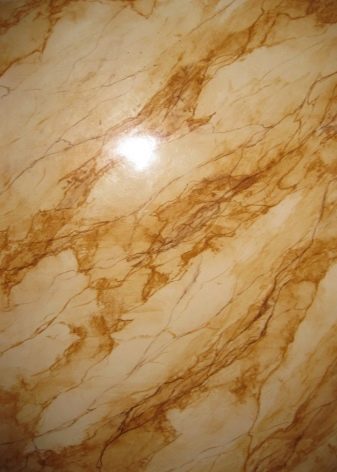
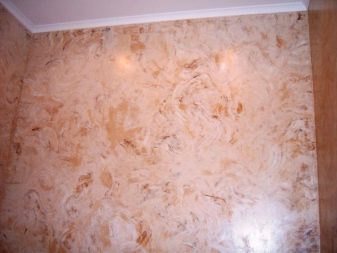
- Veneto - imitates marble. The simplest variety in terms of application and care relative to others. For cleaning, it is allowed to use a sponge and ordinary water.
- Trevignano - up to 12 layers are used to create the coating. For binding, polymers are added to the composition. It favorably emphasizes classic vintage furniture, in the Baroque style or their modern counterparts.
- Marbella - represents small glossy blotches on a matte background. Mixes of different colors are used for application. Often used together with substances that increase the hydrophobicity of the coating.
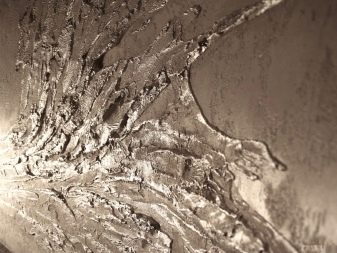
- Encausto - characterized by the fact that the plaster looks like a semi-matt or glossy granite. Requires waxing after drying.

We list the advantages of Venetian plaster:
- strength - does not form cracks, withstands significant external influences;
- has a water-repellent effect after treatment with special wax, so it can be used in rooms with high humidity - bathroom, sauna, swimming pool, bathhouse;
- environmentally friendly material, safe for humans, since the main component is crushed natural stone;
- perfectly reflects the rays of light falling on the surface - "glow effect";
- the material is fireproof;
- the mixture can be made at home.
The disadvantages include the high price and special requirements for the base on which the decorative layer will be applied.
Features and composition of the plaster
In ancient times, only natural components were included in the composition of Venetian plaster. Today, acrylic is often used as a binder instead of lime. The synthetic material allows for increased ductility and prevents cracking after the mortar dries.
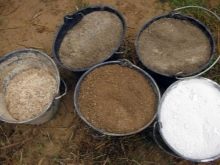
Mix components:
- stone dust (the finer the fraction, the better);
- dyes (colors);
- binders;
- emulsions based on acrylic or water;
- sometimes gypsum and other additives are added;
- to protect against moisture and give shine, wax is used.
Ready-made plaster can have a rough or absolutely smooth surface, imitate various textures. The peculiarity of the application implies a thorough preparation of the base for the plaster. There should be no irregularities, drops, chips and cracks, otherwise they will become noticeable after the solution dries.
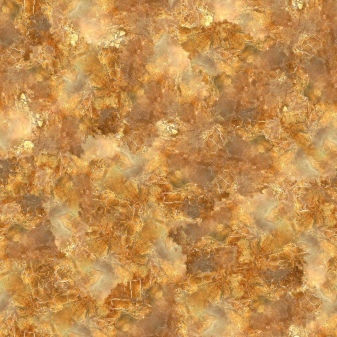
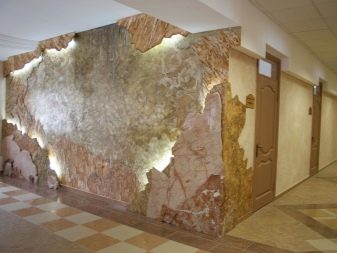
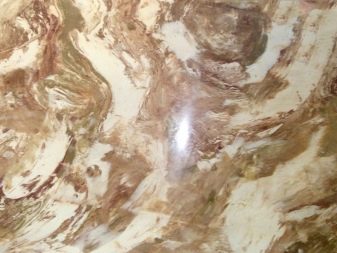
The use of natural crumbs in a mixture - onyx, malachite, marble, granite, quartz and the like - allows you to create magnificent coatings that are not inferior in beauty to natural stone. At the same time, the surface has no joints, it looks like a single monolith. Drawing of walls treated with such plaster is easy to restore, change their texture.

Calculation of the amount of material
You can calculate the consumption of plaster per 1 m2 using a simple formula:
- We calculate the total area of all treated surfaces with a small margin. The layer thickness and consumption per square meter can be found on the packaging.
- Of course, the required amount of materials directly depends on the number of layers, but the average consumption is 0.5 kg / m2.
Formula:
N = R x S x K,
where:
N - the amount of plaster,
R is its quantity per square meter,
S - total surface area,
K is the number of layers.
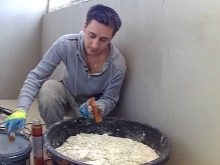
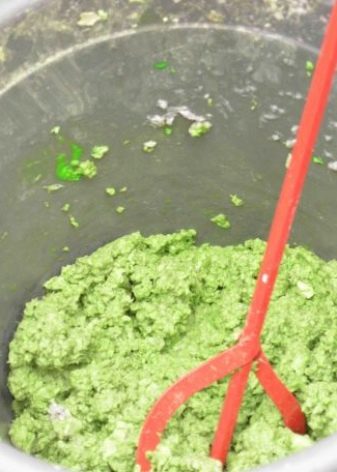
Preparation of the mixture
Plaster is made of three parts: stone chips, a binding composition (you can use slaked lime or various acrylic resins) and colors. Such plaster is used on walls and ceilings made of almost any material.
You can purchase materials:
- a crumb of stone - in a workshop of the corresponding profile;
- slaked lime, resins and colors - in retail chains.
It is important to know that you cannot just go to the store, buy and apply a ready-made mixture for Venetian plaster on the wall. A creative approach is required in its preparation. With a certain amount of free time and effort, Venetian plaster can be prepared with your own hands according to several recipes.
From stone chips
Color and texture can be anything: imitate leather, silk, stone. Such plaster turns out to be translucent, which allows you to achieve a unique play of light.
Work order:
- We mix three parts of sand (clean) with three parts of gypsum putty and one part of building gypsum.
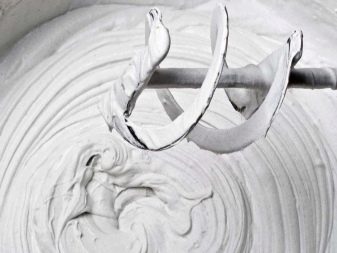
- We mix everything with water until the desired viscosity is obtained.
- While stirring, add gypsum plaster until you get a homogeneous mass.
- The paint is added to the mixture before it is applied to walls and ceilings.
If you bought the mixture from a store:
- follow the manufacturer's instructions, they are always included;
- remember that the mixture at the end of cooking should be medium thick;
- when the mixture is ready, leave it for a quarter of an hour, after which it must be mixed again;
- stirring is categorically not recommended if the air temperature is below + 10 ° С;
- one batch can cover such an area of the surface that the border with the plaster from the next batch of mortar is not visible.
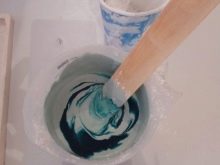
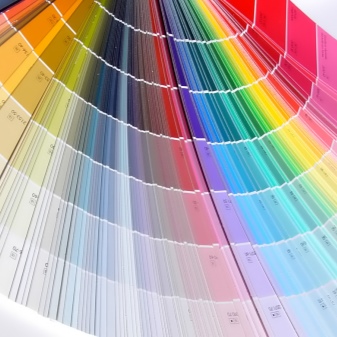
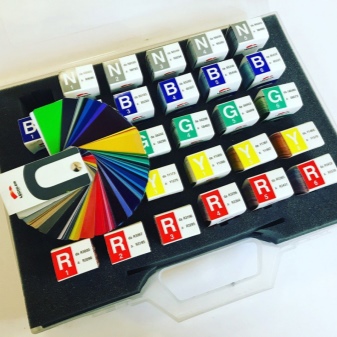
Tinting
Coloring the mixture is another important stage in the preparation of the plaster. We select the color scheme. You can use the so-called "tinting fan", which contains both colors and their many shades. Tools are useful: a sheet of white paper, a place for test mixtures to determine the shade, a spatula and dyes. There should also be some white Venetian plaster and the right colors.
What should be done:
- Select the main dye and add it to the base - white plaster.
- Stir with a spatula until smooth.
- Put a little colored mixture on the paper and compare it with the sample on the "fan", determine which shade needs to be added / removed. If necessary, this step is repeated several times.
It should be borne in mind that the color after drying will be approximately a tone and a half lighter than with samples.
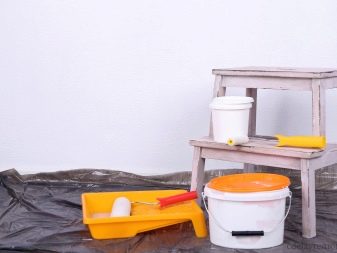
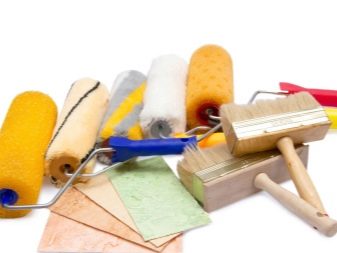
Tools for the job
- a mixture of Venetian plaster;
- primer;
- wax;
- putty;
- roller;
- a special trowel used for Venetian plaster;
- spatulas of different widths;
- sandpaper of varying grain size;
- grinder;
- technical hair dryer;
- centimeter / tape measure;
- masking tape;
- rags / suede / silk;
- construction mixer (you can pick up any other device);
- a place for mixing the components of the mixture;
- stencils.

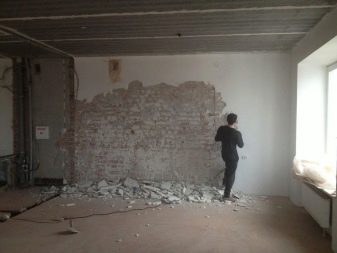
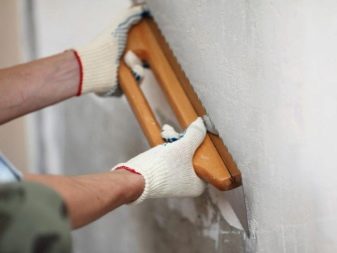
Surface preparation
- We remove the remaining coating from the wall or ceiling, all dirt after previous finishing work: oil, dust, wallpaper glue on the walls, putty, and the like.
- We eliminate obvious irregularities by filling them with cement and sand, minor ones with putty.
- We use a grinder, sandpaper with various grains.
- Put on the first layer of putty, let it dry and put a layer of fine textured final putty on top.
- We rub it with sandpaper.
- Later we impregnate the wall with a primer twice. We do this at intervals of 3-4 hours in order to increase the permeability of the layers.
- It may be necessary to apply another layer of touch-up so that the plaster is in the same tone as the primer.
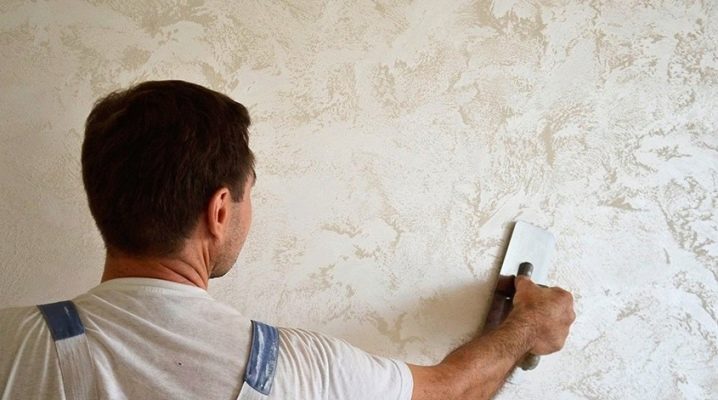
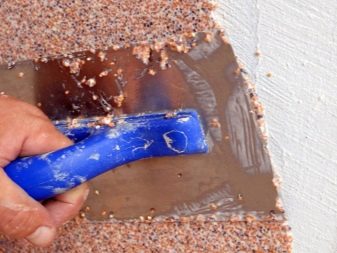
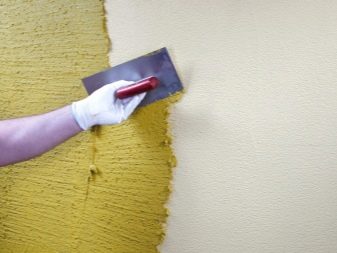
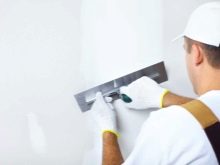
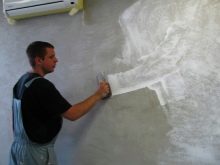
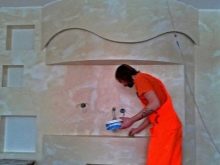
Application methods
It should be noted that the invitation of hired specialists who will not work for free, and the decoration itself with Venetian plaster is an expensive pleasure. Self-production of the solution and the application of simple textures allows you to save a lot, and the result justifies all the efforts. There are certain rules and technology for applying Venetian.
Step-by-step instruction:
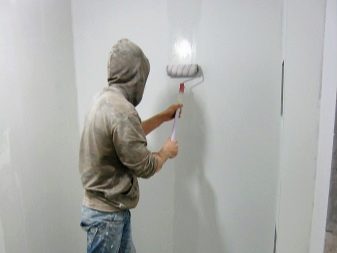
- Apply the thinnest possible layer of facing putty and wait 6-8 hours until it dries completely.
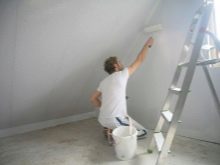
- Apply the primer evenly. The water / mixture ratio is 1 to 7. Most likely, it will be correct to put 2 coats of primer.
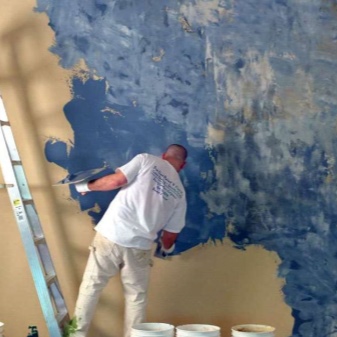
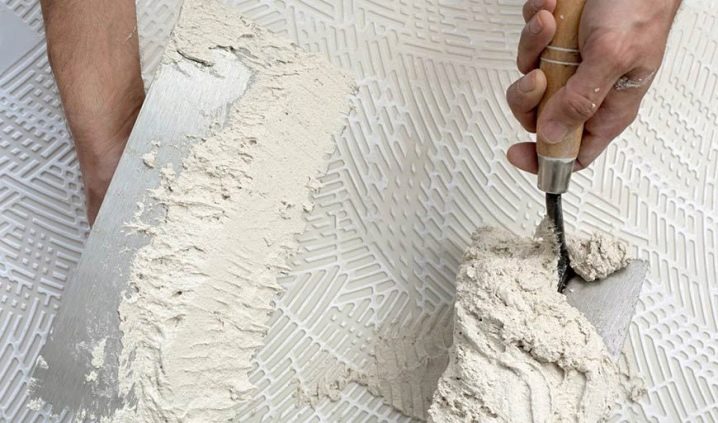
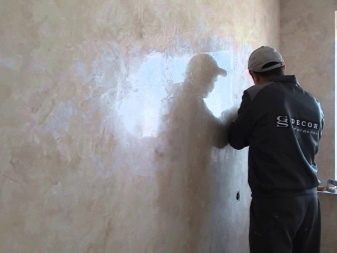
- We begin to apply the plaster from the top of the wall with light arched movements down and to the side. Unlike a primer, the mixture is applied unevenly.
- It is necessary to monitor the saturation of the color of the painting, so that later you do not have to add layers of plaster to correct inconsistencies in the color scheme.
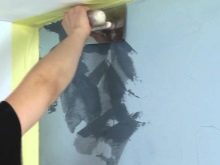
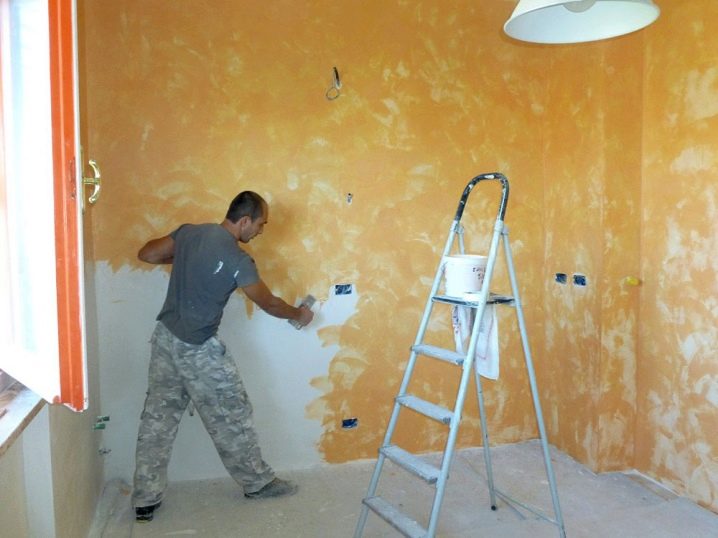
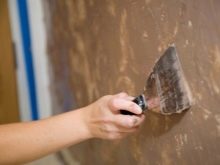
- Apply the initial layers with a wide spatula with short movements in an arc.
- After completing the process, we look at the thickness of the layer, we try to minimize it.
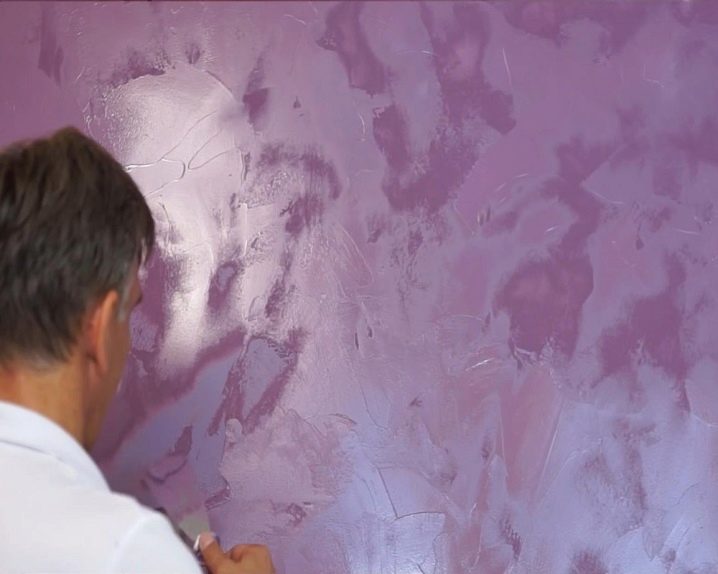
- Again we take a wide spatula in our hands, smooth the Venetian from bottom to top and top to bottom, criss-cross.
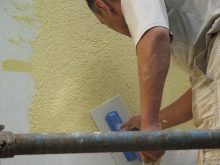
- We polish the entire area with a float at an angle of 10 degrees.
- If there is a socket on the wall, the surface around it is processed in the direction away from it. A spatula of a smaller width or a grater is used.
- Any noticed defects / shortcomings / layer thickness - we fix it while the Venetian remains wet.
- If necessary, we treat the surface with wax - we polish it.

Here are a few different techniques to simulate the Venetian application:
Venetian plaster imitating marble
- We apply plaster randomly, covering the entire surface;
- Apply texture while the mixture remains wet using a trowel;
- We pause for a couple of hours, during which we prepare 2-4 varieties of the mixture with additives of various colors. We apply them little by little with a spatula or a trowel with strokes over the entire surface in a long arc.
- Dry for about a day. You can repeat this procedure several times, leaving about a day to dry between each cycle.
- We grind the wall three times with various attachments using a grinder.
- The next stage is iron. For ironing, it is necessary to press the trowel to the surface with considerable force.
- Finally, we finish the wall / ceiling with varnish / wax.
Venetian plaster imitating the classic version
- Apply the first layer in the same way as for imitation marble. We pause for a couple of hours to dry.
- We process the excess plaster with a trowel.
- We carry out the ironing until we achieve the effect of a metallic sheen.
- We prepare a monochromatic plaster, apply it, again return to the ironing process, after which we wait for a shorter time - 30-40 minutes is enough.
- When further overlaying layers, follow the same sequence.
- We use the sander with three different attachments only when the surface is completely dry.
- We cover the wall with wax / varnish.
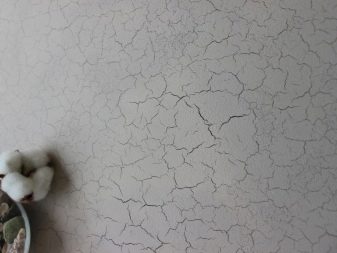
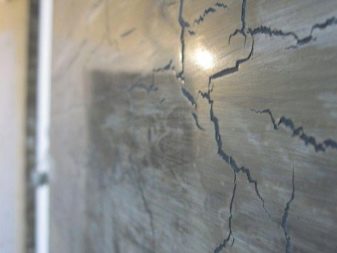
Venetian plaster imitating craquelure
Craquelure in French means "antique".
Procedure:
- With a spatula, apply a thick layer of plaster with random movements.
- We heat the surface with an electric hairdryer so that cracks appear on the plaster due to contrasting temperature changes.
- When cracks appear, wait for drying - about 24 hours.
- The finishing Venetian is applied in a thin layer and should have a different color from the previous one.
- We finish the process with the usual three-stage grinding with iron.
Venetian plaster imitating cork
- We start with a layer with different colors. It is prepared by incomplete mixing of solutions of two or three different tones.
- Apply a thick layer to the wall with a trowel or a wide spatula, then thoroughly dry it with a construction hairdryer.
- We use a hair dryer at various distances from the wall to obtain an inhomogeneous texture - characteristic cracks.
- We pause for two days for further drying.
- We apply the second layer of plaster, it should have a shade of color that differs from the first layer.
- We grind the plaster with emery or a grinder.
- We cover the wall with wax or varnish.
Textured Venetian plaster
- We cover the surface of the wall / ceiling with a water-dispersion primer.
- Let the coating dry and apply a layer of covering primer.
- We take a break for a couple of hours.
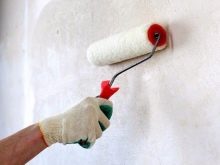
- Apply the plaster in a thin, even layer using a fur roller and leave to dry for three to four hours.
- We level the surface with a narrow metal spatula.
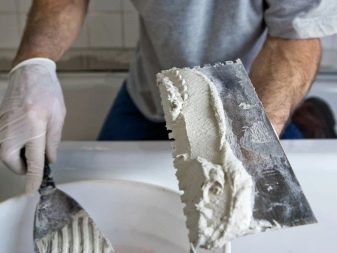
- Apply the second layer of Venetian with a trowel.
- Dry the surface for six hours.
- We repeat the removal of irregularities.
- Add the finishing varnish to the Venetian to create the finishing coat using a mixer or a drill with a nozzle.
- Expect 6 hours to dry.
- Ironing with a trowel gives the effect of a metallic sheen.
- Polishing - apply a layer of wax.
Helpful hints
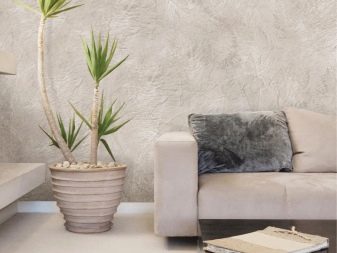
The choice of Venetian plaster is a matter of taste. It tends to appear similar to the texture of stone, pearls, surfaces covered with leather, wood, fabric. If desired, the texture can be corrected, or even completely changed. The wall or ceiling can become matte or glossy. Think over the purpose of the room, the style of which you want to change.
If you want to finish plastering metal, it will need to be additionally treated with artificial synthetic resins to prevent corrosion. Over time, it will become partially visible even through a translucent layer of plaster.
A final wax coating is required to ensure moisture resistance. It is used for bathrooms, baths, or kitchens when they are finished with Venetian plaster. The only note in this case - do not forget that wax tends to darken over time, so avoid too large amounts of it.
If successful, you will have a beautiful textured, moisture resistant, hard and smooth surface. Plaster can serve you up to 15 years or more. Another advantage is the ease of matching the desired color and texture to your furniture.

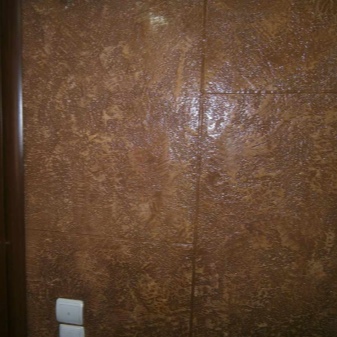
Beautiful examples in the interior
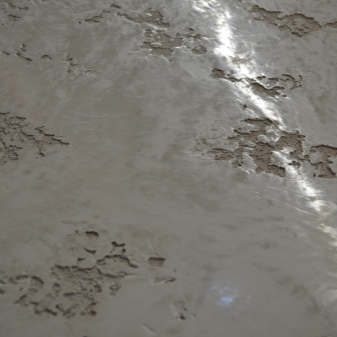
Looks great in the shower kind of Venetian putty Veneto. The surface, uncomplicated in its implementation, perfectly imitates noble polished marble.

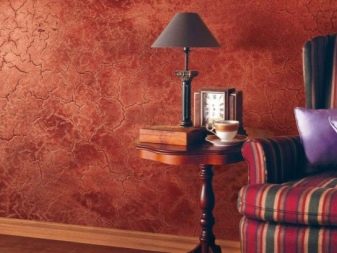
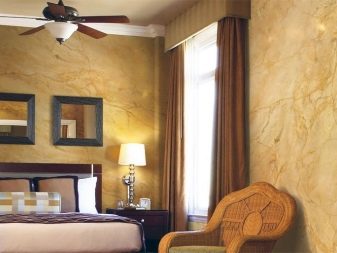
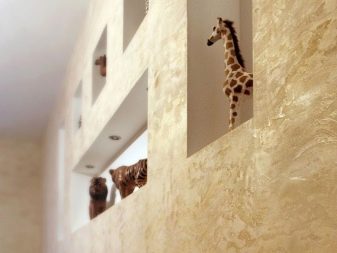
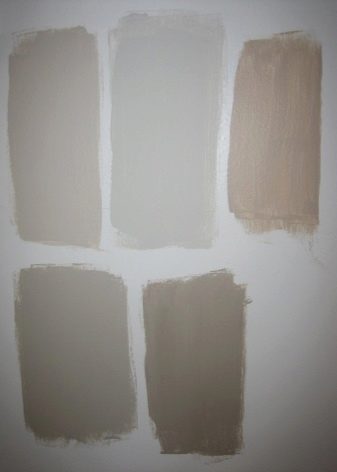
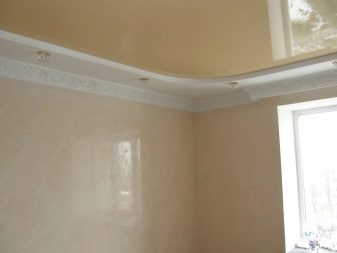
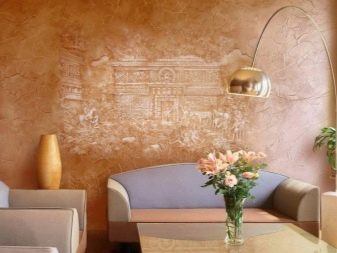
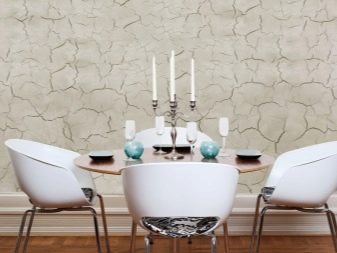
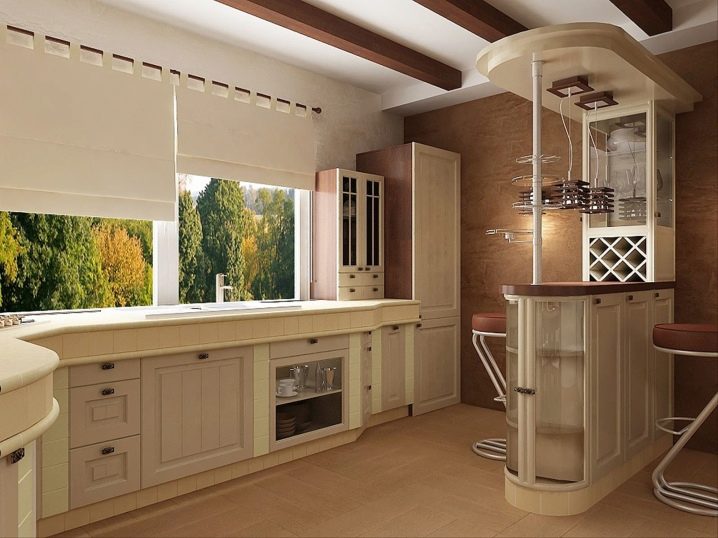
The warm sandy tones of this wall design accentuate the classic style of the dining area. The laconicism of the colors in the interior is compensated by the complexity of the shades of the decorative finish.
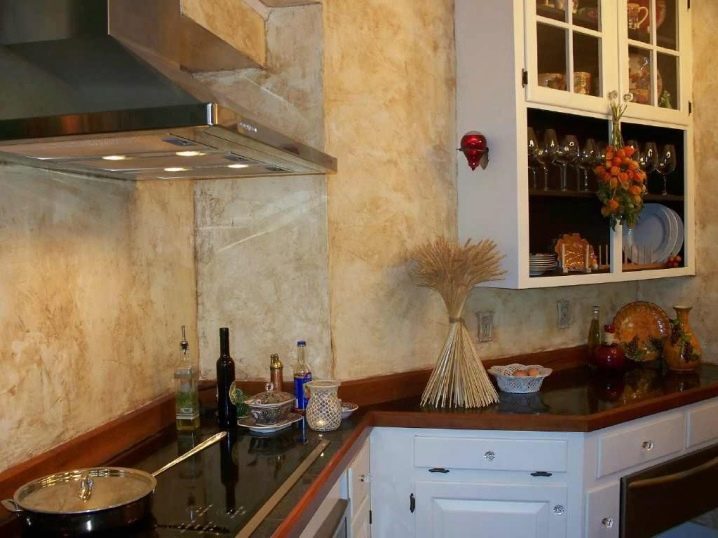
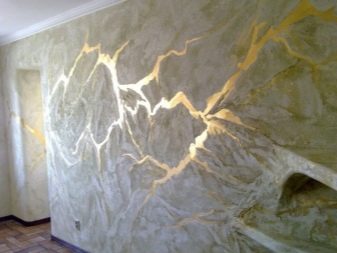
A modern interpretation of Venetian plaster for an urban kitchen interior. Crisp intersecting lines and deep grays lend brutality to an otherwise soft and warm look.
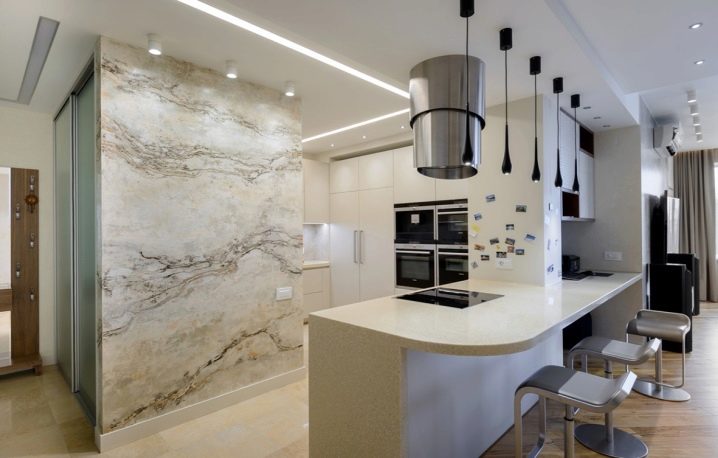
Another example of a modern kitchen solution. The restrained beauty of the plastered surfaces, the clarity of the lines do not contradict the natural structure of the tree.The emphasis is transferred to the soft outlines of the false beams, leaving space for the owners of the apartment. They themselves must become part of the design intent.
For how to apply Venetian plaster with your own hands, see the next video.


The comment was sent successfully.