Hopper plastering bucket: features and benefits
When carrying out finishing work, each master is interested in how to improve quality, reduce time and make his work easier. One of the tools that can help in this case is the "hopper" plastering bucket. It allows you to mechanize the workflow, which affects the quality and speed of work. Let's consider its features, advantages of use and find out how to make such a tool with our own hands.
Peculiarities
This device is intended for plastering surfaces of large volumes (up to the whole building). Its use in small areas is impractical. In this case, it will not be possible to save time, because the installation of the unit itself and its washing after the end of work are rather lengthy processes.
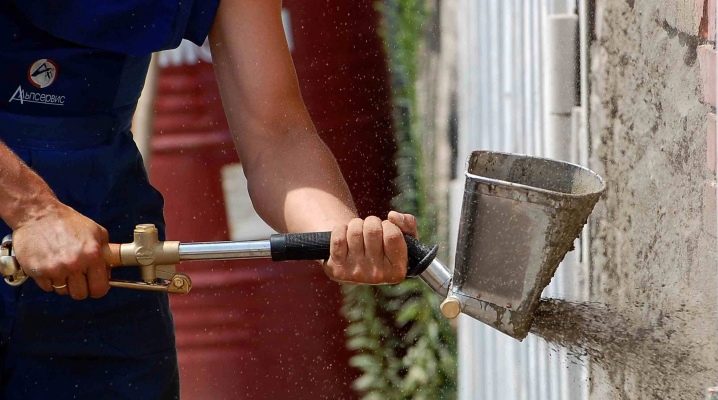
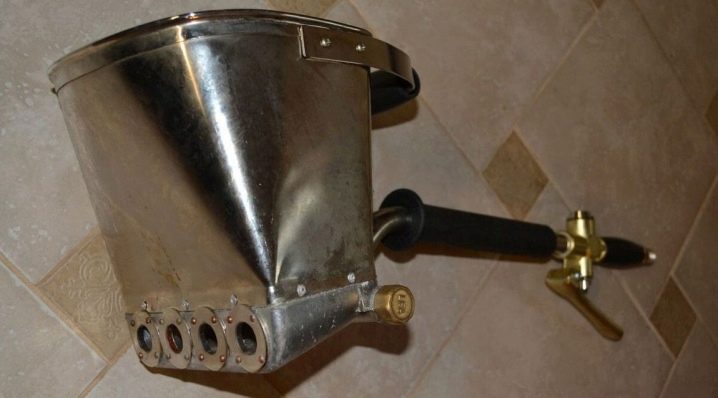
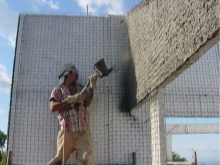
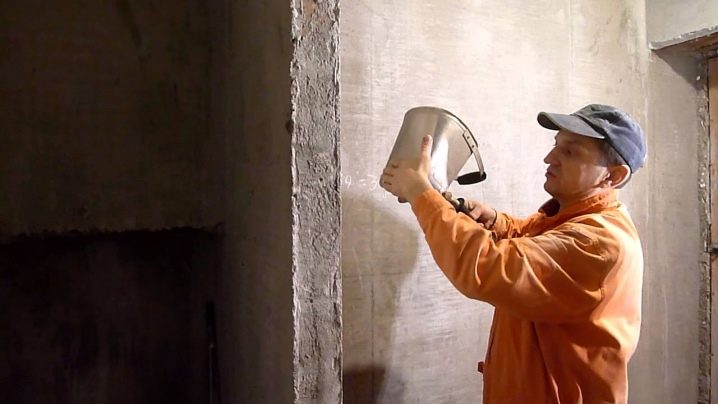
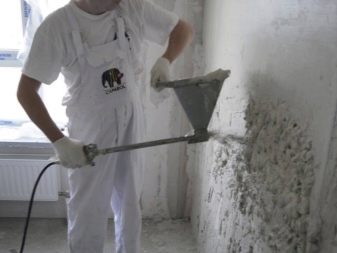
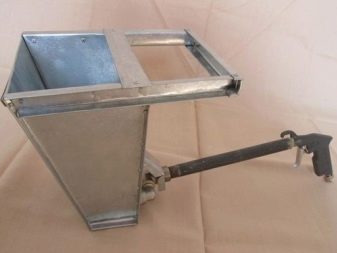
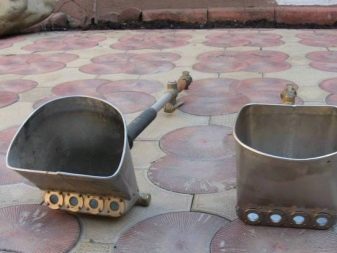
Externally, the device is a small metal bucket with a handle, on which there is a lever that facilitates the mechanical supply of the plaster composition. On the side opposite to the handle there are holes for ejecting the mixture onto the base to be treated.
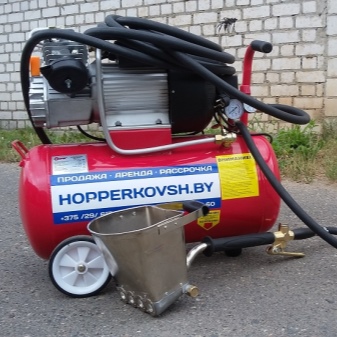
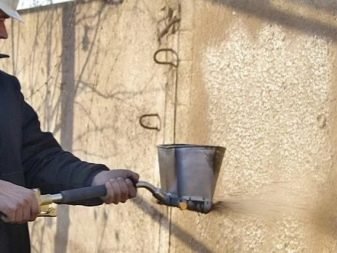
Translated from English, the name of the device means "jump" or "bounce". Its work is carried out by means of compressed air force, which is directed from the handle with the compressor. The plaster feed rate is usually 60 cubic meters per hour. Such a tool saves up to 40% of the mixture in comparison with the manual method. It can be used for finishing walls, ceilings, inclined planes. In the work, it is allowed to use cement-gypsum, cement-lime, adhesives, as well as paints and varnishes.
An interesting nuance is the fact that hopper buckets for processing walls and ceilings differ in the variability of the nozzle. They have a different angle of inclination in relation to the processed plane. In addition, the handle is also different. For wall models, it has a 45-degree tilt angle, and ceiling buckets have a 90-degree tilt.
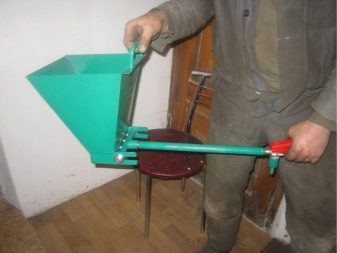
These devices are called mechanical plastering buckets. Typically, the kit is complemented by several nozzles with the ability to adjust depending on the required type of finishing work. This allows you to vary the time for emptying the bucket within 5 - 10 seconds.
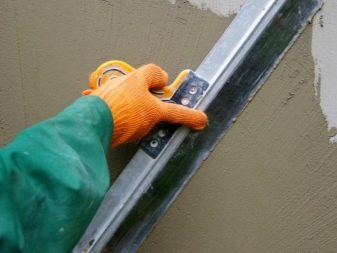
To level the composition applied to the base, use the rule of either a wide spatula.
Advantages and disadvantages
The advantages of a hopper bucket are obvious.
- It is distinguished by an acceptable cost, which is suitable for every buyer and “does not cost the budget”.
- The product is sold separately, sometimes the compressor nozzle is included in the package.
- The design of the device is extremely simple and intuitive. You do not have to spend time learning the intricacies of the process for a quality application.
- With proper handling and timely cleaning, the product will last long enough.


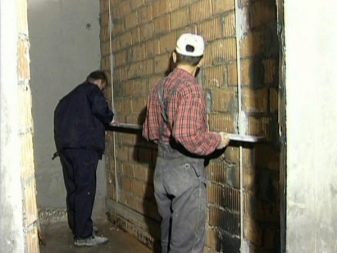
- When working with two people, it significantly reduces the time for finishing the surface.
- The range of models is varied. If you wish, you can choose an option for gluing liquid wallpaper, paint and glue.
- Due to the pressure generated by the operation of the device, the adhesion of the composition to the surface to be plastered increases.
- The hopper saves on working solution, which, with a large volume, can significantly save budget.

- This device is highly appreciated by professional craftsmen, because it is distinguished by the maximum accuracy of spraying.
- The tool is easy to clean, especially if it is made of galvanized or stainless steel.
- The plastering hopper bucket is suitable for interior and exterior finishing works.
The use of a mechanical method of applying the composition does not in any way affect the quality of the solution and allows various impurities.
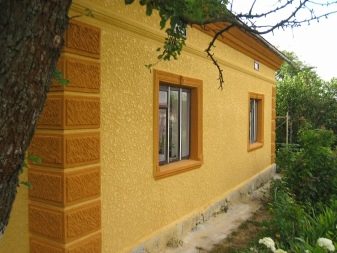
However, the consistency of the base plaster compound should be thicker than other compounds. With the help of such a tool, it is possible to finish surfaces of complex configuration, it perfectly prepares the base for finishing. In this case, planes can be trimmed with compositions of different textures and colors.
However, the hopper also has a drawback. If it is necessary to plaster the surface in several layers, the craftsmen consider its use impractical. Casting in such cases is faster by hand. In addition, if the working solution is not removed immediately, it will be much more difficult to do it after drying. To do this, you will have to soak the top of the tool by placing it in a container of water.
How to use?
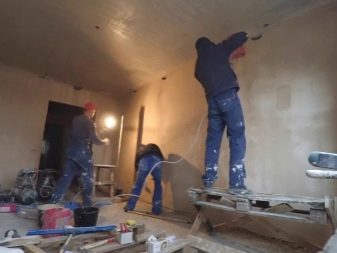
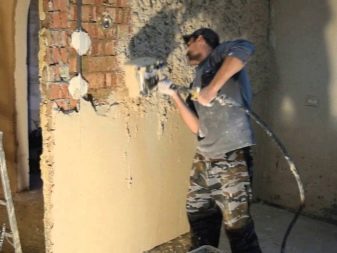
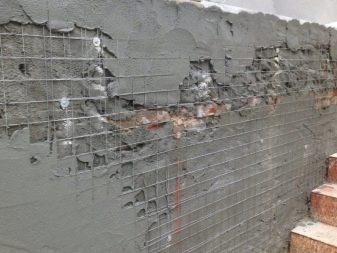
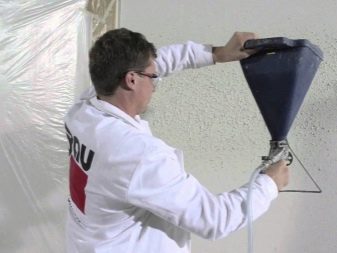
The use of a hopper plastering bucket implies preliminary wetting of the treated surface, as well as the setting of beacons. In addition, it is necessary to install a reinforced mesh. Since the work itself does not take much time, you can immediately prepare a large batch of the solution. Usually within a few minutes when plastering "leaves" about 50 kg of the prepared composition.
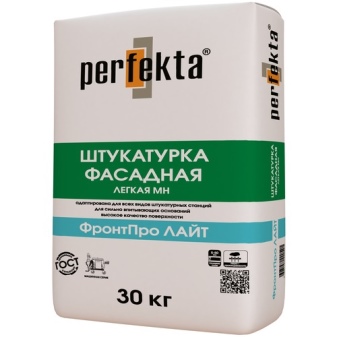
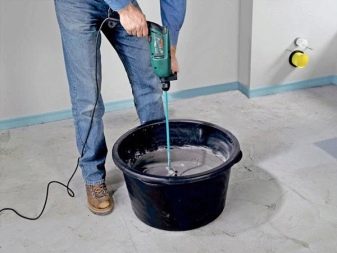
The preparation of the mixture must correspond to the proportions indicated on the package. Spraying is carried out immediately after preparation of the composition and its re-stirring. The correct distance of the device from the surface to be treated is about 4 - 5 cm. The mixture is applied to a plane, after which, without waiting for it to dry, the surface is leveled. Try to apply the solution evenly, gradually moving the device. After the final drying of the leveled layer, it is rubbed.
How to do it yourself?
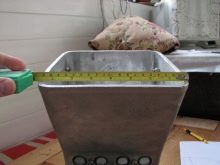
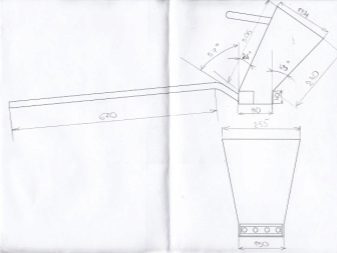
You can make your own hopper bucket for wall and ceiling plaster. To do this, you will need tools, materials and a diagram (you can consider different drawings, choosing the one that is clearer for you). It should be noted that a device with a solution volume of 6 - 8 kg is sufficient for operation. If you approach the execution correctly, a homemade unit will work no worse than a store counterpart.
There are several main points of step-by-step instructions.
- Take the finished drawing or make it yourself (to do this, draw its outline, indicating all the parameters to scale).
- Transfer the unfolded drawing to thin metal or aluminum sheets in full size.
- Using a grinder, cut out each workpiece of the future bucket along the marked lines.
- Using a welding machine or autogen, collect the cut out blanks into a single structure.
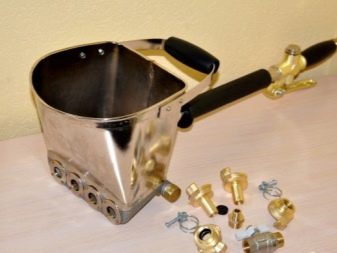
- Then attach the handle with the air inlet to the body, remembering to pay attention to the choice of the outlet.
- It remains to select the capacity of the air compressor and connect it to the welded plaster container.
For more details on how to make a hopper bucket, see below.
The device can then be used. However, it should be borne in mind that this unit is designed mainly for processing walls, not the ceiling.
Home appliance requirements
If you decide to make a plaster shovel with your own hands, take note of a few rules that are important to follow during manufacturing.
- When buying materials for making your own shovel bucket, pay special attention to the selection of the handle. It should fit comfortably in your hand and be strong enough. Unfortunately, shop counterparts have more ergonomic handles.
- Take care of the presence of a hinged or removable lid for the container. This will prevent the solution from spilling during operation and when tilted.
- The diameter of the inlet should not be less than 1.5 mm, otherwise, instead of ensuring quality work, it will systematically clog. If the diameter exceeds the 5 mm mark, this can lead to a drop in pressure after the mixture exits.
- Do not take tin as a basis for solution containers. This material deforms rather quickly. It is better to use a metal sheet no more than 1 mm thick for this.
- Do not use homemade devices or a ball valve instead of a pneumatic valve. This will lead to an overconsumption of raw materials, since an instant interruption of the solution supply in such cases is impossible.
You should also take into account one more nuance: the larger the parameter of the exit hole, the greater the distance between the tool and the processed plane should be. In some cases, it ranges from 10 to 20 cm.
Reviews
The plastering hopper bucket is recognized as a successful and useful tool for finishing work. This is evidenced by customer reviews and authoritative opinions of experienced craftsmen left on the Internet. Opinions agree that a plastering shovel allows to carry out work in the shortest possible time without visible defects in the base.
Some users note that with this device it is possible to simplify the execution of finishing work using decorative plaster. This is very convenient, because after leveling the composition, you can give the surface of the base any texture, without limiting yourself in choosing a pattern. In this case, the pattern formed by means of a spatula or shaped roller will be the same on all planes of the walls.
Many comments point out that at the lowest price, the plastering bucket for wall and ceiling decoration has the maximum benefit. To date, this unit has no negative reviews.


The comment was sent successfully.