How to choose a moisture resistant bathroom filler?
Putty is the final layer of the wall finish, the task of which is to eliminate minor defects such as cracks and minor irregularities. There are several types of putty, but this article will talk about moisture-resistant putty, the features of its action, application and selection rules. This waterproof mixture is also suitable for outdoor use.
Advantages
Bathrooms tend to have high levels of humidity. That is why the choice of putty plays an important role in finishing work.
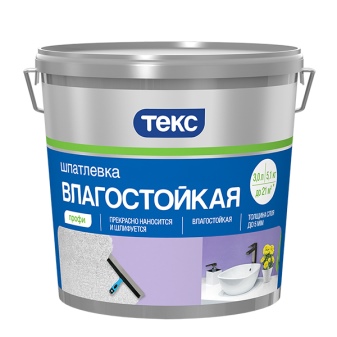
Moisture-resistant putty differs from the usual one in that when exposed to dampness, it will not lose strength characteristics, unlike its other varieties.
This is the most important advantage, because it is because of it that the service life of the interior wall decoration increases significantly. So that the paint on the walls and ceiling does not lose its appearance, it is necessary to use such a putty. In addition, this type of mixture is unfavorable for the growth of microorganisms: you can be sure that there will be no mold under the wall tiles.
This variety is more expensive than the others, but its choice for wet rooms is the most rational. It is more logical to pay a higher price initially than to fork out later for a new renovation.
Varieties
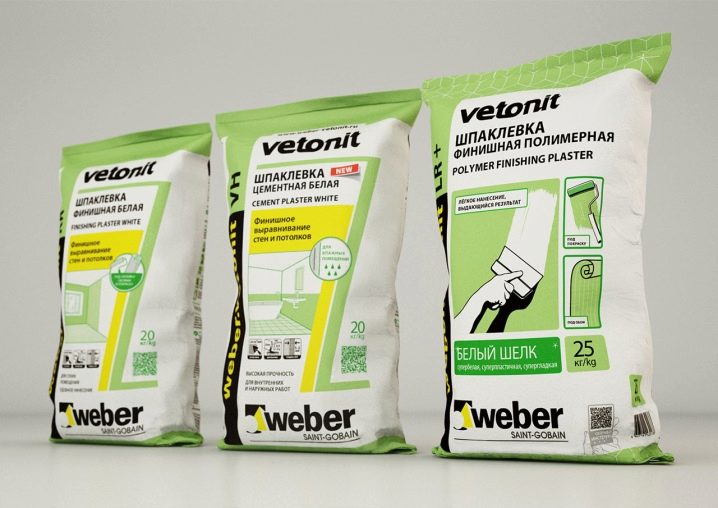
Moisture resistant putty has several varieties that have positive qualities, and therefore are best suited for different conditions. To choose the most suitable subspecies, you need to know their features.
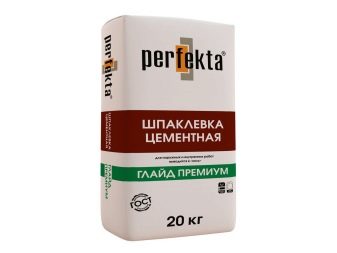
- Cement. Differs in increased resistance to moisture, therefore, it is an excellent option for the bathroom. This type of putty has its pros and cons. The advantages include good moisture resistance and an affordable price. Moreover, moisture only strengthens the base of the cement coating. Minus - the mixture has a grainy texture and a grayish tint, which makes it inappropriate for applying white paint on top.
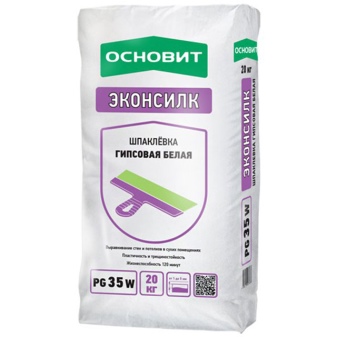
- Plaster. It has a light shade, which is ideal for painting walls in white or any other light shade. Easy to apply. The disadvantage is the intolerance of temperature fluctuations, which makes it unsuitable for working with facades.
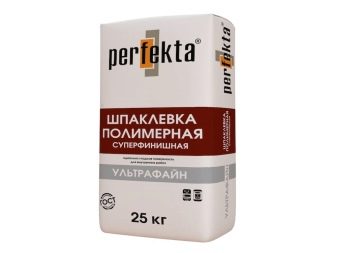
- Polymeric. High-tech particles are included in the mixture, and polymerization occurs upon contact with air. You can apply the putty without much haste, since it does not lose its plasticity for a long time. During the application of the material, it is imperative to protect the respiratory tract with a respirator.
- Oil and glue. A budget option suitable for "picky" utility rooms. It is a powder that is diluted in water.
By purpose, the putty is divided into:
- finishing - sold ready for finishing the walls;
- leveling - needed for the primary leveling of walls or ceiling surfaces;
- universal - suitable for both leveling and finishing.
The putty differs in the form of release of the mixture:
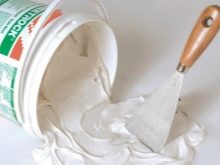
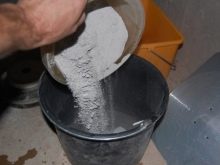
- Dry - sold in the form of a powder that must be diluted in water. Such mixtures freeze faster than others, so you need to work faster, doing the work in small parts.
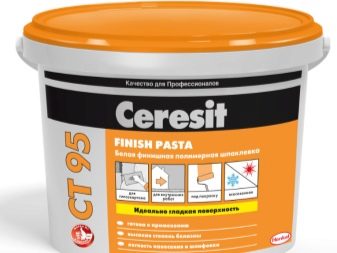
- Finished - more expensive, but also more durable material. Over time, during operation, its characteristics are not lost.If you do not have a lot of experience in renovation, this option is the most suitable for you. You will spend less time on renovations, as you do not have to spend it on preparing the mixture, and you definitely cannot go wrong when mixing.
Features of choice
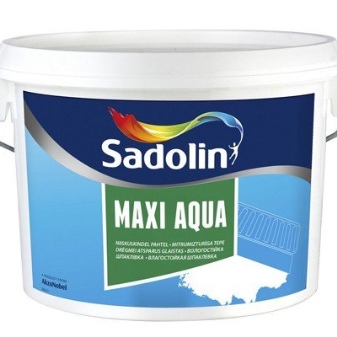
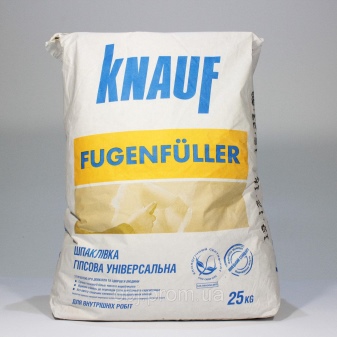
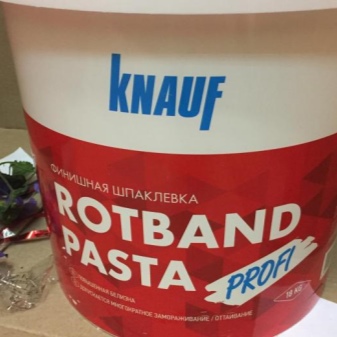
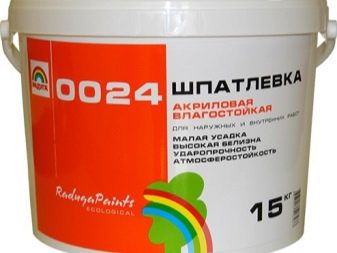
To find good material, you need to carefully study the range of goods offered on the market. You should pay attention to the Knauf mixture, which has high characteristics and resistance to moisture.
If the package with a substance has such a term as hydrophobicity, then it is worth applying it in two layers. Then the wall covering will be smooth and reliable.
It is also worth considering that mixtures with coarse sand are suitable for brick walls. It is better to apply mixtures with fine sand on smooth walls.
Before buying a mixture, you need to do some calculations. First, calculate the total surface area of the area in which you intend to work. After that, roughly calculate the average layer thickness of the mixture, based on the curvature of the wall. This is necessary in order to calculate the amount of material required. Purchase enough mix so that you have about 10% of the stock remaining.
Preliminary work
The appearance of the walls depends on how well the preparation of the walls for plastering is carried out. Well-finished walls look neat, they will safely absorb all subsequent layers of coatings. For the final painting, the wall needs to be perfectly sanded.
If you have decided on the choice of a mixture for putty, you can start preparing for painting.
Recommendations:
- Inspect surfaces for rot, dirt, or mold.
- Wash off all dust and dirt from the wall with a cloth dampened with water.
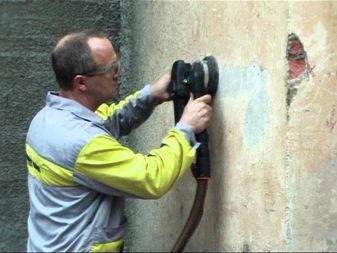
- Destroy the old wall covering. You can do this mechanically using a grinder, sandpaper or a scraper. A diamond sander is ideal. In addition, special dismantling agents can be used.
- Irregularities and protrusions on the surface should be eliminated. Cracks (if any) must first be widened and then cleaned up.
- If the wall has a lot of grooves, cracks and irregularities, fill them with cement plaster. This will flatten the wall and seal any existing holes.
- Dry the surface before applying it if it is damp. Brush out mold or mildew, if present. Go over the top with a soldering iron.
- The joints and seams of the room are more susceptible to the multiplication of microorganisms than all other zones, therefore, more attention should be paid to them when treating the walls with an antiseptic.
- Primer the walls. This will anchor the surface and fill in any cracks. Also, the primer has an antibacterial effect. It is very easy to apply the primer, you can do it with a spray bottle.
- Large cracks and holes can be repaired with polyurethane foam. The use of foam does not require special skills, it will not be difficult.

Puttying
The packaging of the putty solution must contain information that the material is suitable for wet rooms. In addition, the mixture must belong to the above varieties. If all the conditions are met, you can proceed with the putty itself. Below is the algorithm.
Layers
If there are large irregularities on the wall that need to be filled with a layer of mixture with a thickness of one centimeter, proceed with the initial putties. If the result only needs to be fixed, then only the finishing one is needed.

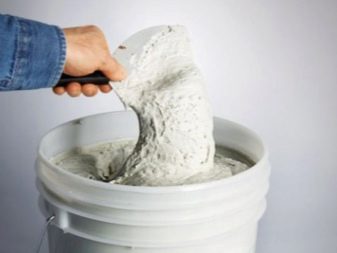
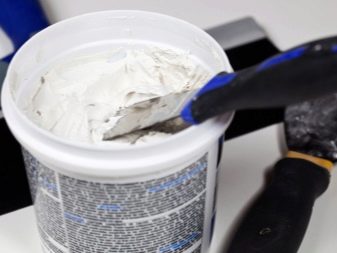
Preparation of the solution
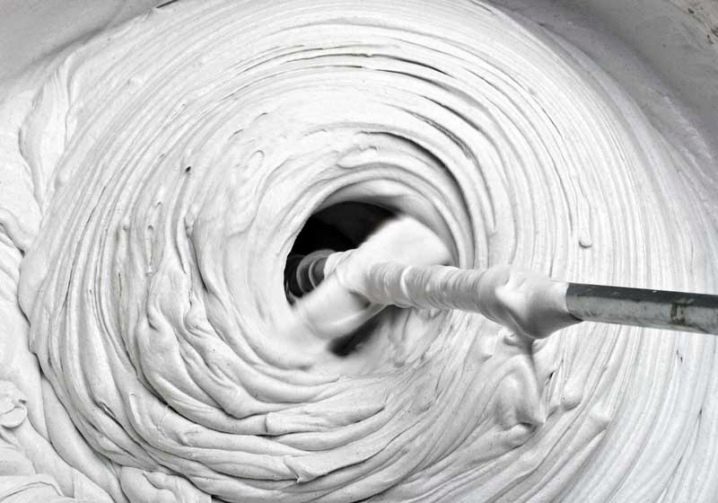
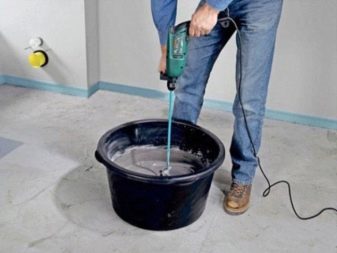
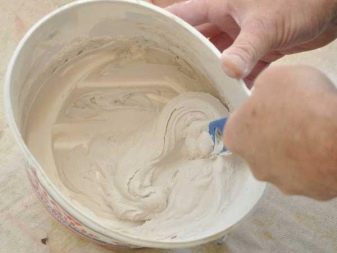
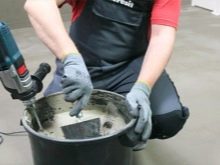
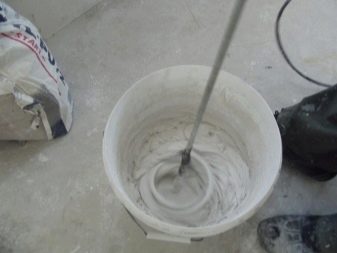
Most often, the consumer's choice falls on dry putty. In order to start using it, you first need to prepare it appropriately.
Pour the required amount of Axton solution into a bucket or any other container, then add a little water. At this time, do not forget to stir the mass with a drill with a mixer attachment. Let the solution sit for 10 minutes.During this time, all additives will finally dissolve, forming a pasty consistency. After that, it is necessary to mix the resulting substance again.
It should be remembered that you do not need to prepare a large amount of solution at a time.
During the time you work with the wall, it will harden and will be unusable. So you should create the material in small portions.
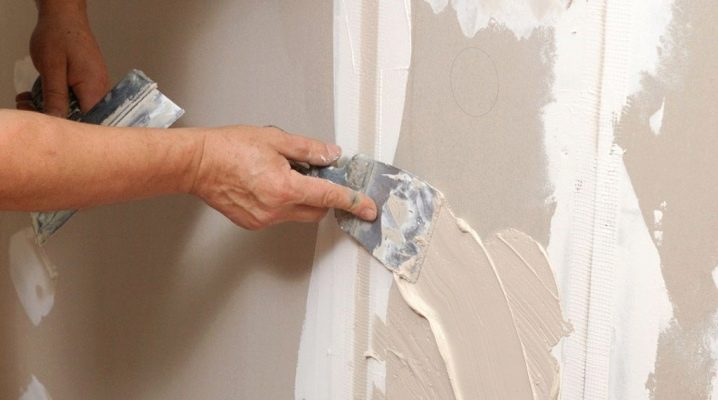
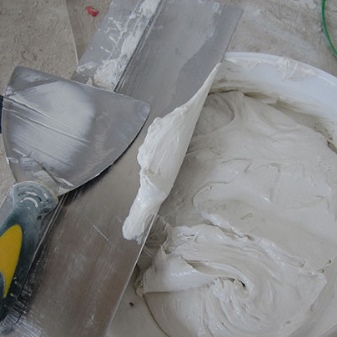
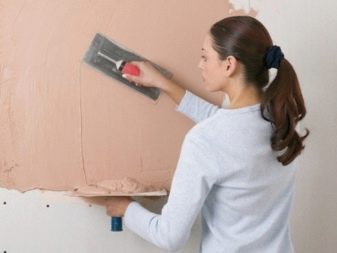
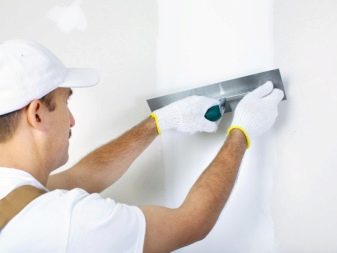
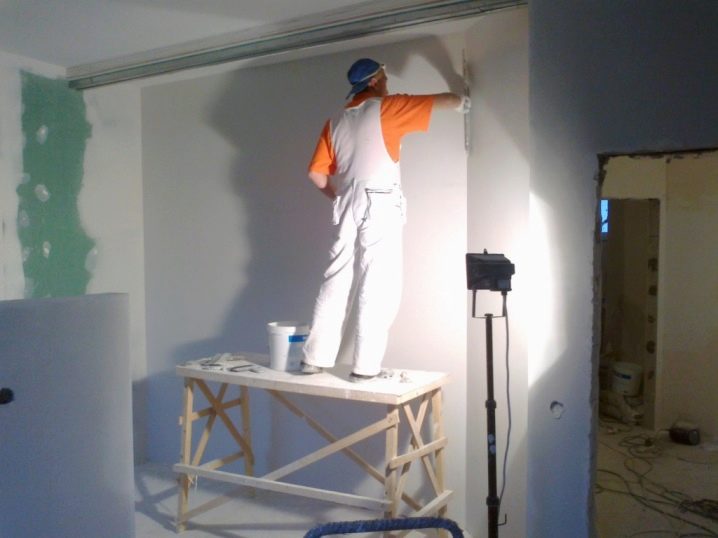
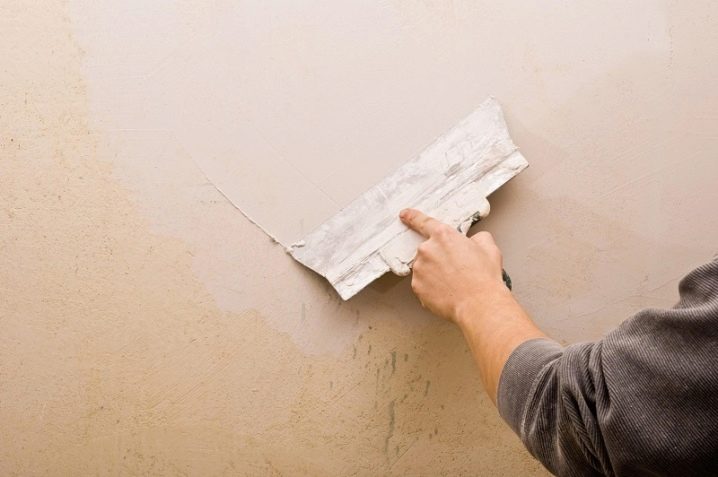
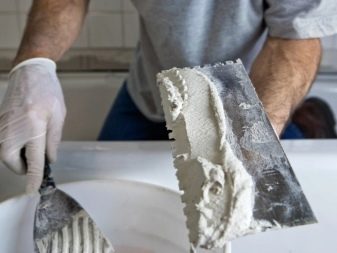
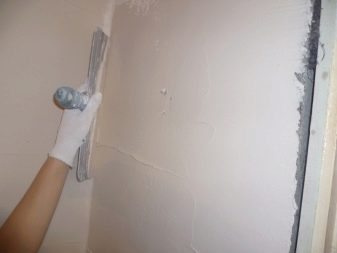
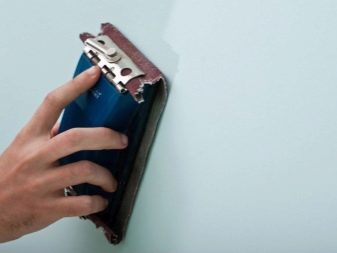
Application
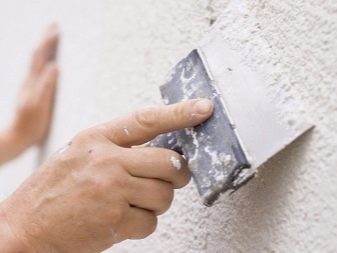
Perhaps the most important part. But do not be in a hurry to get nervous: a little practice - and you will learn how to putty well. Three spatulas are required to work: large, medium and small. You will need a small spatula to work out hard-to-reach places.
On large wall components, throw in the mortar from below, and then level it with a rule. If this is not possible, apply the mixture on a large medium trowel.
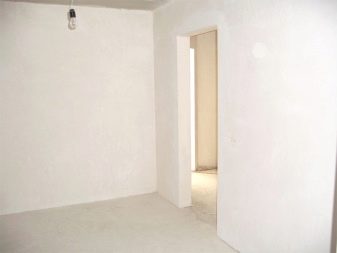
Form the corners of the room with a special tool. Dry the walls. Avoid drafts and UV exposure while the walls are drying. The process usually takes 14-18 hours.
The optimum temperature for drying walls is about twenty degrees. If the raw material consists of cement, moisture will only have a beneficial effect on the substrate.
Preparation for painting
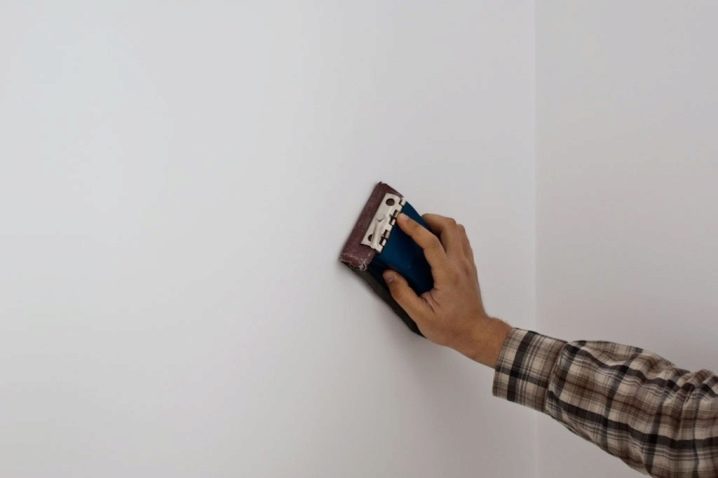
When the putty is dry, you can start painting the walls. You need to start this stage no later than 1-2 days after adjusting the wall, otherwise the substance that covers the surface will become too strong and unsuitable for grinding. In order to start staining, you need to prepare for the procedure, namely, put on a respirator and a special suit. Dust, paint particles and sand in large quantities will fill the air and can irritate the upper and lower respiratory tract. The abrasive mesh should be fixed to the wall correction tool of your choice.
Instead of a mesh, you can use sandpaper.
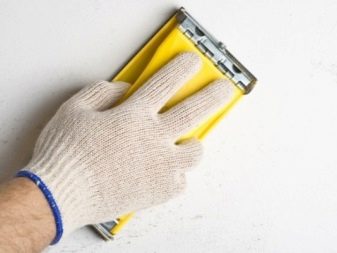
The walls are processed in a circular motion. Sand the wall until it is perfectly flat. Use the level or rule to evaluate the results.
Ventilate the room from dust, then use a primer. It will strengthen the walls and fix the previously applied base.
Specialist recommendations
The listed rules will help you successfully cope with the application of moisture-resistant putty:
- reinforce the coating with a mesh to increase its strength;
- mortars should be applied in layers that are not too thick. A 3mm layer is perfect for successful application;
- the use of artificial drying methods (heat guns, heaters) is not very effective. Drying mixtures too quickly can lead to cracking of the wall;
- pigment can be added to the working solution to match the color of the future external wall covering, for example, paint or wallpaper;

- facade putties are great for rooms with high levels of humidity, such as a bathroom, kitchen or a room with a pool;
- you should work in a room with an air temperature of more than 15 degrees;
- sanding for subsequent paint application requires more diligence than sanding for tile application;
- in the bathroom, the best solution is a moisture resistant coating. Conventional types of putty will not serve you for long and will lead to not the most pleasant consequences: to a damaged appearance of the repair and a complete replacement of the finishing layer.
Moisture resistant putty does not require special skills in handling it. Despite the relatively high price, this material will serve you for many years up to several decades. It is important to be able to correctly apply the mixture to the surface of the walls, and then the result of the work will delight you and your family.
For information on which filler is better to choose and for which premises, see the next video.


The comment was sent successfully.