How to choose wood putty?
The modern building materials market offers many different means for exterior and interior decoration, as well as for creating original designs. At the same time, natural raw materials have at all times been valued above artificial ones. Such natural materials include wood. It requires special treatment and treatment.
Why do you need a putty?
Untreated wood deteriorates very quickly. Over time, cracks will certainly appear on it, and the natural color fades, becomes dark. In order to preserve the natural pattern, structure and quality of wood, it must be processed with certain means. These include putty.
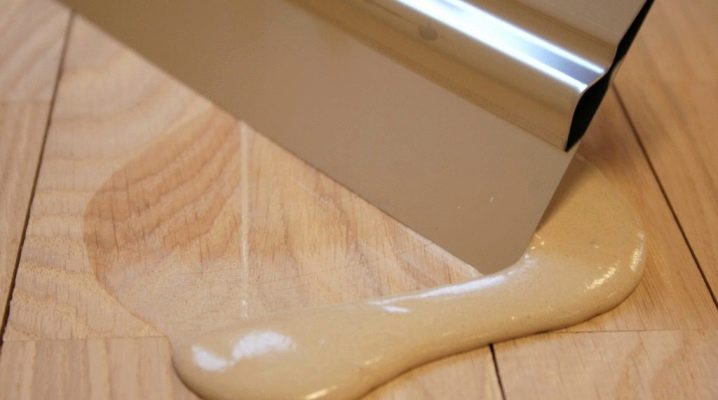
Possessing excellent moisture-repellent properties, it protects the surface from negative external influences. It must be applied before painting. In this case, the coating will lie smoother and last much longer. Also, the putty prevents the evaporation of the liquid and the drying of the wood itself. It allows you to get rid of small irregularities, knots and other defects.
Compositions for indoor and outdoor use
Objects and surfaces located both indoors and outdoors have to be processed. It is logical to assume that the means for external and internal work should be different. Moreover, both teams are required to meet certain requirements.
In any case, the putty must have the following properties:
- repel moisture;
- prevent wood from drying out;
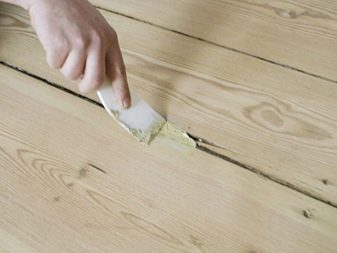
- mask minor irregularities and defects;
- emphasize the natural texture;
- have excellent adhesion (adhesion) to the surface;
- improve the structure of wood.
Manufacturers try to meet these requirements in terms of wood protection as much as possible. Unfortunately, it is almost impossible to create a single universal product that is equally well suited for indoor and outdoor use.
Different conditions of use have led to the fact that there are now several main types of putty. Each of them has individual characteristics. To understand which one is right for you, you need to understand what they are.
Views
Putties can be of the following types:
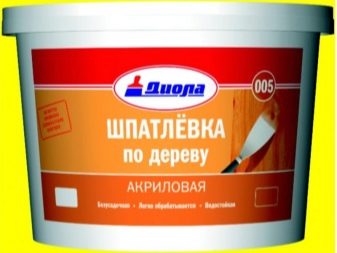
Acrylic
Belongs to the category of universal remedies. Suitable not only for wood, but also for processing the seams of chipboard sheets and ceramic tiles. The material is very flexible, so special skills are not required when working with it. With all the advantages, there are also disadvantages: it does not close up large defects, it cannot be applied in a thick layer. A thickness of 2-3 mm is considered optimal, although if you dry thoroughly after each layer, then it is permissible to apply thicker layers.
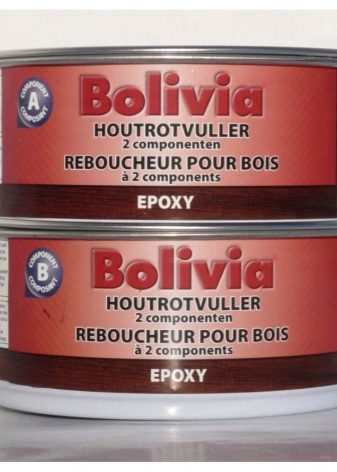
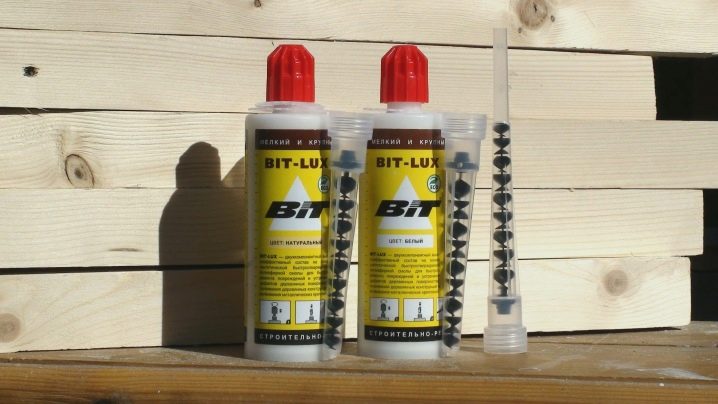
Epoxy
A feature of this type of putty is the way it is used. Be sure to read the instructions before starting work. The fact is that it will be necessary to mix 2 components, as a result of which a chemical reaction will start. The resulting mixture hardens very quickly. The exact time will be indicated on the package.
An indisputable advantage is a very durable coating that forms after drying. Thanks to this, it can be safely used to repair and eliminate significant defects on various wooden products: windows, doors, baseboards.Among the shortcomings, one can single out the impossibility of applying various stains on top of this putty.
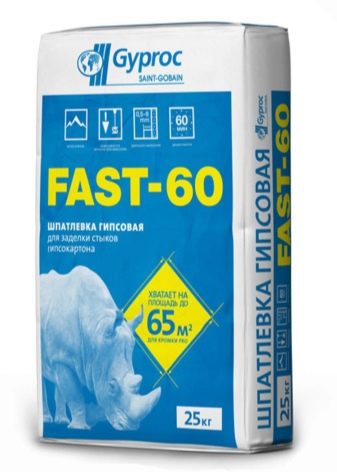
Gypsum
A traditional type of putty, which has won people's trust and love for a long time. This may seem strange, since in terms of its technical properties it is significantly inferior to its counterparts. But he has one indisputable advantage - this is the price. If you need to process a large area, then the choice of expensive options can significantly increase the cost of work.
Plaster based putty is afraid of moisture, for this reason it is contraindicated to use it for outdoor work.
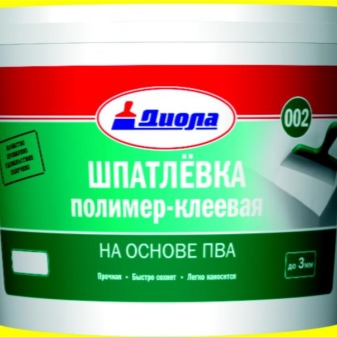
Polymer
One of the most successful options for interior work. It is very difficult to find obvious flaws. The only thing that can deter you from buying is the relatively high cost of the product.
The indisputable advantages include the following:
- environmental friendliness: completely safe and non-toxic;
- fast drying (although slightly inferior to acrylic counterparts);
- lack of a pungent odor;
- no shrinkage;
- durability;
- moisture resistance: can be used even in rooms with high humidity and for outdoor use;
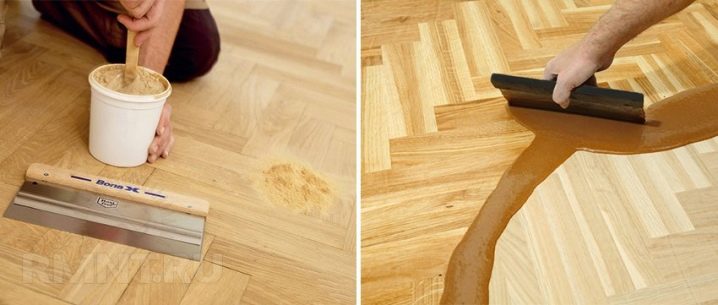
- endures large mechanical loads (can be used for floors and parquet);
- elasticity: does not crack over time.
It is this type of putty that is especially popular due to its excellent performance properties and versatility.
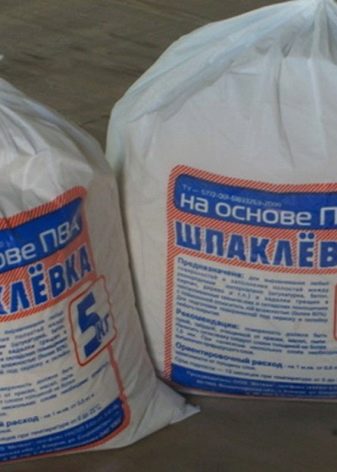
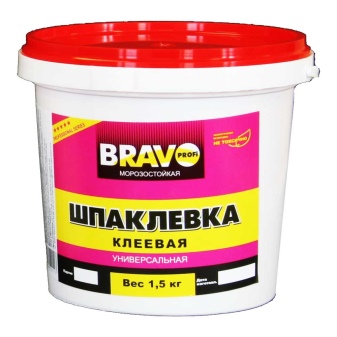
Glue
A well-known and proven type of putty. The main components here are drying oil, glue, chalk. Used for interior work. The composition is easily distributed over the surface. After complete drying, the treated surface becomes much stronger.
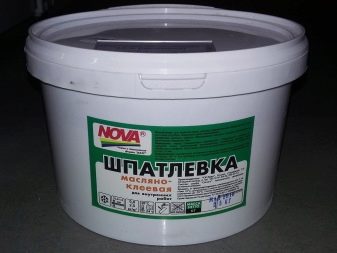
Oil
This type is well suited for outdoor work. Moisture resistant putty, which, due to its properties, is excellent for outdoor use. Even after prolonged use, you will not notice cracks and shedding on the treated surface. Very few of her brethren can boast of such properties.
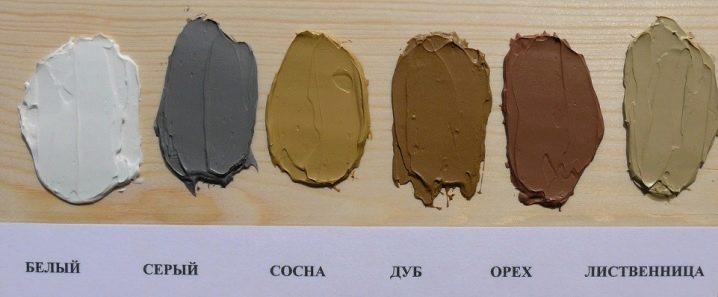
Regardless of whether you plan to paint the wood in the future or leave the natural texture, the putty will protect the product or surface from aggressive climatic whims and rapid aging. The stores offer a wide palette of shades and colors, so you can easily find the perfect option. In addition, it perfectly emphasizes the natural pattern of wood, without masking or hiding it.
Start or finish: which one to choose?
When classifying the putty according to the composition and type of work, one more important point must not be overlooked. Will this processing be only a preparatory stage for subsequent manipulations with wood, or is it the final layer. It all depends on the initial state of the surface and your idea.
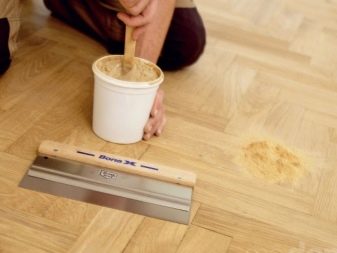
Starter putty contains larger particles, which creates a denser layer. If necessary, it can be applied in several stages until the desired result is achieved.
The finishing putty can be the first and only layer or applied to a previously prepared surface. It lays down in a thin layer and makes the surface as flat and smooth as possible.
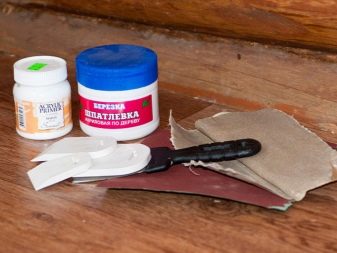
DIY wood putty
Every year manufacturers are trying to improve the composition of their putties so that they meet the requirements of consumers as much as possible. But even today, quite high-quality wood putty can be done independently. This does not require any exclusive components or special devices.
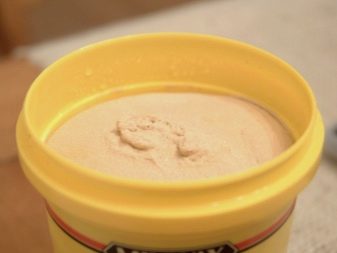
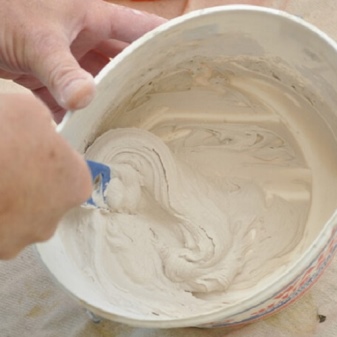
The simplest recipe for making putty at home is to combine PVA glue and chalk. Just grind the chalk and mix thoroughly in the glue. The consistency should resemble thick sour cream. The application technique is exactly the same as in the version with the purchased product. One has only to consider that it will dry for at least a day.
If there are serious defects, if the wood is old, we recommend adding very fine sawdust. This will hide all the flaws and give an aesthetic look.
It is possible to achieve the elasticity of the putty if you take a water-soluble varnish as a base. If necessary, as in the previous case, sawdust is added. In this case, uniformity of the composition can be achieved by combining the components and leaving the mixture overnight. The sawdust will swell and become softer.
How do you get the perfect result?
Even if you have already decided what kind of putty you need, it is worth listening to the recommendations of experts and their advice so that the result does not ultimately disappoint you:
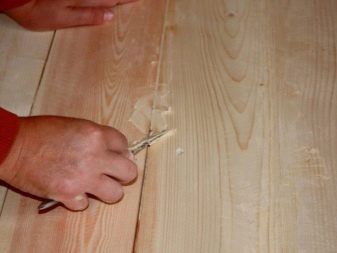
- Initially try the putty on a separate section of the surface or, if not possible, on an area that will not be visible. While working, pay attention to all the little things: how the putty lays down, how it fills cracks, how it is sanded after drying. Agree, if the result does not suit you, it is more profitable to buy another putty than to throw out an expensive wood product or an old piece of furniture.
- Even if you are confident in the quality of the composition and the future result, it is rarely possible to accurately predict the shade that will turn out during the application process. It depends both on the manufacturer and on the characteristics of the wood. In this case, you can buy several shades at once, or after processing a trial plot, go to the store for another. It is not uncommon to manually mix several shades to achieve the perfect result.
- Pay attention to the density. If you do not need to mask serious defects, then choose more liquid formulations: polymer or water. They will protect the tree and maximize its beauty. Solvent-based putties are more suitable for surfaces that require major renovation.
- Drying time also matters. If deep cracks need to be repaired, then several layers of putty will have to be applied. Moreover, each of them must dry well before the next one is done. In this case, it is better to use a solvent-based filler.
- Perhaps one of the most important conditions is to determine exactly what kind of work the putty will be used for. The same composition is not suitable for both indoor and outdoor work.
Wood is an unusually beautiful and environmentally friendly material. Putty on wood will help to preserve its structure. The main thing is to choose the one that suits your type of work and the initial state of the surface.
For information on how to make wood putty yourself, see the next video.


The comment was sent successfully.