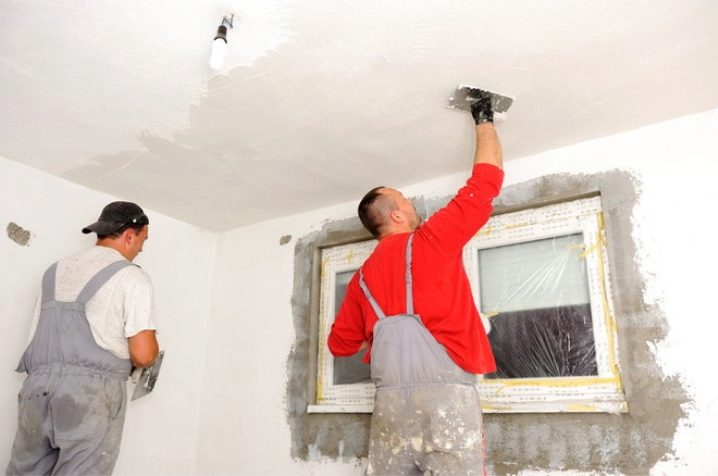
How to whitewash the ceiling?
The most popular method for decorating the ceiling has always been whitewashing, which is why many are interested in how to properly paint the ceiling with chalk or lime.
What it is?
Ceiling whitewashing is the safest way for the human body to finish the ceiling surface. It makes no sense to compare this method with tension, suspended, metal or plastic structures, since whitewashing allows the ceiling to "breathe" and is much easier. The material that is used to make whitewash is completely natural, so it will not have any unpleasant effects on a person.

Peculiarities
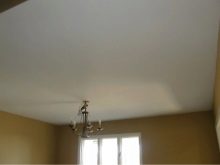
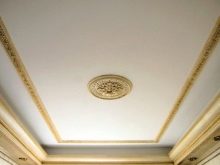
With the help of bleaching, you can give the ceiling an aesthetic appearance and refresh the interior of the room. The main rule for the quality implementation of the procedure is that it is necessary to thoroughly clean the surface and prepare it.
You should definitely pay attention to the following points:
- what type of whitewash was used previously;
- how durable the old coating is;
- what types of contamination are present on the previous coating;
- whether there are cracks and chips on the old layer;
- whether any of the residents of the house are allergic to the components of the composition;
- features of working with selected materials for whitewashing.
Before carrying out the main work, it is important to decide whether the previous layer will be removed or it can be left. If the previous layer crumbles or begins to move away from the ceiling, then before a new whitewash, it is imperative to remove the previous one. If the coating peels off in parts, then these layers can be removed, and the resulting irregularities can be hidden with a putty.
Ceiling whitewashing has both advantages and disadvantages.
First of all, it is necessary to correctly calculate the flow rate per 1m2, and also determine the correct proportions. Updating the ceiling in this way is not at all difficult.
How to whiten?
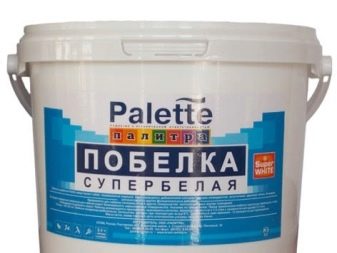
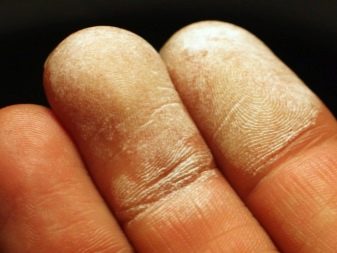
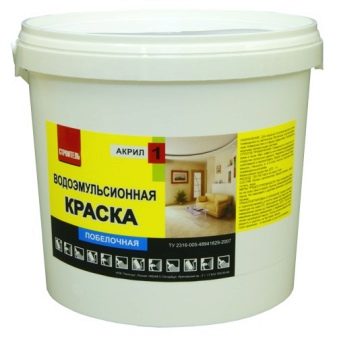
To whitewash the ceiling, the most commonly used chalk, lime or water-based paint. Mostly the choice of most people is based on what material the ceiling was previously processed. You can find out on your own, you just have to run your finger along a dry surface. If the whitewash does not leave any marks on your hand, then most likely lime was used, since the chalk will definitely remain on your fingers.
If in doubt, you can wipe the ceiling with a damp hand. Lime whitewash will darken, but the hand will remain clean, while the chalk will definitely leave its marks. It is not recommended to use chalk whitewash for application on limestone, as this will certainly lead to the formation of stains and streaks, which is why the ceiling will have to be painted more than once in order to hide poor-quality work.
The ideal interval between re-whitewashing is 1-2 years.
Chalk guarantees a deep white color. It is more intense than other types of coatings. It is characterized by the presence of bactericidal properties and excellent resistance to high humidity. The presented type of whitewash is completely hypoallergenic and safe, meets all the established hygienic requirements. Chalk removers are not very difficult to find.
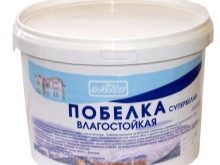
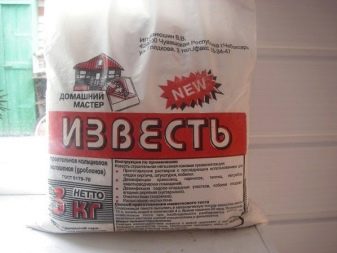
Lime coating can hide existing small defects in the ceiling, it tightens cracks and crevices, resulting in a flat and smooth ceiling. A distinctive feature of this type of whitewash is its high moisture resistance. It is important to note that such material can cause an allergic reaction in some people, therefore, before deciding to use this type of whitewash, it is important to check all residents for allergies. The coating has a pungent odor and dries much longer than the chalk version. Most often, the presented material is purchased for finishing ceilings in bathrooms.
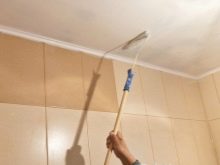

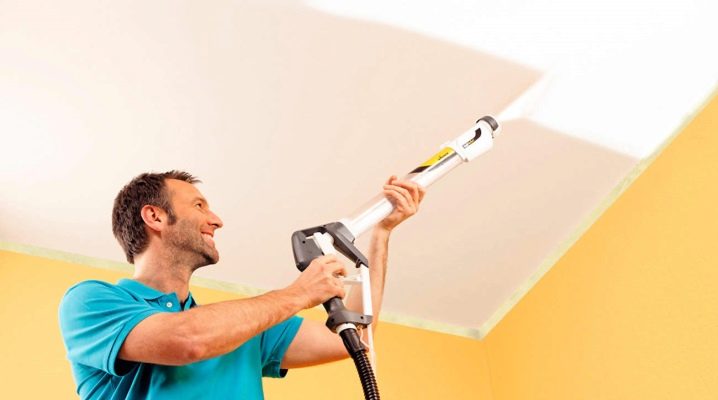
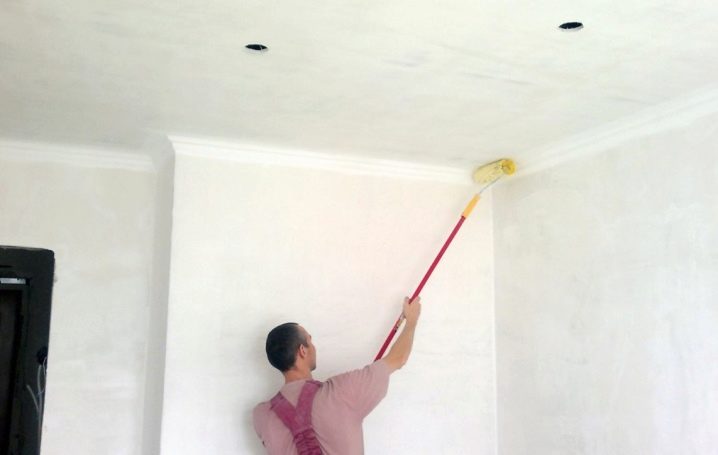
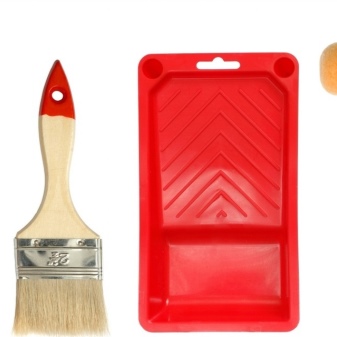
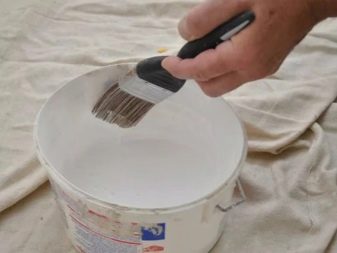
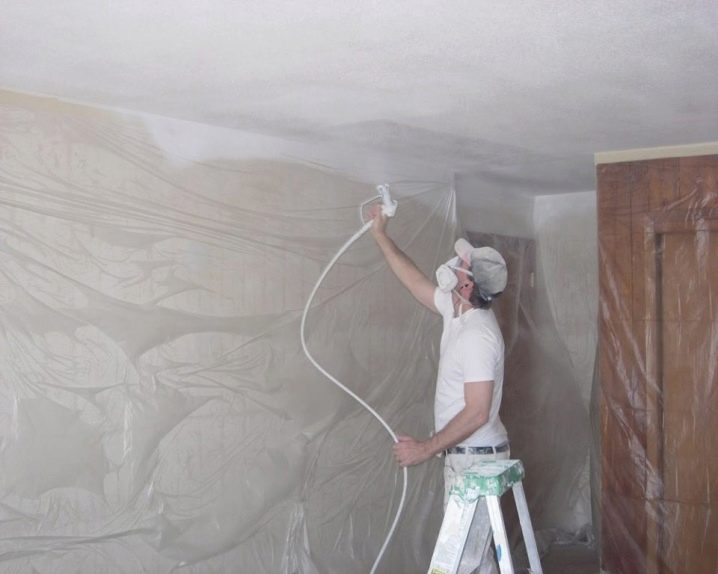
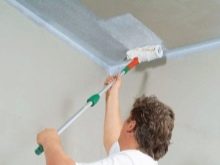
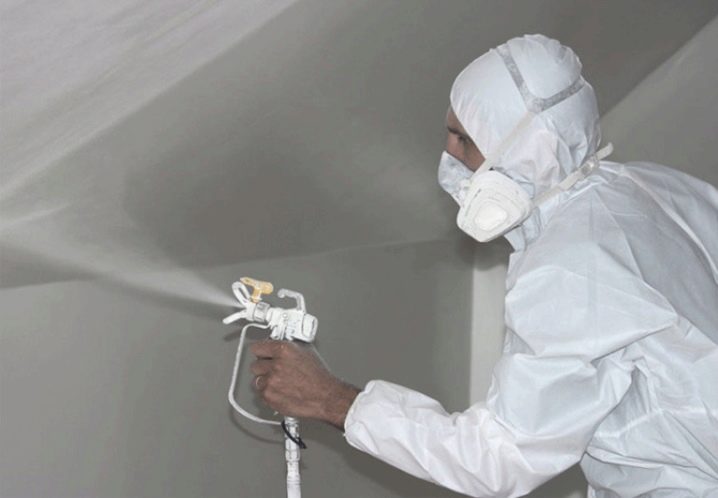
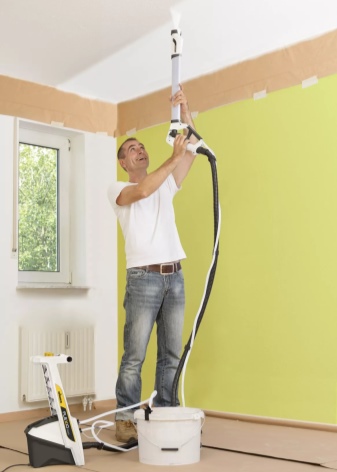
You can whitewash with a spray gun or use a spray gun. Some home improvement stores also offer other tools for the job.
Preparatory work
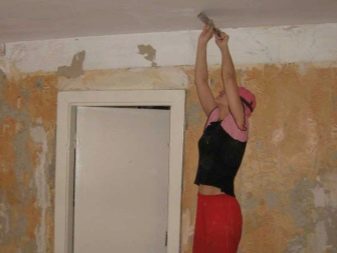
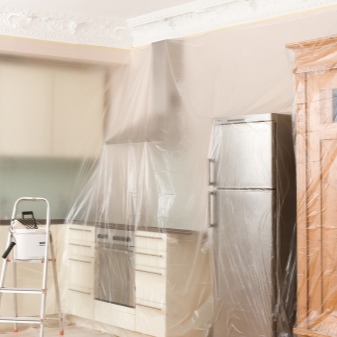
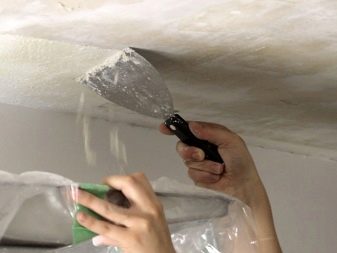
It is not recommended to apply a new layer of whitewash without removing the old one, since the old layer will surely begin to flake off and stick to the brush after it gets wet. This will significantly complicate the process. As a result, you will get a not very smooth surface, and the work will be ruined. Therefore, it is important to pre-clean the ceiling. To do this, you first need to take everything out of the room or cover it with polyethylene, since it is problematic to wash objects from whitewashing.
Preparatory work is carried out in several stages. When working, you should adhere to the following step-by-step instructions:
Cleaning the ceiling surface
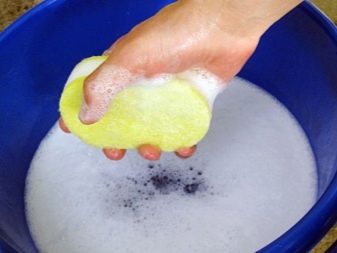
To prepare the ceiling, you need to take:
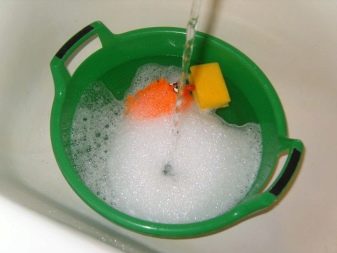
- container with water;
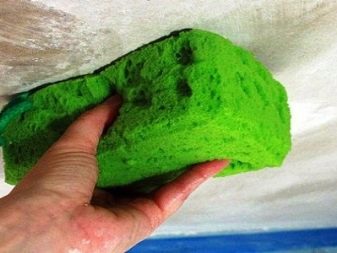
- large sponge;
- putty knife;
- rags;
- stool or stepladder.
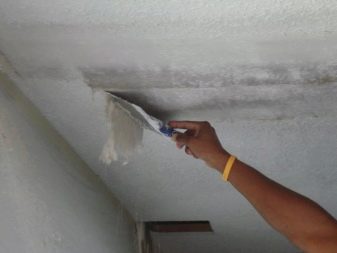
If you start cleaning the dry ceiling, the process will take a long time, and there will be a lot of dirt and dust, which you can get rid of with a vacuum cleaner. If you pre-moisten the surface, then it will be more convenient to remove the whitewash and it will take less time. It is not necessary to wet the entire surface immediately, as it dries very quickly. It is recommended to divide the ceiling into sections and wet each section during work. The preparation must be thorough.
After you wet the whitewash, you need to leave it for a few minutes.so that the entire layer is saturated with water. After that, you can easily clean off the coating with a spatula. The remaining pieces of chalk or lime are wiped with a damp cloth until there is not a trace of them left. When washing away all traces, do not use a lot of water.
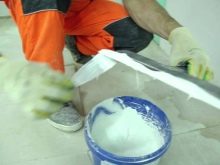
Sealing joints, cracks and various damages
To do this, you need to take:
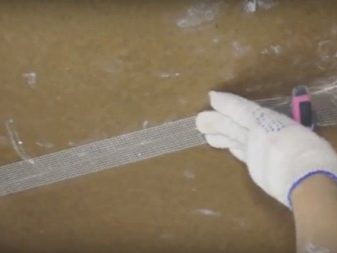
- serpyanka;
- putty solution;
- sandpaper;
- primer material;
- brush or roller;
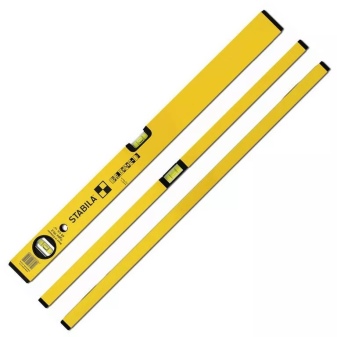
- building level.
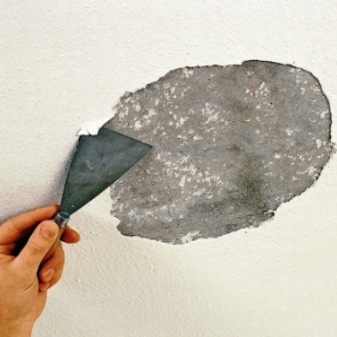
There are always joints in the ceiling, which can disperse over time. To avoid a similar situation in the future, they are embroidered, and the gap formed is filled with putty. For this, you can also use spacril. Further, these holes are closed with a serpyanka, on which a layer of putty mixture is applied. The result should be a flat surface.
While the joints are drying, you should carefully examine the ceiling and identify the presence of defects. Even the smallest cracks should be rubbed with mortar, and gaps and chips should be treated with putty.
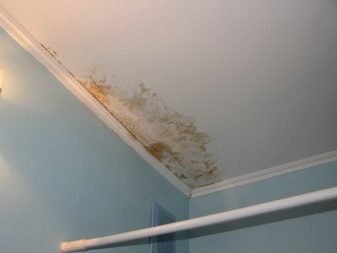
Removing stains
Very often stains form on the ceiling surface, which can seep through the whitewash. The process of removing them is quite complicated. This must be done before applying a new layer. Yes, at first the ceiling will have a rich white color, but over time, the spots will seep out, which will ruin the overall picture. You can remove these stains with whiteness or bleach. You need to take a sponge, dip it in liquid and apply to the stain, holding until it brightens. Naturally, you need to work with special gloves so as not to harm your skin. This option is suitable for removing stains if they were formed by water.
Rust stains are more difficult to remove and require copper sulfate in the solution.A saturated bright blue solution is being prepared, with which the spots are smeared. After drying, it is important to repeat the procedure. Next, you need to prime these areas and dry them well.
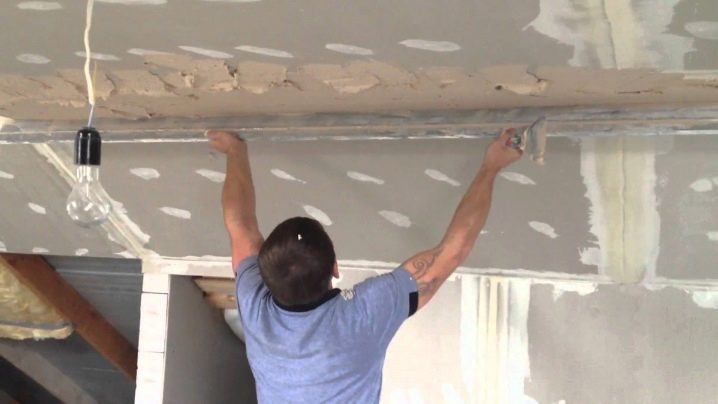
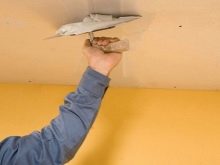
Alignment
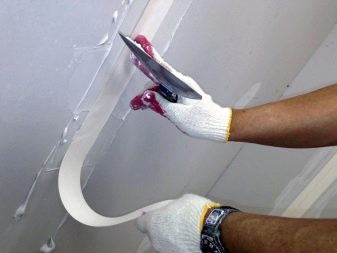
When you have already eliminated the visually detected defects, then a level must be applied to the ceiling in various places. So it will be possible to determine the existing irregularities and their size. If there are recessed areas, then they must be separately putty, and then, when the solution in the part of the recess dries up, the entire surface of the ceiling must be putty. Specialists usually use a finishing putty. It is usually applied in two layers. Each of them is 1-2 millimeters thick.
At this stage, you need 2 spatulas to work. One is narrow and the other is wide. The narrow solution is applied to the surface, and the wide one is spread over the ceiling. Sagging and streaking can be removed after drying with sandpaper. You need to sand the entire surface to make it as smooth as possible. After completing this process, the ceiling must be wiped with a dry cloth and primed.
After dirtying the wallpaper, you need to carefully clean it. The wash should be gentle.
How to do it yourself?
Materials such as chalk and lime are in greatest demand for whitewashing the ceiling. You can prepare the whitewash with your own hands, while you will be sure of the quality of the prepared mixture.
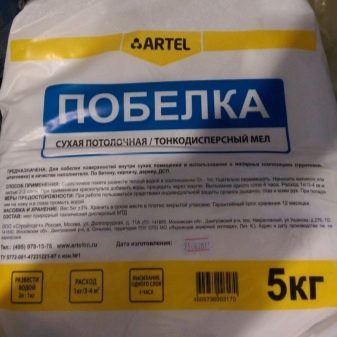
Chalk
Chalk is very often used to prepare a solution for whitewashing the ceiling.
To make the solution yourself, you need to follow the instructions below:
- pour a small amount of warm water into the prepared container, where you need to add 30 grams of casein glue. You can replace this type of glue with PVA or busylate;
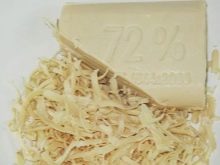
- separately, you need to rub the packaging of laundry soap and add it to the container;
- stir the resulting solution thoroughly until smooth;
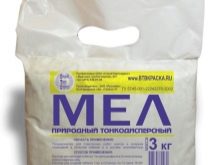
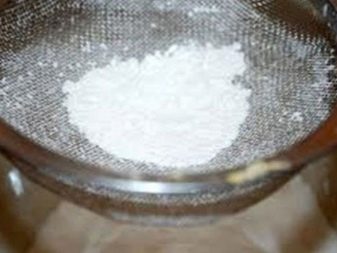
- add 3 kilograms of sifted chalk to the resulting mass, do it gradually, constantly stirring the solution.

It is necessary to sift the chalk in order to exclude lumps and other foreign inclusions, so it will be easier to dilute it. The glue is needed to provide the best adhesion properties. It should be noted that as a result, it is still necessary to strain the resulting mixture through cheesecloth. The better and more thoroughly you prepare the whitewashing solution, the better and easier it will be applied to the surface. Consequently, the result of the work done will be of better quality.
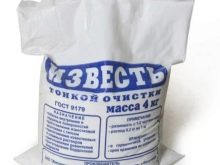
Lime
The presented material is also popular. You can use several methods of preparing the solution. In this article, we will consider 2 of them.
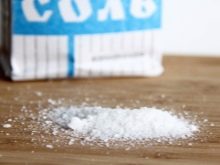
In the first option, you need to take 2.5 kilograms of lime, to which are added 100 grams of salt soaked in water and a small amount of blue. These components must be well mixed, after which it is necessary to add to them such an amount of water that the final volume is 10 liters. The method of applying this solution is similar to that used for whitewashing from chalk.
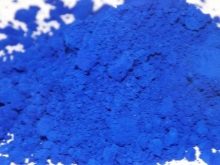
The second cooking option is carried out as follows: 1.7 kilograms of lime must be diluted in water, followed by 40 grams of blue. These components must be thoroughly mixed. With a lime coating, you can protect the surface from harmful microorganisms, while whitewashing helps to eliminate small cracks in the ceiling.
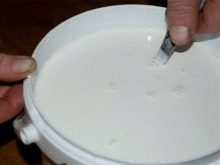
Before you start whitewashing the ceiling with a lime-based mixture, it is important to check its consistency. To do this, you just need to dip any metal product into the solution. After you take it out of the mixture, it should completely cover it. If this does not happen, for example, the mixture will drain from the metal without leaving traces, then this signals that the solution is very liquid.In such a situation, you need to add a small amount of lime, while remembering to stir the mixture until the desired result is obtained.
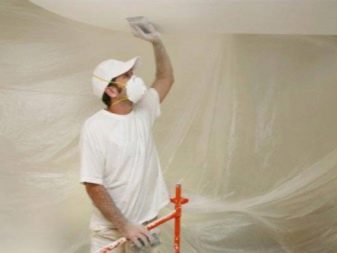
It is important to note that whitewashing requires care during the surface treatment process.
Evaluation of the consistency of the whitewash can be carried out in the same way for the one made on the basis of chalk. It is up to you to decide what material to use to whitewash the ceilings in your apartment, but it should be noted that a rich and bright white color can only be achieved with the use of chalk.
Tips & Tricks
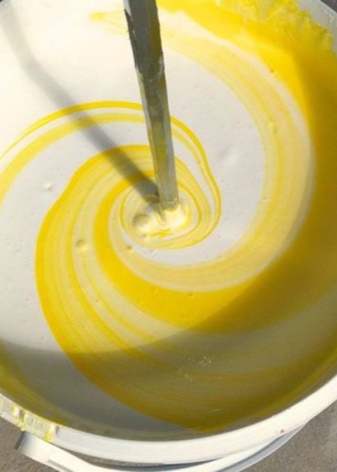
The main rule when whitewashing the ceiling is that a small amount of blue must be present in the solution (about 20 grams per 10 square meters). This trick will avoid the yellowish tint.
When whitewashing the ceiling surface, it is imperative to take into account the characteristics of the room. For example, for a bathroom, it is necessary to use a special solution that will be resistant to moisture and can protect the surface from the formation of fungus. Otherwise, the paint will lose its appearance and begin to crumble in the shortest possible time.

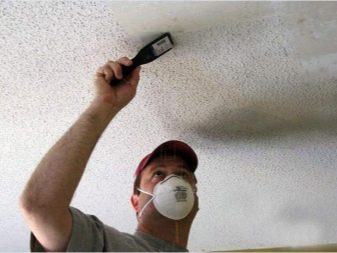
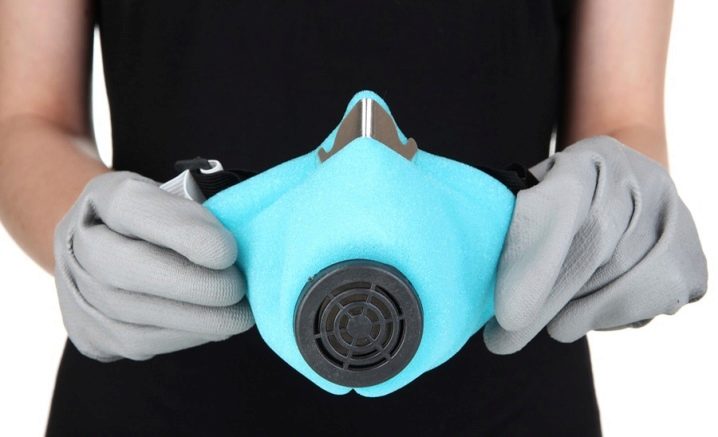
Remember when painting about basic safety rules.
Safety goggles, rubber gloves and a respirator must be worn to prevent paint from getting in the eyes, on the skin and in the respiratory tract. If you ignore these points, then you can provoke allergies or chemical burns.
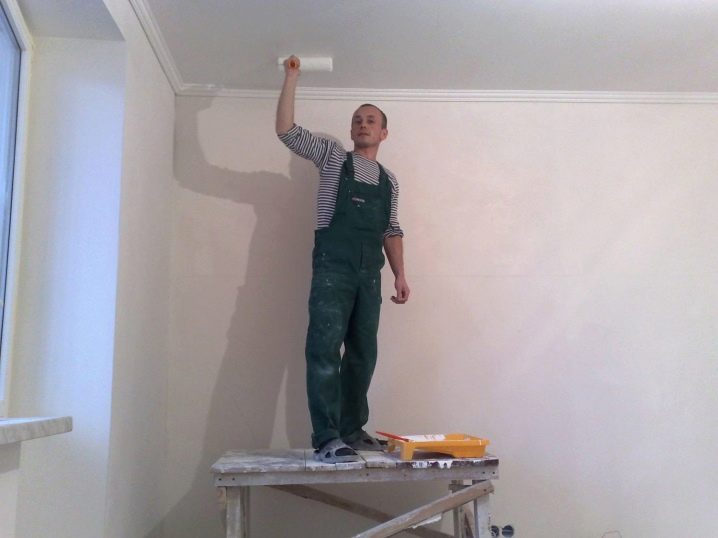
To achieve a quality result, use the following recommendations:
- to get an evenly colored surface, it is necessary to apply 2-4 layers of whitewash;
- each subsequent layer should be applied only after the previous one is completely dry;
- during the drying period, there should be no drafts in the room and direct sunlight should not fall on the surface, drying should occur naturally;
- if the previous layer of whitewash has not been completely removed or is lagging behind, then the material of the new mixture must correspond to the previous one, otherwise this can lead to the appearance of gray spots and streaks;
- to change the color of the whitewash, you can add various colors to it, which can be purchased at any hardware store.
Renovation of a room is a complex process that requires a serious approach, however, with the help of whitewashing the ceilings, you can refresh the interior quite quickly. Such repairs can be carried out independently, having received an elegant ceiling. The information provided in this article will help you complete this process correctly and avoid possible difficulties.
How to prepare lime wash, see below.


The comment was sent successfully.