All about wooden sandboxes
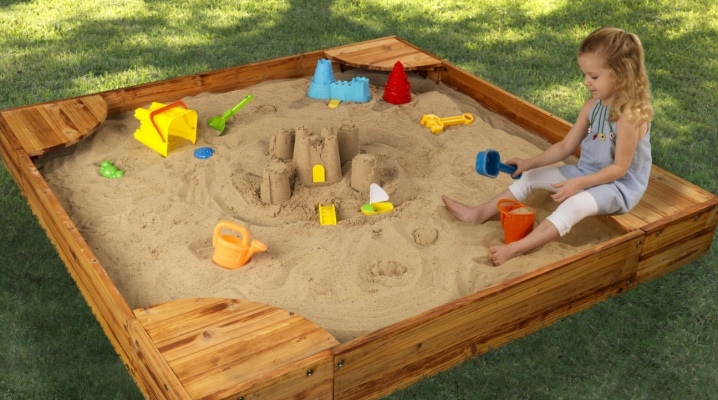
A wooden sandbox is the most common model in playgrounds. This is quite understandable - wood is environmentally friendly, tactilely pleasant, does not overheat in the sun, does not exude specific odors inherent in artificial materials. There are a large number of both finished products that can be purchased and installed, for example, in the country, and projects, according to which you can make your favorite sandbox with your own hands.

Peculiarities
Since the sandbox is located on the street, it must meet some of the requirements for outdoor furniture: to be reliable, durable, strong, and impervious to precipitation. In addition, since this design assumes that children will play in it, there should not be the slightest danger for them: no smells and vapors from materials, no probability of injury, or any other.
And, of course, summer cottage sandboxes should be bright, beautiful, attractive, with large details and certified sand without dust and debris.

Species overview
Sandboxes can be constructed in different ways, but there are several common types:
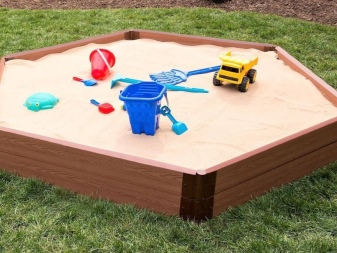
- "Clamshells";
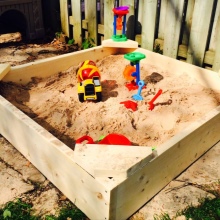
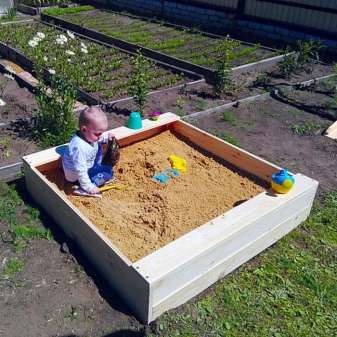
- whole;
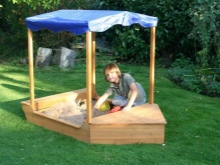
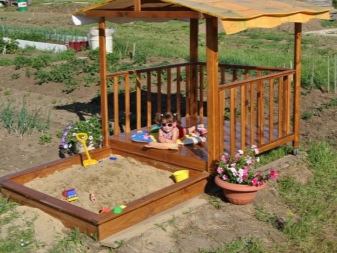
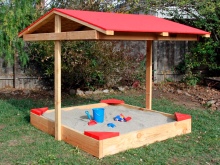
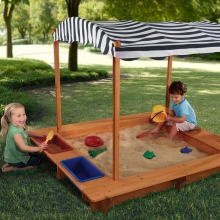
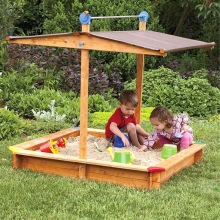
- any shape, but there is an awning or roof on top;
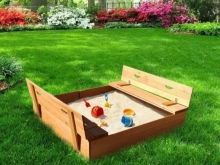
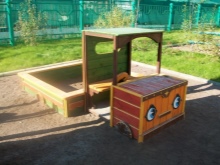
- transforming;
- with swimming pool.
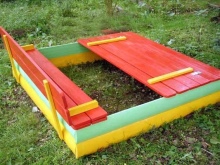
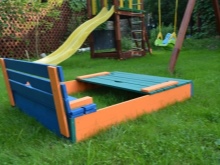
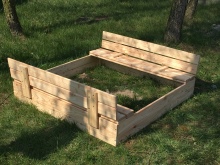
Clamshell sandbox so called because it is easy and without consequences for the structure is disassembled and reassembled in another place. This will not work with a one-piece structure - it stands firmly in one place.
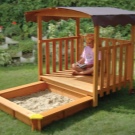
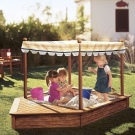
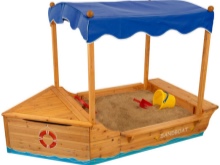
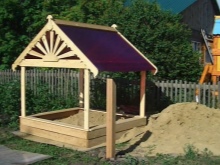
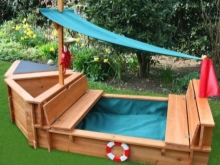
Thanks to the awning, awning or roof, the delicate baby skin is protected from direct sunlight. It can be ordinary, or it can be in the form of a house, fungus or tower. And the closable products perfectly keep the sand from getting debris, dust and waste products of animals and people into it.
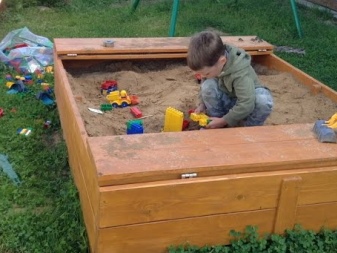
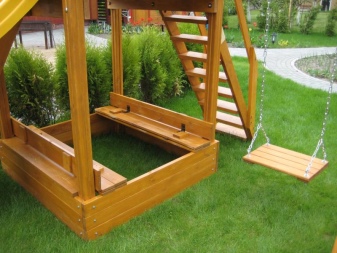
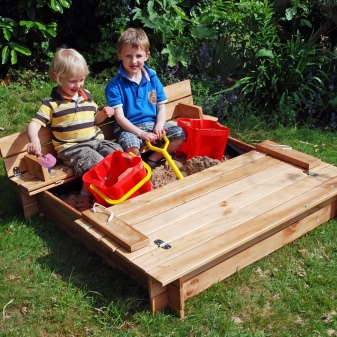
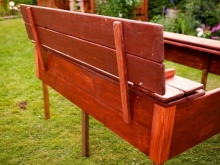
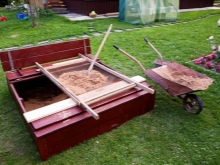
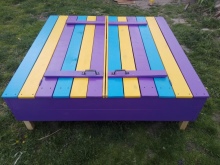
The lid can be one piece or turn into a seat when opened. Also, the lid can be made in the form of one shield that completely covers the surface of the sandbox, or two shields of the same size.
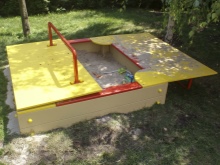

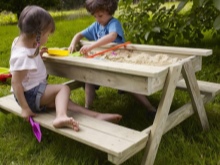
Transformers - an excellent functional thing, it can be a sandbox, and a recreation area equipped with benches, and even a table. Sandbox pools are hermetically sealed, therefore, if necessary, sand can be removed from them and the container can be filled with water.
Seat selection
The sandbox must be absolutely safe for children in it. Therefore, you need to place it in compliance with a number of rules. Metal parts should not be used in the manufacture: they can heat up under the bright sun and cause burns in a child. All elements must be securely fixed, not scrolling or dangling.
Since wood does not react very well to close proximity to water, it is better not to place a wooden sandbox next to an artificial or natural body of water (in addition to damaging the material, it is also unsafe for children).
It is also undesirable to place the sandbox in a place where the wind is walking. Drafts are fraught with colds, and the wind tends to inflate sand and fill it in the eyes, hair and ears of children.
A place without any shade will also be unsuccessful, especially if there is no awning or roof in the sandbox. It is better if children play with sand where sunlight is scattered by branches of trees or shrubs, or under the canopy or roof of the sandbox itself.Honey plants should not be within two or three meters in order to avoid proximity to insects that live in them. There should be no thorny bushes nearby. Also, electrical wiring, hoses, etc. cannot be laid nearby.
Drawings and dimensions
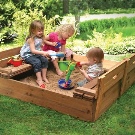
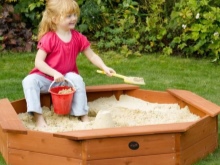
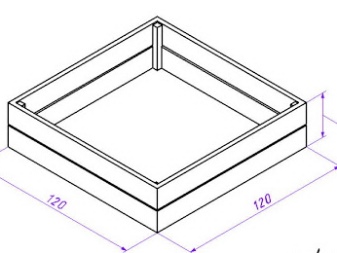
The dimensions of the sandbox directly depend on the number of children who will play in it. If this is one child, the capacity can be quite small, with one comfortable seat and narrow sides. If there are two or more children, the sandbox will have to be widened and equipped with seats on each side.
The minimum length of the side is 1 m, in a smaller space the child will be uncomfortable. If space permits, you can increase the length of the side up to 2 m or more - as needed.
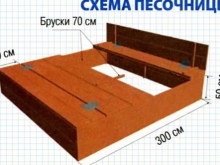
The height of the side is calculated based on the child's ability to get inside without any difficulties, but at the same time not to fall "overboard" (if his age is one and a half to two years). The optimum height is 30-35 cm. This will allow you to put a sufficiently dense sand layer, then it will be convenient for children to play, while the sand will not spill out. Also, safety precautions will be observed, that is, children will not be at risk of getting deeply bogged down in the sand and drowning.

The dimensions of the lid, if provided, must be such that it tightly and sufficiently tightly covers the entire area of the sandbox in order to avoid the ingress of precipitation, waste products of animals (and animals themselves), insects, debris, etc. into it.
Despite the seeming simplicity of the design, it is necessary to develop a detailed diagram. This will make it possible to calculate the required amount of materials up to a centimeter, as well as install it in the right place, taking into account the unevenness and relief of the soil.
The standard sandbox construction is square, with equal side lengths. The sides along the perimeter are continuous, this helps to keep the sand in the container. But nothing prevents the equipment of a more complex model - with benches, chairs, table, cover, awning. You can create a sandbox-ship or sailboat, or a Formula-1 car, or the fairytale Rapunzel castle - it all depends on the parents' imagination and the child's interests.
Whatever the project, the key function is to keep the sand from crumbling.
Tools and materials
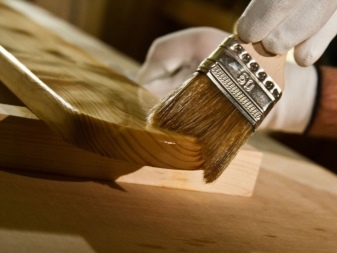
To create a wooden sandbox, you first need a tree. It can be a log, it can be a bar or planks. Whichever type of material is chosen, it must be treated with antiseptic compounds against decay and mold, as well as a fire retardant mixture.
Besides, each timber or board must be sanded and varnished so that the child cannot put a splinter or get hurt.
It is better to purchase high-quality wood - so the likelihood that it is well dried and not infected with fungus or mold will be much higher. The board should not be thinner than 3 cm, then it will not crack, and the sandbox will be strong. Wood processing is carried out before the start of assembly.

In order to make a sandbox, in addition to wood, you will need a project of a future product with a drawing, as well as the following materials and tools.
- A number of self-tapping screws.
- Grinder.
- Plywood, if the construction is not a traditional square, but a complicated one - a ship or a bus, for example. It is very convenient to cut fancy, decorative details from plywood.
- Varnish, paint.
- Set of drills, screwdriver.
- Measuring device (like a tape measure), a simple pencil.
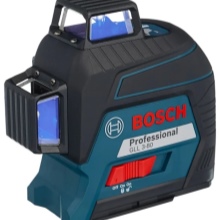
- Laser level).
- Four pegs and string.
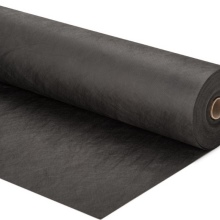
- 2 rolls of geotextile or film for laying the bottom.
- Crushed stone (if geotextiles are used, crushed stone is not needed, and vice versa).
- Sand for filling the container - on average, about 0.5 cubic meters. meters. The ideal option is quartz sand. It is sifted, clean, and it is convenient to sculpt Easter cakes from it.

How to make a sandbox with your own hands?
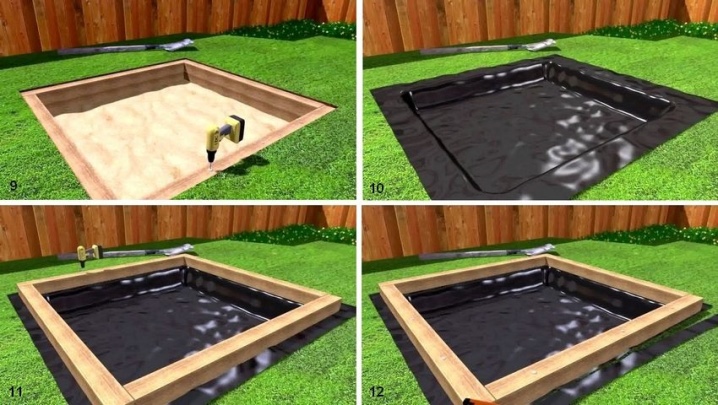
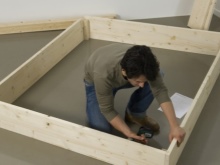
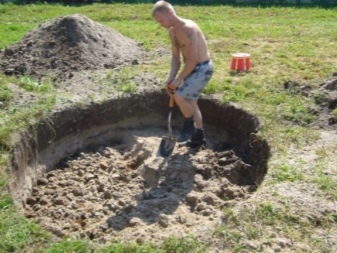
The instruction on how to make a sandbox step by step on your own is simple. After the drawing is drawn up, you need to designate the perimeter of the future sandbox.This is done at a pre-selected place using pegs and twine. Further, soil is sampled inside the perimeter. The sampling depth is 0.3-0.4 m. If there is no foundation in the sandbox, then a crushed stone pillow is immediately laid - this will be a drainage layer, so the water will quickly go deep into the soil. Experienced users are advised to put a layer of geotextile - this way the sand layer will be protected from the invasion of ants and other inhabitants of the soil. Geotextiles can be replaced with polyethylene, but then several holes must be made in it for the drain, since polyethylene is waterproof.
So that after the rains there are no puddles not only inside, but also next to the sandbox, the drainage layer can also be laid out behind the sides at a distance of about 0.4-0.5 m.
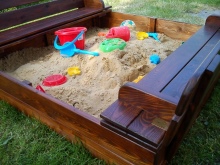
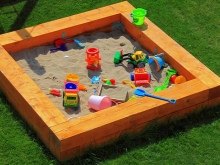
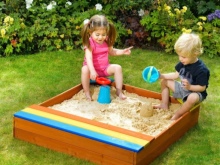
Square
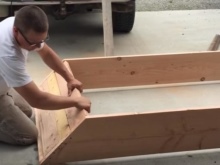
If an ordinary square sandbox is being built, then one board impregnated with an antiseptic composition is nailed along the perimeter. Boards can be hammered together or fastened with self-tapping screws. Further, in the same way, it is gradually nailed on the second board on each side. After reaching the desired height, the seats are equipped - two or four boards, laid horizontally on the sides. The seats should be as smooth as possible, without any roughness.
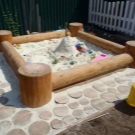
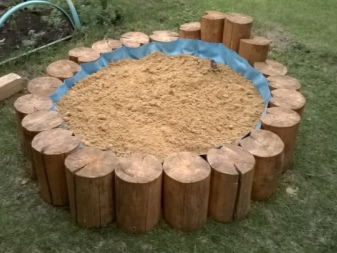
Round
A round sandbox can be built from a sawn log laid out in an appropriate shape. If the diameter of the log is large enough, then seating in such a sandbox is not required - the child can comfortably sit on the "hemp". Of course, each "stump" must be properly sanded and processed.
As for the structure, the bottom is equipped according to the same principle as for the traditional square sandbox.
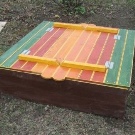
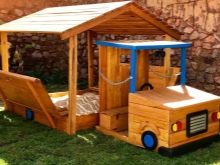
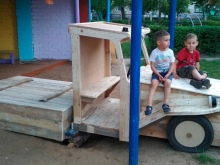
Machine shaped
Actually, the sandbox in the form of a truck-car differs from the usual only in the presence of a cabin. Thus, the "body" can be built according to the usual scheme, and the cab can be cut out of dense plywood and painted. For those who strive for maximum naturalism, you can also cut and attach a steering wheel, rear-view mirrors, and hang a number in the cockpit.
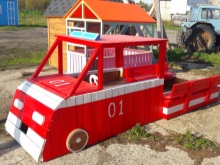
Depending on the hobbies and interests of the child, you can make not an ordinary truck, but, for example, a fire truck or a racing car.
Of course, this will require some effort from the parents, but the child's enthusiastic eyes and his willingness to play in the sandbox at any time are worth it.
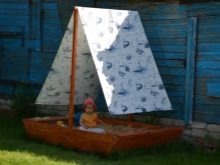
In the form of a ship
Great strength and skills will require the construction of a sandbox in the form of a sailboat or ship. In the case of a sailboat, everything is a little simpler: the sail, also known as an awning, is pulled over the pole masts, which must be securely fastened. As for the ship itself, it can be square or rectangular, but it will definitely need a bottom. To do this, you need to cut several boards at an acute angle (about 45 degrees), and then give them the shape of a ship.
You can also cut decorative details from plywood, such as a life buoy, anchors, the name of the ship, and fix them on board. You can also decorate the sides with twine, like on a real sailboat, and also raise the flag.
How to cover?
The wood must be well dried and treated with compounds from decay and parasites before starting to work with it.
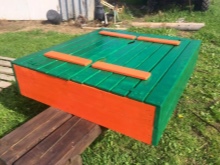
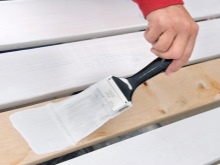
There are many options for how to process and paint the sandbox so that it does not rot in one season. Experienced craftsmen recommend, for example, "Senezh for difficult conditions" - they cover the base and legs of the product (if any), and the base on both sides. After the composition has dried, all parts need to be painted with wood paint.
It is also advised to soak every detail with linseed oil before painting, it is recommended to do this twice. A primer for wood is also good, but not any, but only the highest quality, from a trusted manufacturer. It is highly undesirable to use waste engine oil, it will give an unpleasant odor that will last for a very long time.


The posts, especially the part that will be driven into the ground, can also be treated with bitumen mastic.Then the structure will be reliably protected from moisture.
It is also important to maintain your sandbox. Periodically (once a year) replace sand, clean up toys, branches, stones, debris. It is also required to dry the sand after heavy rains, if the model is not equipped with a lid or canopy, add a new one if it has become much less. It is best to always have a certain amount in reserve. If there are paint chips, you need to apply new layers so that the coating is continuous. This should be done once a year - in the spring.

For information on how to make a sandbox with your own hands, see the next video.


The comment was sent successfully.