How to make a sandbox fungus?

Nowadays, many families, in their free time from work, try to spend time outside the city, where children can spend almost the whole day in a fenced garden plot. In such cases, it is good if there is a sandbox with a canopy on the site, which protects children in hot weather from the scorching sun rays. And if one is not available, it is not at all necessary to spend money on expensive factory goods. Having the tools and the necessary handy material on the site, you can easily build a sandbox with a roof yourself.
Features of the children's sandbox
In the sandbox, small children sometimes spend a long time (the entire walk), so the structure should not only be interesting, but it will also be good if it provides protection from the scorching sun, rain and piercing wind. We are talking about a roof that protects against the factors listed above that negatively affect the health of the child.
If the sandbox is attached to the veranda or has walls on one side, then it is quite possible to limit yourself to a visor.
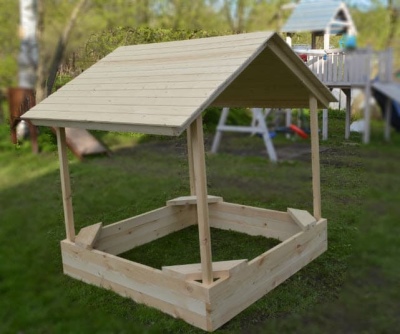
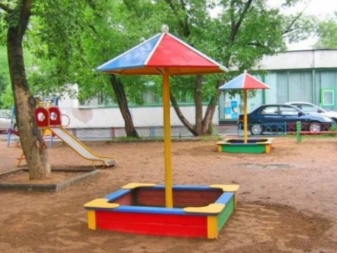
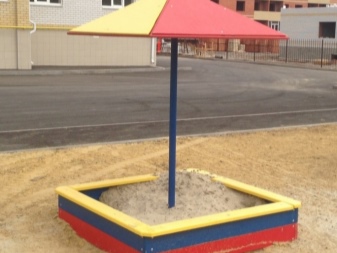
But most often the sandboxes for children are open, and they are installed in the center of the playground, which causes the wind to walk in it. Because of this, when planning to build a sandbox on the site, you should take care of making not a visor on it, but a full-fledged protective roof, which is most often made in the form of a mushroom. A bright, properly designed mushroom not only attracts the attention of children, but can also shelter from rain and sunlight.
Materials and tools
Most often, wooden sandboxes-mushrooms are made in playgrounds. And this is not accidental, but due to the availability of the material (wood) and the ease of working with it. Sandboxes made of wood, even when they are treated with a substance from dampness, rot after a few years (usually after 10 years). And they also need annual cosmetic repairs, since the paint fades in the sun or slides off the wooden surface under the influence of rain.
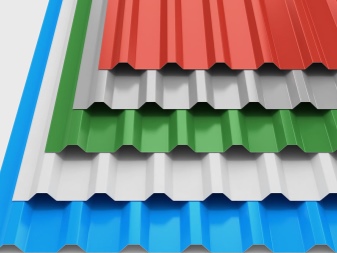
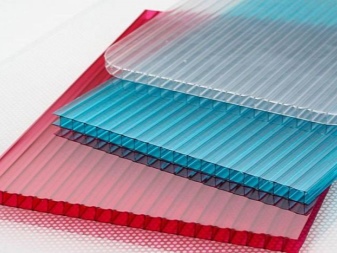
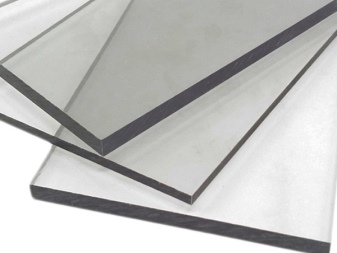
In addition to wood, plastic is actively used today; awnings for sandboxes are also made from polycarbonate (plastic material). Having made a crate of thin slats on the canopy, such a structure is easier sheathed with polycarbonate than with wood (to decorate a roof in the form of a mushroom from wood, it will be necessary to make triangles). But plastic is more difficult to attach to a wooden base, since nails are used for this, which can crack the plastic. To avoid this, nails need to be selected small. You can make a roof from metal, as well as from slate, but such work will be more troublesome than making a wooden or plastic canopy.
To make the sandbox itself, you will need the following.
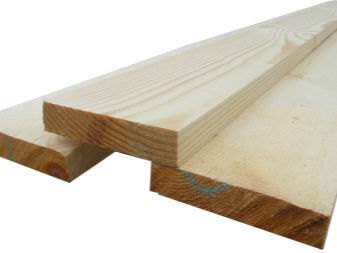
- Board about 12 m long, 30-40 mm thick, at least 30 cm wide.
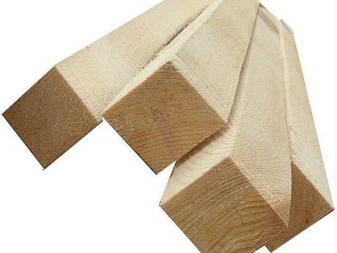
- Rack bar 90 × 90 mm, length 4.5 m.
- Planks 15 m long for rafters and roof frame, with a section of 20 × 100.
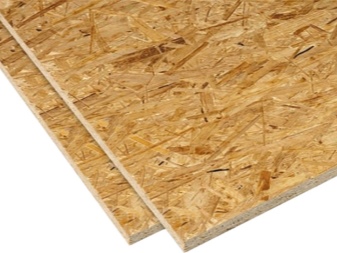
- Plywood or OSB 8 mm thick, two sheets of 150 × 150 cm.
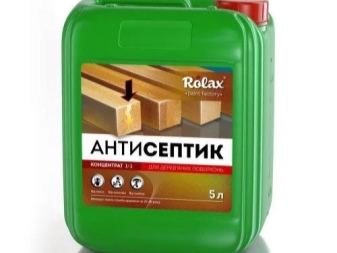
- Antiseptic.
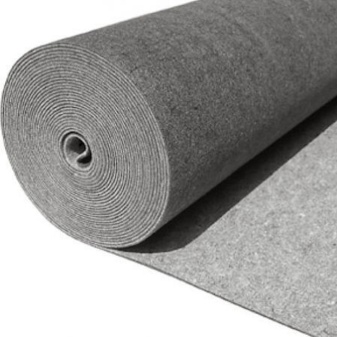
In addition, crushed stone, sand and geotextiles will be required for the manufacture of drainage and foundation.
From the tools you should prepare:
- jigsaw or saw;
- tape measure, building corner;
- a screwdriver with self-tapping screws or a hammer with nails.


To give the sandbox an aesthetic look, you need to purchase paint.
Design
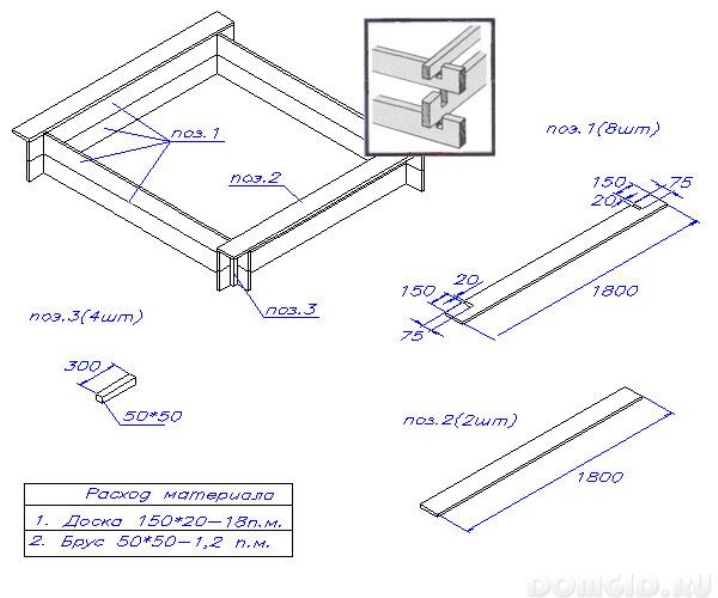
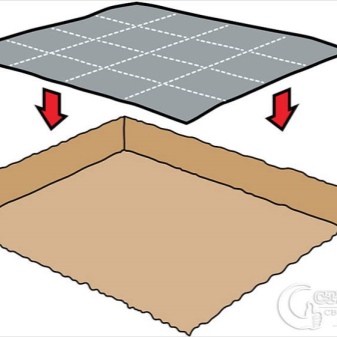
The first step is to create a project for the future sandbox. If the work is done by hand, then it is not necessary to draw up detailed drawings, plan everything carefully enough, making only the necessary diagrams on paper. These, as a rule, include the ratio of the area of the box and the area of the canopy. Their area may be the same. It is permissible for the canopy to protrude slightly beyond the box, which will surely shelter the child from the rain (see drawing).
Step-by-step instructions for creating
You need to start by designing the form. The simplest option is considered to be a square sandbox, the area of which can be different. But square sandboxes are small, rectangular sandboxes can be made for large companies.
With the help of a rope and a peg, we tighten the perimeter of the future structure, since it will be necessary to remove the top layer of earth to install the drainage system. Usually, the top layer is removed to a depth of 20-30 cm. As soon as this is done, instead of the removed soil, we lay crushed stone or expanded clay. The version with gravel will be cheaper. So that the crushed stone does not appear during the game of the guys, you need to tamp it well into the ground and sprinkle it with sand.

Such crust (drainage) will allow moisture during rains to quickly go deep into the ground, which prevents puddles from appearing in the sandbox.
Once the drainage is installed, care should be taken to make the base of the future sandbox. This is a kind of drainage shelter, excluding the appearance of gravel in the sand or the appearance of rodents from the ground. The most successful option for making a base is the use of geotextiles (non-woven fabric). Possessing a certain strength, it will at the same time allow moisture to pass through well.
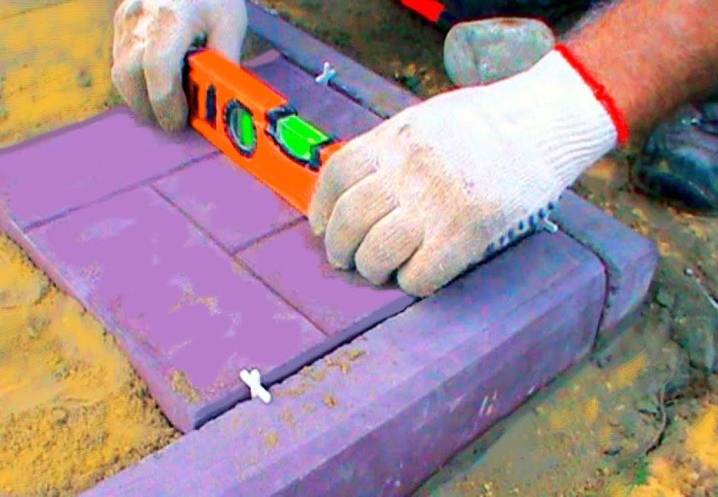
Due to the relatively high cost of geotextiles, it is often replaced with polyethylene, plywood, or paving slabs.
If such a need arises, it is better to use tiles.because plywood rots quickly in the ground, and polyethylene is torn or eaten by rodents. If paving slabs are laid too close to each other, then they will become the reason why moisture stagnation in the sandbox will occur.
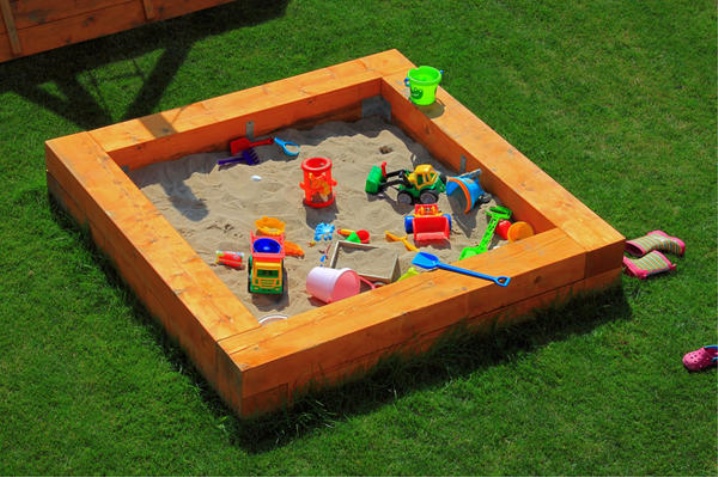
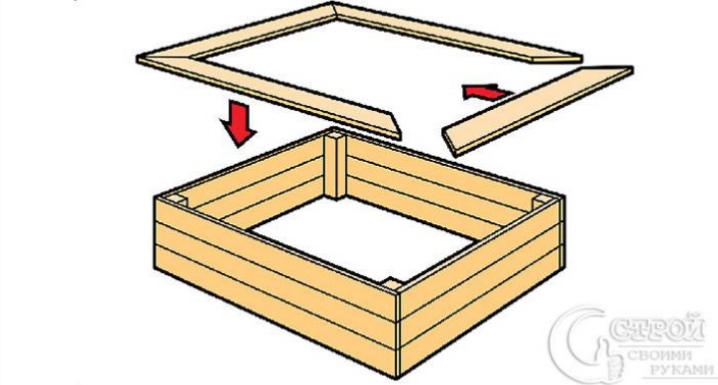
Some exclude the installation of the foundation from the project, which, in addition to the above, also becomes the reason why earth impurities appear in the sandbox over time. As soon as the soil is prepared, you can start making and installing the box, which is most often made 2.5 by 3 m (you can also make it rectangular if you wish). The best material is pine boards 2.5-3 cm thick. In the corners, you need to make 4 bars (section 45 by 5.5), about 15 cm of their length will be in the ground. It is this part, in addition to coating with an antiseptic, that must be treated with bitumen.
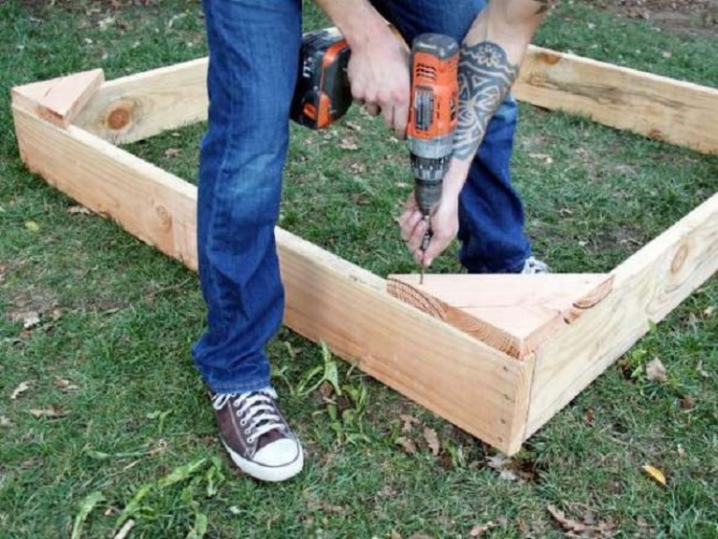
The next step is to make the sidewalls, which are desirable to have a seating position around the entire perimeter. The average height of the sidewalls ranges from 30 to 35 cm. The higher they are, the more sand will need to be brought into the sandbox. The prepared boards of the required size are nailed to the bars. Then a board is nailed to them from the end along the entire length, which acts as a bench, its width should be no more than 10 cm.In order for such a bench to dock well, its edges must be cut off at an angle of 45 degrees.
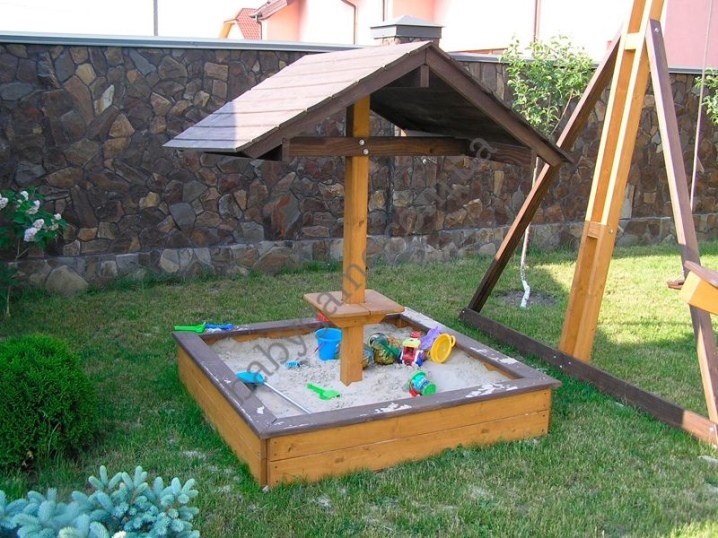
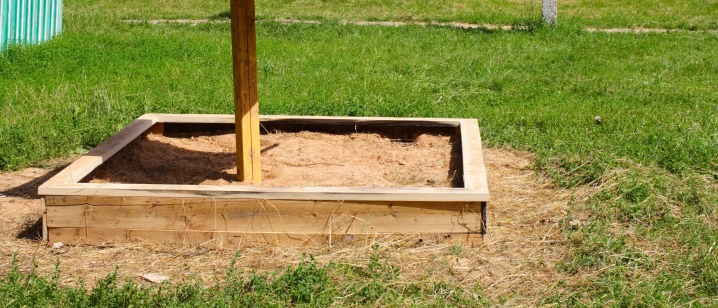
As soon as the bottom base of the fungus sandbox is ready, we proceed to making the cap (roof). In the center of the future sandbox, we make a hole with a depth of at least 1 m. The mushroom leg (support for the roof), which is also made of timber (section 10 by 10), will be fixed here. The immersion depth of the leg ranges from 0.7 to 1 m. The place immersed in the ground is also treated with an antiseptic.
For the best fixation, it is recommended to sprinkle the leg with rubble.
If the soil is represented by loose sandstone, then it will be useful to fill it with cement. It is not necessary to make the leg too long, since the roof placed high will not protect against rain. The optimum height is 1.5-2 m.A wooden hat is made of 4 triangles, which are attached to a wooden support from the inside (slats, for example), and from the outside it is more expedient to sheathe them with plywood, which will hide the joints.
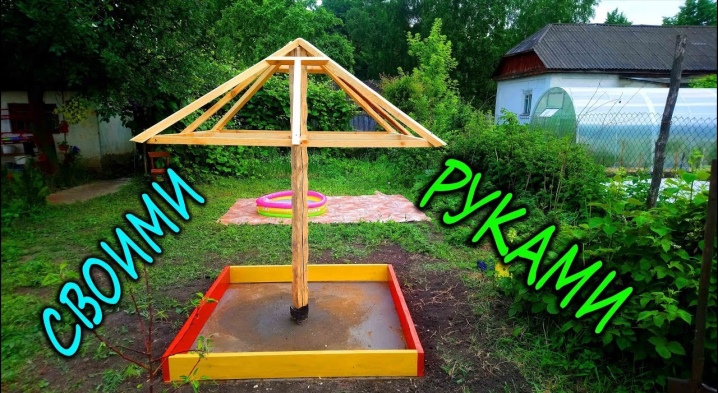
So that all children in the sandbox can be under the roof, it is important, as noted above, that the lower end of the roof is parallel to the lower sidewalls or slightly protrudes beyond them. You can also build a mushroom roof with your own hands from an old satellite dish, removing all unnecessary parts from it. Only such a canopy, as a rule, does not completely cover the sandbox. And if you adjust the box to the parameters of a satellite dish, then such a sandbox will be designed for a maximum of 2-3 children.
You can learn more about how to make a sandbox with your own hands in the video below.


The comment was sent successfully.