Installing the accordion door
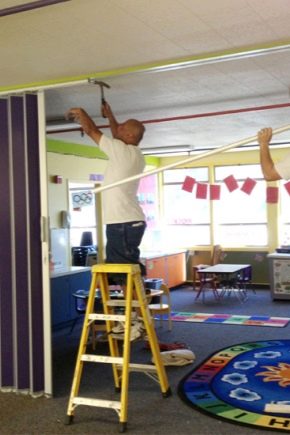
The demand for accordion doors is understandable: they take up very little space and can be used even in a small room. And in order to reveal all their functionality and aesthetic potential, it is not necessary to invite professional installers. It is quite possible to install such doors with your own hands.
Advantages
Installing these doors is pretty straightforward. The canvas and other elements are attached without unnecessary difficulties, if you know how to handle the tool at least a little. The use of such structures is justified not only because they save space. It is equally important that:
- All restrictions on wall decoration disappear, because it will be possible to use even those materials that an ordinary door will scratch or break with its handle;
- Doors will open much quieter and without a squeak;
- Even children are completely safe - they will not pinch their fingers;
- Eliminates distortion, sagging and other problems typical for a hinged door, seasonal swelling from moisture.

Preparation
The installation of accordion doors differs slightly depending on the material from which they are made. Plastic structures allow more freedom during installation, mistakes are easily corrected and a partner is not even required during the installation process. Wooden doors are more stable and stronger, but you will have to carefully check the levels and their markings. It will be more difficult to fix them, because such door systems are heavier than PVC.


The manufacturer's kit should include all the parts necessary for work, but materials for expanding the door are not always supplied. Fastening almost always implies equipping the opening with platbands and other elements, and they will have to be purchased additionally.
As for the tools, you will need to work:
- Drill;
- Perforator (exactly both tools, since they are needed for different tasks);
- Construction level;
- Meter;
- Plumb line;
- Building corner;
- Saw on wood;
- Miter box;
- Polyurethane foam.
Opening work
It is easiest to install the "accordion" with your own hands, if you do not touch the opening at all, but limit yourself to the existing width. But this is not always possible. Sometimes you will not have another way to increase the usable area. Then the old door frame is removed and the plaster is knocked down to the concrete base (or a different wall base is exposed). Before installing the box, you will have to measure both the opening and the door itself in order to understand whether it is necessary to reduce the width of the hole or increase it.
When the expansion (narrowing) of the opening is completed, a box is made from a pre-prepared set of accessories, it is inserted into the opening and thoroughly fixed. In the upper part, self-tapping screws and a pair of anchors are used, and the sidewalls are fixed with three anchors on both sides. If there are even the slightest gaps between the extensions and the wall, they must be covered with polyurethane foam.

The next step, which any step-by-step instruction speaks about, is to secure the guides. We measure the required values, preferably several times for greater accuracy, then cut off the material with a miter box. Next, we prepare holes for self-tapping screws of 3 mm caliber (they will be screwed into the upper guide every 60-70 millimeters, and into the side ones - 200 mm apart). If you prefer clips, then at the top the distance remains unchanged, and on the sides, five connections are enough, evenly distributed along the length.


The installation scheme of the canvas itself implies accurate, scrupulous trimming of the strips from which the door is made. This takes into account how the rollers will be placed and the centimeter gap under the door block. At this stage, the slightest deviations from the instructions developed by the manufacturer are categorically unacceptable, even the most experienced installers have no right to them. The plastic sheet is most often assembled using grooves or additional spacers, and wooden and MDF structures - along long axes. Next, the rollers are installed (approach this matter very carefully and carefully!), And after them the turn of the accessories comes.

It is not recommended to use accessories that are not included in the delivery set. The assembled door slides into the rails and folds down to be placed in the center section. It is important to correctly snap the guides on the clips or screw the screws into them at a certain distance from each other.

It remains to work with the side profiles and attach the blind parts of the doors to the profile. After making sure that the canvas "walks" normally, you can put platbands, cutting off the necessary sections and fixing them along the entire length of the opening.
Important: the platbands of sliding doors must be cut off at an angle of 45 degrees, and they must be fixed with liquid or special furniture nails.
Where to mount?
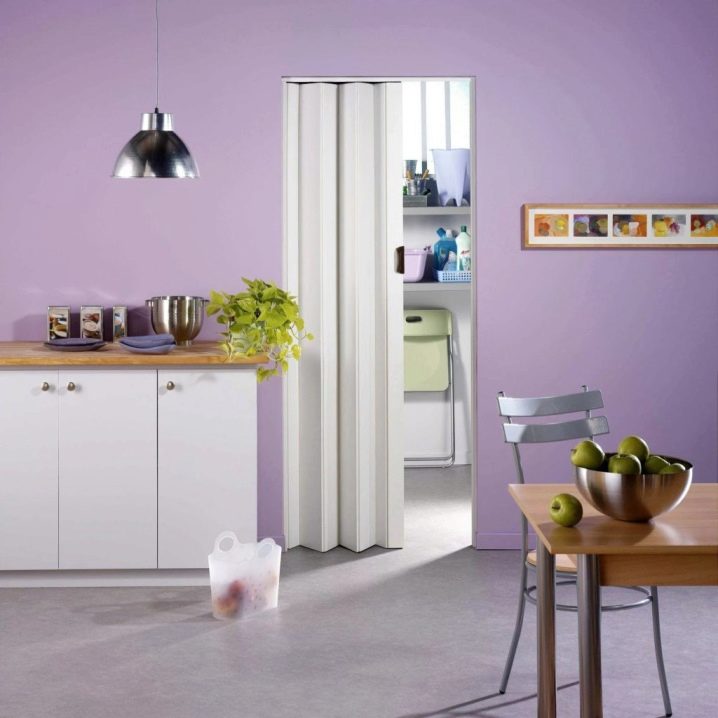
Collecting an interior "book" is no more difficult than the one installed at the entrance to the dwelling, moreover, it opens up a wide scope for experiments. Any home craftsman will gladly seize the opportunity to test their professionalism and gain additional experience.
Sliding structures are ideal for:
- Bedrooms;
- Living rooms;
- Workrooms;
- Kitchens.
For private houses and city apartments, single-leaf accordions are most often used, but in offices and public buildings, options with a pair of doors are used. If desired, it is not difficult at the right time to make the door wider or narrow it down by changing the number of panels.
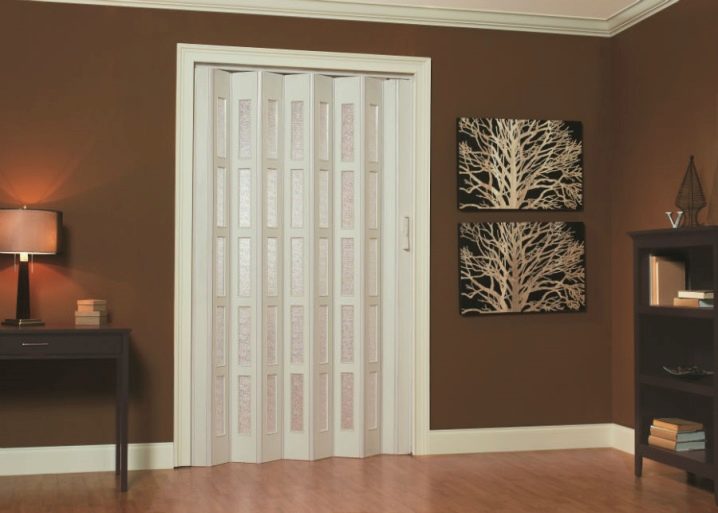
At the entrance to the kitchen and bathroom, it is advisable to use glass or plastic doors (unlike wooden ones, they do not deform under the influence of steam and water). For all other rooms, there are no material restrictions.

Note that more and more such doors are replacing shower curtains.
Before starting work, we recommend that you make sure that all the necessary components are in the kit:
- Sash panel;
- Top guide;
- A pair of carriage runners;
- Connecting loops;
- Adjustment key.


If the opening is of a standard width, that is, it does not exceed a meter, there is no need for a lower guide. In cases where the doorway is already a guide, you will have to cut off the required part from it with a metal saw. For doors that open from right to left, the latch is placed on the right; if they open from left to right, it is mounted on the left side. The end plate axis itself should fit into the latch, and the slider should be placed in the rail. The location of the metal axles is noted and holes are drilled for them (so that the depth is inferior to the length of the axis, which should protrude by the distance specified in the instructions). The lower axis rests against the receiving plates.
Important: the left and right panels should never be confused!


The hinges are carefully placed on the flaps, marking the required distance with a pencil or marker. Be sure to put three loops in the gap between the nearest flaps. For all of them, the horizontal position of the loops should be made the same. At the slightest displacement, distortions will occur, and the panels will crack. To be able to install the handle, a groove is drilled in the outer panel (preferably next to the hinge joint).
The workpiece from the connected flaps is hung on the fasteners, folded, lifting and driving the axles into the thrust plates. Further, the carriage axis is connected with an adjusting key to a plate located parallel to the extreme flap.Clips and stoppers are always metal, they are made of aluminum or steel. They try to place the guides only on top for the simple reason that this eliminates the need to make a threshold. Remember: when cutting the guides, you should remove the part in which the holes are located.

Sometimes it is necessary to install a plastic or wooden accordion door in openings wider than one meter. In this case, the number of upper runners must be increased and the lower guide rail is mounted. The fastening of the door and the retaining elements in it occurs in the same way as in the upper one. If the main construction uses leather, fabric, instead of loops, moderately hard fabric inserts are used to connect the fragments.
The accordion door is a completely reasonable and technically perfect solution. The installation of such doors is available even for a non-professional who, at least in the smallest degree, knows how to handle a plumb line and a drill. You just need to strictly adhere to the key requirements, and you will be assured of success!

How to properly mount the accordion door, see the next video.


The comment was sent successfully.