Brick arches: types, material calculation and masonry
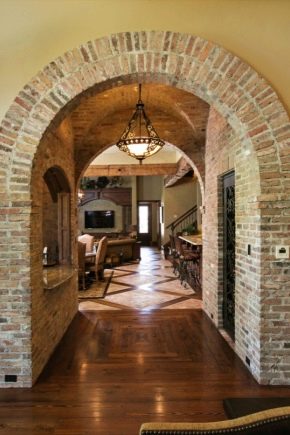
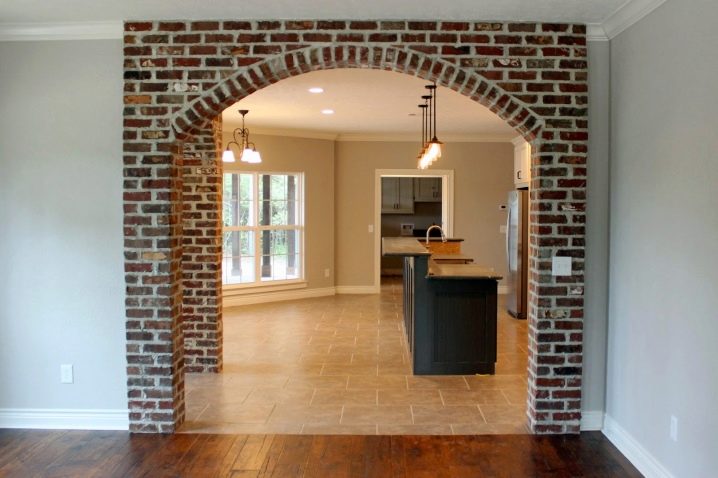
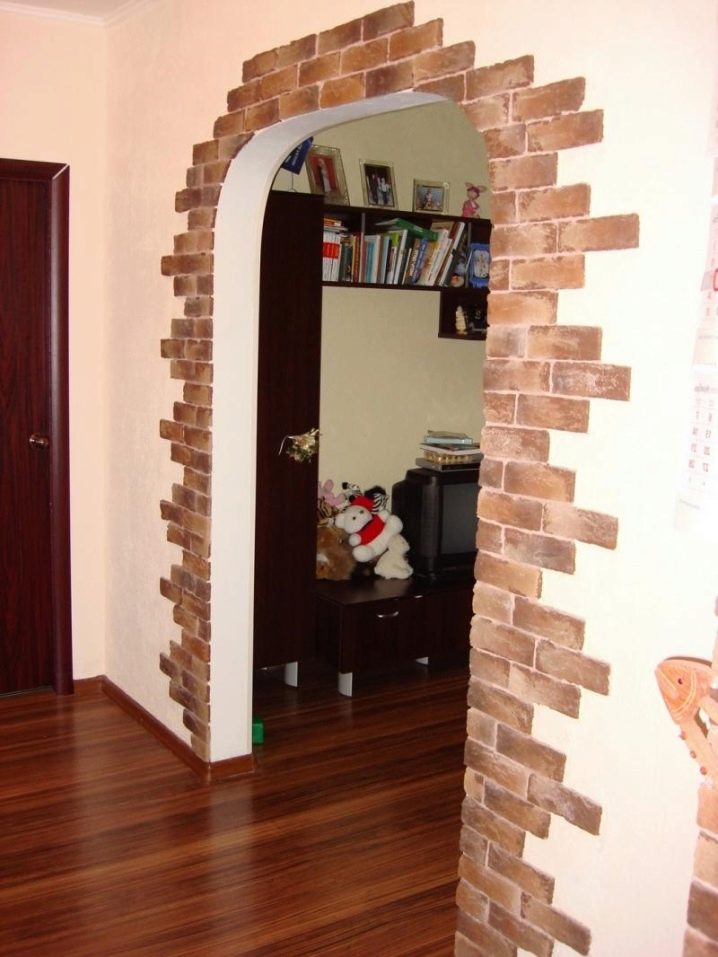
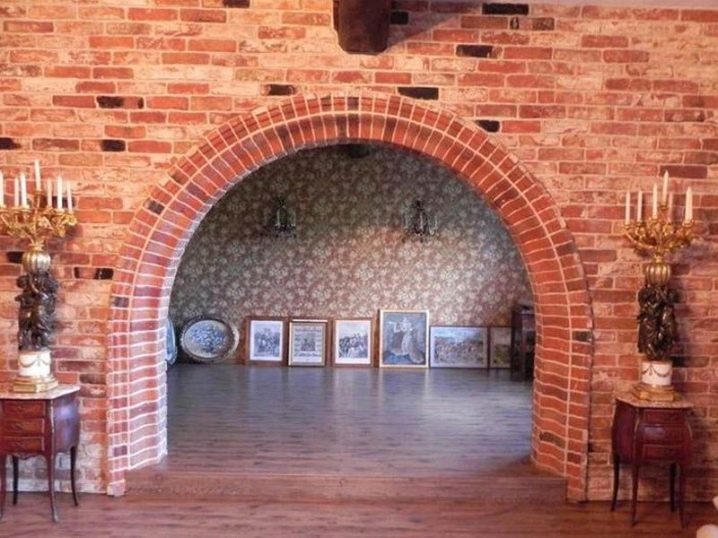
The arch is an architectural element and is a lintel in the wall opening. This beautiful structure makes the exterior of the building or the interior decoration more expressive. It not only effectively divides a room without a door, but is also able to distribute the load from the top point to the sides. Brick arches are most often performed from the outside. And in the interior, drywall is used to create a rounded opening.
Varieties
A curved brick lintel, called an arch, can be made in different ways, hence the variety of species is obtained.
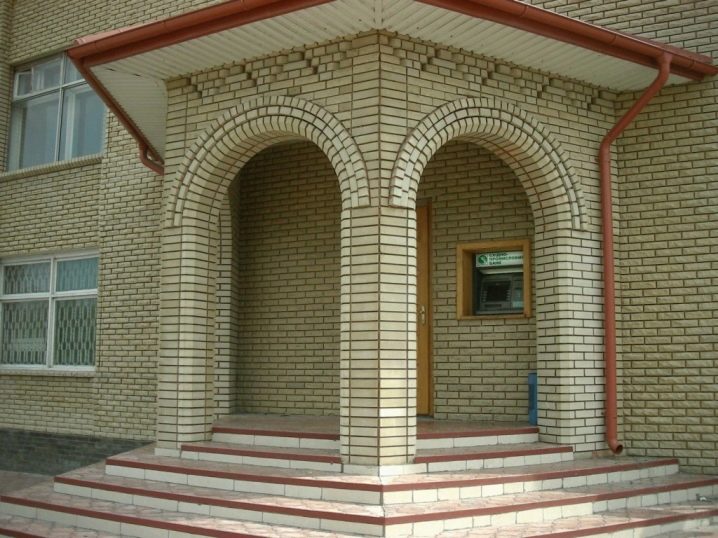
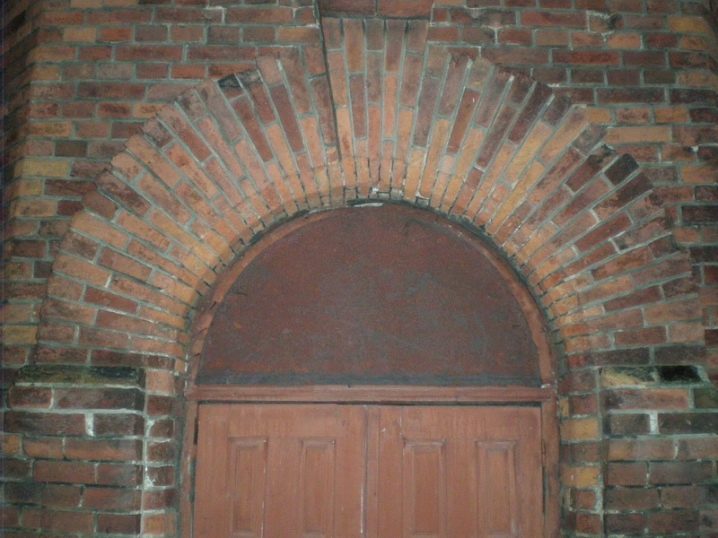
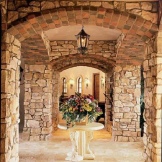
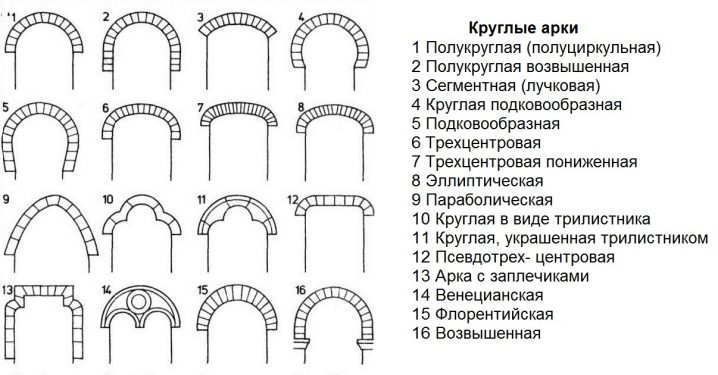
- The classic or full arch is a traditional semicircle. An arc lined with bricks is half a circle. A similar architectural element can be decorated with columns.
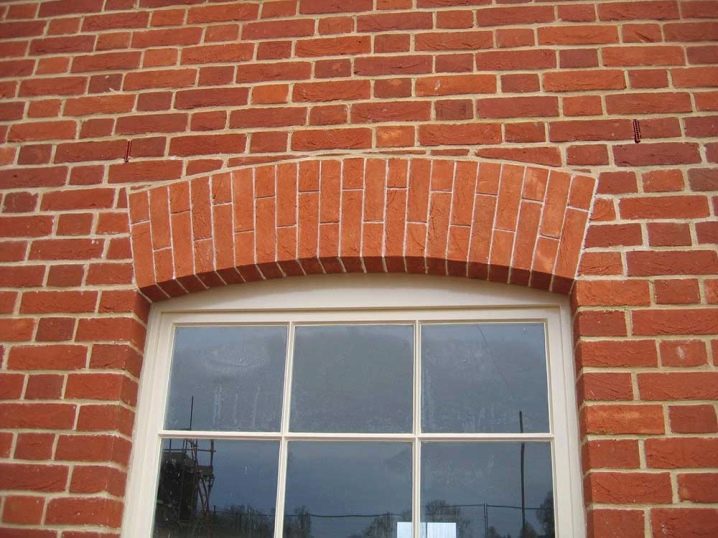
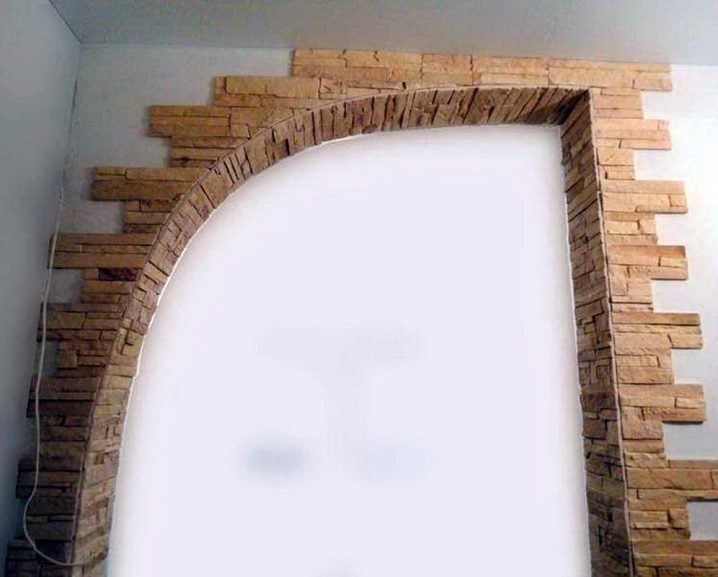
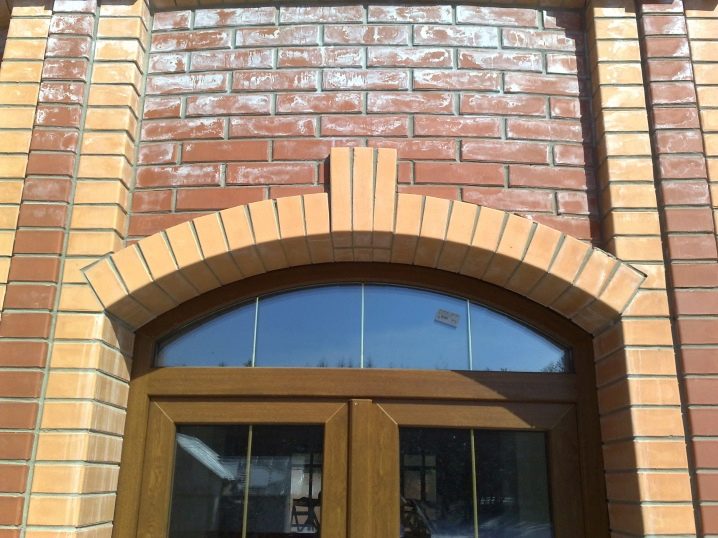
- The bow version looks like a truncated, incomplete classic arch (only the upper part). The lintel in this case is less than the radius of the door width.
- The wedge arches suit the Gothic style. In this design, the bricks are laid out with a wedge and fastened with a "lock".
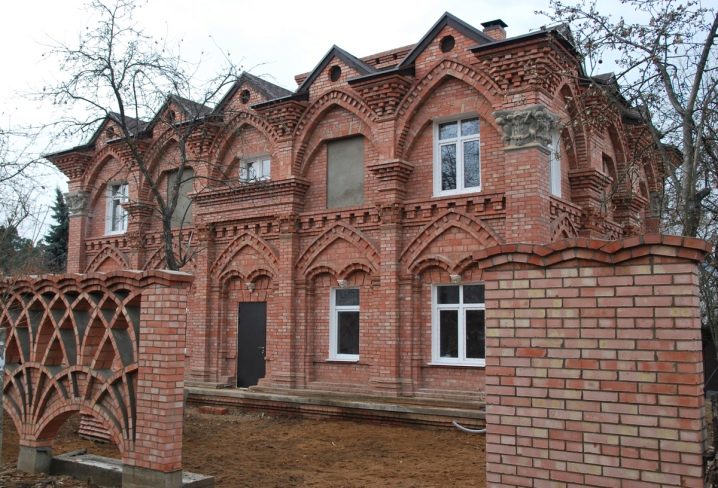
- Pointed (broken) arch consists of two halves, the highest point of which is not a circle line, but the apex of a triangle in a smooth design. The Gothic style often uses windows with broken lines.
- In the style of "romanticism", an opening view is used with a straight top part with rounded transitions to the side walls.
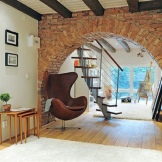
- In "modern" there is a very wide arc in the form of a truncated cone.
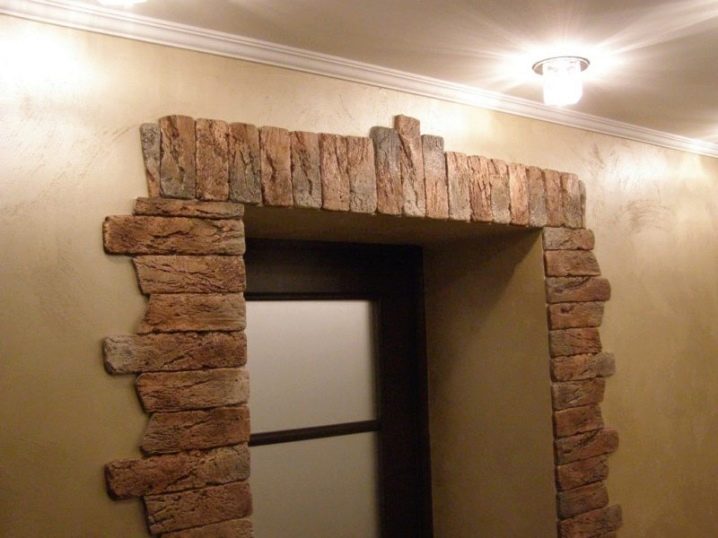
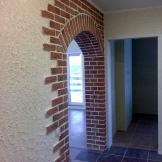
- The portal (straight) rectangular arch is so simple that you can build it yourself.
- Ellipse-shaped openings adorn various interior styles.

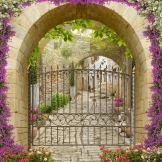
- Arches of irregular shape can be the most unexpected looks, for example, it can be a vintage garden structure.
Advantages and disadvantages
Before getting arches in the garden, in the yard or in the house, you should think about whether they are really needed, weigh the pros and cons, and only then implement your plan. The advantages of such structures include:
- spectacular appearance, you can always choose a shape that matches the style of the interior;
- portals, in the absence of doors, are able to expand the volume, they allow you to see only part of the territory outside their borders, and the rest of the space is drawn by the imagination;
- architectural lintels are reliable, they evenly direct the vertical load to the sides to the walls;
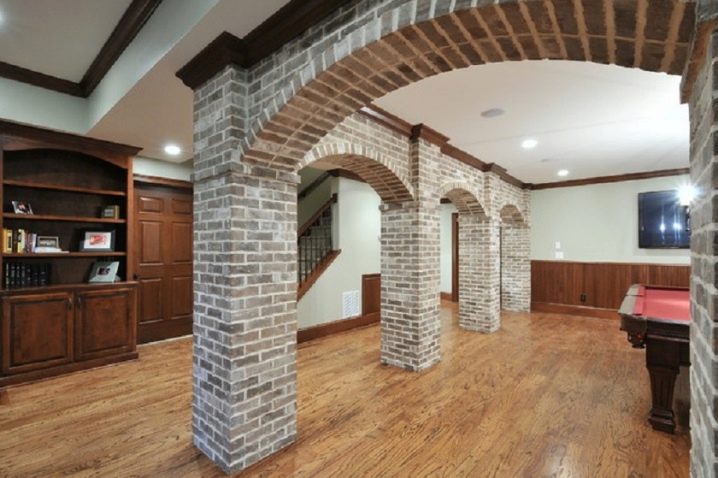
- arches are universal, they can decorate not only a door or window opening, but also a fireplace, a gazebo, a gate, a gate, even a blank wall.
On the downside, for some people, the lack of a door may seem uncomfortable. In addition, the arch obliges to maintain the overall style of the room. And whoever decides on an independent installation will have to perform all operations in a strict order.
Mounting
A brick arch can be laid out with your own hands. You need to start by choosing a place and type of construction. The complexity of the execution depends on the model, but the sequence of construction work for all types of structures will be approximately the same:
- a sketch of the selected arch model is drawn;
- calculations are made;
- a drawing is drawn up with dimension marks;
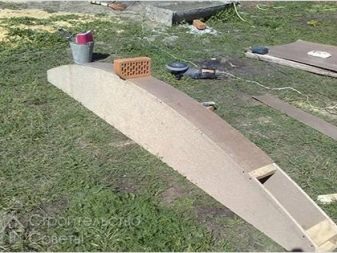
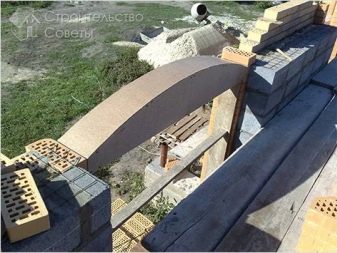
- a template is made from chipboard according to the drawing;
- the template is installed in place of the jumper;
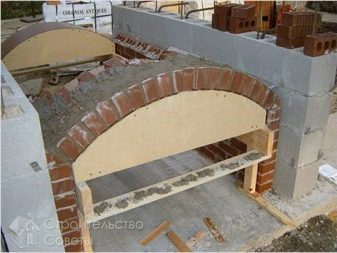
- an arch is laid out from bricks;
- the laid out structure is fixed, fixed;
- the template is removed;
- for finishing work, plaster can be used.
It is not difficult to build an arch, but in order for it to be stable, not to collapse, it must be folded correctly. For this, a clear sequence of construction work is observed. If the structure is wide, massive, reinforcement of the foundation may be required.
What to make of?
The building material for the manufacture of an arched opening should be prepared in advance. Bricks are often used clinker or solid ceramic (M-150). If you do not want to independently shape the brick into a trapezoid, you can purchase a ready-made wedge-shaped stone. For stove and mantel arches, the solution is made with the addition of chamotte clay and sand, it has refractory properties. For other types of construction, you can choose other types of solutions with increased adhesion. For the template, you will need chipboard sheets and bars.
Calculations and template creation
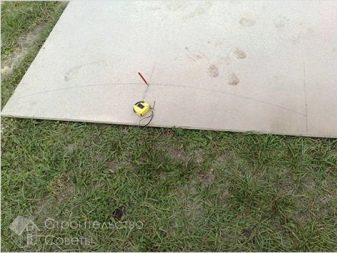
If you have chosen a location and you have a sketch of the model ready, you can proceed to the calculations. You need to know the size of the wall from floor to ceiling. Then mark the height and width of the arch itself, calculate the radius. To make a template, you will need to find out the thickness of the supporting parts, measure the distance from the highest point of the structure to the ceiling, the height and width of the opening.
To calculate the radius of the lintel, add the square of its height and the square of the width / double the height of the lintel (usually it is 1-2 rows of masonry). The radius is half the width of the opening. In the same way, calculations are made for the template. The template is made slightly smaller than the arched structure, so as not to damage the masonry during dismantling.
A drawing of a half circle with a calculated radius is applied to a chipboard sheet. Then two identical semicircles are cut out and fastened with bars into a single structure. The template is temporarily mounted in the opening and fixed on spacers and wooden fasteners (supports).
Using the length of the arc, the amount of brick required is calculated, the seams also need to be taken into account, but make them as minimal as possible. The size of the brick wedge is selected visually, in the course of work, the wedge-shaped shape of each stone is hewn out. You can immediately purchase a wedge-shaped brick, but the masonry errors will be more noticeable than with an individual fit.
How to upload?
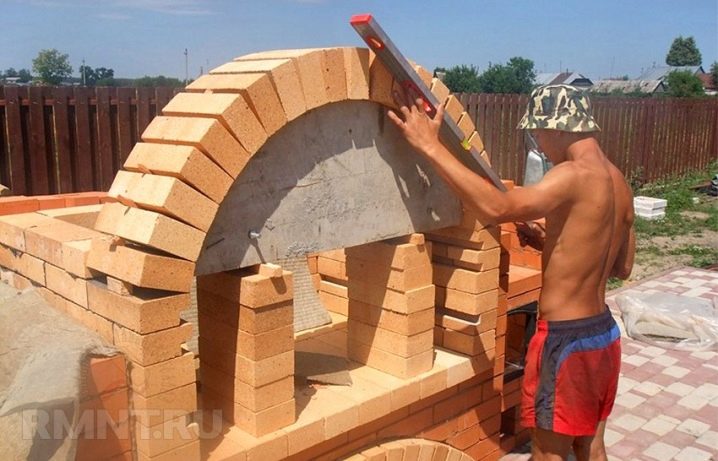
After installing the template, proceed to the brickwork of the opening itself. The bricks in the columns are laid from bottom to top, on both sides at the same time. All seams are carefully filled with mortar, voids can further cause the destruction of the structure. The last brick is hammered in the central upper part, a "lock" is installed, it will fix the structure. The template is dismantled only when the entire structure is completely ready. Then the excess mortar is removed, the seams are leveled, the masonry is prepared for facing work. For finishing, you can choose decorative plaster.
Common mistakes
The arch must distribute the load from the center to the column; an improperly built structure can crack and sometimes collapse. Most often, during installation, the following mistakes are made:
- the load will be unevenly distributed if a very wide opening does not have sufficient height;
- it is impossible to replace the template with metal corners, chipboard, unlike metal, contributes to the natural shrinkage of the entire structure;
- untimely dismantling of the template can swell from the moisture of the solution and partially destroy the structure;
- a weak foundation creates the danger of subsidence of the structure, which leads to its destruction;
- large radii should be calculated especially carefully, since such structures experience special loads.
If you take into account all possible mistakes, make efforts and efforts, you can build a beautiful arch with your own hands. This decorative structure will decorate the courtyard, garden or apartment interior.
How to make a brick arch correctly, see the video.


The comment was sent successfully.