How is LED backlighting repair and replacement carried out on Samsung TVs?
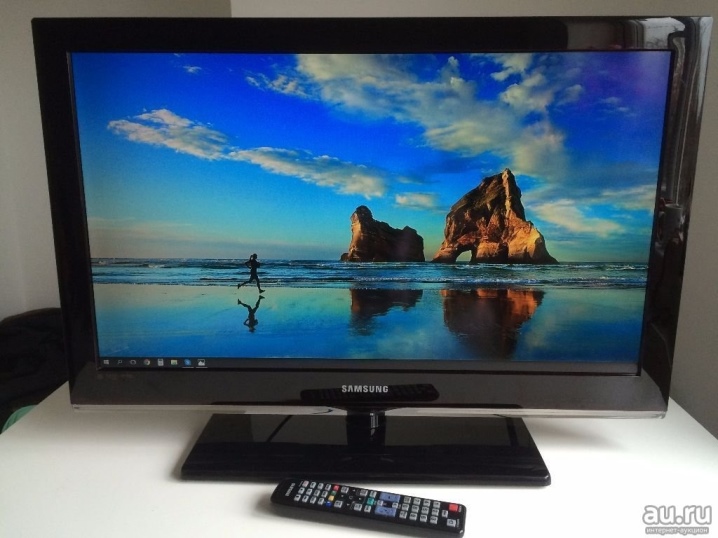
The high quality and reliability of Samsung TVs does not protect them from damage. Some of the most common breakdowns are associated with LED backlighting. Such malfunctions are not particularly difficult, therefore they can be eliminated at home.

Causes and diagnostics of LED backlight breakage
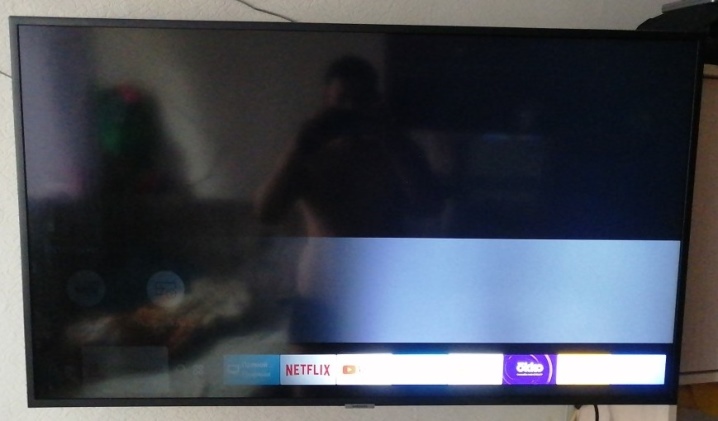
The following signs indicate a breakdown of the LED backlight:
- lack of an image when the sound is running;
- flickering image;
- blinking of the TV with a red light.
Such situations can arise for the following reasons:
- equipment operation at maximum power;
- power drops and thunderstorms;
- a factory defect may be associated with the installation of defective diodes or their overheating during soldering;
- burnout of one LED.
Before moving on to the practical side, you need to learn a little theory.... There are two types of light-emitting diode (LED) backlighting on Samsung TVs.
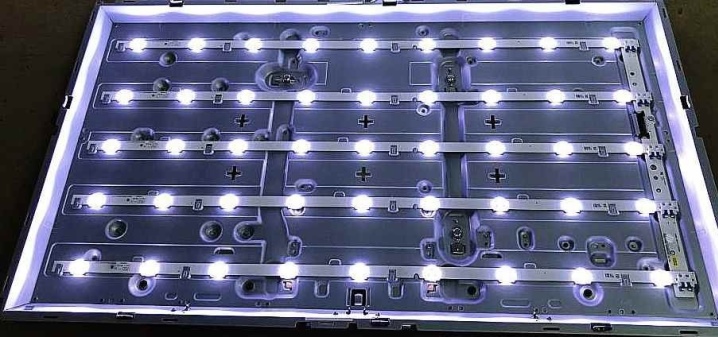
- Direct LED is distinguished by the location of the LED strips - horizontal or vertical rows are created from them on the reverse side of the matrix. The image is backlit evenly and the brightness of the backlight can be adjusted, which improves the picture quality. Such screens do not have the smallest thickness, which is the main disadvantage of such backlighting.

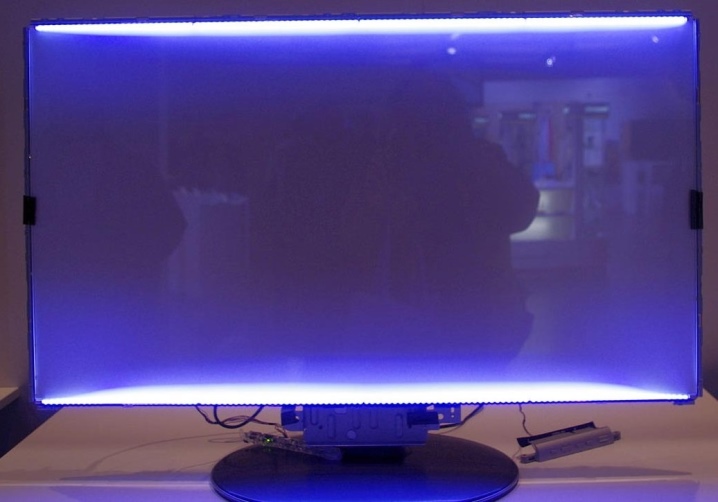
- EDGE LED provides for the location of one or two strips on the sides or on the bottom of the panel. Although there is a slight darkening in the corners of the screen, the TVs are very thin.
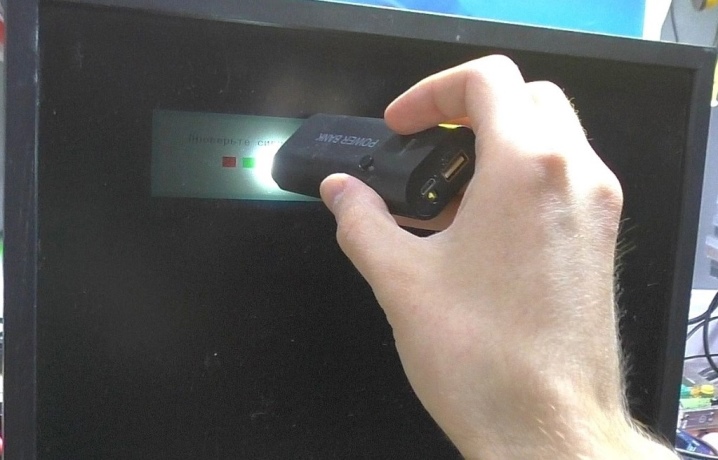
Diagnosis of a faulty backlight in both cases is the same. You will need to direct a beam of bright light onto the screen. If the picture is viewed, it means that the breakdown is precisely in the backlight.
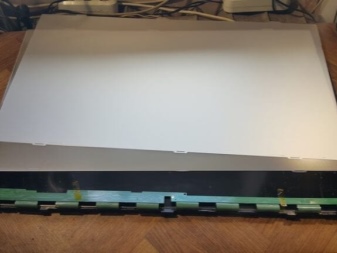
Samsung TV disassembly
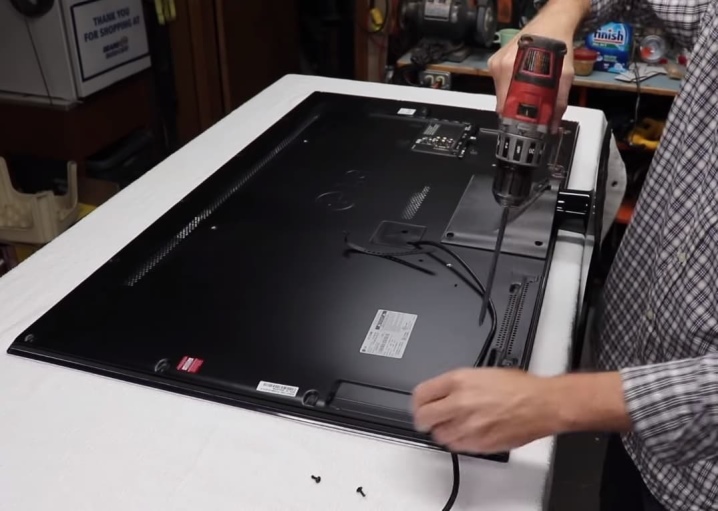
For LED backlight repair need to disassemble the TV. To do this, the panel is laid with its front side on a flat surface covered with a sheet or blanket. Such precautions will prevent damage to the matrix.... Now you need unscrew all fastening boltsthat hold the back cover. If it cannot be removed, it means that some bolt went unnoticed.
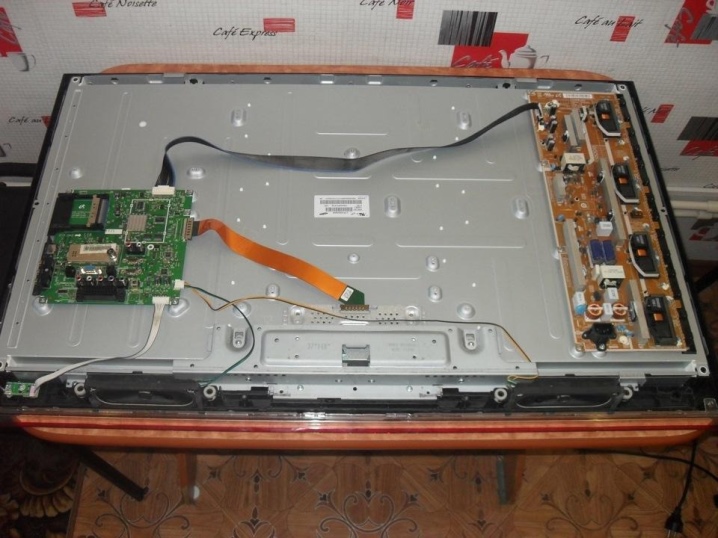
We remove all the cables and proceed to the analysis of the matrix. This stage is difficult and responsible, it requires caution and accuracy. The matrix is held by latches, for which experts prefer to use special "paddles". The difficulty lies in the lateral matrix drivers, on the inner side of which crystals or "petals" are located. If the crystal is deformed, then the image will be transmitted with linear defects. It is almost impossible to remedy this situation.
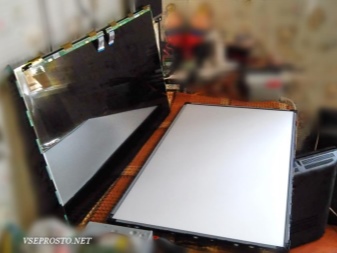
After removing the frame, the matrix strips can be removed from the grooves... This requires wearing anti-static gloves and taking extreme care to remove the glass. It cannot be laid, it is better to lean against the wall with its back side. Now you can execute dismantling the frame, which is fixed with latches. Removing polarizing sheets, the last of which is fastened with clamps. These elements hold the main reflector and prevent the top sheets from sagging.
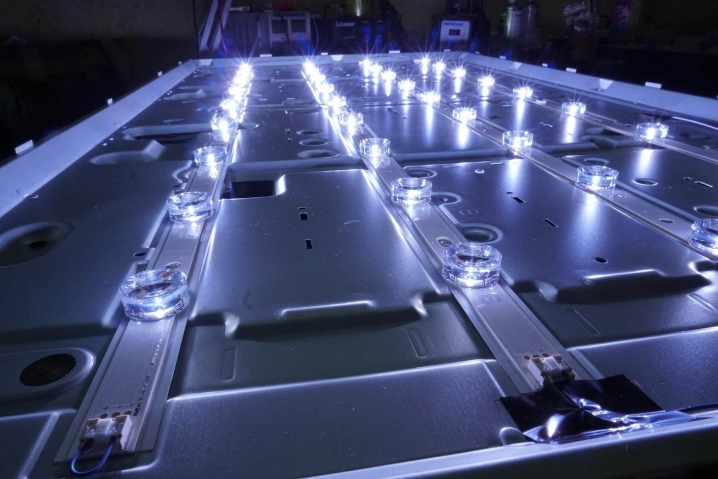
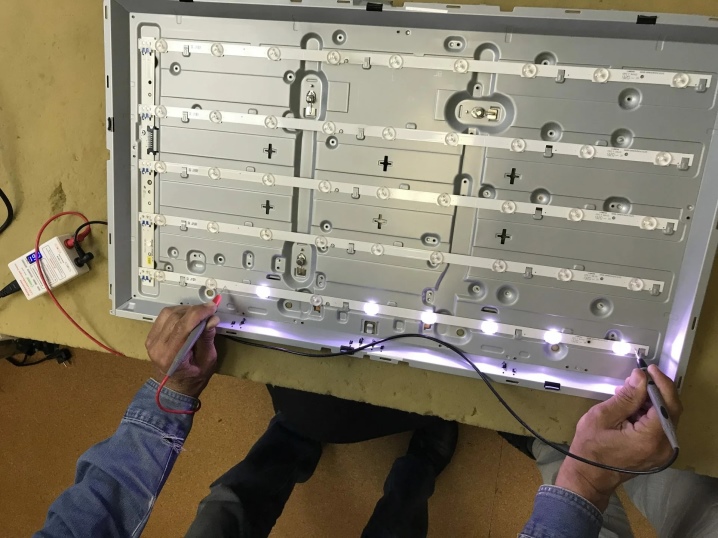
Now follows take measurements, which will confirm the backlight malfunction. Necessary measure the voltage on the driver with a multimeter... If the part is in good working order and power is supplied to the tape, then the output value will be 220 volts.
It is not necessary to test every LED. You can apply voltage to the bar.If all the "bulbs" are on, it means that everything here is in good working order.
The absence of a glow on one of the strips will indicate a malfunction of one or several LEDs at once. In this case, you will need to check each of them.
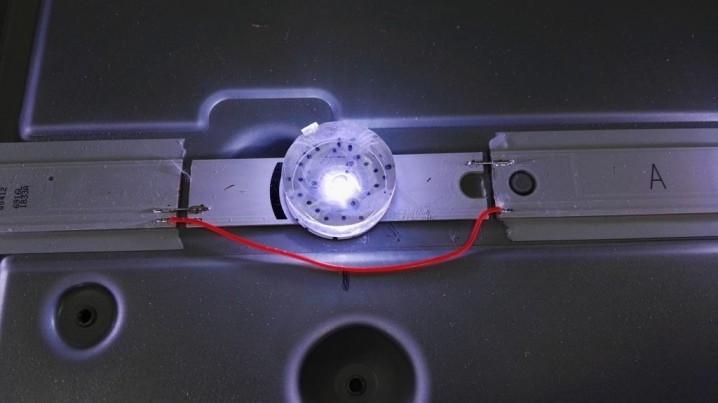
Repair
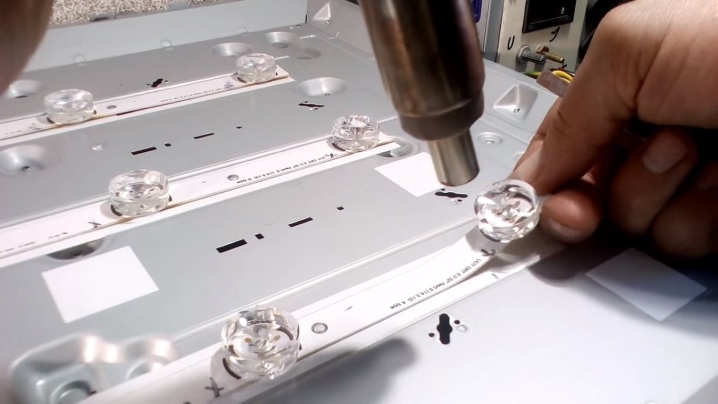
Having identified the faulty elements, you need to replace them. To eliminate a burnt-out LED, you need to dismantle the reflective lens. For fastening the strip, double-sided tape is used, which is removed by heating with a hairdryer.
Now we fix the part and heat the lower side with a soldering hairdryer near the LED. It is necessary to achieve melting of the tin, which will allow you to remove the bulb. The soldering process is carried out in the same way or a thin soldering iron is used. LEDs have a "delicate" design that melts easily when heated. Therefore, you need to act very carefully. The LED may vary in size. In this case, the minus platform is cut off and after that the lamp is soldered.
The situation is not an exception when lenses are removed. To fix them, a compound is used. Is a polymer resin, which is both a protective and an insulating layer. Removing the lenses should be done with care, just like installing. To fix the lenses, you can use Super glue.
It is important to keep them in the same position so that focus is not lost.
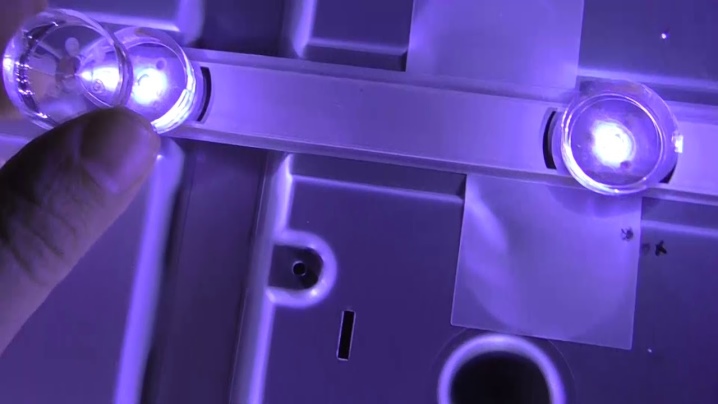
It is not always possible to remove a faulty LED... In such cases, it is necessary to cut out the burned-out LED along with a part of the strip on both sides. The new part is also cut along with the bar. The paint is cleaned from the planks, and the parts are soldered. Upon completion the bar with the replaced LEDs must be checked for operability.
It remains only to collect the plasma in reverse order., check its performance and you can use the TV. Do-it-yourself Samsung TV LED backlight repair is now complete.
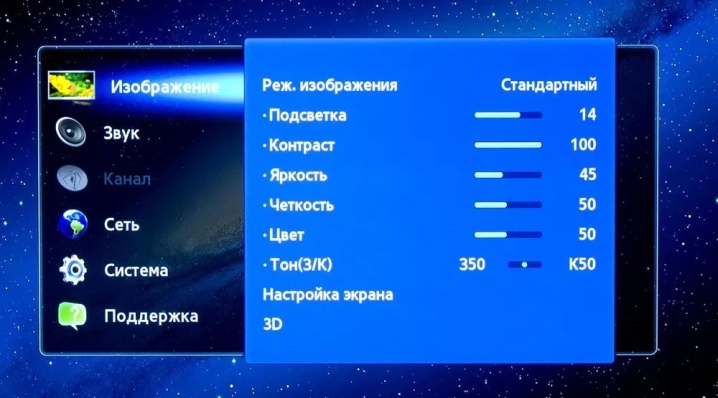
Prevention measures
There is a surefire way to keep the backlight working for a longer period. It consists in reducing the brightness of the backlight to 75%. It is important not to confuse this setting with screen brightness.... With such settings, the LEDs will work in a sparing mode, receive normal, and not increased voltage, therefore, they will be able to last much longer.
See below a master class on replacing the LED backlight of a Samsung TV.


The comment was sent successfully.