How is the cuff replaced on an LG washing machine?
Any automatic washing machine is a complex device in which every detail is important and necessary. If one of the parts fails, the operation of the entire unit stops. Each washing machine has a rubber collar on the loading door that can wear out over time.
Is it possible to replace this part on your own, without contacting specialists, and how to do it correctly - we will consider in this article.
Malfunction symptoms
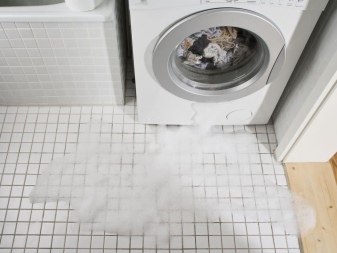
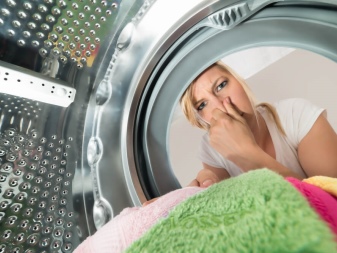
It is possible to determine the presence of problems with the sealing gum on the door by the uncharacteristic operation of the unit. There are 2 sure signs by which you can identify a malfunction of the cuff in the LG washing machine:
- water leakage from the car in front indicates a violation of the seal due to the worn out cuff;
- an unpleasant smell from the machine indicates the development of harmful microorganisms inside it.
Breakdown reasons
A broken cuff raises a logical question for users about what could have led to this problem. The cuff can become unusable due to the following factors.
- Natural wear and tear is an inevitable process that all parts and mechanisms are subject to. The cuff rubs against the body of the machine during operation and comes into contact with aggressive detergents, which accelerates the process of natural wear.
- The development of mold and mildew adversely affects the condition of the material from which the cuff is made.
- Aggressive laundry detergents destroy the rubber, making it loose and shortening its service life.
- Inaccurate operation of the machine, which implies a sharp opening / closing of the door, as well as loading a large amount of laundry.
- Contact with sharp metal objects that can damage the cuff and break its integrity.
Preparation for work
Do not start replacing the cuff without prior preparation. Such foresight will allow avoiding many difficulties and problems in the process of work. The essence of the preparatory stage is as follows.
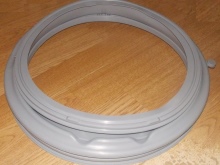
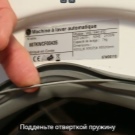
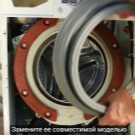
- We are buying a new cuff that will fit exactly the model of the washing machine. You can find out the full and exact name of the model by a special sticker above the hatch or on the back of the case. With this information, you can easily find the right part.
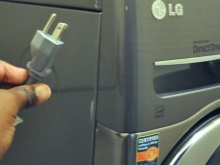
- We disconnect the equipment from the network, water supply and sewerage, choose a convenient place for repair work.
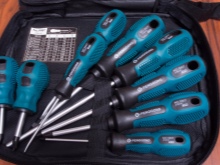
- We are preparing a set of screwdrivers (flat, cross), which will help in disassembling the machine. You can also stock up on a screwdriver that will make it easier to unscrew the fasteners. You can prepare a flashlight - it will not be superfluous either.
At this stage, the preparation can be considered complete.
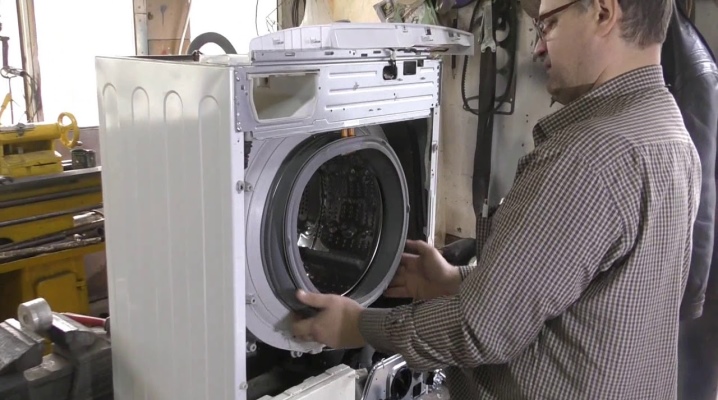
How to remove the rubber seal from the drum?
To replace the cuff, you first need to dismantle it, and for this, in turn, you will need to disassemble the machine to some extent. A practical guide is as follows.
- You need to start by removing the top cover, which is held by several screws.
- We take out the tray for filling the detergent. Fasteners are hidden behind it, which also need to be unscrewed.
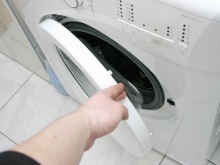
- At this stage, we can already dismantle the control panel, which is fixed with plastic latches. It is convenient to pry them off with a Phillips screwdriver.Press on the latches carefully, as they can easily break.
- When removing the panel, do not make any sudden movements as the wires are attached to it. They do not need to be disconnected - the panel along with the wires can be placed on top of the machine body.
- Using a flat screwdriver, we hook up the hatch cover, behind which the trash filter is hidden. This part is located at the bottom of the panel.
- After removing the cover, you need to move the emergency drain hose to the side and unscrew the fasteners for the decorative panel. It is also held in place by latches that you need to gently pick up and then pull off the panel.
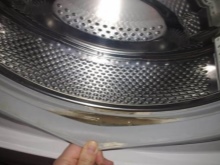
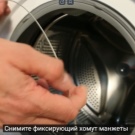
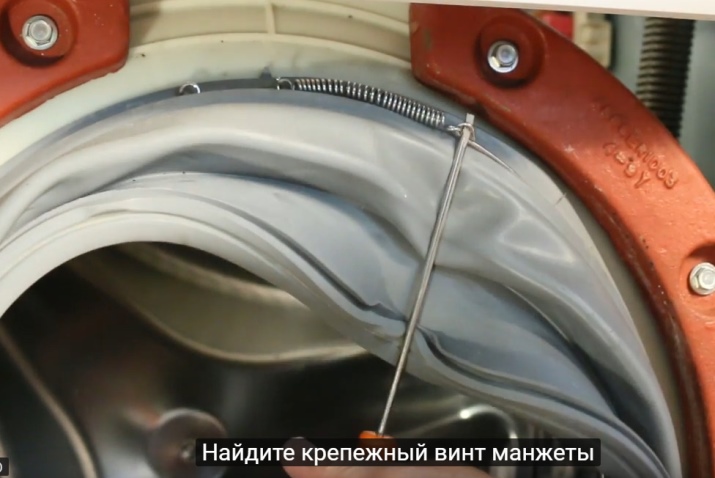
- We open the hatch door and, using a flat screwdriver, pry the spring on the cuff clamp. We move the spring to the side and pull off the clamp.
- We fill the clamp inside the drum and go to the blocking system. It is held by two bolts, after unscrewing which the part can be pressed into the machine body.
- The front wall is held in place by several more fasteners, the unscrewing of which will allow it to be completely removed. In this case, the hatch cover remains in place for now.
- The cuff fitting is connected to the hose to be removed.
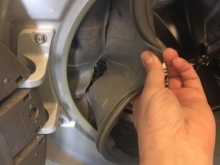
- The inner clamp remains on the seal, which is dismantled in the same way as the external one - we pry the spring with a screwdriver and pull it towards ourselves.
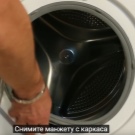
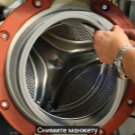
- Now you can deal directly with the cuff. Removing it will require some effort, since it sits firmly in the grooves. Here you can not be afraid to use brute force, because the old seal will still be thrown away.


Installing a new sunroof seal
Now you can install a new part, for this you need to follow simple steps.
- The vacated seat usually contains a large amount of dirt - we thoroughly clean it out.
- Remove the bushing from the old part and insert it into the new seal.
- Turn the new cuff upside down, check the alignment of the arrows on the seal and the machine body. We also check the coincidence of technological notches. If everything matches, then you can insert the cuff into the seat.
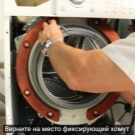
- An internal clamp is used for fixing. You can use the old one if its condition is not satisfactory. It is necessary to stretch the spring and pull the clamp over the seal. This stage is one of the most difficult. It will be convenient to use two screwdrivers. Caution will not hurt, as the cuff can be punctured, causing it to become unusable.
- We connect the fitting to the tube and assemble the machine in the reverse order.
In such a simple way, an independent replacement of the sealing gum is performed. You will have to tinker with the typewriter, but money will be saved on calling the master.
Prevention measures
In order to encounter cuff malfunctions as rarely as possible, it is necessary to follow simple preventive measures.
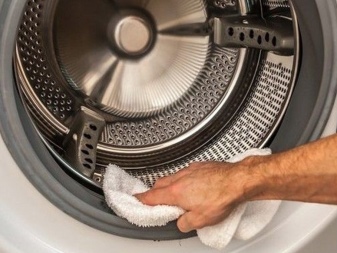
- After each wash, wipe the cuff with a dry cloth to remove any remaining water. Otherwise, the pathogenic microflora will actively multiply, and with constant contact with water, the rubber will lose its performance characteristics.
- Powder residues gradually collect in the grooves of the sealant, which turn into a thick coating. It must be removed periodically, as detergents can adversely affect the performance of the rubber.
- When loading things, you should carefully check the contents of the pockets. Foreign objects in the drum during washing can damage the cuff and render it unusable.
- It is necessary to strictly follow the manufacturer's recommendations regarding the weight of the loaded laundry. Not only is the maximum weight important, but also the minimum weight.
- Clothes with iron elements and large decor should be washed in special bags, which are also mandatory for shoes.
- The washing machine should be cleaned using special products regularly - at least 2 times a year.Complete mechanical cleaning is desirable every two years.
- The hatch should be slightly open when the machine is not in use to provide ventilation.

See the video on how to replace the cuff below.


The comment was sent successfully.