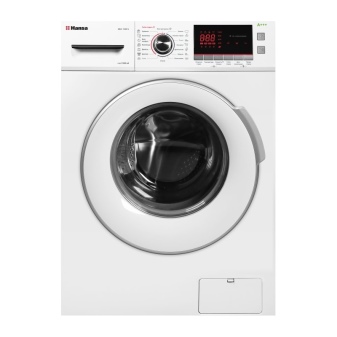
How to repair a Hansa washing machine with your own hands?
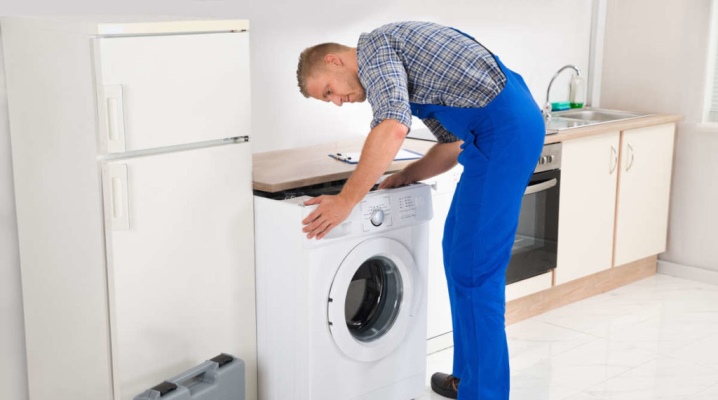
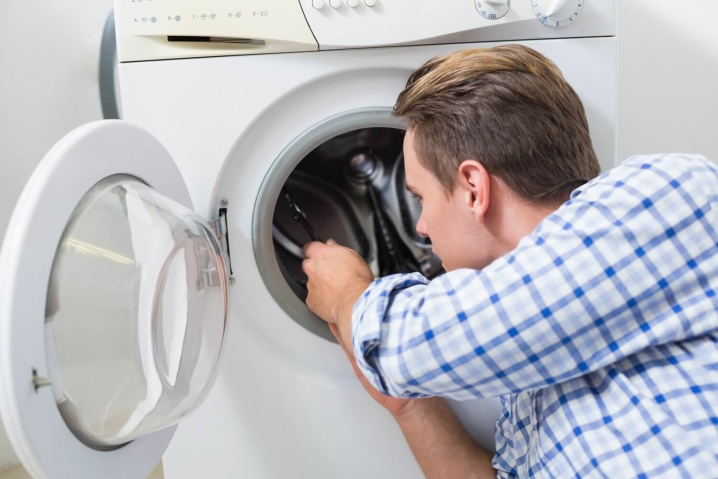
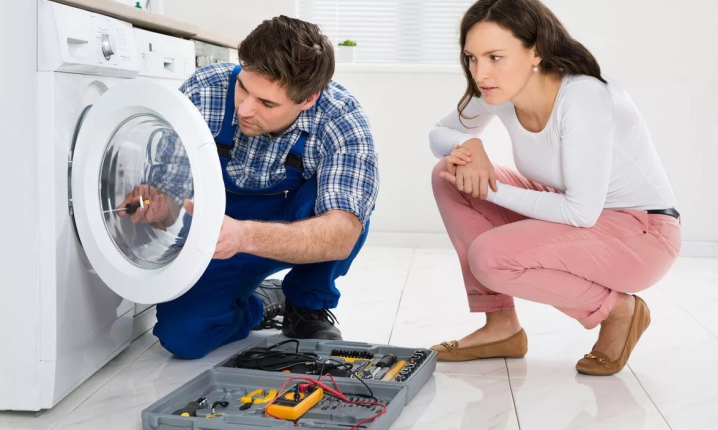
Washing machines from the German company Hansa are in demand among consumers. This is not surprising, since technology has many advantages. But sooner or later, it may also break. First, the diagnostics of the equipment is carried out in order to find the cause of the breakdown. In some cases, it is quite possible to carry out repairs yourself.
Design features of Hansa washing machines
Washing machines differ from each other in functionality and color. When choosing, you should pay attention to the design features:
- there are models with top loading available, they are suitable for small bathrooms;
- the washing machine is equipped with a special system that protects parts from wear and tear;
- to create a solid structure, manufacturers install a SOFT DRUM drum;
- the Logic Drive motor operates using an electromagnetic field, so the machine works almost silently;
- the appliance door can be opened 180º;
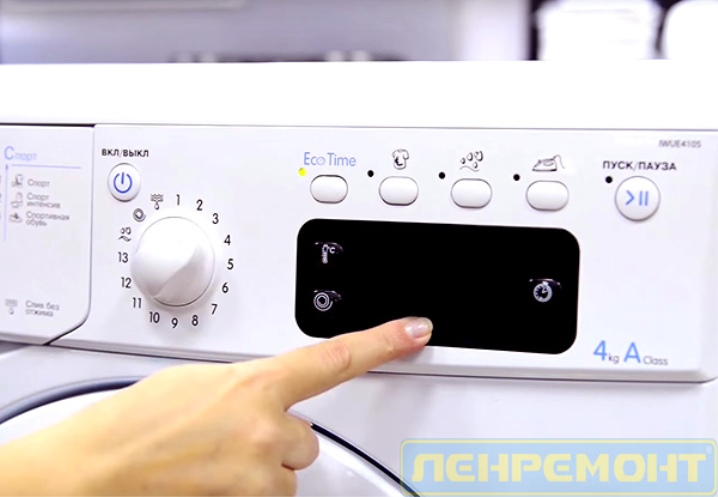
- to make it convenient to understand the control of the machine, there is a display on the unit;
- the electrical appliance independently monitors the amount of foam and voltage drops;
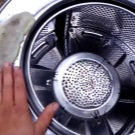
- the holes in the drum are small in diameter, so small objects will not fall into the tank;
- the equipment is equipped with water injection into the tank;
- underneath there is a container for water, thanks to which up to 12 liters of liquid are saved.
Since the Hansa washing machine has a unique control system, it can help you save on electricity and water bills.

Diagnostics
Repair technicians, before proceeding to troubleshoot, diagnose equipment. The process is divided into several stages.
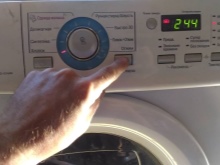
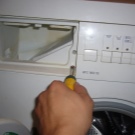
- The service mode starts. The appliance is set to the "Ready" state. The knob is turned to zero program, pressed and held in START mode. After that, the switch is set to position 1, and then turns to program 8. The START button is released. The switch is put back in the initial position again. Pressed, and then released the button. The machine door should lock.
- The filling of the equipment with water is checked, first by monitoring the level switch, and then using solenoid valves.
- The liquid is pumped out by a drain pump.
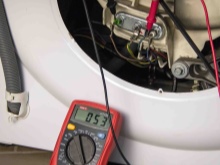
- The electric heater and temperature sensor are examined.
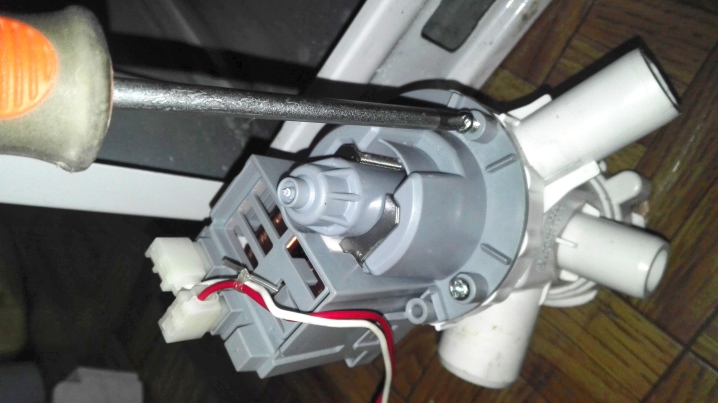
- The operation of the drive motor M1 is checked.
- The water injection system is being investigated.
- All operating modes of the CM are disabled.
After diagnostics, the washing machine is taken out of the service mode.
Disassembling the case
You can disassemble the appliance with your own hands. You need to be very careful and careful during work so that the screws are not lost and the parts do not break. The whole process is divided into several stages.
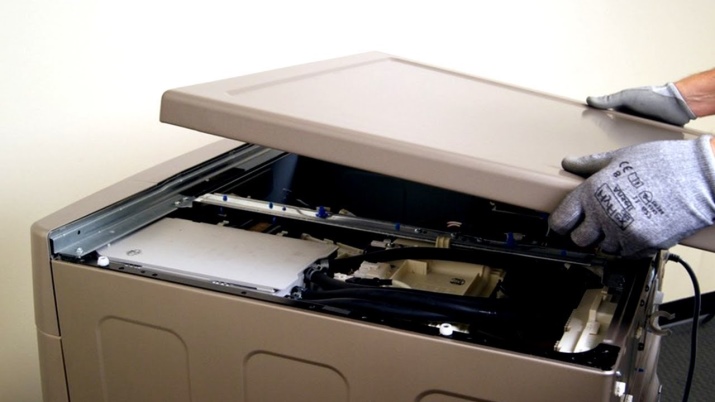
- The top cover is removed, the bolts are previously unscrewed.
- The panel at the bottom of the device is dismantled. Screws are unscrewed from the end: left and right. Another self-tapping screw is located near the drain pump.
- A container for chemicals is pulled out. Unscrew the screws under the device.
- From above, two self-tapping screws are unscrewed, which connect the control panel and the case itself.
- The board itself is pulled out and left on the side. To prevent the part from accidentally breaking and falling off, it is screwed on with tape.
- The transverse metal strip is dismantled, the pressure switch is unhooked.
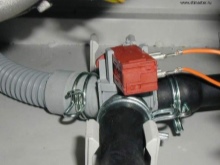
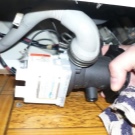
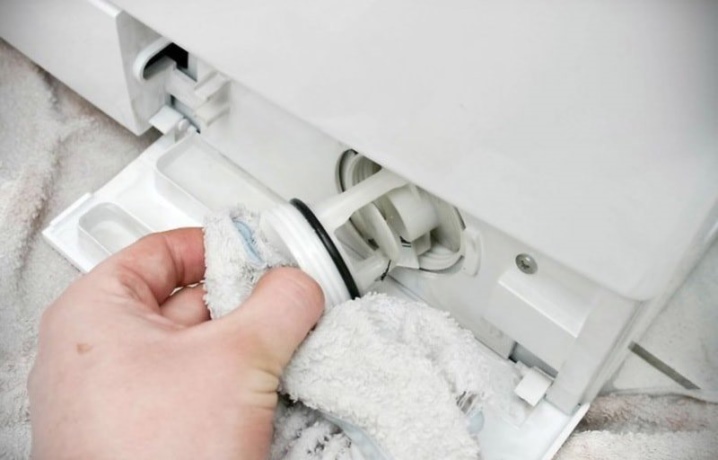
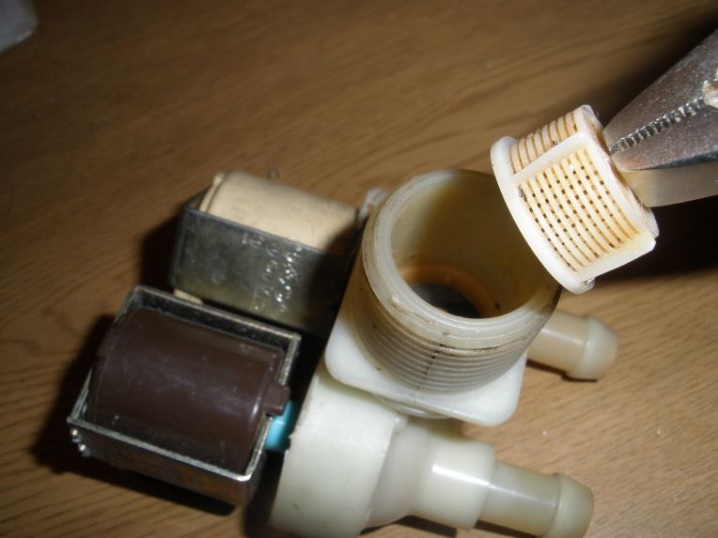
- At the back, the screw is unscrewed, which holds the inlet valves for filling the liquid.They are removed, the filter mesh is immediately checked for clogging. If there is debris and dirt, then the part is pulled out using pliers and a screwdriver. It is washed under the tap and installed in place.
- The upper hangers are dismantled, you need to carefully handle them, since they are made of concrete and weigh a lot.
- The spring is detached and the dispenser is removed, but the clamp is first moved from the branch pipe. The rubber is pulled out.
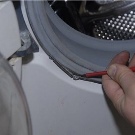
- The hatch opens, the collar that holds the cuff is pulled together. The rubber is detached. Self-tapping screws are unscrewed from the front panel, which can be easily removed.
- Dismantle the counterweights located near the cuff. The grounding and the chip are pulled out from the engine.
- The drive belt is pulled off from above and the motor itself is pulled out, the screws are unscrewed.
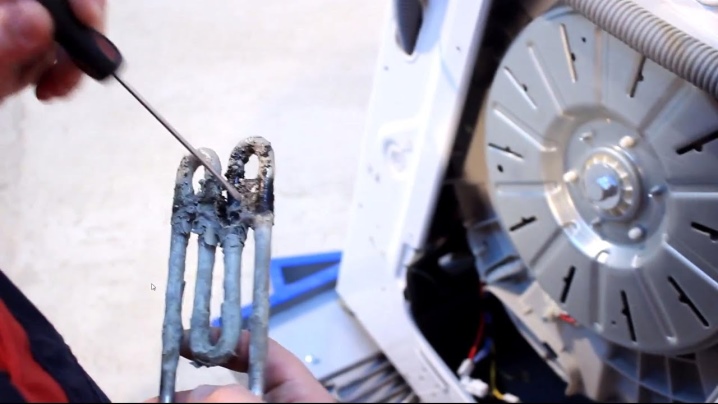
- Chips and contacts are detached from the tubular heater. Pliers bite off the plastic clamps connecting the tank and the train.
- The terminals are removed from the drain pump, the branch pipe is unhooked.
- The tank itself is pulled out. The device is heavy, so you need an assistant.
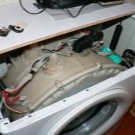
The case is completely disassembled. All details are carefully examined. Broken devices are replaced with new ones, and the machine is reassembled in the reverse order.
Typical malfunctions and how to fix them
Breakdowns in a Hansa washing machine can vary. Before starting repairs, you need to find out the cause of the problem, all parts are bought in advance. Typical problems and how to fix them can be as follows.
- The filter is clogged - the back panel is unscrewed, clamps are looked for connecting the hose and the pump. They go down. The drain hose is detached, washed or cleaned with a special cable. The assembly is carried out in the reverse order.
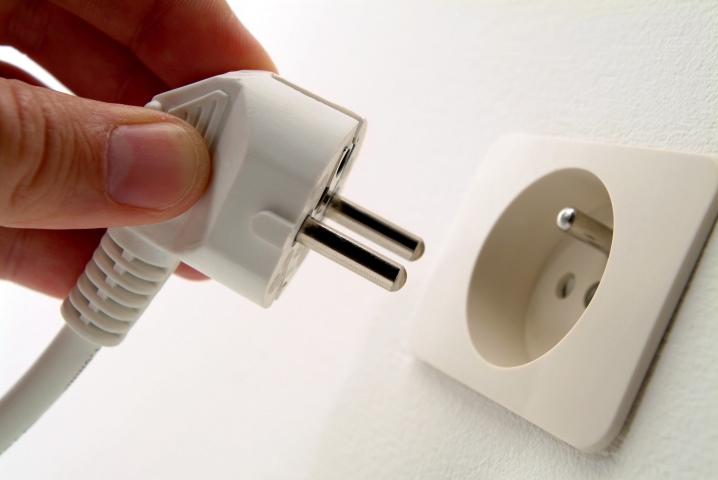
- Does not turn on - the presence of electricity is checked, the serviceability of the outlet. If everything is in order, it is most likely that the electronics or the engine are broken.
- The pump is faulty - the water is drained from the machine, the tray for chemicals is removed. The technique is turned over on one side, the bottom is unscrewed. The wires are disconnected from the part. The impeller is removed, and the pump itself is checked for blockages. A new impeller is being installed. The wiring is connected, all fasteners are tightened.
- Failed heating element - the appliance is disassembled. There is a heating element in the drum. All wiring is disconnected, the nut is unscrewed, but not completely. It is pressed into the technique. The gasket is wrung out. The heating element is removed and replaced with a new part.
- The system "Aqua-Spray" - a path from the structure is searched for near the inlet valve. Plugs are removed. A bottle of water is taken and poured into the tract. It is checked how the liquid goes inside. If there is a blockage, then the path is cleaned with a wire. Warm water is poured in periodically. After removing the blockage, the technician is assembled.
- Having problems with the power grid - all Hansa cars are protected from voltage surges, but breakdowns still occur. In this case, you need to contact the master, and not try to do something with your own hands.
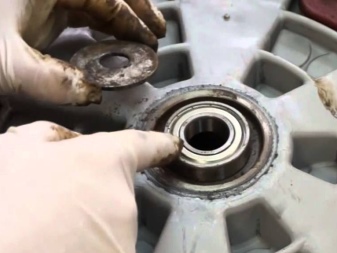
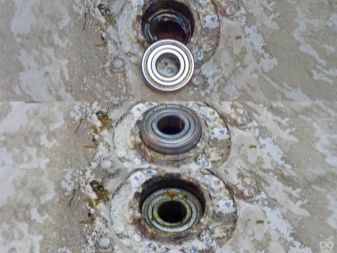
- Bearings worn out - the top panel is removed, the fasteners are unscrewed, the counterweights are removed from the front and side. The clamps attached to the tract are detached and moved towards the cuff. The harnesses are unclenched, the fasteners are unscrewed, the engine is removed. The clamps are loosened, the drain pipe is removed. The tank is dismantled and laid down on a flat floor. The nuts are unscrewed, the pulley is removed from the tank. The device is turned over, all the remaining fasteners are unscrewed. The cover is removed, the bolt is pushed inward, the drum is pulled out. The bearing is taken out and changed. The technique is assembled in the reverse order.
Machines with faulty bearings knock during washing.
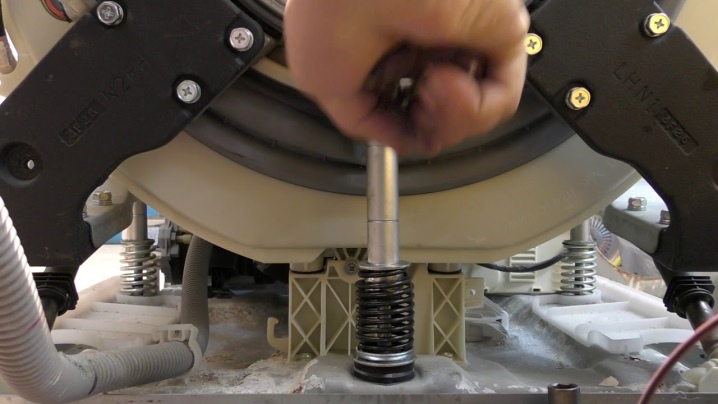
- Replacing shock absorbers - the equipment is disassembled, the tank gets out. A broken shock absorber is found and replaced with a new part.
- The technique does not wring out - the main reason is the drain. The inlet valve closes. The device is disconnected from the network. The filter is being cleaned.Foreign objects are removed from the impeller. If the spin does not work, the serviceability of the hose is checked. If there are leaks or twists, all defects are corrected or the part is replaced with a new one.

- Doesn't show display - the serviceability of the outlet and the presence of electricity are checked. If the failure cannot be eliminated, the wizard is called.
There are malfunctions that only a specialist can correct, for example, replacing an oil seal or a cross, but the seal on the door, glass, and the handle can be changed independently.
Repair Tips
You cannot repair equipment without performing diagnostics and finding out the cause of the breakdown. If it is insignificant, then it is not necessary to take the washing machine to the service. It is better to do repairs at home with your own hands. You need to be careful when assembling after that, so that not a single part is lost. If you have the following defects, you need to call the wizard:
- the appearance of vibration, noise in technology;
- the water has ceased to heat up or drain;
- the electronics are out of order.
It is worth closely monitoring the operation of the equipment, periodically cleaning the filter. If the water in the house is hard, then special softeners are added during washing. In addition, Hansa washing machines can last for many years if preventive measures are taken in time. In the event of a breakdown, the equipment is diagnosed, the cause of the malfunction will be found out. As you can see, repairs can be done independently or by calling a master. Everything will depend on which part is out of order.
See below for details on bearing replacement.


The comment was sent successfully.