How to plaster walls with cement mortar?
Leveling walls with cement mortar is the most common surface finish in homes. Today, many people want to learn how to plaster with their own hands. But for this you need to consider how the solution is made, as well as understand the principles of its application to different surfaces.
Peculiarities
Cement plaster is a heavy material in itself. If the layer applied to the walls is too thick, and their preparation for work is not correct, then the cement mortar may not adhere to the walls. To prevent this from happening, you need to prepare the walls for decoration. There are many ways to prepare them.
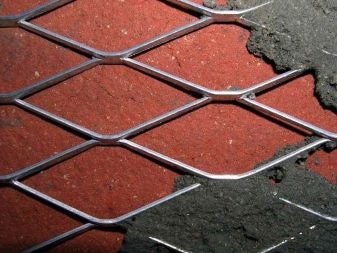
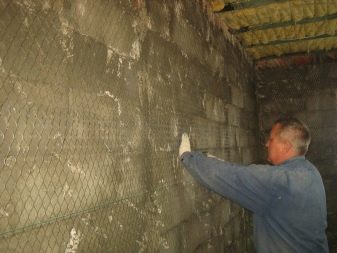
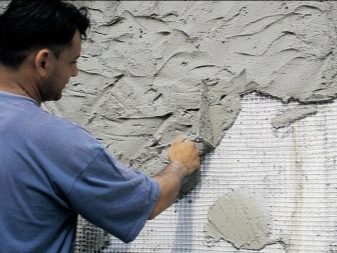
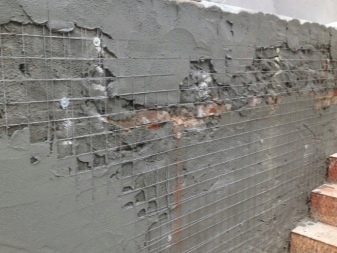
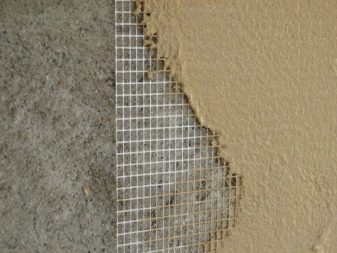
The most common way is with a metal mesh. You can find it in any hardware store, and it costs a penny. A special metal mesh is attached with dowels to the brickwork. It will not only help the mortar stay on the wall, but also prevent the plaster from cracking.
If you want to save money, then instead of a lattice, you can use a wire that is screwed onto nails driven in between the bricks. However, this process will take longer.
In the case of a concrete wall, it is enough to scratch it a little, and then the mortar will adhere to them well. For a cinder block or shell rock, preparation is not needed at all. It is enough to moisten such surfaces with water so that they do not take moisture from the solution. You should not wait for them to dry.

How to prepare the solution?
When everything is ready for plastering the walls, you can start preparing the solution. Of course, it is much easier to purchase ready-made dry mixes based on cement or with the addition of gypsum, lime or cement plaster.
It is enough to fill them with water. It is not worth experimenting with the amount of liquid - the proportions will be indicated on the package. But if a lot of work is planned, then it will be more economical to make a solution with your own hands. It will not be difficult to prepare it, it is important that the proportions are respected.
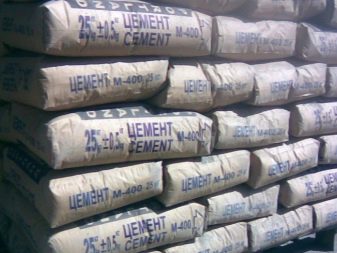
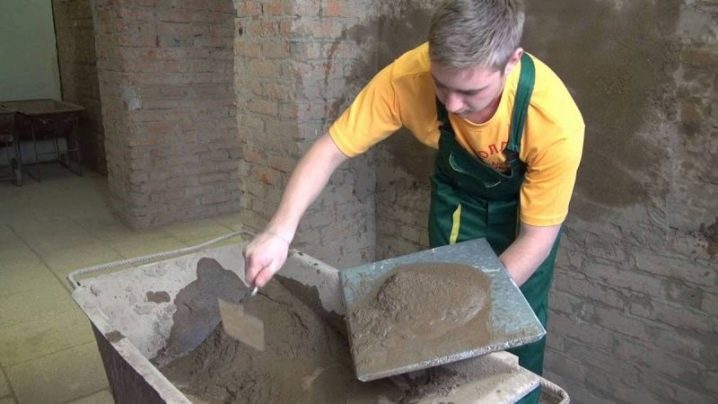
The solution contains only three components - sand, cement and water. First you need to choose cement, because the composition of the solution depends on what brand it will be. Cement is of the M400 and M500 brands, which means the ratio of cement and sand: M400 is one to four, and M500 is one to five. Then you need to carefully sift the sand so that there is no debris in it. It should be free of clay inclusions, since clay absorbs moisture more strongly, which can cause visible cracks and other damage on the surface of the walls.
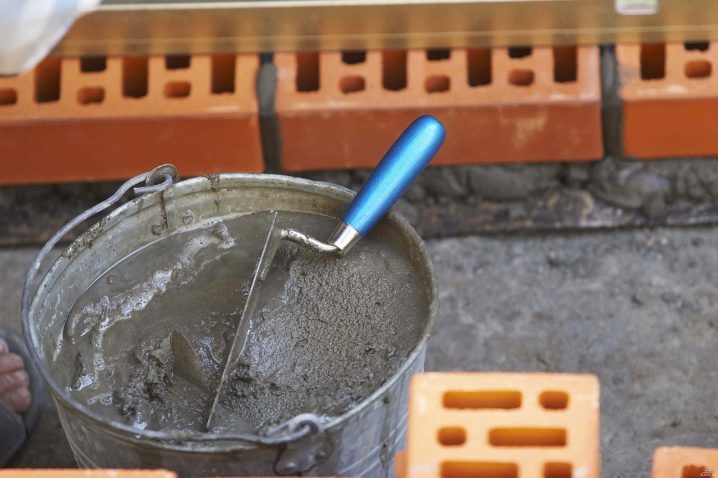
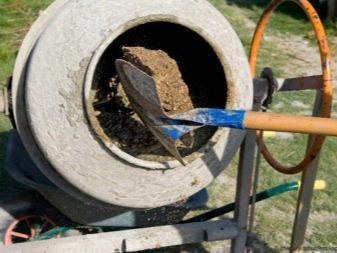
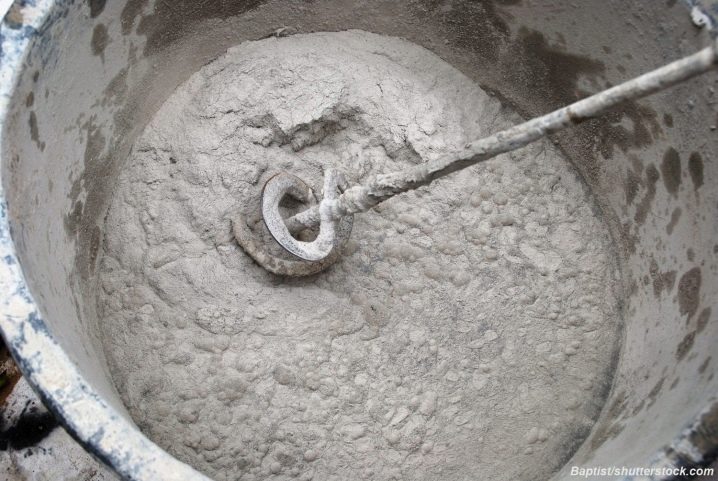
The next stage is mixing dry materials in a concrete mixer and adding the required amount of water to the solution. It is necessary to dilute the sand-cement mortar to such a consistency that it holds its shape, but at the same time it is rubbed well over the surface of the wall. You can also add liquid soap to make the plaster more mobile. One spoonful of liquid is enough for a bucket of solution.
When preparing the solution, it is necessary to adhere to the proportions, otherwise the mixture will turn out to be too "greasy". This means that there is too much cement in the mortar. Such a coating will be durable, but even slight shrinkage will lead to cracks.
However, the second extreme is also bad. If the solution is too "skinny", it is also not good. This characteristic describes a composition in which there is too much sand and not enough cement. As a result, this kind of savings will still come out sideways: the solution will turn out to be too weak, and the walls will quickly become covered with bald spots.
Consumption rate per 1 m2
Starting to plaster the walls, it is imperative to calculate the amount of mortar, because the finished mixture thickens very quickly. The plaster consumption per 1 m2 is influenced by many factors. The main ones are the quality of the walls and the type of plaster. Also, the finished solution hardens very quickly, so you need to calculate the amount of the mixture. This will save money as well as increase the productivity of your wall decoration.
If the walls are even, the plaster layer will be minimal., but, on the contrary, in the presence of cracks or depressions, the flow rate of the solution will also increase. Indeed, very often craftsmen use plaster in order to solve serious problems during the repair process - to close up cracks, hide a network of cracks, or simply level the walls. A good solution can handle all of these tasks.
When decorating walls for 1m2 of dry plaster, two to three times less than cement will be required. The thickness of the layer, if the surface is uneven, is one centimeter, and the solution consumption is approximately eight to nine kg. When the wall is flawless, the layer can be reduced to 0.5 cm, respectively, the consumption will also drop by half.
When finishing with cement mortar, the consumption of plaster is twice as much as when using gypsum, approximately 16-17 kg. The composition of such a solution includes only sand and cement. It is also not worth saving on it - you need to take the material of the M400 brand. Then the ratio of materials will be 4 kg of cement and 13 kg of sand.
To reduce the consumption of the solution, it is necessary to prepare the base.
Log walls or walls made of timber or concrete must be primed in two layers. The maximum consumption will be when plastering walls from a cinder block, since walls of this type are very uneven.
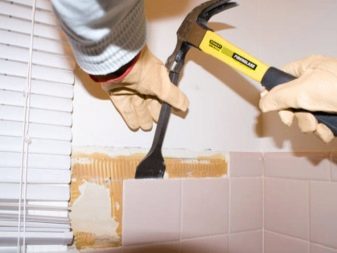
Unusual coatings deserve special attention. Before applying a layer of plaster, the previous one is usually removed. So, for example, if the walls were previously finished with pebbles or tiles, they need to be cleaned using special tools. Walls made of foam concrete or surfaces finished with foam plastic require minimal processing.
Application process
Today, many people prefer to shift the responsibility for repairing a house or apartment to workers. Including the plaster of the walls. But this process is actually not as laborious and time-consuming as it seems.
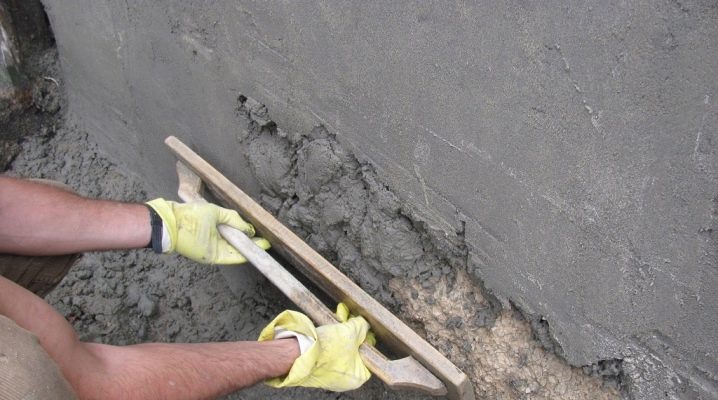
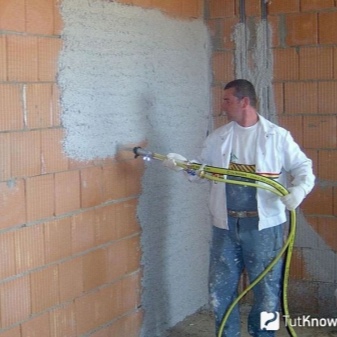
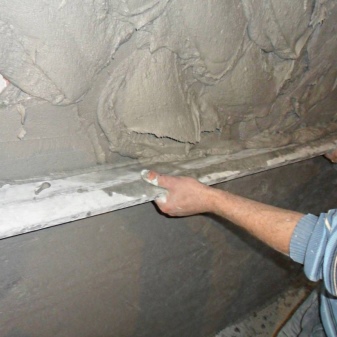
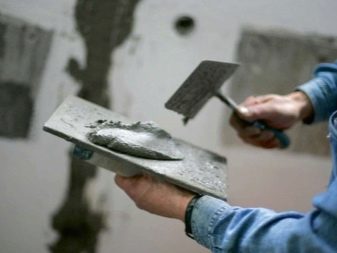
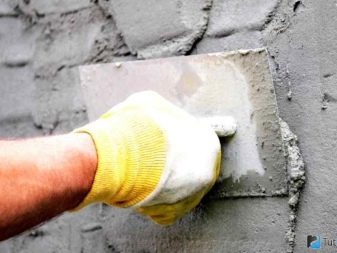
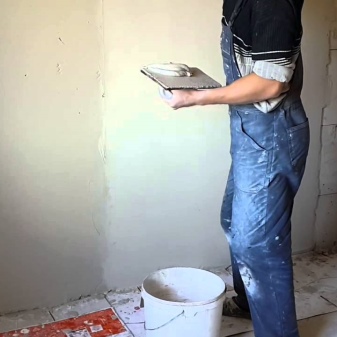
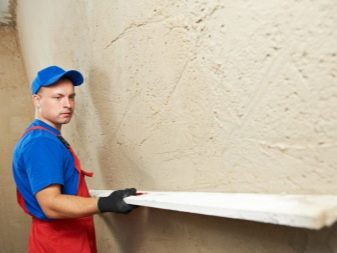
The work is rather monotonous. The cement mortar can be poured onto the walls with a spatula or trowel. It is thrown at an angle of forty-five degrees from bottom to top until the layer covers the height of the beacons. Then the surface is aligned with the rule. To do this, you need to put it on two beacons and stretch the cement plaster, moving up and down, in zigzag waves. Thus, the mortar lays down in a more even layer and adheres tightly to the wall.
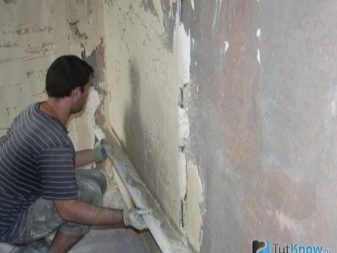
The excess solution is removed back into the batch tub. The surface of the walls must be neat and free of any visible irregularities or plaster overhangs. If some irregularities remain, they are thrown over with a small amount of the mixture and again leveled with a rule. This continues to the ceiling, and only then can one move on to the next level, which is located between the lighthouses.
When it is necessary for the thickness of the solution to be greater, then all the processes are repeated more than once. For example, if the walls are adobe or peeled from a layer of tiles. The technology in this case is as follows: the first layer of plaster is applied, then it dries, and only after that the next layer is applied.
If the layer is too thick, it may simply slide off. To prevent this from happening, it is necessary to use a metal mesh that will not allow the solution to do this.
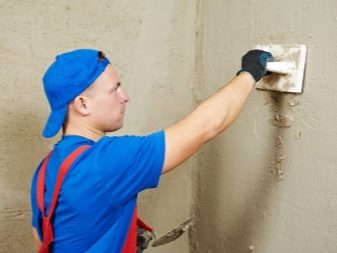
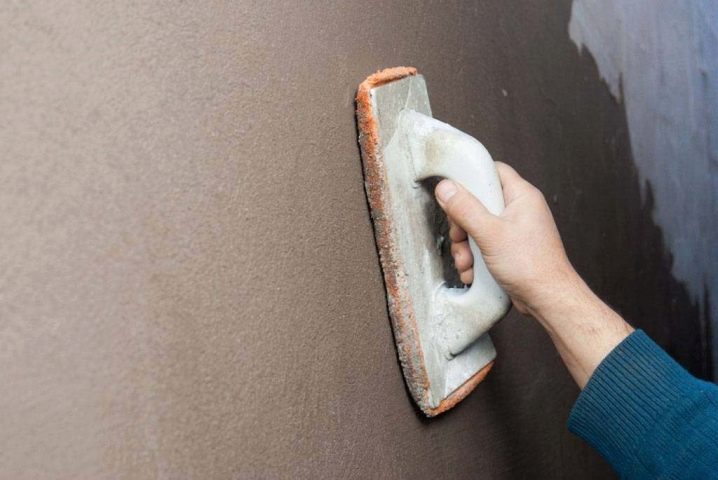
After the solution has dried, you can proceed to the last stage of wall decoration, which is surface grouting. Mechanical grouting does not take much time, and you can do everything yourself.To do this, mix the same solution as for plaster, while its consistency should be slightly liquid. This mixture must be applied to the wall and quickly grind with a half-trowel until a smooth surface is obtained.
Advice
Novice masters who work with plaster for the first time are always helped by the advice of experienced specialists. There are no difficulties, but still there are moments that baffle the layman.
The main question with which the owners turn to more experienced acquaintances for help is how to choose a plaster for work. There are four main types of this material at once.
They all have different characteristics and are used for different purposes:
- Facade. This material is intended for outdoor use. Facade plaster is used outdoors for finishing garages or sheds, as well as for insulating corners in houses. As a rule, it is the least hassle with it, but it is still not worth buying for a house.
- Roughing. This type of plaster is used to treat uneven walls or walls with large depressions. It is believed that this layer is applied before an additional one that changes the appearance of the wall. This approach will significantly save money when buying a putty, because rough plaster is cheaper. And under a layer of putty and beautiful wallpaper, all the shortcomings of this material will not be visible at all.
- High quality. Unlike the previous one, high-quality putty is no longer covered with anything. Wall treatment with such material is the final stage. Such plaster is used already before pasting the wallpaper or before laying the tiles. However, it also has a kind of minus - it is not able to cope with serious cracks, cracks or other irregularities.
- High quality. This is the most expensive type of plaster. The walls after such treatment are smooth and even. For the preparation of walls for painting, high-quality plaster is mainly used. But for other tasks, it is not very suitable.
The next point that many people care about is working with wall plaster. Here, in fact, there are no special subtleties. The main point, which in no case should be forgotten in order to avoid the appearance of irregularities on the walls - they must be perfectly flat and clean.
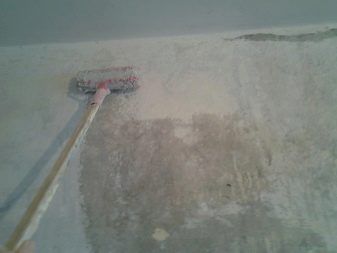
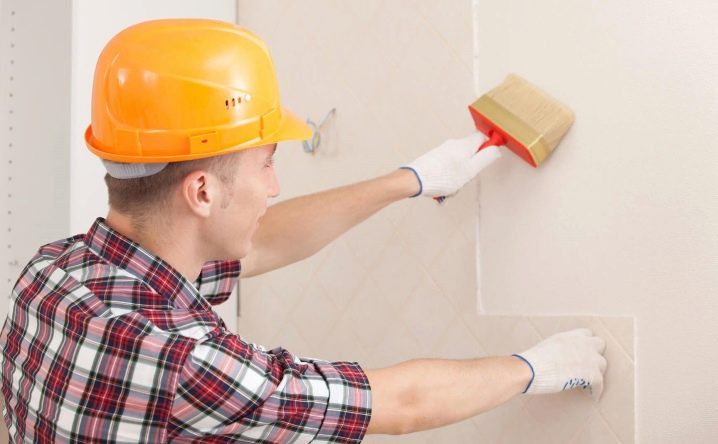
All excess must be removed before finishing. Then it is important to clean the surface of dirt, and also to treat it with a primer, which must be applied in a not very thin layer.
Another useful tip is that you should not carry out repair work at too high or too low temperatures. Both heat and cold have an equally negative effect on hardening plaster. Walls treated in this weather are cracked much faster. Therefore, it is better to wait for the right moment.
There is another way to extend the life of a renovation besides choosing the ideal conditions for carrying it out. In order for the mortar to last longer and there were no cracks when the plaster dries, it is necessary to install a steel or polypropylene mesh on the walls using dowels. If done correctly, it will make the walls more durable.
Plastering walls with your own hands, as practice shows, is not a very difficult process. Having figured out the intricacies of the work and finding material that is suitable for the implementation of a specific idea, you can make a good repair with your own hands, or at least prepare the walls for further work carried out by the masters.
For information on how to plaster walls with cement mortar, see the next video.


The comment was sent successfully.