How and how to grind the plaster?

Knowing how and how to grind plaster (or rather, walls after plastering) is no less important than understanding how to apply it. Grinding plaster can be done with grinders, grinders and other tools. But such work is necessarily divided into a number of specific stages that cannot be ignored.
Why do you need resurfacing?
Everyone knows that plaster is applied to walls and ceilings in order to level the surface. And therefore the question may arise - why, then, is grinding necessary. The answer is very simple. Even the putty plaster mass is just brought to full evenness. But then it needs to be sanded, or otherwise - polished.
Even a high-quality filling, carried out strictly according to the technology, inevitably leaves small irregularities after drying. It is enough to run your hand over the surface to make sure of this. Everywhere there will be some unevenness of the relief, bumpy places. The sharper the spatula, the more pronounced such traces of its use. It is not for nothing that experts recommend using a large spatula to provide the largest leveling area of the walls.
But still there are well-traceable joints. Moreover, it is noticeable before the putty. Professionals note that plastered walls should dry even in good weather for at least 24 hours. Only then can you start sanding.
Attention. This procedure should be carried out immediately after applying the putty, therefore it is necessary to postpone the priming at a later date.


Instruments
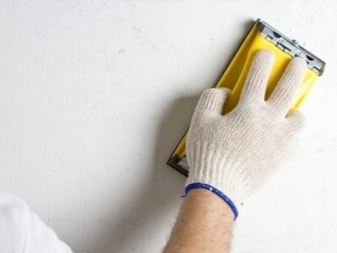
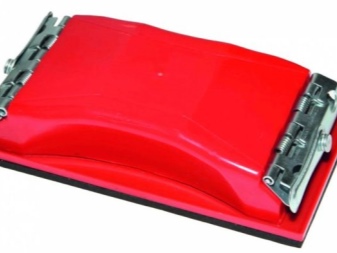
The easiest way, from a technical point of view, to grind the surface with conventional sanding bar... It is strung on it emery... This is a time-tested solution, however, it is laborious and time-consuming. The grain size of the abrasive is not important. Another thing is important - the emery is clogged with the resulting dust very quickly, so it is required to change the material almost continuously.
The supply of emery for a somewhat large surface will be simply enormous. You will need to work in circular maneuvers. The direction of movement does not matter.
A better solution is a diamond mesh bar. He is less prone to clogging, and therefore the work will go faster. Remnants of the plaster mass will be poured inward. The active surface of the mesh is not clogged.
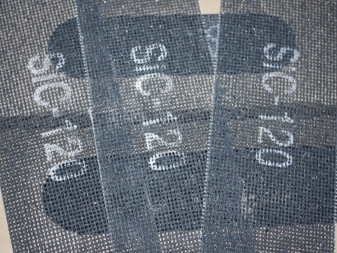
True, she herself can fail. This is immediately determined visually. In such a case, cleaning and repairing the mesh will not help - it is always replaced.
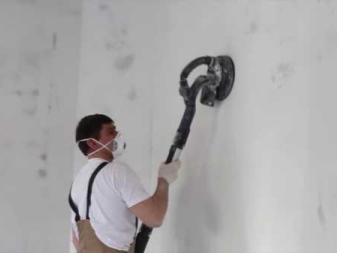
For work you can use a grinder (grinder)... The machine must be operated with care and attention. Excessive movement often leads to shearing of the surface layer. Work is often interrupted because the sanding disc or trowel needs to be cleaned of dust. For this purpose, the instrument is washed with water.
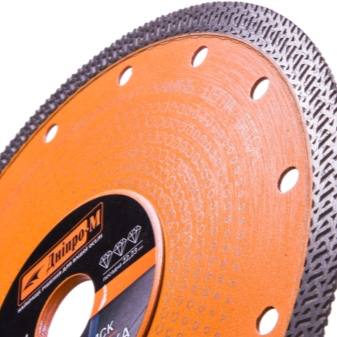
The choice of the appropriate nozzles... Diamond blades are optimal. For your information, they can be either dry type or water-cooled - this point should be clarified in advance. Specialized grinding wheels can also be used. But we must take into account how exactly they are attached to the holding element of the grinder.

Stages of work
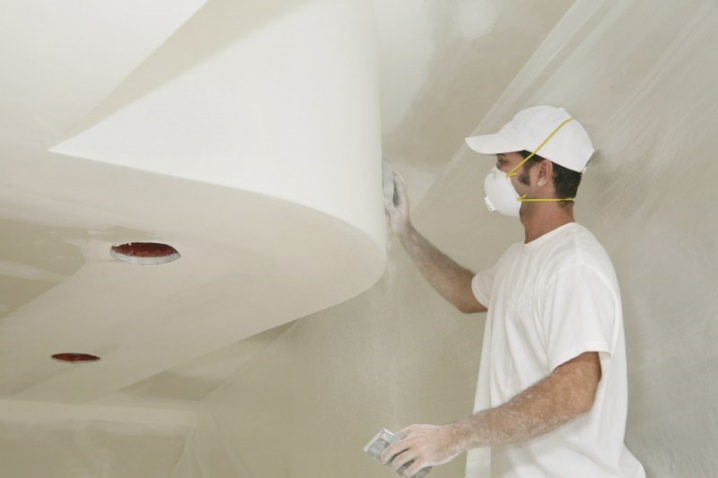
Do-it-yourself sanding is performed either dry or wet.... The second option allows you to work without dust. In this case, you will have to thoroughly moisten the already dried surface. As a result, it will be possible to remove irregularities accurately and in a short time. And there will be more order in the room, and cleaning will be much easier. In the case of dry sanding, it is required:
- sprinkle the air with a spray gun;
- constantly ventilate the room;
- sweep thoroughly and wash it afterwards.


Regardless of the type of coating - and cement, and gypsum, and decorative Venetian plaster, first of all you need to inspect. The luminaire is oriented at right angles, and not just brought closer to the wall. This is the only way to find all deviations from the ideal plane. Problem areas are outlined with a slate pencil. Gel pens, felt-tip pens, and markers are bad because they leave stubborn stains.
After inspecting and making notes, it is easy to figure out which size of abrasive to choose. They always work first with a small grain, and then only increase its size. The grinding itself is carried out from top to bottom, moving in circles clockwise. It is recommended to handle not too wide strips (up to a maximum of 1 m). Too much force should not be applied - it can break the finishing layer.
Grinding walls and ceilings is almost the same... The sequence of work is completely identical. But you have to use scaffolding. They are much more comfortable than tables, ladders or tripods.
There is definitely no need to rush with such manipulations - saving time is illusory, but the loss of quality is quite real.
If finding a good abrasive is difficult, consult a professional.
Important. It makes sense to take up mechanized devices if you have already gained some experience. A beginner should perform such work with manual devices.
After finishing grinding, the surface is carefully checked using:
- thickness gauges;
- squares;
- rulers;
- building levels (depending on what is available).

For information on how to grind plaster, see the next video.


The comment was sent successfully.