How to make a wood workbench with your own hands?
DIY wood workbench - a universal design that allows you to perform a full range of carpentry, locksmith and electrical work. It gives freedom of action - with the exception of the collection of massive structures more than a few meters long and wide, which no longer require a workbench, but a production building site with several workbenches.
Peculiarities
A workbench made of wood, which does not have a steel tabletop, is suitable for all types of work, where the occurrence of shock and vibration loads of high intensity with moments of force more than 200-300 kg is excluded. It is prohibited to carry out welding work on a wooden workbench. - Steel melted by an electric arc can ignite wood. Cook in a specially designated place - where the concrete floor area and other metal supports are present. If soldering is accompanied by frequent dripping of molten tin, lead and aluminum, then a metal sheet is used to avoid spoilage.
Its work surface requires special care - it is forbidden to work on it, for example, with caustic chemicals without using a glass sheet that protects the wooden countertop from being corroded by mineral acids.
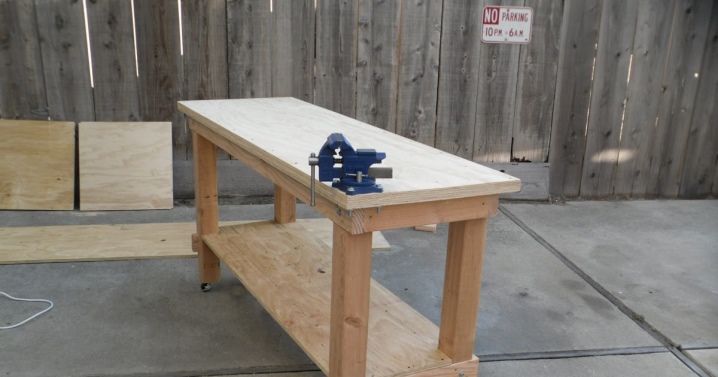
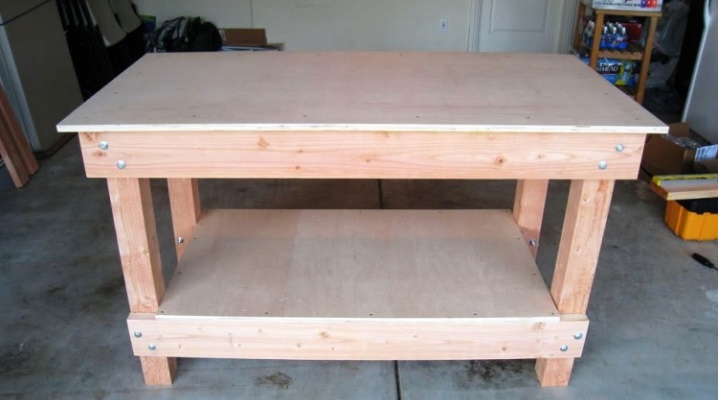
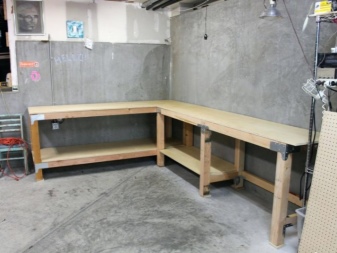
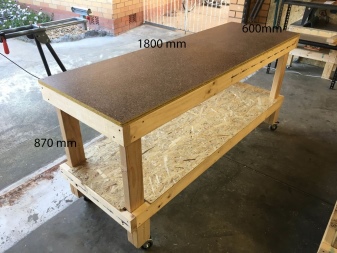
Like all workbenches, completely wooden is performed in the form of a stationary (non-movable), transformer, folding or retractable table. Mobile versions carpentry or locksmith's workbench have a much smaller number of boxes - from one to several, than their non-movable "brother". Foldable and recoiling workbenches are often made in the size of 100x100 cm (according to the dimensions of the table top). However, a good, full-size table is most often assembled at 200x100 dimensions - ideally, you can not only work on it, but also sleep stretched out to its full height.
Materials for work
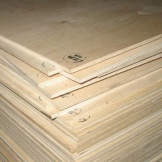
- Plywood sheets. They are mainly used for countertops and sidewalls. It is not recommended to use chipboard or fiberboard - they break easily, not withstanding even 100 kilograms of additional weight.
- Natural wood - a bar with a square section, it is used for logs under the floor or a supporting structure for a wooden ceiling and at the same time serves as a floor for the attic. An ordinary board with a thickness of at least 4 cm can also be used - these are used for the floor and rafters (placed on the edge) or lathing (laid flat) of the roof. Such a piece of wood is the basis for the supporting structure of the workbench.
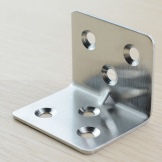
- Furniture corners... You can also use a simple thick-walled corner, from which fence ceilings are mounted, a frame for benches, shelves, aquariums, etc. - it is sawn into small (up to several centimeters long) pieces across the length, polished and drilled in the right places for self-tapping screws and / or bolts. The larger the angle, the thicker the steel. Suitable, for example, 40 * 40 mm - the thickness of the steel is only 3 mm. It doesn't matter what kind of rolled steel was used at the manufacturing plant - cold or hot, both options are quite durable. In a small amount (trimming up to 2 m), it can be taken at any metal warehouse - it will be cheaper, one such piece of profile will be enough for 35-50 segments.
- Bolts or stud size M8, M10, M12 - and reinforced as well as lock washers with nuts of the same dimensions.
- Self-tapping screws with a diameter of at least 0.5 cm ("five"). The length is selected so that the sharp tip of the self-tapping screw does not come out and is not felt to the touch on the back side of the carrier board or timber.


The toolbox of the assembler-assembler, whose work is put on stream, is the following.
- Drill (or hammer drill, working in drill mode, complete with an adapter for drills for metal) with a set of drills. Alternatively, a fully hand-held drill would work - but such a rarity these days.
- Grinder and cutting discs for metal and wood of different diameters. An additional sanding disc may be required - if the boards are not new, but, say, were found near a Soviet-built apartment building. As the practice of "self-made" shows, in the door frames, not a box-shaped MDF profile was used, but high-quality hardwood.
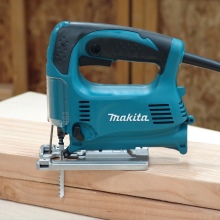
- Jigsaw - will help to cut non-standard boards with a curly section along the length (if there are no simple ones).
- Electric planer... It is more practical to smooth an uncut board in 2-5 minutes than to overpay for a perfectly even "tongue", the groove and spike of which is simply cut off. In special cases, craftsmen will give a second life to a board still 4 cm thick, which has lain for a couple of years under frequent torrential rains: at a depth of 3-4 mm, layers of fresh wood are hidden under the blackened layer. Even after sewing, you will end up with a 32mm, brand new board.
- Screwdriver and Bits.
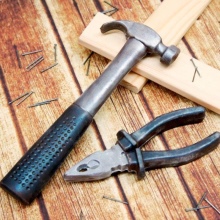
- Hammer and pliers.

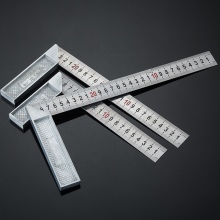
You will also need marker (or a simple pencil), construction level (or a homemade plumb line), square (right angle), ruler tape measure for 2, 3 or 5 m.If you are drilling thick-walled steel at the corners, a core will also be useful. A vise may be required to change the angle of the corners.


Manufacturing instruction
The simplest workbench, not inferior in strength to its more functional counterparts, is made as follows.
- Mark (according to the drawing) and cut sheets of plywood and a beam (or board) for the required parts.
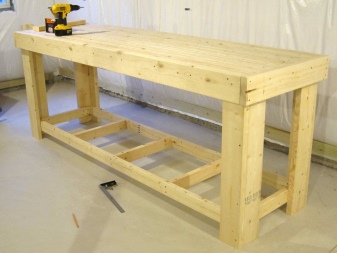
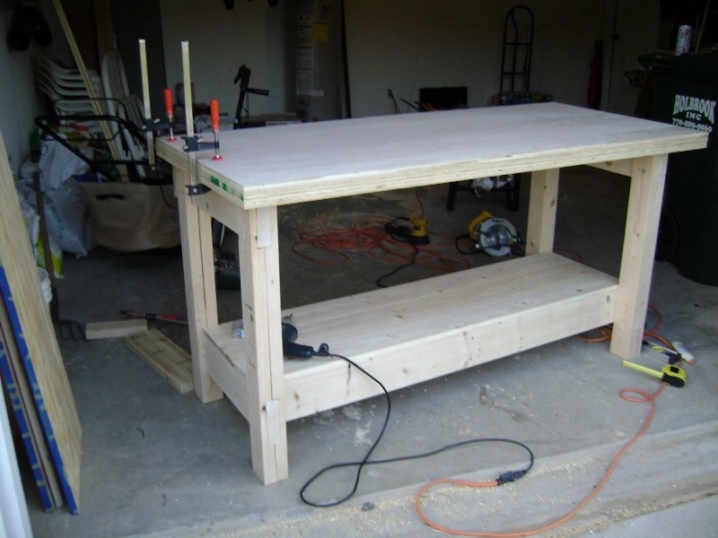
- Assemble the main box (for example, size 190 * 95 cm) - dock and connect its parts using corners and wood glue. The result is a four-sided frame.
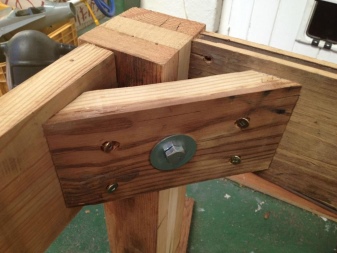
- Reinforce the frame with angled spacers at the corners. In this case, the right angle and the spacer form an isosceles triangle - from all four sides. The length of the base of such a triangle (the spacer itself), for example, is selected by 30 cm (the middle line along the thickness of the board from which it is made). To secure the spacers, some corners are bent from 90 to 135 degrees, the correctness of the angle is checked with an ordinary school protractor.
- Attach the legs of the future workbench to the frame and also reinforce them with "triangles", like the frame itself, in all eight places. The length (height) of the legs, for example, for a master's height of 1.8 m, can be exactly one meter. Try to find the height of your workbench so that it is comfortable for you to work without bending over.
- Under the "triangles", close to them or at a short distance, fix the lower crossbars - the so-called. subject. If the table top is at a height of, for example, 105 cm, then the height of the shelf for drawers is 75 cm. The perimeter of the underside is equal to the perimeter of the upper frame. Reinforce it in the center with vertical beams connecting the horizontal (sidebars) to the board of the upper frame. Install and fix the oblique spacers in the plane coinciding with the vertical beams.
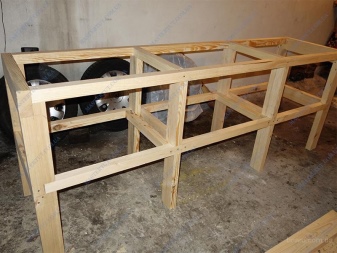
The supporting structure is ready, now it is strong and reliable, it will not loosen. Follow the steps below to complete the assembly.
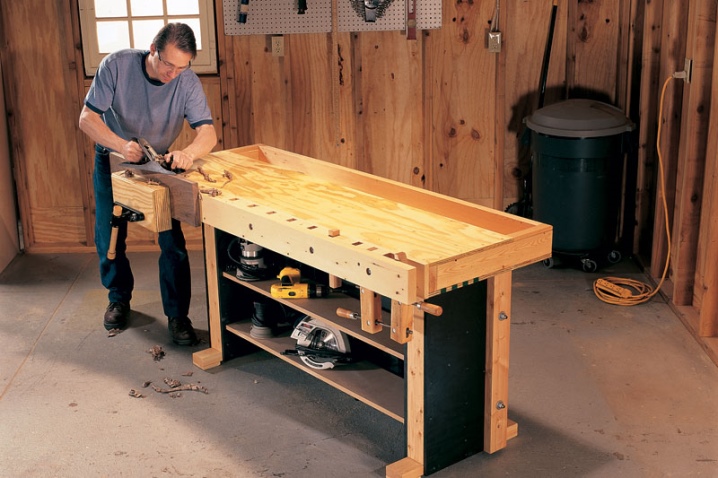
- Collect the crates. If one crossbar divides the sub-stitch in half, four drawers are required - two on each side. A three-sector division will require six drawers, etc. For example, with the internal dimensions of the frame (box) of the workbench 195 * 95 cm, the width of the drawer with two internal vertical partitions of the sub-bench will be slightly more than 60 cm. 45 cm. Connect the sides, bottom and front of the drawers with glue and corners mounted from the inside. Doors and wardrobes are suitable for handles.
- Install the bottom underneath. Check the work of the drawers - they should slide out and slide in freely, without noticeable effort.
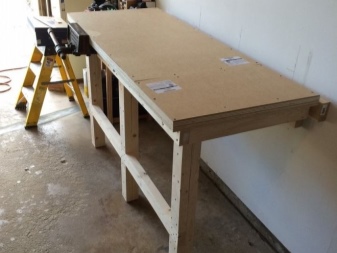
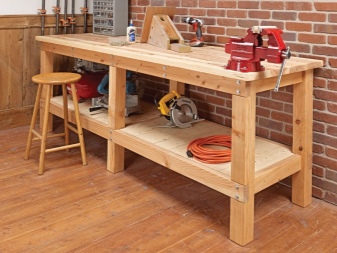
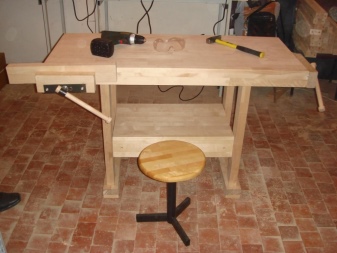
- Install the countertop. Check if all fasteners are correctly installed.
The workbench is assembled and ready to go. To extend the service life, the wood is impregnated with synthetic reagents that prevent the formation of mold, and to prevent fire - composition "Firebiozashchita" (or a similar non-flammable chemical).

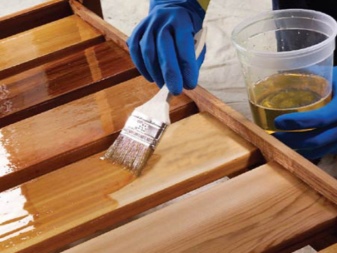
If, instead of ordinary household (for example, oil) paint, you use parquet (epoxy glue) varnish, then the workbench will withstand work in damp, humid rooms, for example, when condensation forms on the walls in the utility room in winter.
A properly assembled workbench can last for decades. Some care is also required. A full-fledged production conveyor cannot be used on it, but for a small workshop, the design is quite suitable.
In the video below you can watch the process of making a wooden workbench with your own hands.


The comment was sent successfully.