How to make a carpentry workbench with your own hands?
Each master needs his own work area, where he could easily do various jobs. You can buy an industrial workbench, but is it the right size and fit for your workshop? In addition, the cost of such a workbench is quite high.
For simple carpentry work, everyone can make the simplest work table, or you can think over all your needs and make an ideal workplace. By approaching work responsibly and armed with blueprints, you will get a comfortable and functional workbench, which will undoubtedly affect the productivity and quality of woodwork.

Device
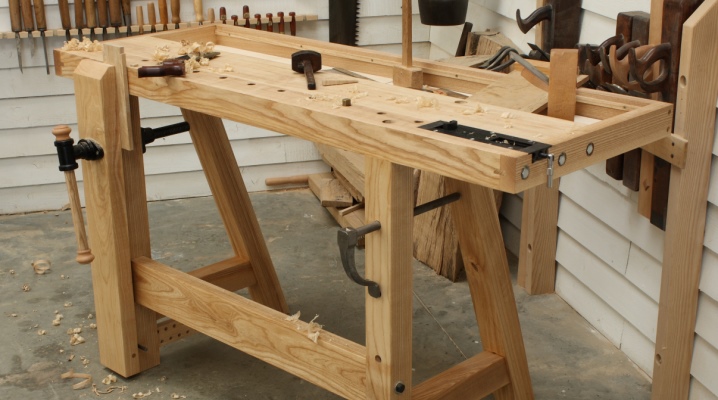
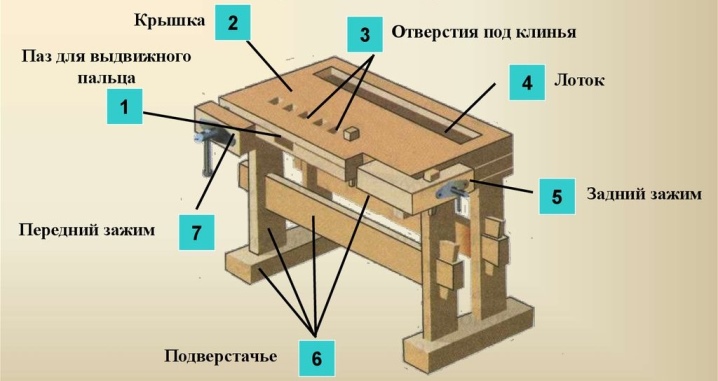
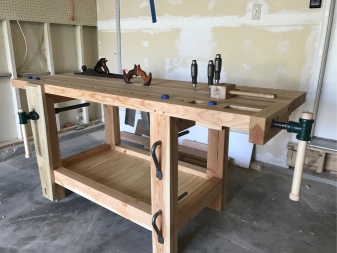
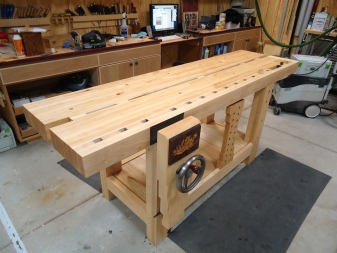
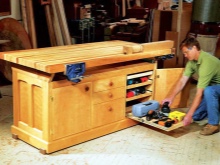
Joiner's workbench by design characteristics is a table that contains tool shelves, drawers, and accessories such as a vise, router, or wood clamps.
Its design is quite simple and consists of several elements.
- Base, bed or pedestal. This is a support from a bar or a metal frame on which the entire structure is supported. It is a frame type, solid and reliable, capable of bearing the weight of the tabletop and the equipment installed on it. To increase the rigidity, the support sits in the thorn-groove on the glue, then the drawers are inserted into the through nests and fixed with wedges, which from time to time need to be knocked out so that there is no walking. The metal legs are welded to the frame.
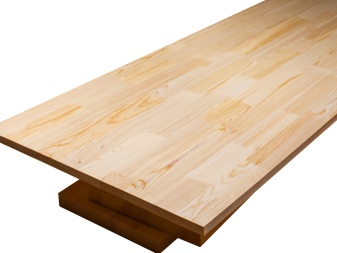
- Countertop or workbench. It is made of glued massive planks of hard wood (ash, oak, hornbeam or maple) 6-7 cm thick, with various grooves and grooves for fixing the processed parts.
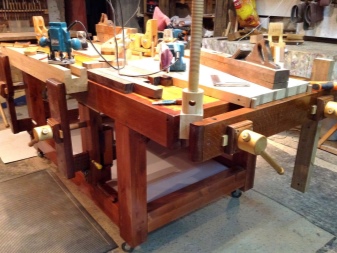
- Vices, clamps, holes for stops. The minimum number of clamps for work is from two pieces, necessarily wooden, since only they do not deform wood products. The clamps can be made independently, but it is better to purchase ready-made ones. Removable stops are used when needed.
- Additional shelves for storing tools and equipment.
Traditionally, carpenters have worked with hand tools, so to work with an electric tabletop, you need to modify it to suit your needs. As you can see, the device of the joiner's workbench is simple, but it requires careful study, calculation of dimensions and the correct choice of material.
Necessary materials
Depending on the area that you have, you can make the following types of workbenches yourself.
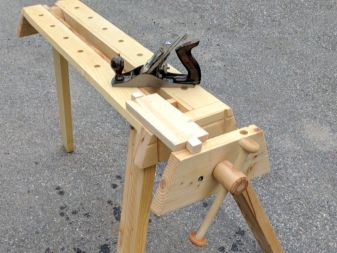
- Mobile... Such a table will not take up much space, but its working area is also very small, even if it is made foldable. It weighs a little (no more than 30 kg), the tabletop is often made of plywood, MDF or chipboard. Of its advantages, it can be noted that it can be easily moved to another working area. On the downside, there is no place to store tools. The main purpose is small work with wooden blanks.
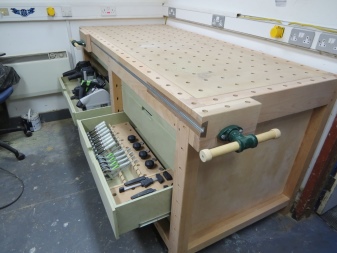
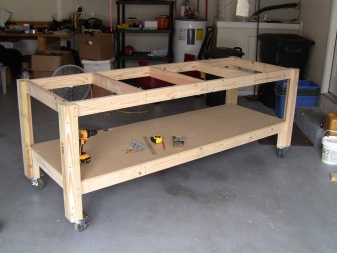
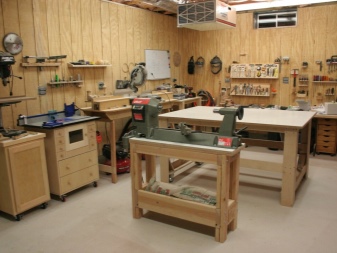
- Stationary. The most optimal working table in terms of characteristics. Advantages - the availability of storage space for tools and various parts, the working area is very comfortable. The disadvantages include the lack of mobility - such a workbench cannot be moved.
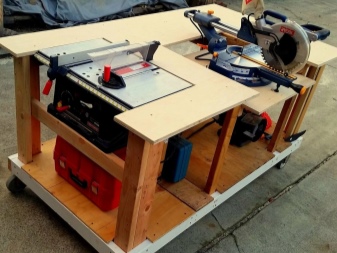
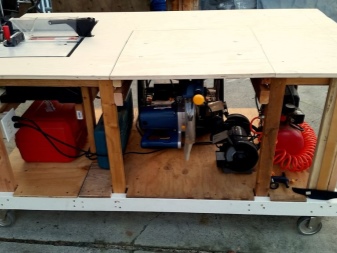
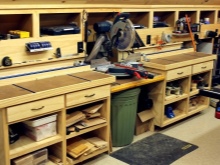
- Modular. A modular workbench consists of several subdivided work areas and takes up more space than a stationary workbench.Not only the required minimum of equipment is installed on it, but also additional tools and devices, for example, an electric jigsaw, a grinder, and so on. Due to the size, it can be angular or U-shaped. This is a functional workbench, but more difficult to make yourself.
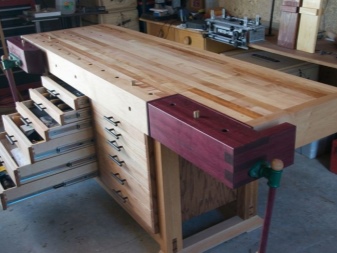
For a home workshop, it is most convenient to make a stationary wooden carpenter's workbench with a metal or wood base. For this we need the following materials.
- Dry hardwood boards 6-7 cm thick and 15-20 cm wide.Of course, it will be just great if you can find lumber from beech, ash, maple or hornbeam, but if not, then make a table from a pine board.
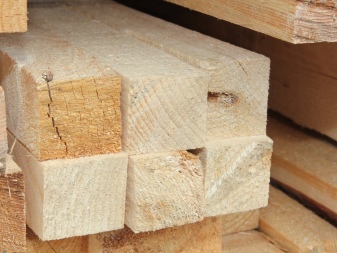
- Bars 50x50 for the manufacture of a wooden support.
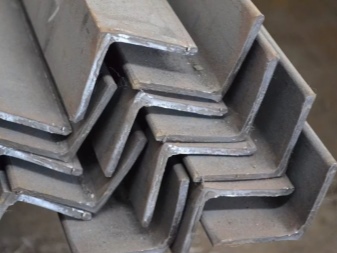
- Profile pipe for the manufacture of a metal support.
- Metal corner on the frame.
- Any wood glue.
- Self-tapping screws and bolts for assembling the workbench.


Other materials may be required, but this will depend on the design of your desktop.
Manufacturing instruction
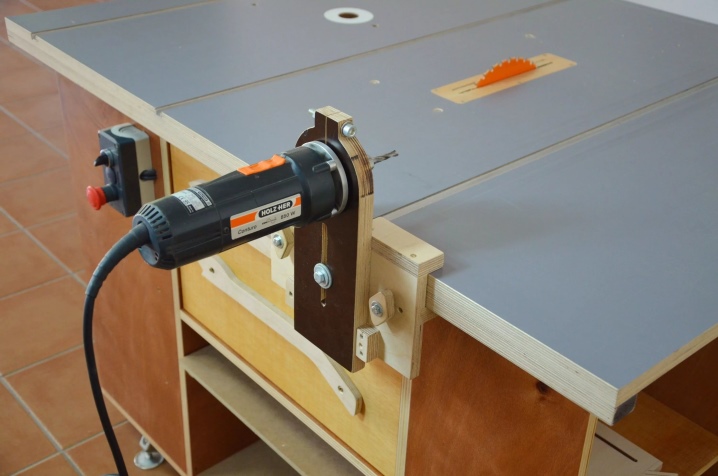
All types of desktops we know have evolved from carpentry workbench. Their similarity is especially evident when you look at the diagrams of a locksmith or multifunctional table. With the development of technology and technology, the appearance of a home-made workbench has been modified, this is how a universal table for power tools, a mobile workbench on wheels, a mini-workbench, a collapsible or compact portable worktable appeared. The modern work surface is also additionally equipped with, for example, a place for a milling machine. A tabletop is often combined with a circular saw.
Before you start making a workbench for a workshop, you need to do well think over its configuration, dimensions and make drawings. The size of the table is determined by such factors as the area of the room, your individual characteristics (height, leading hand, and others), the size of the parts planned for processing. Working behind a workbench of the wrong height will lead to serious back problems.
The height is determined in a simple way - put your palm on the tabletop. If it lies freely and the arm does not bend at the elbow, then this height will be optimal for you. Do not make the countertop too wide or too long. Massive parts have to be handled quite rarely, and the space in the workshop can be used much more intelligently.
There is an opinion that it is better to take metal for the foundation, not wood. As an argument, they cite the fact that the metal frame is stronger, and it is easier to build up or cut it than a wooden one. Of course, this fact looks rational, but there is another aspect - wood dampens vibration, but metal does not. When working with a vibrating tool, you can accidentally damage the future product precisely because of the vibrations that occur.
For a wooden support, it is better to take not a solid bar, but a glued bar. This is due to the fact that wood tends to dry out and deform, and because of the prefabricated glued structure, these properties will be less pronounced.
It is not recommended to use chipboard or plywood sheets for countertops due to their high elasticity.
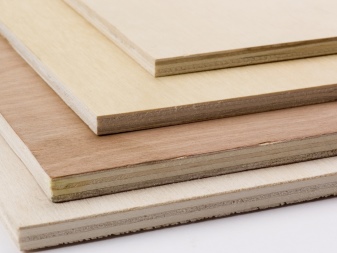
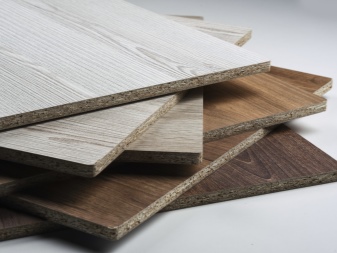
Even two sheets of plywood will give a kickback when working with an impact tool, and this can damage the workpiece. There is an old way to test the rigidity of a tabletop. It consists in hitting it with a mallet, and the products lying on the table at the moment of impact should not even move. The quality and drying of raw materials for the shield is important - the tree should be free of knots and external defects (cracks, chips), dried very well, its moisture content should be no more than 12%.
Having chosen the material and drawing the diagram, we proceed to making a simple workbench with our own hands... The table top is made first, and then the base. There is nothing surprising in this, since the shield needs time to dry, during which you can calmly assemble the base.
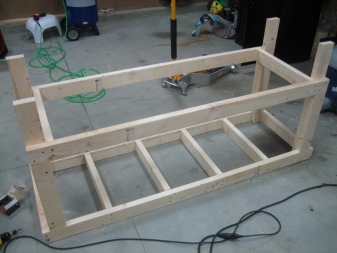
Base
For a wooden base, you need to saw and glue the parts for the four supports with wood glue. The upper and lower frames will need four sawn crossbars from the same bar. The frame structure is made end-to-end at a right angle, for which, when gluing the legs, you need to leave a gap equal to the thickness of the crossbar... Similarly to the first, the second frame is made.... To increase the reliability of the base, the cross members are set on glue, the nests are drilled into which the drawers are driven. The base is impregnated with an antiseptic, which will not allow fungus or mold to start in the tree.

For a metal frame, the pipe is cut with a grinder to the required length of the legs, from the corner they are cut to the size of the frame crossbar. The structure is also made on two frames, the base is welded, cleaned and painted with rust paint or bituminous varnish.
It is not recommended to use bolts instead of welding.
- the design from this becomes less reliable and stable,
- it takes a long time to drill and a lot of bolts to connect parts.
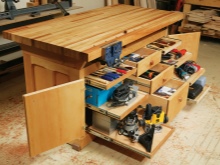
On the lower frame, you can make a shelf, or one or two pedestals. Thrifty craftsmen make a cabinet and a shelf on which various equipment is stored.
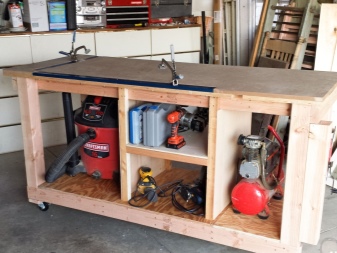
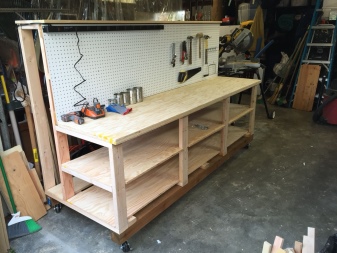
Table top
The table top is made of strips 6-7 cm high and 9-10 cm wide by gluing. The boards are cut along the grain of the wood. To improve adhesion, the planks must be trimmed before gluing. Next, we apply glue on the surfaces of the glued strips and tighten them with clamps (ties) or clamps with a long overhang. You need to glue not one large lid, but two equal ones, the reason for this is simple - it’s easier to make a tabletop with a technological slot, into which a circular plate is then inserted.
We leave the assembled wooden board to dry for a day or two. After drying, it is processed again with a thicknessing machine and a sander to achieve a smooth surface.
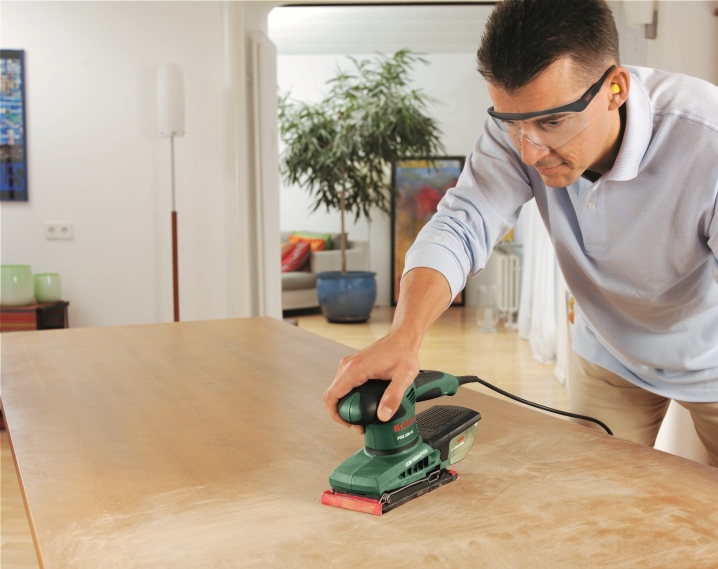
If there is no planer, then you can shave it off with a hand plane, and then grind it. Holes are drilled for stops, which are made through. We fasten the tabletop to the base at the corners with long screws and additionally fix it along the edges with self-tapping screws with a step of 9-10 cm.
After assembling the workbench, it is recommended to cover the worktop antiseptic impregnation and varnish. This will help to approximately double the life of the surface.
Accessories such as vices or clamps are installed when the worktable is fully assembled. An apron with shelves can be attached to the back of the workbench for storing small tools, workpieces or fasteners.
Recommendations
The desktop will serve you for a long time if you follow the simple rules of its operation.
- Even a varnished workbench must be protected from moisture.
- Clean the table from dust and dirt from time to time.
- Be careful when handling various chemical liquids, they can negatively affect the varnish coating.
- Distribute the load on the tabletop evenly, do not overload it by installing equipment on one side only. Remember that both static and dynamic loads act on the worktop. If the load is unevenly distributed, then the shield may simply not be able to withstand it.
- Tighten the bolts in the base periodically, avoiding loosening of the base, otherwise it will negatively affect the quality of the product.
- Don't forget about the backlight. We suggest considering fluorescent lamps or LED strip as an additional source of illumination.
- When setting up a workbench, think carefully about where the power tool will be connected. If possible, it is better to install the required number of sockets on the apron.
- In the room, place the table perpendicular to the light source, so that the light hits the dominant hand (left-handed people - on the right, and right-handers, respectively, on the left).
- Do not place your workbench by a window.Locksmith work usually takes a lot of time, and the windows somehow have natural ventilation, respectively, the risk of colds increases.
- The vise should also be placed under the leading hand.
- To maintain your own health when working for many hours, use a chair whose height is equal to the distance from your foot for the angle of the popliteal notch. The knee is bent at an angle of 45º. We also recommend using a corner footrest measuring approximately 40x40 cm.
- Try to keep the air temperature in the workshop no more than 20ºC. At a higher temperature, the wood will begin to shrink, and at a low temperature, the wood's ability to absorb moisture and swell increases.
Making your own carpentry workbench is not quick, but exciting, because you need to take into account not only your needs, but also the ergonomics of the entire workspace. Do not try to make a monumental table right away, remember that there is always the possibility of inaccuracy. In addition, over time, you will have to change the tabletop, and then you can modernize your workplace already taking into account past mistakes. At the same time, the family budget is also significantly saved.
How to make a carpentry workbench with your own hands, see below.


The comment was sent successfully.