What is a clamp and what is it like?
The clamp will become an indispensable assistant in any private area. With its help, you can solve a number of different problems, but basically it helps to fix something in one position or connect, without making any special efforts. Such a tool can not only be bought, but also made with your own hands, without leaving your home. It will serve no less than any factory model, and independent production will save you from unnecessary expenses in any case. However, first, it is important to understand the features of the tool in order to understand what exactly you need to pay attention to.
What is this tool?
The clamp is a small device, thanks to which you can tighten the wire clamps. It should be said that this device is necessary in any modern economy. With its help, you can cope with various problems, even eliminate a leak in the water pipe. The device for clamps can be different in materials of manufacture. Accordingly, the cost will also change.
For example, a plastic strap clamp fixture will be cheaper than any metal hose clamp. The final choice between the models will have to be made based on the purpose for which the clamp will need to be used. According to statistics, in private areas, clamps are mainly needed to eliminate leaks and fix them in water pipes, but this is far from the limit.
Varieties
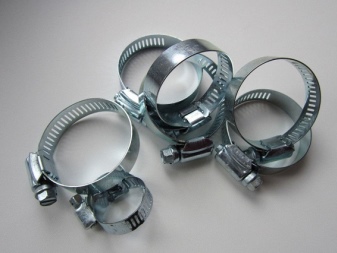
Clamps can be divided into several types depending on the scope of use
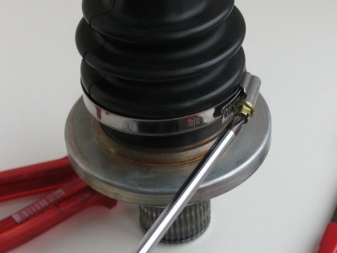
Worm
Used when you need to connect the hoses to each other. The design is quite simple, it can be put on and removed very quickly, in the process you will need an ordinary screwdriver.
Designed for multiple use.
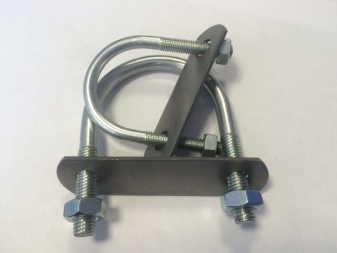
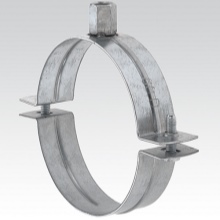
Pipe
With its help, plastic or metal pipes are fixed. A wall or ceiling can easily serve as a surface for fixing. The diameter of such a clamp is different, and the key parameter in the choice will be the ability to withstand one or another level of stress. Typically, such a clamp has a U-shape for easy fixation.
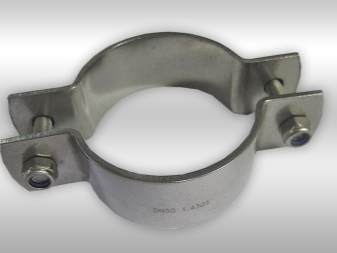
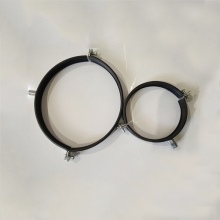
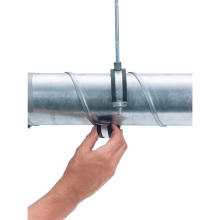
Ventilation
Thanks to it, all the key elements of a modern ventilation system are fixed. Several sheets of steel are used as the material of manufacture. Bolts and nuts serve as fasteners to maintain shape. There are quite a few types of ventilation clamps, but most of them have a U-shaped or U-shaped profile as standard.
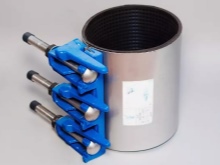
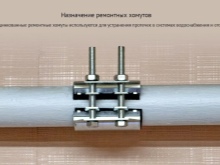
Repair
They are used to eliminate leaks in pipelines without welding and additional tools. This is possible due to the presence of a special seal, with which the hole is sealed. A repair clamp in professional circles is also called a crimp clamp.
And it should be selected depending on the diameter of the pipe in need of repair, as well as the pressure that is in it.
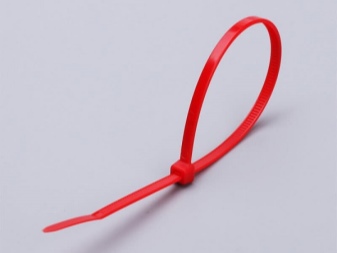
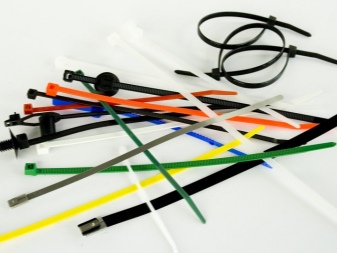
Plastic
They are also called screeds. The material is mainly nylon. Such a clamp is a small narrow strip, which has notches on one side and a lock on the other. And, of course, there is a plastic tie to which the entire structure is attached. Such a clamp is used to fix additional elements on the pipes, for example, wires or insulation.
Manufacturing
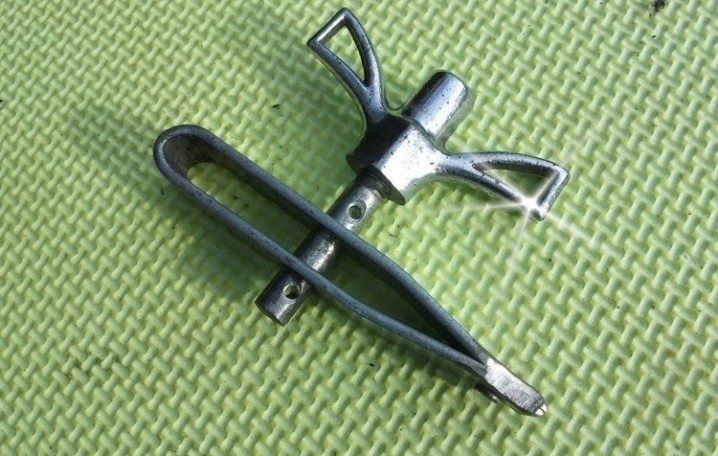
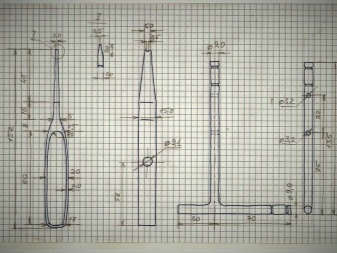
Making a homemade clamp is not as difficult as it seems at first glance, but the manufacturing technology will change with the use of different materials. For example, many make clamps from a ratchet, glass cutter, and other devices. In general, the manufacturing technology will look like this.
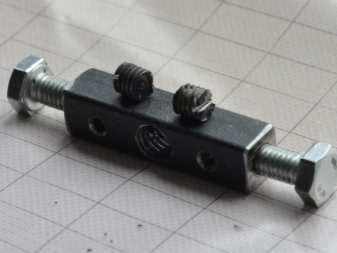
- As a basis, you need to take a metal plate with suitable parameters. In case of self-production, drawings with the specified dimensions will be of decisive importance, since if you do not follow the technology, you will not be able to do everything correctly.
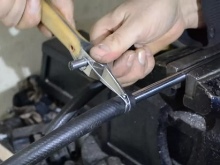
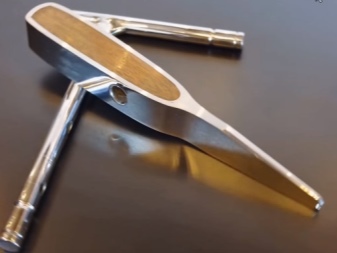
- The warp is sharpened to the desired end width and tape or wire slot. For this, a grinder or any other suitable tool is usually used.
- Then, on the other side of the sharp end, you need to drill a hole of the required diameter. Here, too, everything will depend on the tape or wire that is planned to be used in the future.
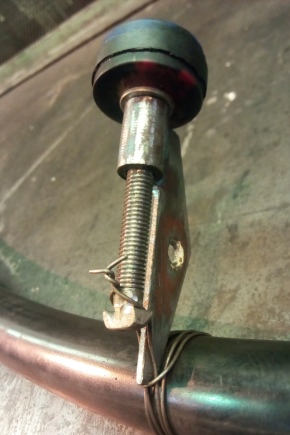
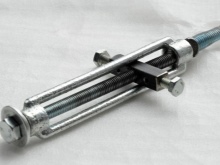
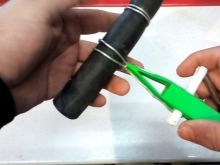
- Next, a suitable bolt is inserted into the slot, and the wire is wrapped around the entire body of the tool or hose.
- The ends of the wire are parallelly pushed into the hole and into the slot of the bolt, without intersecting with each other.
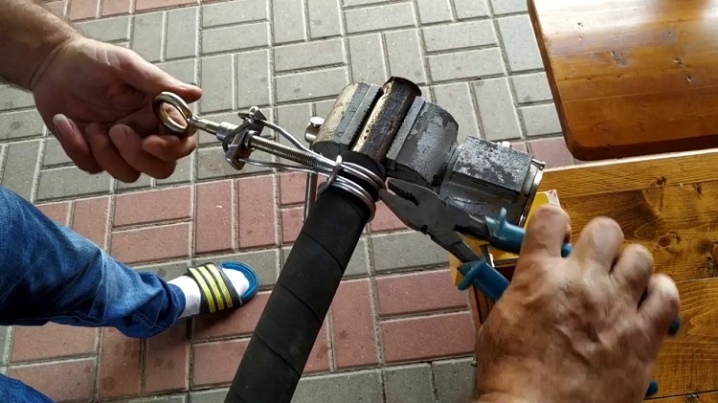
- The bolt is tightened with a wrench, and the clamp is tightened automatically as a result.
- The clamp must be turned in order to bend the ends of the wire and fix it. After that, the excess wire is cut off. The tool is completely ready to use.
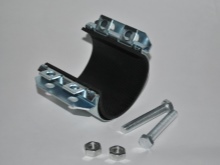
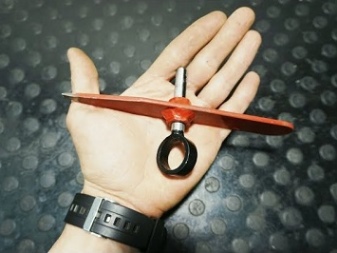
This is the simplest, but not the only option for making a clamp. It can be made from a lanyard or glass cutter with no less success, but the technology and algorithm of actions will be slightly different. Even a steel strip from a pipe trim may be suitable as a material for a beginner. The manufacturing process will look like this.
- The pipe cut must be cut into several pieces using a grinder or any other suitable tool. In this case, the width should be up to 20 cm.
- Fasteners are connected to the ends of the clamp by welding.
- You will first need to use a drill or drill for metal to make several additional holes.
- The seal is made of 3mm rubber and is placed directly under the clamp. Rubber can be different, but such parameter as thickness will play a key role in the selection process: it must be at least 3 mm.
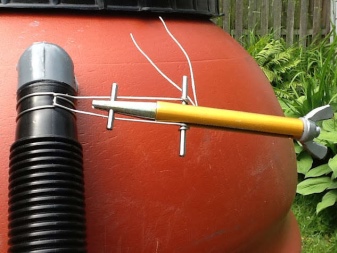
- The clamp is put on the pipe, wrapped and tightened with a washer, nut or bolt. It is very important to do this evenly so that the clamp tightens well.
Making a clamp by welding is a little more difficult, and here it is important to consider the level of load that the tool can adequately withstand. Operating conditions will also play a significant role, so all materials should be carefully selected.
It is still preferable to use steel as a base.
Knitting methods
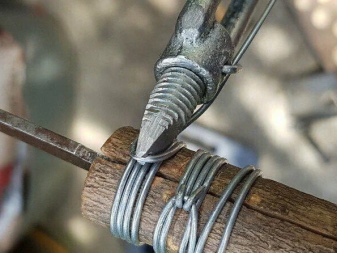
Clamps have different knitting methods, so the operating conditions may vary. Where one option can be used, the other will not work. For home making, wire is most often used, therefore, for knitting, you will need to do the following:
- pick up a wire of sufficient length and thickness (usually from 3 to 5 mm, the bend can be fixed with wire cutters);
- wrap the clamp, while the free ends go directly through the loop of the wire;
- put on the loop and fix with a bolt or nut;
- tighten the clamp slowly (sometimes the wire needs to be straightened so that its ends do not intersect).
As a result, the clamp is unfolded and fixed in the desired position. Excess wire ends are cut off. Even with a phased production, the whole process takes no more than a few hours, and the device can be used for quite a long time.
You can find out how to make a door hinge clamp with your own hands from the video below.


The comment was sent successfully.