All about curbs for paving slabs
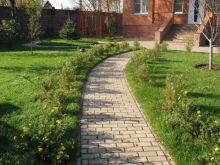
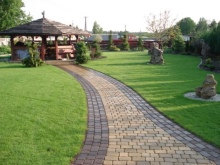
Sidewalk tile is a popular building material for finishing paths in private territory, sidewalk paths, arranging garden plots, park areas. Together with the installation of such products, curbs (curbs) are often installed in parallel. These fences are made from different materials, they differ in shape, size and color. Let's figure out how to choose them and install them correctly with our own hands.

Peculiarities
Paving slab curbs serve several important functions.
- They strengthen the coating, increasing its resistance to mechanical stress.
- Products used in landscape design help to protect the tiled area from "spreading".
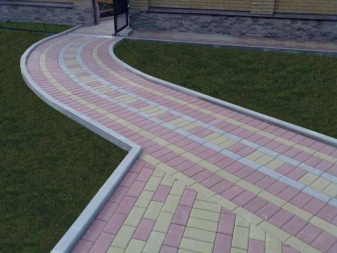
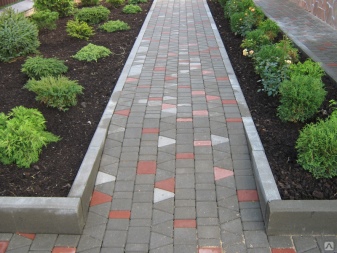
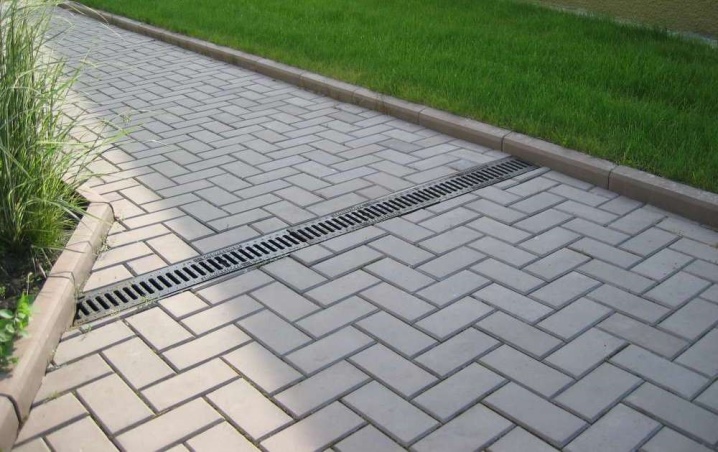
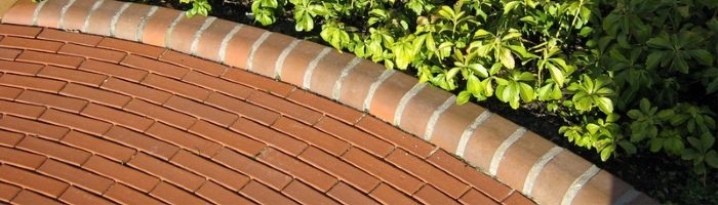
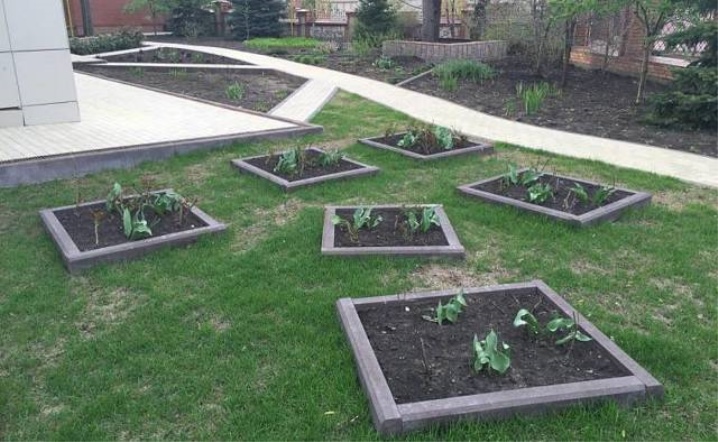
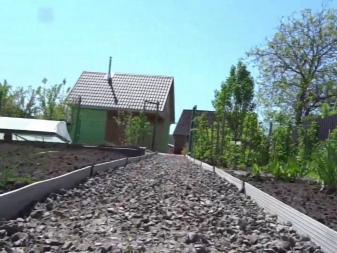
- They provide a more aesthetic look for the paths, and also help to zone the space.
- The installation of fences is carried out below the level of the underlying layer, due to which the curbs reliably support the paving stones.
Their advantages include:
- a wide selection of colors, textures, shapes and sizes of products;
- ability to withstand frost, temperature changes;
- environmental friendliness - fences are made of materials that do not emit harmful substances;
- preservation of shape when heated by the sun's rays;
- simple and quick installation that does not require special knowledge and skills;
- the ability to use improvised tools during installation;
- ease of care;
- easy dismantling.
The disadvantages include the fragility of some types of products. Most often, cheap materials of poor quality, produced by handicraft methods, are unreliable.
Species overview
The classification of curbs for sidewalk cladding is made by material, from which they are made. Each type has its own characteristics, which you need to familiarize yourself with before purchasing and installing fences.
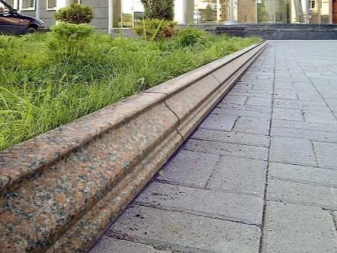
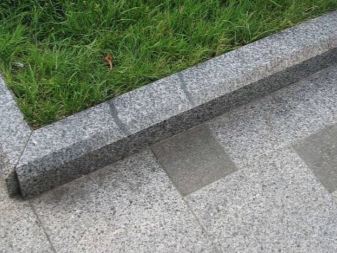
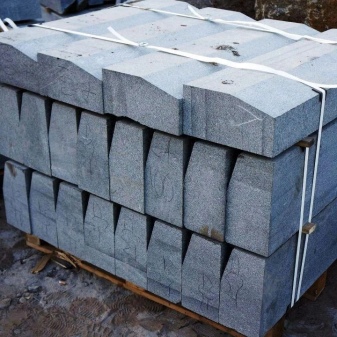
Stone
Most often, such products are made from granite... Curbs of the desired shape and required dimensions are cut from natural stone. The result is aesthetic fences with excellent decorative qualities.
Other advantages of stone products include:
- high strength indicators;
- reliability and durability (granite fences can last at least 40 years, while maintaining external presentability);
- excellent moisture resistance (moisture absorption coefficient is no more than 0.45%).
Flaw stone fences - their high cost. Granite products, unlike others, are the most expensive.
Another disadvantage is the large mass, especially for the overall curbs. Due to their weight, stacking can be difficult.
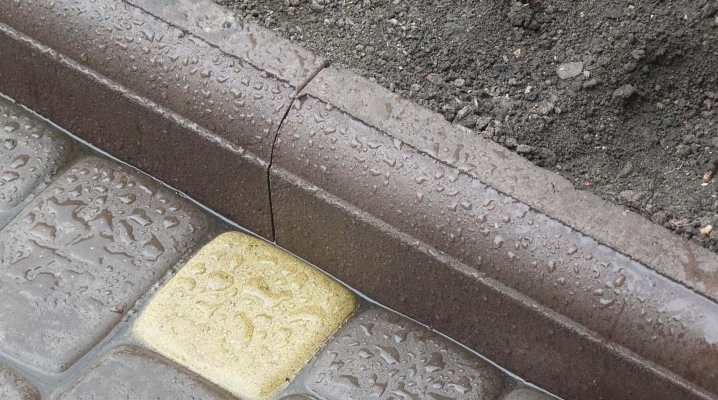
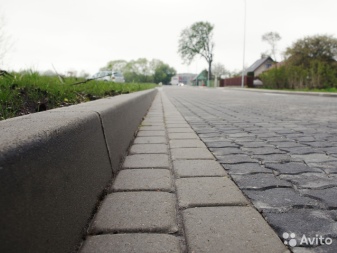
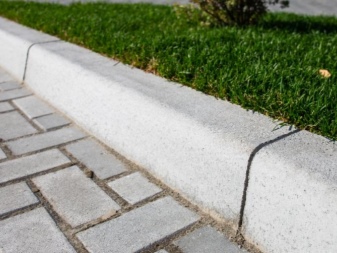
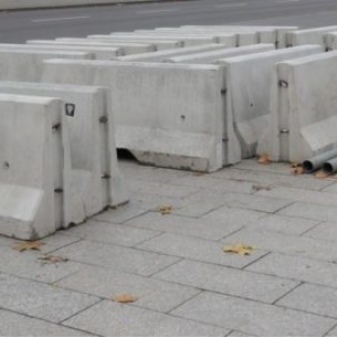
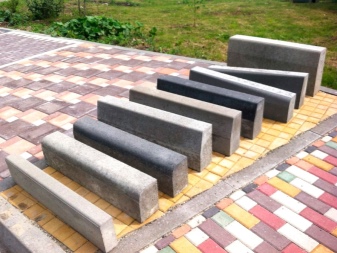
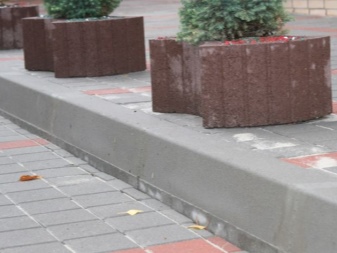
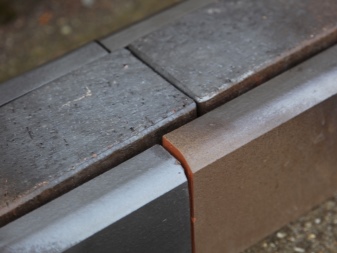
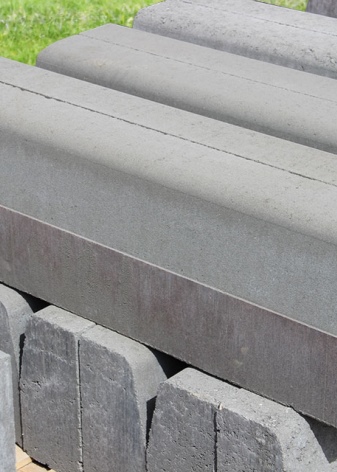
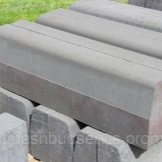
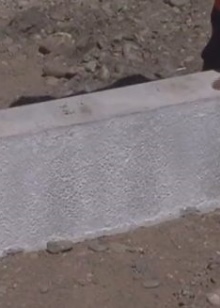
Concrete
Manufacturers offer 2 types of such products... They can only be manufactured from concrete mortar or with the use of reinforcing elements. Reinforced curbs are more durable. Most often they are made by vibropressing. They are able to serve for at least 30 years. Fences without reinforcement are produced by vibration casting. They are cheaper, but at the same time they will not last long - after about 5 years of operation, the fences darken and become covered with small cracks.
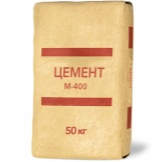
Concrete products moisture resistant (moisture absorption rate not more than 4%) and reliable... However, this applies only to high-quality goods made in accordance with GOST from cement grade M400.Fences made in violation of technology from lower cement grades have a lower moisture resistance. At negative ambient temperatures, the water absorbed by the concrete turns into ice, which leads to material rupture. As a result of this process, cracks form prematurely on the product.
A poor-quality concrete curb can collapse or lose aesthetics already in the first year of operation.
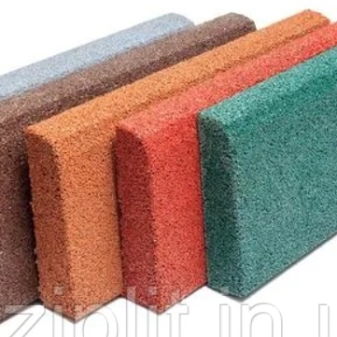
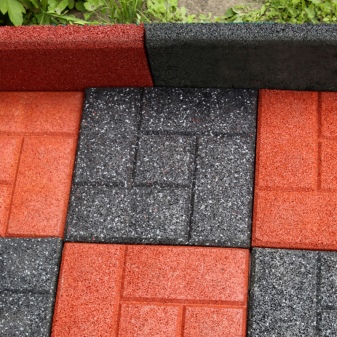
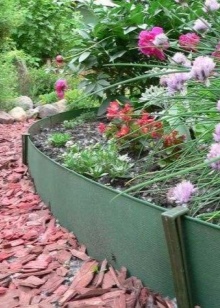
Rubber
They are obtained by recycling old car tires. A number of significant advantages are inherent in rubber fences:
- traumatic safety - the products are soft and elastic, they perfectly absorb the shock when a person falls on them;
- good flexibility of the material, due to which it does not break or crack during transportation or under mechanical stress;
- absolute moisture resistance;
- the ability to withstand heat and frost without deformation;
- excellent durability and wear resistance - the material does not deform and does not lose its external presentability when exposed to UV rays, precipitation (service life is at least 10 years);
- a light weight.
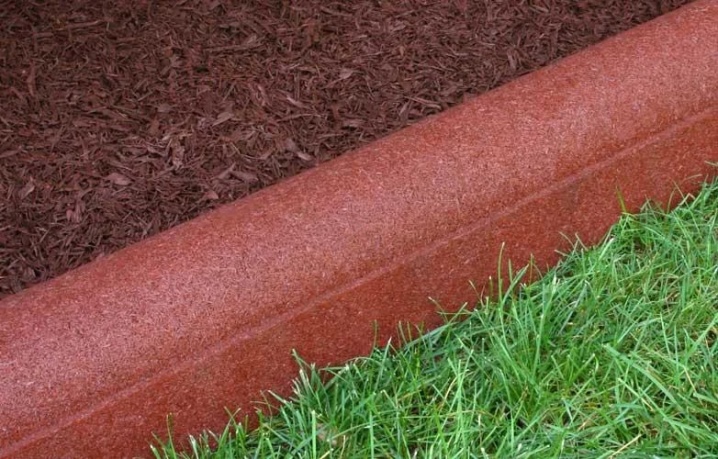
Rubber curb is easy to install and handle... It is cut with a handy tool and has a low weight, which greatly simplifies the work with the material. If for some reason one or more rubber modules are damaged, they can be quickly and easily replaced with new ones.
The disadvantages of rubber crumb borders include the limited color palette and the release of toxic substances into the environment when ignited.
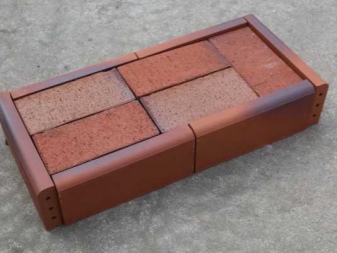
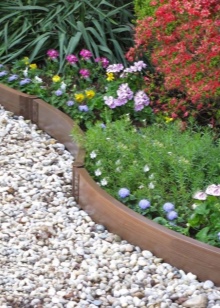
Clinker
Such curbs are made using the same technology with the brick of the same name. Fences differ from clinker bricks only in dimensions. The main raw material for the production of such curbs is refractory clay with a high percentage of aluminum oxide. In the manufacture of products, they resort to extrusion or pressing technology.
Material advantages:
- high compressive strength;
- the durability of the shade (the brightness and saturation of colors is preserved when exposed to negative environmental factors);
- chemical resistance - due to this feature, the material retains its external presentability in contact with acid precipitation;
- high wear resistance (for clinker products it is about 15 times higher than for concrete);
- small water absorption - no more than 2%;
- easy care.
The disadvantages of clinker borders include their high price.
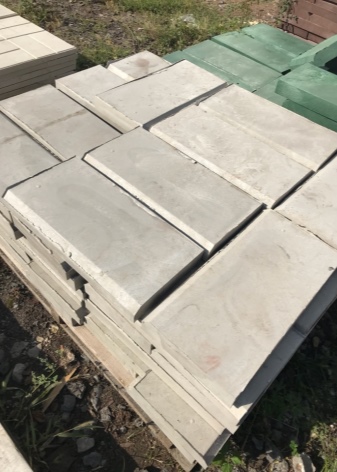
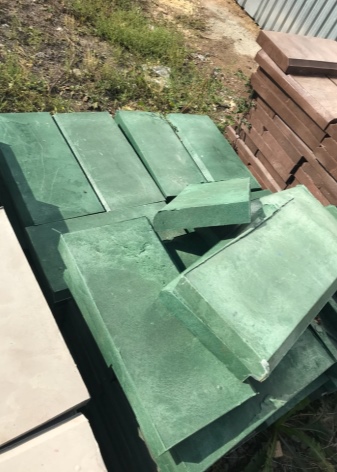
From polymer-sand composition
Polymer sand curbs are made from sand, polymer components and dyes. Expanded clay is added to some modifications to reduce weight. Products are made by mixing all components, then heating and molding them.
Fences made of polymer-sand composition have the following advantages:
- affordable price - these types of borders are considered one of the cheapest;
- low water absorption - no more than 0.15%;
- high density - up to 1800 kg / m2;
- resistance to abrasion and various types of mechanical stress;
- good indicators of frost resistance - polymer sand products withstand from 300 to 500 cycles;
- ability to withstand temperature extremes.
The disadvantages include not the highest strength indicators, the expansion of the material with strong heating. Borders made of polymer-sand composition are produced in meager colors and shapes.
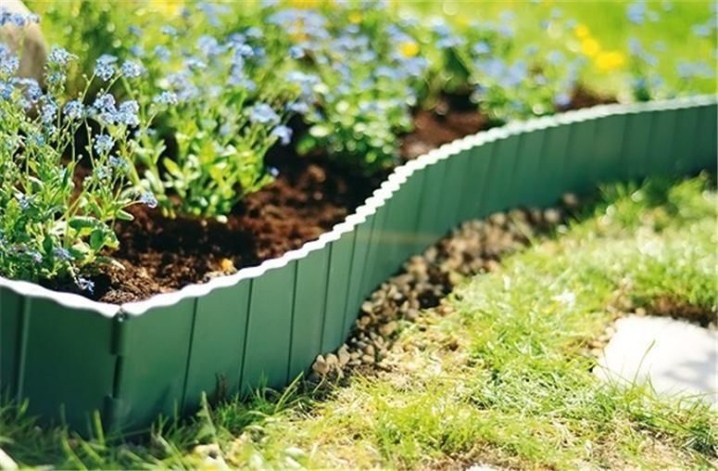
Plastic
Plastic curb - the most unpopular variation of finishing sidewalks, paths in the country or in a private house. Low demand is due to the weak strength of the material and its rapid fading when exposed to sunlight.
Plastic fences are of several types.
- Curb tape. The material is sold in rolls. The belt is designed for deep installation in the soil. The hidden curb is not used to transform the landscape design, since it is almost completely buried in the ground.
- Sectional curbs. They are sets that include products of the same shapes, colors and sizes. All such sections have fasteners for reliable fastening of the curbs to each other.
- Ready-made solutions... These modifications are available as planks, tiles or curbs.
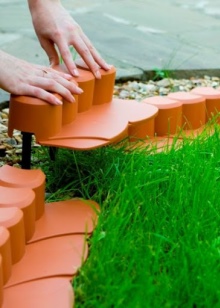
Despite the fact that the curbs are made from ultra-strong polymers, they still are considered short-lived. TO advantages plastic materials include a low price, versatility, a wide range of shapes, sizes and colors, external presentability. Due to their low weight, the products are easy to transport, install and dismantle.
Selection Tips
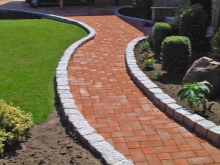
When buying borders, it is recommended to give preference to solutions made of the same material as the tiles. There are several main criteria that you need to pay attention to when choosing.
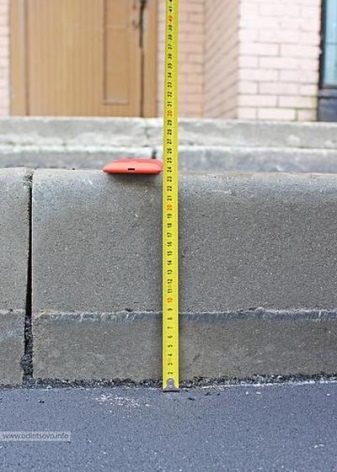
- Height... To purchase the optimal product for this indicator, you need to measure the height of the base and add another 10-20 cm to the resulting value. The resulting amount is the required height of the fence.
- Length... To determine it, you need to calculate the length of the section to be trimmed and add about 10% to this value. You should always buy material with a margin, especially for fragile and fragile products. When curbs are loaded, transported or unloaded, some of the products may be damaged.
- Documents confirming the quality of the goods. Before buying, you need to ask the seller for the appropriate product certificates. In this case, it is important to pay attention to the validity of the documentation - they should not be expired.
The choice of high-quality borders and their correct installation is the key to maintaining the garden cover for many years.
Installation
Curbs can be laid by yourself, without hiring professional craftsmen. To do this, prepare the necessary tool, and also get acquainted with the step by step instruction.
Tools and materials
First of all, for the installation of curbs, you will need bayonet shovel... It is necessary for carrying out various earthworks, laying a base of crushed stone and mixing cement mortar. To level the working mass on the base, you will need Master OK... With its help, it will be convenient to close up seams. For mixing cement mortar, you cannot do without special capacity... When carrying out large-scale work, it is recommended to use manual or electric concrete mixer.
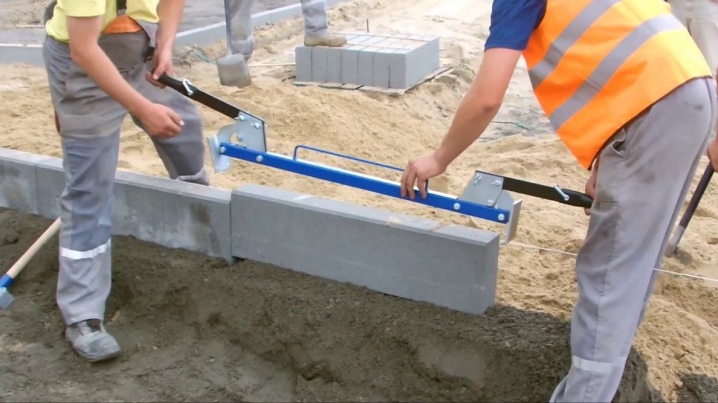
To make the markup of the future track, you will need roulette, cord or tight rope... Its length will depend on the length of the path being framed. You can set the curbs evenly using building level... To lay the curbs evenly, you will need rubber hammer, when working with durable materials, it is allowed to use metal hammer weighing up to 0.5 kg. For cutting and processing products you may need grinder and grinder.
During the installation process, the following materials will be required:
- curbs;
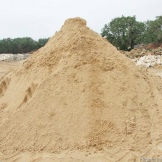
- river sand;
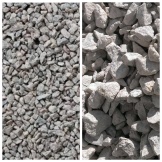
- fine or medium-sized crushed stone;
- cement grade M400 or M500.
After preparing everything you need, you can start work.
Stages
The curbstone laying technology includes several steps.
- First of all, you need to decide on the configuration of the paths, their length and width. A tape measure should be used to maintain accuracy. To determine the boundaries, you need to make markings, put pegs and pull a rope between them - it will serve as the main reference point when carrying out work.
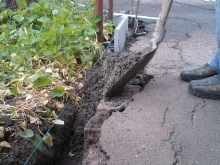
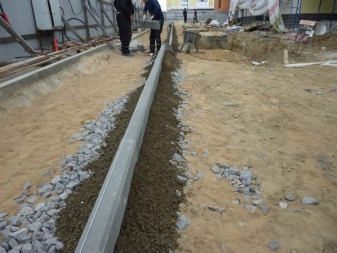
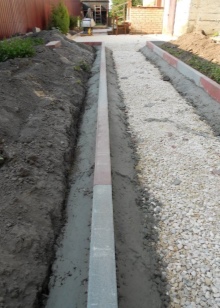
- Next stage - digging a trench... Its depth should be such that the upper edge of the curb rises 10-20 cm above the tile. It should be borne in mind that under the curb there will be a sand-crushed stone cushion 8-10 cm high and a 3-centimeter layer of cement mass. The method of digging a trench is determined independently - you can dig a narrow pit 30 cm wide or choose a depression for the entire path.
- Next comes the leveling of the base and laying the pillow. On the tamped bottom of the trench, you need to lay crushed stone with a layer of 5 cm, and then level the material with a bayonet shovel. The strip should be compacted with your feet, the stone should be covered with a thin layer of sand (3-4 cm), and tamped. For faster and better compaction, it is recommended to moisten the sand with water. Last but not least, it is imperative to check the evenness of the surface using a building level.
- Final stage – laying curbs... To fix the curbs, you will need cement mortar. For its preparation, crushed stone, sand, dry cement and water are taken in a ratio of 2 2.5: 1: 2, respectively. First, you need to thoroughly mix all the dry components, then add liquid in small volumes.
There are two ways to lay curbs:
- put them on a sandy pillow and fix them with mortar on the sides;
- install on a cement mass laid out on the base, and then fix the curbs from the sides.
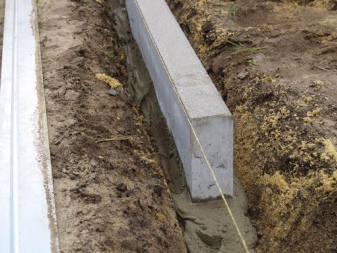
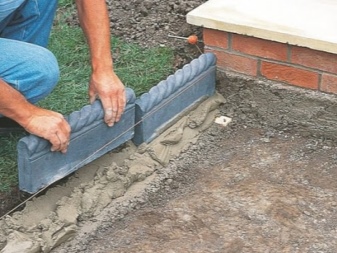
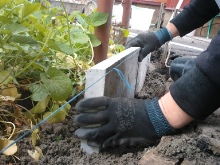
It is considered more reliable installation on a solution. To do this, you need to apply a strip of cement paste several centimeters wider than the fence. A curb is installed on it and aligned with the rope and level. To align the position of the curb, use mallet - while the cement slurry is not frozen, the position of the fence can be easily corrected. All products must be displayed strictly on a tight rope. The cement mortar should be distributed on both sides of the curbs - this way the stone will be securely fixed.
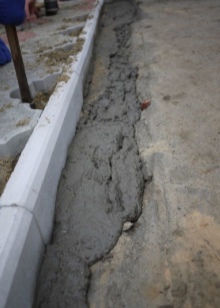
After installing and aligning the products, filling joints... For these purposes, you need to prepare a mixture of sand and cement, taken in a 1: 1 ratio. The joints are filled with it, after which they are gently spilled with water. After drying, a strong and reliable seam is formed.
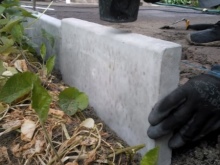
The laid curbs must stand for at least 24 hours, only then can you proceed to further work on laying tiles or paving stones.
What can be replaced?
If curbs cannot be laid due to financial or technical reasons, alternative methods can be used:
- lay paths without fences, pushing the paving slabs into the depths;
- fix the extreme cladding elements with concrete mortar;
- use wooden formwork, and take stones to secure it.
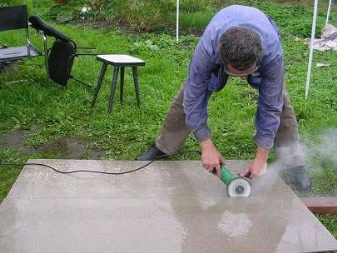
In addition, you can make fences from old flat slate. For the manufacture of such borders, the sheets are cut with a grinder into pieces of the required length and width. It is recommended to moisten the material with water before cutting to reduce the formation of dust. Work should be carried out in a protective mask... If desired, slate curbs can be painted in any color.
For information on how to properly install the curb, see the video.


The comment was sent successfully.