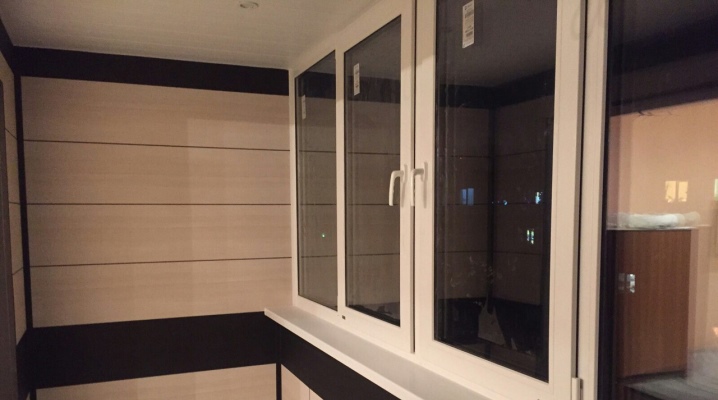
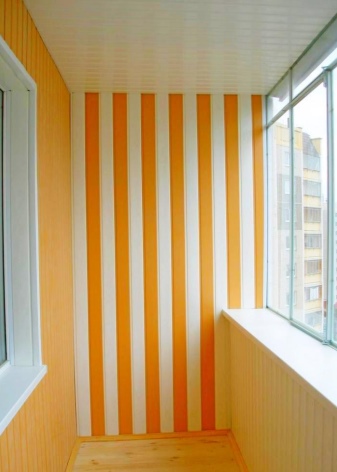
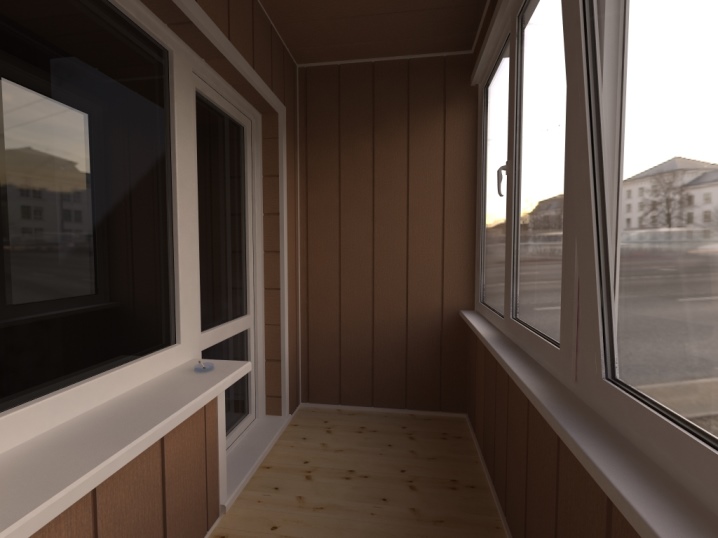
Balcony decoration with MDF panels
The glazed balcony is protected from dust, wind, precipitation. But it is still cold and uncomfortable on it. Balcony decoration usually has the following goals:
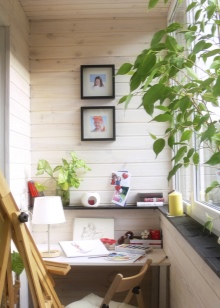
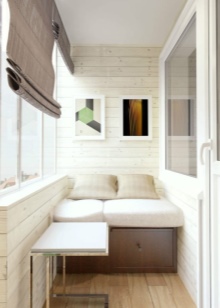
- Insulate. Insulation allows you to use the balcony all year round, store things and food on it, dry clothes, equip a workshop or a place to relax.
- Protect from dampness... Common problems with balconies - mold and mildew - appear from dampness.
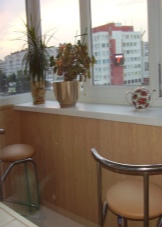
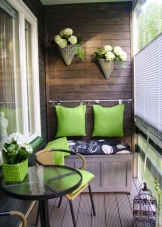
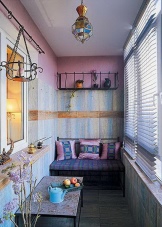
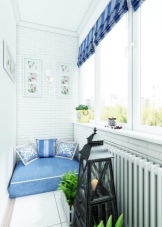
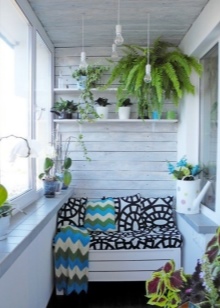
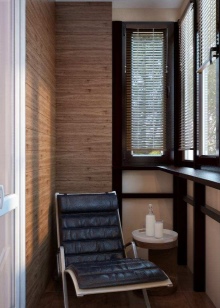
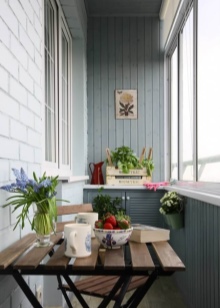
- Create coziness: thanks to the decoration, the stone bag turns into a pleasant space.
Advantages and disadvantages
In principle, the balcony can be plastered, painted, laid out with tiles, plastic panels and even pasted over with wallpaper. However, wood paneling has its advantages:
- the frame (crate), on which the panels are attached, at the same time accommodates insulation, contributes to sound insulation, under which they hide the wiring;
- no need to level the walls, as when painting and wallpapering;
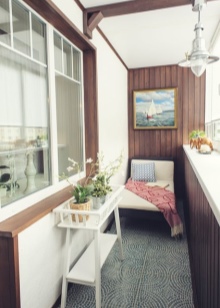
- wood is a warm and aesthetically pleasing material loved by many;
- it is easier to mount shelves, hooks, fix cabinets on a wooden surface; when installing, the panels are easily sawn to the required parameters;
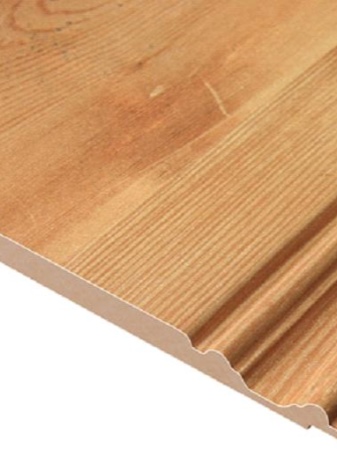
- the panels are fastened according to the thorn-groove principle, which makes their installation accessible even to a novice master. If damaged, a separate panel can be replaced.
There are advantages to the material of the panels itself:
- MDF is environmentally friendly; it consists of fine wood chips held together with synthetic resins. MDF has a high environmental friendliness class - E1, which means that according to GOST the material is recognized as safe for the manufacture of furniture, including children's furniture.
- Elasticity. Balcony cladding does not imply leveling the walls, which means that slight differences in height are possible. The elasticity of MDF makes it possible to smooth out such errors up to 7 mm.
- MDF laminated film of different colors and textures, this expands the design possibilities and allows you to create your own, special interior.
- The film retains dust and dirt, when cleaning, it is enough to wipe the panels with a damp cloth.
The disadvantages of the material must also be taken into account:
- The panels are vulnerable to moisture, after all, the film only protects the outer surface. When wet, the surface deforms and darkens. Before cladding, it is necessary to waterproof the balcony: close all the cracks with a moisture-proof material. When the temperature drops, condensation forms, therefore, thermal insulation and vapor barrier are also necessary. A dry and insulated balcony extends the service life of MDF panels.
- The film is vulnerable to mechanical stress, for example, to the claws of pets. For the floor on the balcony, other materials are chosen, since the film of the floor panels quickly loses its appearance and is wiped off from constant load.
- MDF panels more expensive than plastic panels and lining (thin sheathing boards).
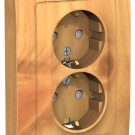
- Like any wood, the material is highly flammable, so they install under sockets and switches metal socket boxes.
Required tools
Check the list to see if you have:
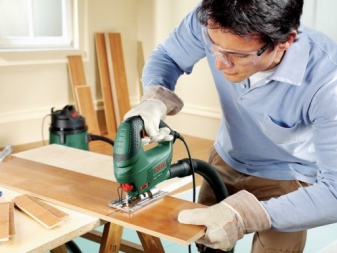
- Tool for sawing panels: jigsaw or hacksaw, jigsaw; a small workbench will also be useful.
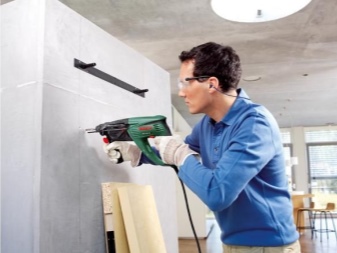
- Drilling tool: hammer drill or hammer drill.
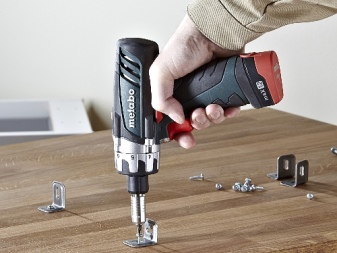
- Screwdriving tool for self-tapping screws: screwdriver or screwdriver.
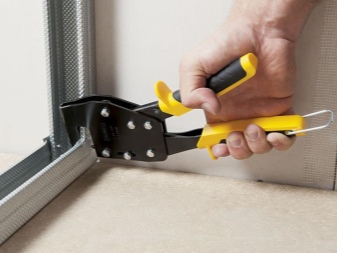
- Tools for working with a metal frame: metal scissors and a cutter, with which the frame elements are connected.
- Hammer and doboiner for dense paneling.
- Construction stapler for fixing panels to the lathing.
- A spatula for covering cracks in the walls.
- Liquid waterproofing brush or roller.
- Tape measure, plumb line, level, angle, - for measuring and leveling.
- Vacuum cleaner and cleaning brush.

You will need to purchase the following materials:
- MDF panels (it is better to take with a small margin, in case a defective or damaged part is replaced);
- for the frame: galvanized metal profile or wooden bar;
- floor material;
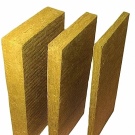
- insulation;
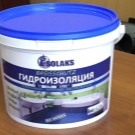
- waterproofing;
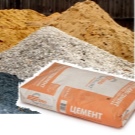
- cement;
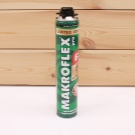
- polyurethane foam;
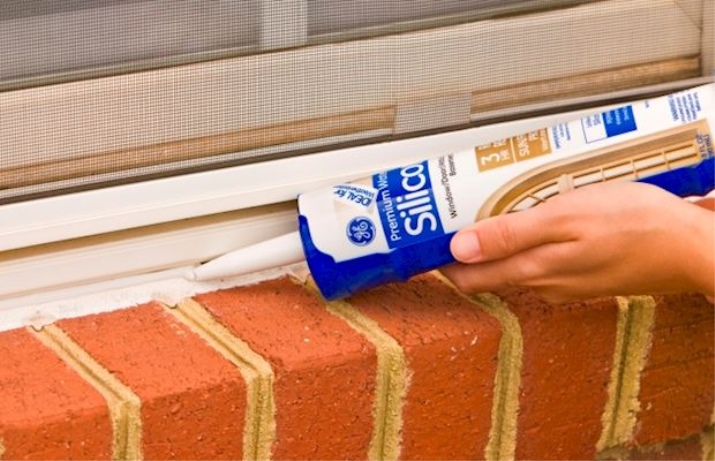
- silicone sealant;
- antiseptic primer;
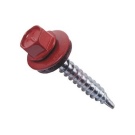
- self-tapping screws for mounting the lathing;
- clamps for fixing panels;
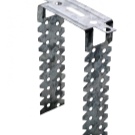
- suspensions for lathing guides;
- slats for the frame;
- finishing corners and skirting boards;
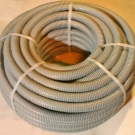
- corrugation for wiring;
- sockets, switches, socket boxes;
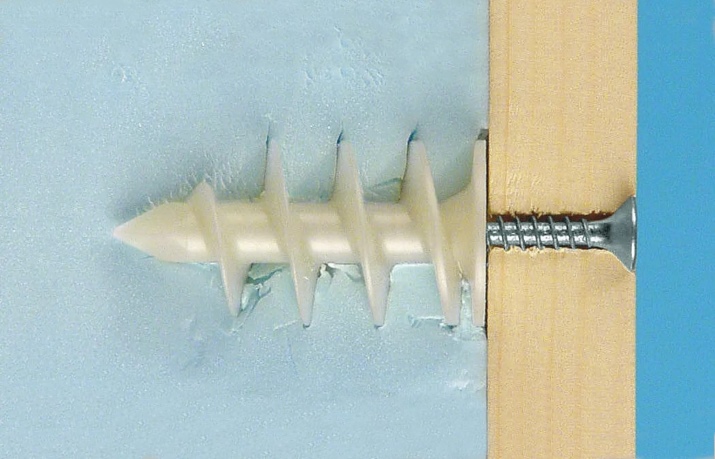
- dowels and dowel screws;
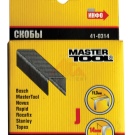
- stapler staples.

Preparation for work
Preparation for work should begin at the stage of balcony glazing. You need to make sure that when installing the external structure, there is a gap for the interior decoration. Otherwise, you may be faced with the fact that the finish will prevent the replacement of glass or the opening of the window. After glazing, it is necessary to deal with waterproofing: The surfaces are cleaned of everything that may interfere with the detection of cracks and cracks (paint, wallpaper). The surface is tapped with a hammer to find weak points that need to be knocked out. Potholes are sealed with cement mortar, cracks are blown out with polyurethane foam or sealant. Now you need to carefully remove all the debris with a stiff brush and vacuum cleaner.
All surfaces are treated with an antiseptic primer. It will prevent mold and mildew from forming under the finish. The primer is applied with a wide brush. The treated surfaces must dry. Walls, floor and ceiling are waterproofed. Waterproofing can be coated and rolled. Lubricating waterproofing such as cement-polymer mastic is applied to the surface with a spatula or brush and allowed to dry. Rolled waterproofing requires leveling the walls and pouring cement, therefore, it is not rational to use it when finishing with panels.

All seams around the perimeter of the window block are closed with polyurethane foam.
DIY plating steps
Let's list in order:
- Finishing work begins with the installation of the frame, then the insulation is attached, and then the panels. Do not forget to place the elements of the electrical system in the process of building the structure: switches, sockets, lamps.
- Installation of the lathing. The lathing is assembled from a galvanized profile or wooden beam. For both types of wireframes, markup is first done. Decide on the direction of laying the panels: the transverse laying of the ceiling visually expands the balcony, laying the wall panels perpendicular to the floor gives the effect of higher ceilings.
- With a pencil or chalk, using a plumb line or level, markings are applied. Different design features of the balcony require different lathing. The general point is that there should be a gap between the surfaces and the MDF panels, into which the insulation is laid. To do this, over the area of all surfaces, a lattice is attached with a step of 30 to 50 cm.
- External guiding grilles are laid with a slight indentation parallel to the ceiling, floor, balcony parapet, perimeter of windows and doors. Parallel to them with the selected step, the remaining lines of the crate are attached.
- Wooden bars of the lattice are processed antiseptic against fungus and mold.
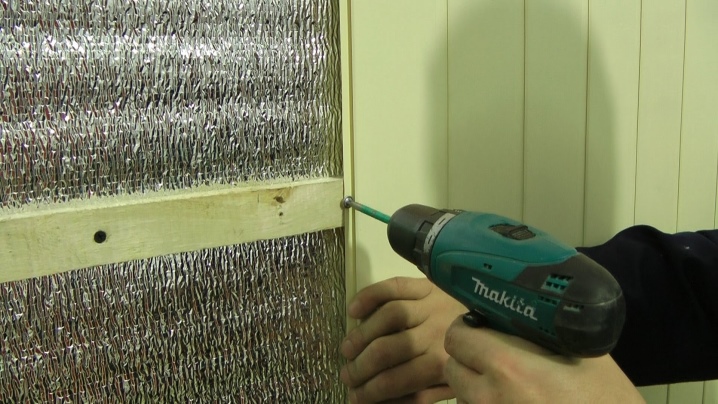
- Warming and vapor barrier... You can insulate with foam, glass wool, mineral wool, foil insulation. Folgoizolon is a roll insulation and is fixed before the frame is installed. Cotton wool and polystyrene are laid under the crate and fixed. These materials do not need vapor barrier.
- Lay on top of the insulation vapor barrier: impervious material that creates a barrier between warm air from the apartment and cold insulation. The vapor barrier prevents condensation from forming inside the insulation, which reduces the useful properties of the material.
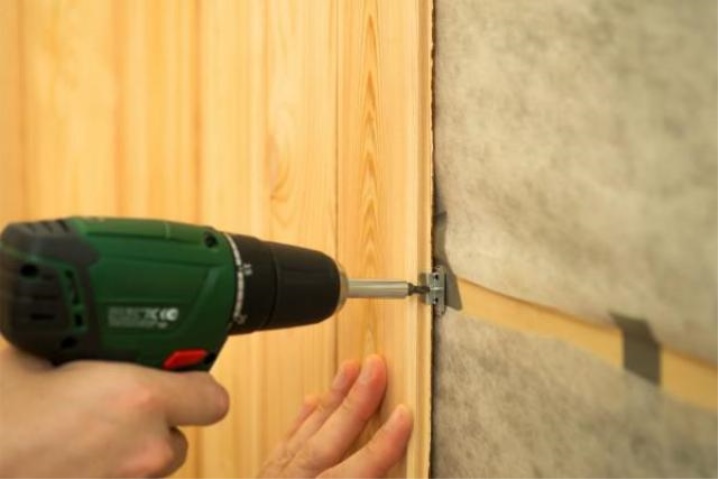
- Paneling. The panels are adjusted to the desired size with a jigsaw or a hacksaw. The panels begin to be fastened from the corner to the clamps.First, a corner is formed from two panels, then the rest are fixed, combining the spikes and grooves of adjacent parts and fixing them to the clearer from the groove side. At the end of the work, plinths and finishing corners are installed.
For how to sheathe a MDF balcony with do-it-yourself panels, see the next video.


The comment was sent successfully.