Finishing the balcony with plasterboard
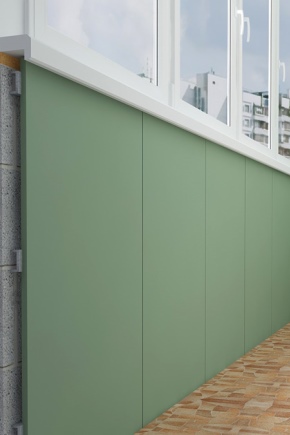
Ease of installation, safety and durability are the main advantages of drywall. This building material is suitable for cladding interior surfaces. Decorating the balcony with plasterboard is practical, high aesthetic characteristics, you can do it yourself.
Advantages and disadvantages
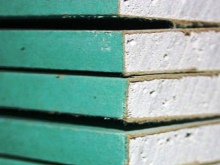
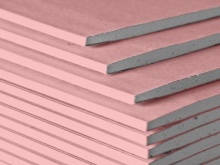
Drywall is popular with professional builders and newbies. It is easy to use, suitable for a variety of surfaces and has many positive properties. The material consists of a solid panel, glued on both sides with construction paper.
Distinctive features of drywall:
- Light weight. The panels are easy to transport due to their compactness. Also, this property simplifies the assembly of parts.
- Environmental friendliness. The absence of harmful emissions makes the material safe for human health.
- Ease of processing. Drywall is easy to cut, so you can get parts of any size. This is especially important when rooms with a non-standard area are sheathed.
- Non-flammability. The material is resistant to high temperatures, almost does not burn.
- Thermal insulation. This feature allows you to create a comfortable microclimate on the balcony and maintain a comfortable temperature for a person.
- Soundproofing. The balcony, lined with plasterboard, will be quiet, it will not hear noises from the street and from the apartment.
- Affordable price. Drywall is lower than natural wood panels, at the same time it is of high quality and has a decent appearance.
Despite its high functionality, the material has several disadvantages. Drywall is fragile and can be damaged by external mechanical impact, therefore, care should be taken when transporting and storing panels. It absorbs moisture easily, not very good for use in humid places. To eliminate this minute, it is recommended to leave the drywall uncovered for several days before repairing.
Views
Modern drywall has improved performance characteristics. Depending on its properties, there are several types of materials used to decorate different rooms.
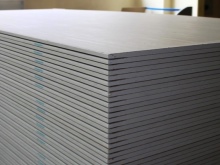
- Normal. A cheap material that has no additional properties. As a rule, it has a neutral color gamut and is used for cladding rooms with a stable temperature regime and low humidity.
- Flame retardant. The drywall contains fire retardants that make the material less flammable. Such panels fully comply with fire safety requirements and are suitable for finishing almost any premises.
- Moisture resistant. The most suitable option for a balcony due to precipitation and temperature fluctuations. The sheets are covered with a special coating that absorbs moisture, and anti-fungal solutions are also applied to them to prevent mold.
The panels differ from each other in dimensions, which is also taken into account when buying building materials. Before proceeding with the repair, calculate the area of the room, the required number of sheets of drywall. To do this, you need to know in advance the dimensions of the sheets, which can be clarified on the manufacturers' website or directly in the store.
Required tools
Repair work does not require professional knowledge, and standard equipment is sufficient to carry out them. Its preparation or acquisition is one of the stages of preparation for repair. What tools are needed:
- Perforator. Used for direct panel mounting.
- Drill, screwdriver. Needed when installing self-tapping screws, dowels and other fasteners.
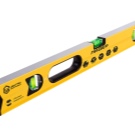
- Building level, plumb line. They are used to align the panels with respect to each other and the surfaces located on the balcony.
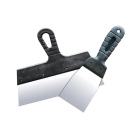
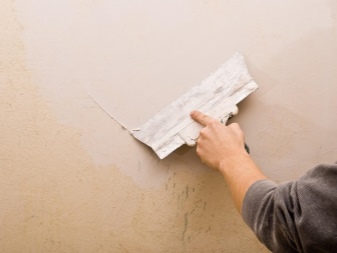
- Putty knife. Required for applying putty to walls.
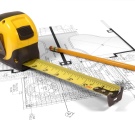
- Roulette and pencil. They are taken when carrying out measuring work.


In addition to the equipment listed, you must purchase the drywall itself and the following materials:
- Insulation - for preparing surfaces for installation.
- Hydro and vapor barrier. Required when laying insulation.
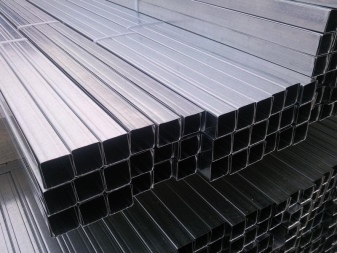
- Profiles. Needed to install the lathing.
- Dowels, screws. Fasteners are required at all stages of work.
- Primer, putty. They are used to process joints between foam sheets.
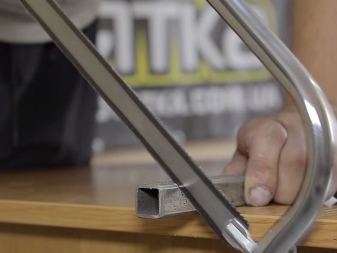
- Hacksaw for wood and metal. If necessary, it can be replaced with a grinder. It is required to process the details of the lathing.
If additional processing of materials is required, paint is purchased separately. It is suitable both for drastically changing the color of drywall and for emphasizing the natural shade of the panels. At the stage of final finishing, impregnations are applied to protect against high humidity and high temperatures.
Preparatory stages
The balcony is finished with plasterboard only after the glazing of the room, otherwise the panels will not hold and may deform due to precipitation or excessively high temperatures. Here are the other steps required to prepare:
- Before sheathing, all objects are removed from the loggia, the walls are freed from traces of the old finish.
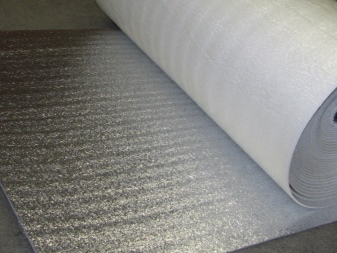
- Further, it is recommended to install steam and moisture protection. For this purpose, foil or plastic sheeting is suitable as a barrier. In addition, special membranes can be used.
- Insulation is necessary not only to maintain a comfortable microclimate and constant temperature, but also to extend the service life of the panels. Therefore, this procedure is also required before sheathing.
It should be borne in mind that you need to process all surfaces on the balcony: not only walls, but also the floor and ceiling. The insulation must be resistant to rot, moisture and pathogenic microorganisms.
Materials used to insulate the loggia:
- glass wool;
- mineral wool;
- expanded polystyrene.
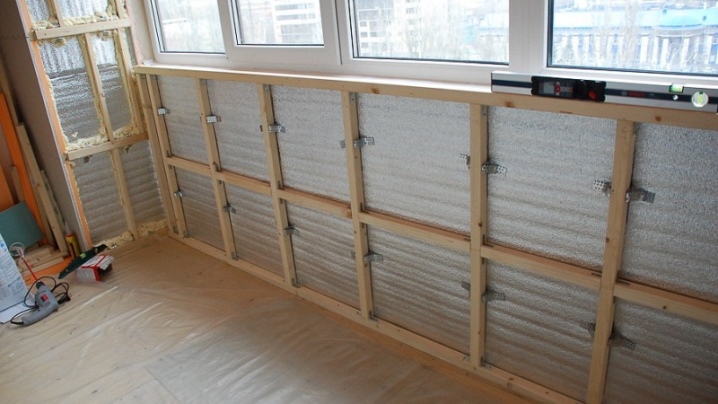
The thickness of the material must be at least 50 mm so that there is no draft on the balcony. When operating in difficult climatic conditions, the insulation is additionally processed to increase resistance to high and low temperatures. It is laid between the elements of the lathing, previously covered with foil for waterproofing. A construction stapler is used for installation.
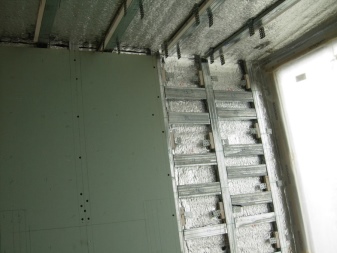
Plasterboard balcony cladding requires the installation of a lathing on which the panels will be attached. The frame is made of horizontal and vertical profiles, which are both wooden and metal. The latter are distinguished by their increased strength and ease of installation, therefore they are used more often.
When using wood, the beams are additionally processed.
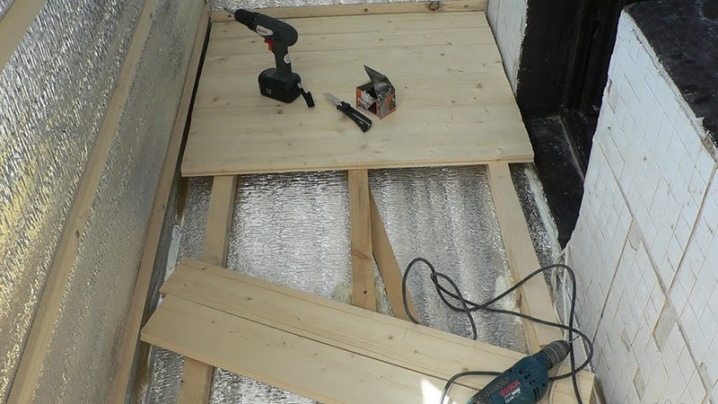
Stages of installation of the lathing:
- Creating a drawing and marking the walls in accordance with it. Thanks to this, the profiles will be located evenly, which means they will last longer.
- Installation of support profiles. The first beams are installed at the floor, the following elements are aligned along them.
- Installation of parts in accordance with the marking. To make them as even as possible, it is recommended to use a building level.
- Fasteners of parts. For these purposes, dowels or self-tapping screws are used, they are installed every 25 cm.
- Installation of transverse jumpers. They are made from rack-mount profiles and positioned taking into account the congestion of the walls. If you want the lathing to withstand a lot of weight, the jumpers are fixed as often as possible.
Fixing hangers will make the frame stronger and more rigid. Insulation can be located between the cells of the crate; it is recommended to arrange a double crate at the site of future joints. In the next step, drywall is directly attached to the crate.
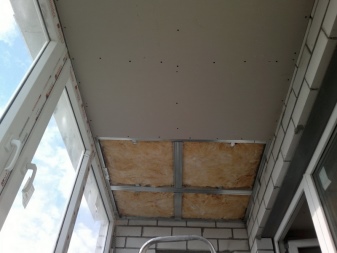
In the next video, we suggest that you visually view all the above steps using the example of a ceiling lathing.
How can you sew with your own hands: the sequence of works
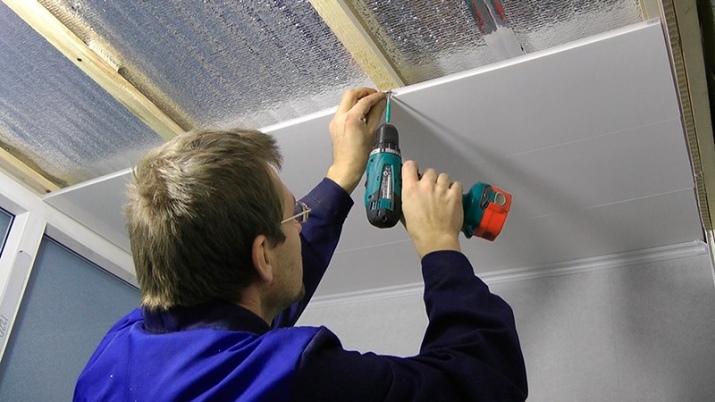
Sheathing begins from the ceiling, after which they move on to the walls. First of all, you need to cut out the plasterboard panels of the required size, if necessary, leave space for backlighting.
Ease of filling the joints between the panels is ensured by the beveled edges - chamfers. If it is not there, the surfaces are prepared independently.
The first plasterboard panels are installed on the ceiling. It is most convenient to use self-tapping screws as fasteners - it is recommended to drown their caps inside the material. The distance between the elements is 20-25 cm; for convenience, markings are made before work for future holes. The remaining panels are installed in the same way. If necessary, the last parts are trimmed.
What is taken into account when covering a balcony:
- Wiring and self-tapping screws must not touch.
- Metal sheathing is most effective in humid climates.
- Wooden beams are sanded, covered with protective solutions.
- Fasteners must not be tightened very tightly: the material is fragile and can deform.
- When installing ceiling profiles at the edges and in the middle, it is recommended to use anchors.
Due to the observance of these recommendations, it will be possible to extend the service life of the structure, to simplify and speed up the installation process.
See below for a video tutorial on finishing a balcony with plasterboard.
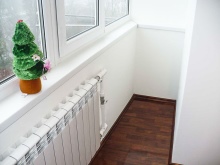
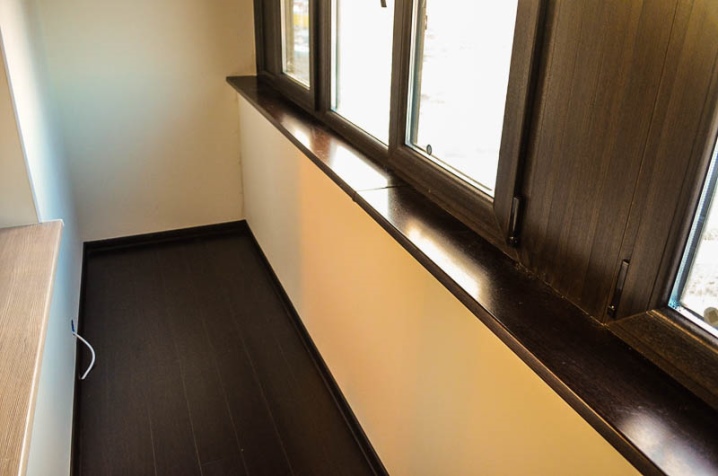
Final finishing
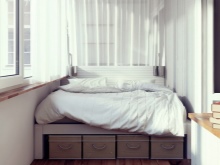
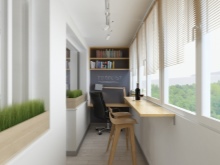
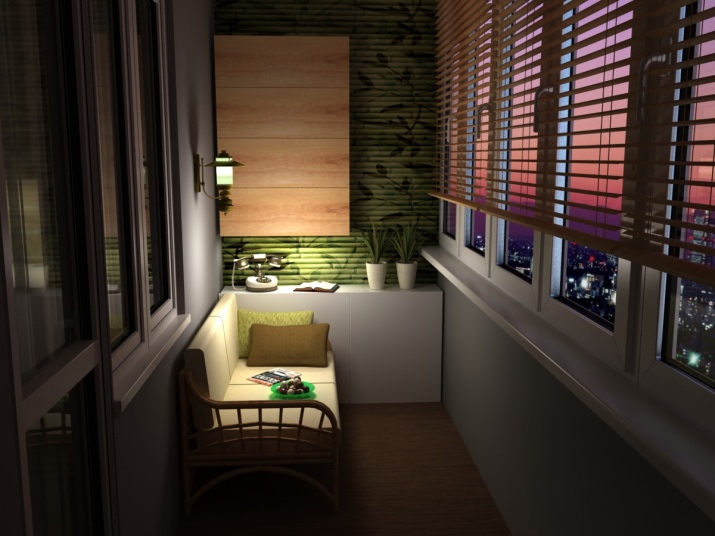
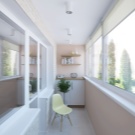
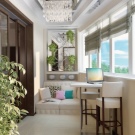
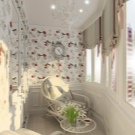
The cladding allows you to realize any design ideas of the owner of the balcony. It is at this stage that design ideas are implemented, comfort is created:
- First of all, the gaps between the panels are sealed with a serpentine or primer, then paper tape or mesh is installed on the seams. To level the surface, two layers of putty are applied to it. The operation is the same for walls and ceilings.
- Versatility is one of the advantages of drywall. It can be painted, covered with wallpaper or tiles. Only lining is not suitable for decoration, since its installation requires the use of self-tapping screws, which can deform the panels.
- As for color solutions, both natural calm shades and contrasting, aggressive tones can be used to decorate the balcony. In the first case, you can create a country-style interior, the last option is suitable for modern design.


The comment was sent successfully.