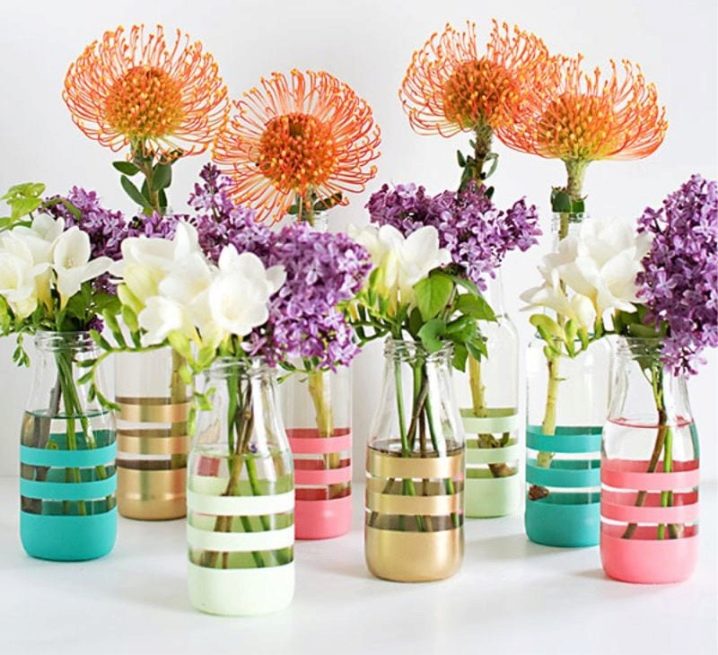
How to make a vase from scrap materials?

Today nobody is surprised by the relevance of modern hand-made things. A do-it-yourself vase made from scrap materials is just such a product. It is not at all difficult to make it, but it will delight you for a very long time.
What can be made from?
There are quite a lot of suitable materials from which you can make a vase. Most often, due to a lack of materials, it is not worth going to a construction supermarket or anywhere else, various improvised materials are quite suitable for a vase.
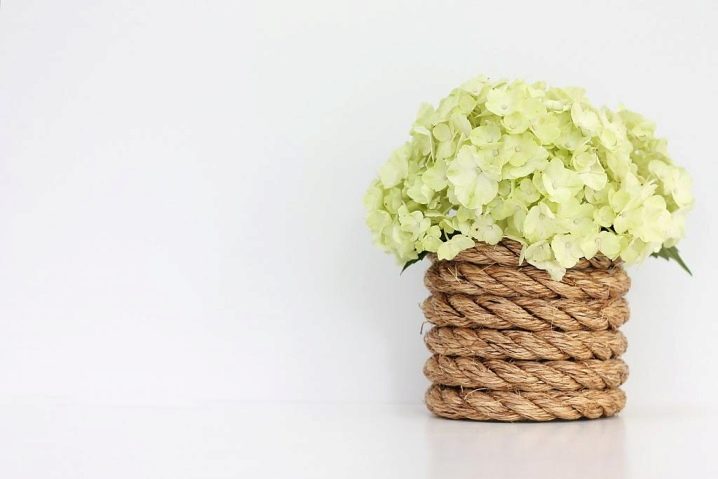
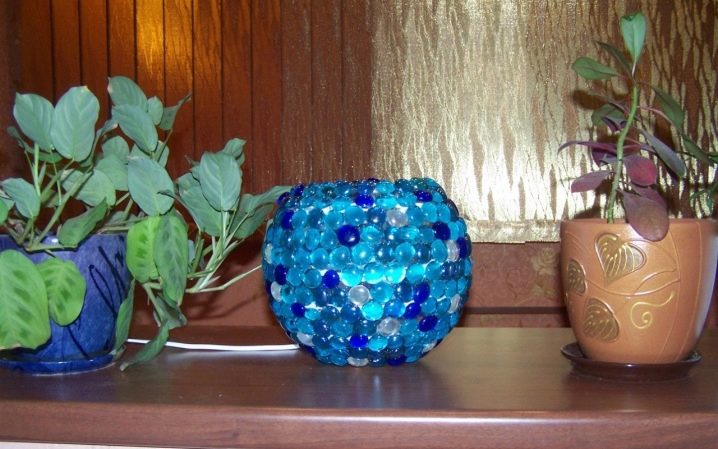
Here are some examples of what a vase can be made from: old shades, unnecessary pottery, salad bowls, flower pots and even used plastic bottles.
To decorate a vase, you will need the following materials:
- glue;
- Scotch;
- toilet paper or other / colored paper;
- putty;
- scissors;
- brushes;
- gouache or various paints;
- colorless protective varnishes.
You can also use pieces of broken china for decoration and even a bandage to create a rough surface.
In addition to all of the above, of course, you also need your imagination and desire to create something beautiful and appropriate in the interior of the room.

Instructions
Below will be a step-by-step description of a plan for how to make a do-it-yourself flower vase.
Pick up the base
First of all, you need to decide what shape the base for the vase will be. You can use one container, or connect several at once using super glue. The vase can be completed with a stand or lower support. When gluing different containers, it is important to remember that their diameter at the joint should be the same, and the upper part should not be the heaviest.

Handles or other items
If you are planning to attach handles to the vase, then this is the right moment. The handle can be made one or large, or you can attach two small handles. As handles for a vase, you can use old hooks, it doesn't matter, plastic or metal, handles from other furniture, cut it yourself from wood, make it out of wire.
It is best to secure them with the same super-fixing glue. In addition to handles, you can add other details to the design of your choice.
Shaping and smoothing vase shapes
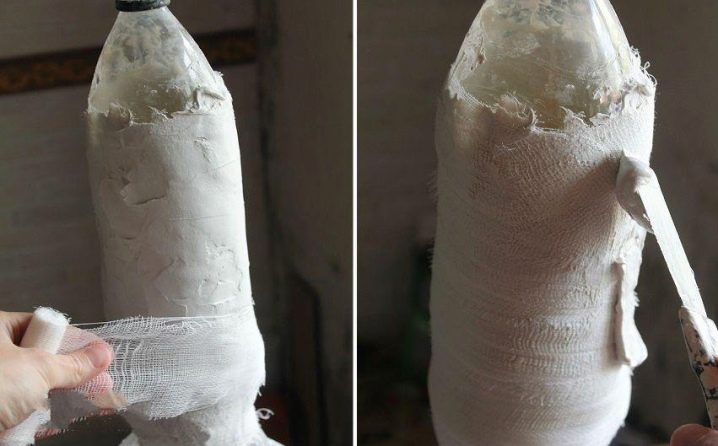
For this stage, like nothing else, a plaster bandage is very suitable, but you can do with a more budgetary option - a regular bandage and PVA glue. When applying a plaster bandage, the surface is wetted with water, and then it is dried for a day. When using a regular bandage and glue, the technology is the same. It is imperative to smooth the surface to avoid too obvious bulges. It is necessary to apply from the neck of the vase, gradually moving towards the base. After the bandage layer dries, it is necessary to fix this base. This is done with a putty. It can be purchased both in a building supermarket and in an art store. The main thing is not to overdo it, and apply a thin layer. Of course, we leave it to dry again for a day.
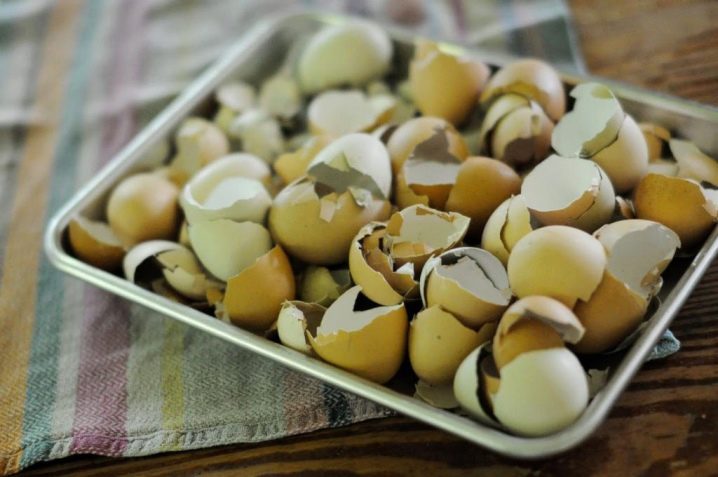
Embossed decoration
As the name implies, at this stage you need to create a relief in the form of various bulges on the vase. To do this, you can use eggshells, pieces of broken dishes, and other improvised items of your choice. Using the eggshell as an example, we will consider how to glue it correctly.First, you need to glue pieces of the shell on the surface of the vase, cover them again with a layer of PVA glue, and then glue a layer of toilet paper on top, and later - again glue. From a layer of toilet paper, you need to squeeze out all the air with a brush and leave to dry.
Toilet paper smoothes the sharp edges of the shell and creates the effect of surface integrity. As usual, let it dry again for a day.
Surface decoration
It can be done at will. You can leave the vase white, but if you find this option very boring, use the advice of professionals. First of all, you need to apply a drawing with a simple pencil on a dried surface. As a drawing, various landscapes of the sea, forest or mountains are welcome.

Create volume
This step can be done at will. For volume, the same toilet paper is best suited. It is soft, cheap and easy to curl, which is what you need to do. The curled paper should be glued along the borders of the drawing. Volume can also be added by sticking figures from plasticine or clay. In this regard, various stucco flowers are very popular: not only roses, but also lilies, violets and others.
It is best to use baked clay for them to give them a hard shape that will not be damaged during application.


We supplement the volume
At this stage, you need to stick all the flowers or other planned details. Parts must be glued with a strong glue, not PVA glue. For this stage, it is best to stock up on tweezers and work with them.
Paint application
You can color your own drawing and its details in any order. But there is such a recommendation of designers that first you need to paint over with black, and later apply the colors lighter. For example, the order of applying paint is as follows: black, brown, green, yellow and white. Details are tinted at the very end.
You can also use watercolors, but gouache is preferable. It adheres better to the surface and looks brighter.


Varnish application
Before applying varnish, you must again dry the vase well, rub the unpainted areas with a suitable color.
Fitting a flower vase
If you want to collect water in a vase, and subsequently put flowers there, then you will need to finish it. This is not as difficult as it might seem at first glance. To do this, it is enough to pick up a container with a volume smaller than the cavity of the vase and use superglue to fix it inside the vase.
Neck
It must be decorated separately and simply, if you are not going to collect water there. If there is another container inside, then the distance between these two vessels must be laid with toilet paper, on top, too, covered with toilet paper with glue, and later with varnish. On this, the vase can be considered complete. It remains only to wait for its final drying.
What else do you need to consider?
Firstly, you will need to stock up on a special container for PVA glue, since its consumption will be quite significant.
Secondly, you will also need to purchase several paint brushes.

Instead of additional capacity, you can use epoxy resin, which, after curing, turns into a solid. You just need to give it the correct shape.
A vase can be made in any shape: both round, where a balloon will serve as the basis, and cylindrical, the base of which is a piece of pipe.
Remember that in this business there are no criteria and standards, the main thing is that your product pleases you, and then it will remain a pleasant decor detail for a long time.
For information on how to make a vase from a plastic bottle, see the next video.


The comment was sent successfully.