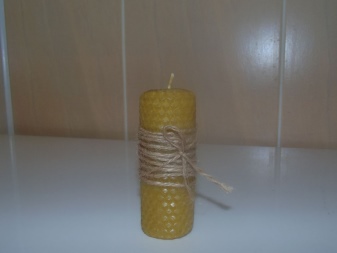
How to make a candle wick?
The candle is one of the great inventions of mankind. For many millennia, it was necessary to somehow feed the burning lamps, add melted fat or oil to them. Such a lamp had to be re-assembled every time. It smoked heavily, and the smoke had a persistent unpleasant odor. All these inconveniences were saved by the invention of the candle. Nowadays, candle making is rather a wonderful hobby - a way to realize your creativity. One of the difficulties on the way of mastering this revived craft is making a wick.
What is it and what is it for?
Traditionally, a wick is a piece of fabric or thread of varying thickness and weave density. Its material absorbs the flammable liquid and helps it rise upward. Even more flammable vapors spread from the molten liquid between the fibers of the wick fabric and around it. The wick is easy to set on fire, vapors and flammable liquid burn, illuminating the area around. But to set fire to the mass (oil or fat) into which the wick is lowered, it is difficult, and sometimes impossible.
Thanks to the special device of the wick, kerosene or other flammable liquid (for example, alcohol) does not immediately ignite, and their combustion in more advanced burners can be regulated.
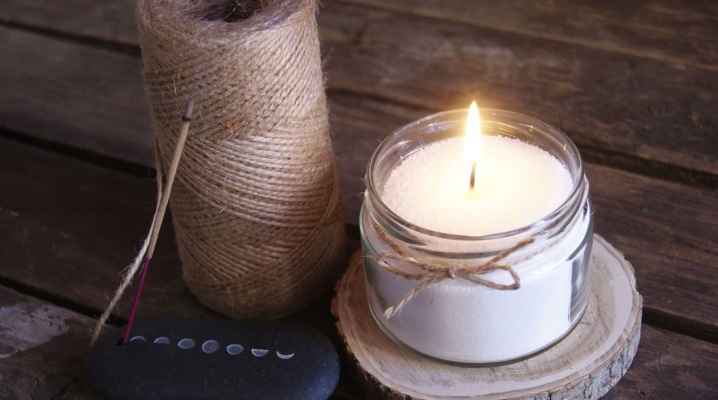
In the candle, the wick is impregnated with wax or paraffin. Thanks to the correct wick (material, density, thickness), the flame is even and illuminates the room without soot or flashes. Paraffin or wax gradually melts, turning into a liquid state, is absorbed into the fabric and feeds the flame with combustible vapors. This way the candle burns out gradually, remaining stable enough not to melt completely.

Due to the correct selection of the diameter of the candle and the thickness of the wick, as well as its exact position in the middle of the candle, a long-term and reusable device is obtained.
What are they made of?
Wicks for oil lamps were made from any plant-derived absorbent fabric. The oil or fat was placed in a shallow vessel. At its edge, a twisted tissue flap pre-soaked in the same combustible liquid was placed. For lack of anything better, these were, in general, bearable lamps. However, they still had quite a few shortcomings. Firstly, such a bowl with a burning wick is difficult to move - it is easy to spill melted fat, and even more so butter. Secondly, the flame of such a lamp constantly smoked. And the fat also spread a very noticeable unpleasant odor. but it was such lighting devices that were often used by whalers in distress or Arctic explorers back in the early 20th century.
For candles, wicks began to be made from specially prepared thread or twine, also of plant origin. In contrast to the oil lamp, the combustible material now began to flow gradually, it became possible to choose the correct diameter and structure of the wick. In addition, the candle can now be moved, although rather carefully so as not to extinguish the flame with a stream of air.
For candles, a wooden wick is made from wax (specially treated wax) - a splinter, simply - a dried sliver. Of course, it must be prepared in a special way. Luchin must be taken well-dried, then it must be soaked in wax and only then rolled into foundation.Such a candle, if all the parameters are selected correctly, burns evenly and for quite a long time.


Modern candles can be fitted with a reusable wick. The candle and fuel material burns out, but the wick remains and can be used to make a new candle. The material for this, one might say, eternal wick is fiberglass. In this case, you have to replace the candle. This approach can be justified for decorative candles with a complex shape.
Sometimes a purchased candle also has to replace the wick. One of the reasons for the appearance of such a need may be non-observance of the technology for preparing the wick, first of all, insufficient drying. It happens that this element does not quite correspond to the candle for which it was used. For example, a thread that is too thick can form a ball of carbon at the end and smoke heavily. Or it turned out to be thin, and the flame is filled with melt.


To replace the wick, you need to prepare a small set of tools:
- pointed pliers;
- paper napkins;
- wire;
- a soldering iron may be needed.


Most often, it is quite easy to remove the wick; you just need to hook the edge of the metal cup, which is the case with many candles, or pull on the protruding end of the wick. But difficulties may arise. In this case you can use a heated wire, it must be held with pliers... And heat over a flame, for example from a gas stove. The wire must be immersed in the candle in the place where the wick comes out, and then pull it out. Turn the cooling wire and remove it as well. A new thread can be inserted into the resulting hole. To do this, you can again use a piece of wire. A new wick must be glued to it. The end free from the thread must be heated again and pulled through the candle, so that the glued thread takes the desired position... Then it remains only to cut off the protruding ends. The wick should protrude 6–8 mm.

How to choose the thickness?
Yet the main material for the wick has been cotton or linen thread for centuries. The selection of its parameters, as practice shows, is not as simple as it might seem at first glance.
- It is important to consider the thickness and structure of the thread. If it turns out to be too thin, the flame will be weak, such a candle will give little light. A thread that is too thick will contribute to the formation of a large carbon deposit and, in addition to light, it will also smoke heavily, and the candle will burn out much faster.
- The density of the material also matters. During combustion, the space between the fibers must be filled with combustible vapors, it is they who support the flame. So, for a wax candle, a thicker, but less dense thread is needed compared to a wick for a paraffin or stearin candle.
- The diameter of the candle can also become a significant parameter in the selection of the wick. It would seem that a thicker candle should be equipped with a thicker wick. However, this is not at all the case. A strong flame will cause intense melting of the upper layer of combustible material of the candle mass, the wick will be heated by the melt and the flame will go out.
It is, of course, possible to correctly observe the ratio of the material and diameter of the candle with the indicators of the wick. In an industrial environment, where everything is standardized, errors are almost impossible. A specially prepared thread of different knitting, thickness and density is supplied for various candles. But in the case of self-production, you will have to go through a thorny path of trial and error.
How to do it yourself at home?
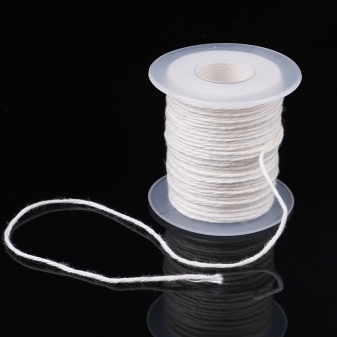
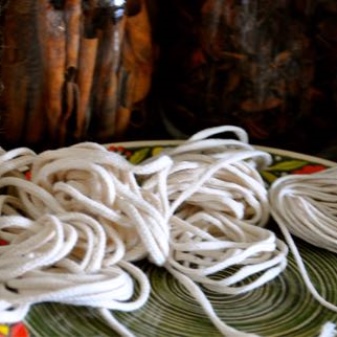
The most widely used material for a candle wick is cotton thread. It can be twisted, braided or crocheted, thus expanding the applications for different candle masses and candle diameters. Moreover, threads can be weaved with different densities, and this, as mentioned above, is very important, since the molten masses from which candles are made behave differently.
For a candle with a diameter of 2 to 7 cm, a wick of 10-15 strands is usually used. If the diameter of the candle approaches 10 cm, 25 threads will be required. A product larger than 10 cm in diameter must be fitted with a 30-strand wick.
Making a wick at home, of course, you will have to rely on your experience, which is far from being gained immediately. As with any hobby, candle making (and especially wick making) takes patience.
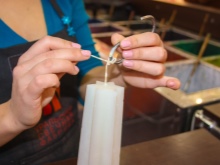
When making a candle, it is important to place the wick clearly in the middle, otherwise the product will float unevenly and burn out faster than required. It is convenient to use a plastic cup or any other hollow plastic product as a mold for casting. In this case, in the lower part it is necessary to make a hole and, tying a knot on the wick, push its second end into this hole from below. Pulling it out to the top of the future candle, fix it by tying it to some kind of spacer, for example, from a toothpick or pencil. Pour the molten candle mass carefully, trying not to dislodge the wick.
The finished candle should be removed from the mold after the candle mass has completely solidified; it is quite simple to determine this by the temperature of the mold surface. It is better not to touch the candle while it is hot.


Necessary impregnation
The creation of a wick is not only about making a thread of the required density and thickness. In order for it to become a candle wick, it must be prepared for this. So that the wick does not burn out immediately, but fulfills its function, the thread must be impregnated.
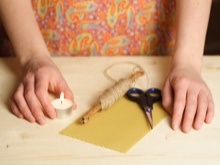
In the case of a candle wax, impregnation with the same molten wax is sometimes sufficient. The wax is melted over a fire in an enamel plate. The thread is placed on a plate and allowed to soak. The procedure must be repeated three to four times, until air bubbles stop appearing in the liquid wax. Then it must be suspended until the wax is completely hardened. The filament for storage can be loosely wound on a bobbin, laying layers of paper. It is better to store in a cool place so that the wax does not spread. When necessary, you can cut the pieces to length with scissors.
For stearic and paraffin candles, preparing the wick requires a lot of effort. First of all, you need to purchase borax (borax is sold in pharmacies in the form of boric acid), and table salt can be taken in the kitchen. It is necessary to prepare a solution of 2 parts of salt and 4 parts of borax (you can measure it with spoons), it all depends on the amount of thread.


For impregnation, it is permissible to use slaked lime or ammonia (ammonium chloride) instead of borax. These substances are also mixed with table salt. In the first case, the proportion is 4 parts of lime to 1 part of salt, and in the second, the amount of salt and ammonia should be the same.
Wick blank - threads woven in a certain way - need to be soaked in the solution for 15 minutes, making sure that they are completely immersed... The taken out workpieces must be well dried by hanging them for 5 days on a clothesline. Then they must be thoroughly saturated with wax or paraffin. Store wrapped in paper.


For information on how to make a wick, see the next video.


The comment was sent successfully.