How to build a shower from pallets?
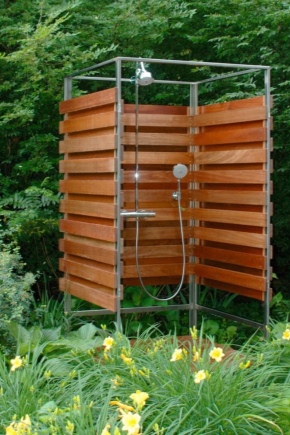
Many summer residents build summer showers on their plots. You can make such designs with your own hands from a variety of materials. Often, special wooden pallets are taken for this. Today we will talk about how to make a shower yourself, and what is required for this.
Advantages and disadvantages
Such summer showers for summer cottages have a number of important advantages. Let's highlight the most significant of them.
- Simple installation technology. Almost any person can make such a structure, because wooden pallets are easily attached to each other, in addition, they have good stability.
- Environmental friendliness. Such materials in the process of constant operation will not emit any substances harmful to humans and their health.
- Profitability. Making a wooden summer shower for a summer residence will require minimal cash costs.
- Easy disassembly. If necessary, such pallet structures can be quickly disassembled without special tools.
- Durability. A properly made structure can last 6-7 seasons without breakdowns.
- Keeping warm. Even in cool cloudy weather, the inside of the wooden cabin will remain warm, in addition, they are practically not afraid of strong gusts of wind and atmospheric precipitation.
Disadvantages must also be considered.
- Such constructions can be used only in the summer season.
- The material for their creation requires special processing, otherwise the cabin will simply start to rot and subsequently deform or collapse completely.
Tools and materials
Before you start making a summer shower, it is worth preparing all the details necessary for this:
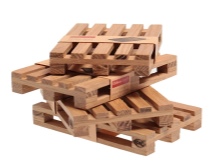
- wooden pallets;
- hammer;
- self-tapping screws;
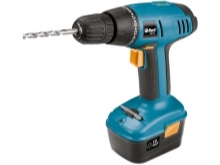
- drill;
- antiseptic agents;
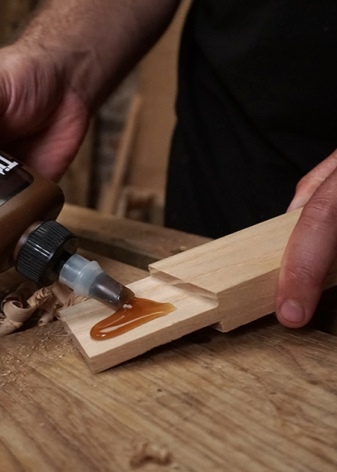
- glue for wood;
- grinding tool.
Construction stages
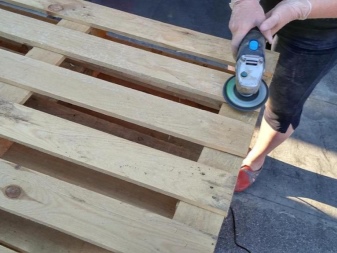
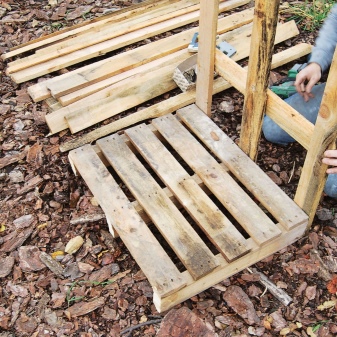
To build a durable cabin, you first need to select the right materials. Trays for a country shower must be intact, not damaged by insects and rodents. They are pre-processed using a grinder. This will make their surface completely smooth and even.
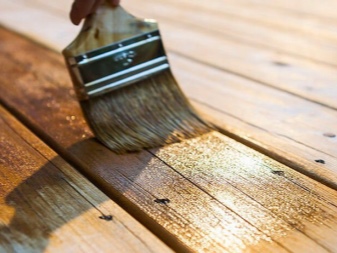
After that, you can additionally go over the products with sandpaper. This will help remove any remaining small bumps. ZThen the workpieces are covered with antiseptic compounds. Also, some other substances should be applied to them, which will prevent the appearance of mold, rotting.
It is also worth deciding in advance on the place to place the shower. It is best to place it in the backyard of the house. Moreover, all the necessary pipes for water supply must be connected there.
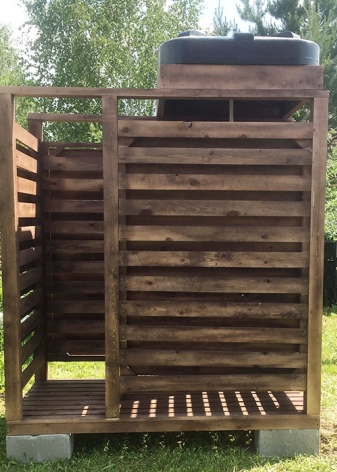
When everything is ready, you can start making. The pallets are interconnected in such a way that a rectangular structure of the required size is obtained. In this case, you can connect individual parts to each other using a drill and self-tapping screws.

The pallets are used to form the floor and ceiling of the future shower stall. But they are created separately. At the top, a fluid supply system should be built. For this, it is better to use four polypropylene pipes. Special plumbing options can be selected.
The optimal length for such pipes is 50 cm, and the diameter is 2.5 cm. You will also need corners for connecting pipes to each other, made of the same material.
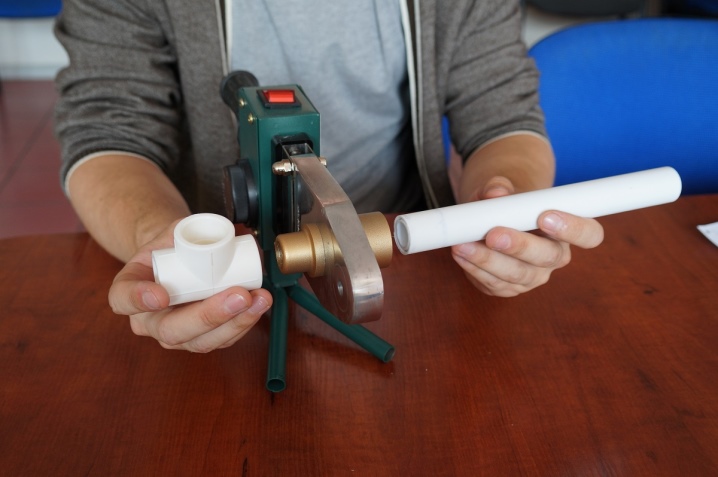
With the help of a special apparatus (it is better to use a welding iron), all pipes and corners are connected into a single structure, while one of the ends should be reliably muffled.
Clips are attached to the bottom of the pallet, after which the resulting structure of polypropylene pipes is fixed. Then the product is turned upside down and small holes are made in the "watering can". Water will flow through them.
Drilling is recommended with a stepped drill, as it will also allow you to chamfer. After that, the upper and lower parts are attached to the main structure with self-tapping screws.
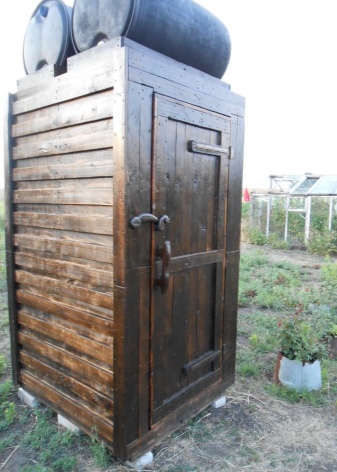
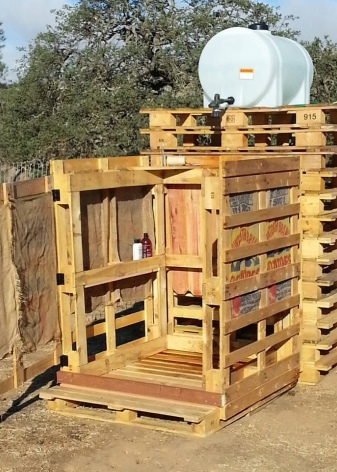
The ceiling can be fitted with additional beams. This is done in order to give the product greater strength and durability. If you will place a volumetric container with liquid on the roof, then this procedure is mandatory. Otherwise, the structure may not withstand a heavy load and break.
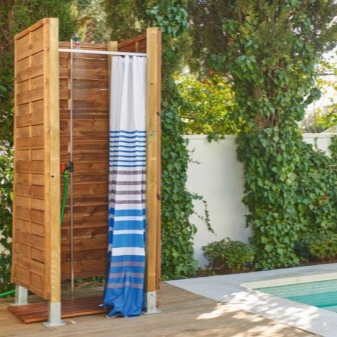
You can take care of the cab doors in advance. To do this, you can take old plastic or wooden door structures. For installation, you will have to install hinge mechanisms on the cab.
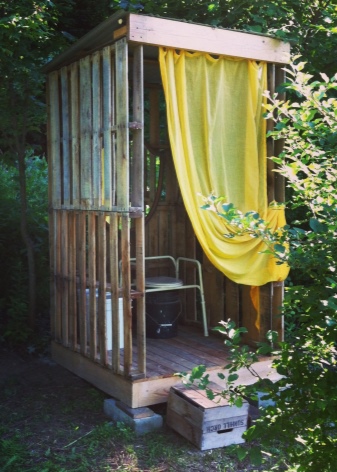
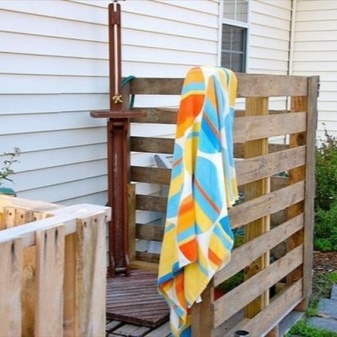
Sometimes a regular curtain is used instead of doors. But for a street shower, it is worth choosing the densest and heaviest options so that they are not blown away by the wind. At the same time, woven products will be able to provide good ventilation of the inside.
At the final stage of making a summer shower for a summer residence, you will need to connect an irrigation hose and place the structure in the chosen place.
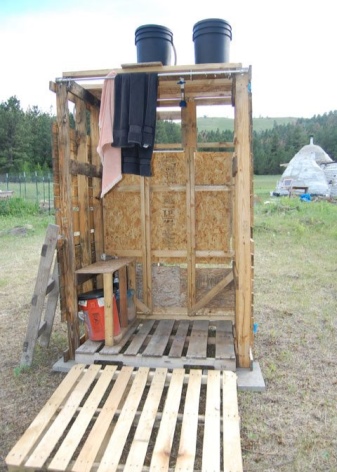
Often, when making cabins from pallets, finishing finishing bases are used. You can use lining or special film material. Sometimes OSV slabs or imitation for timber are used.
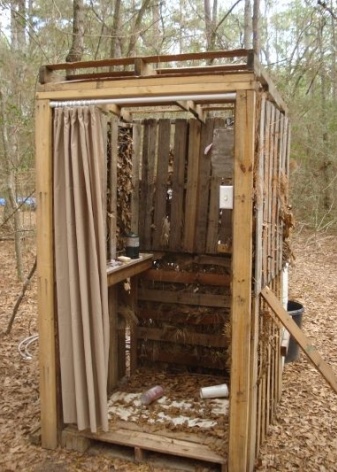
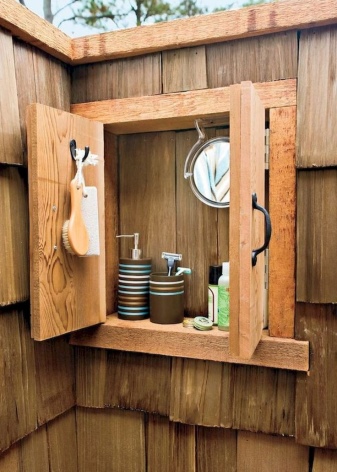
Don't forget to make small shelves inside the shower stall to accommodate hygiene products. To do this, you can take wooden boards. Shelves of the desired size can be cut out of them using a simple saw. If necessary, they are also treated with a grinder and sandpaper.
These elements should be fixed with self-tapping screws, but you can also use wood glue.
At the end, if you wish, you can cover the structure with special building paint and protective transparent varnish in several layers. Check the water supply system immediately. The liquid should flow freely into the "watering can" and into the interior of the cabin.
For information on how to make an outdoor shower out of pallets with your own hands, see the next video.


The comment was sent successfully.