How to grow dill on a windowsill?
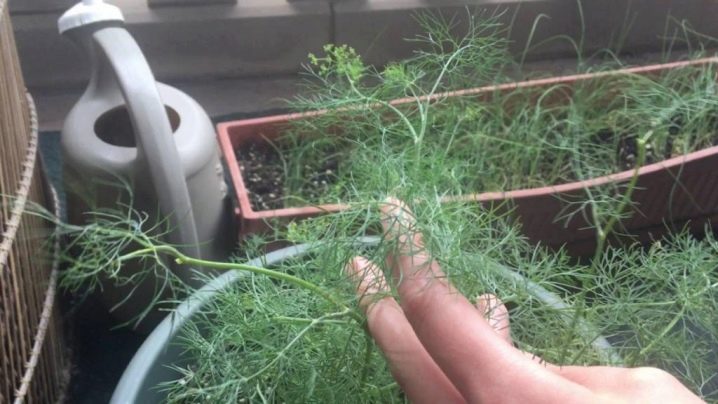
It’s great when you don’t need to go to the store for greens to prepare the next dish, because it grows right by the hostess on the windowsill. A plant so familiar to us is distinguished by its unpretentiousness to planting conditions, and therefore it can be grown even at home.
The necessary conditions
First of all, before planting dill on the windowsill, you need to make sure that you have everything you need to grow greens. The choice of seeds, soil, drainage, lighting, a method of humidifying the air and a spray bottle - the owner of the apartment needs to figure it out on his own. Only by fulfilling all these conditions, you can grow healthy dill.
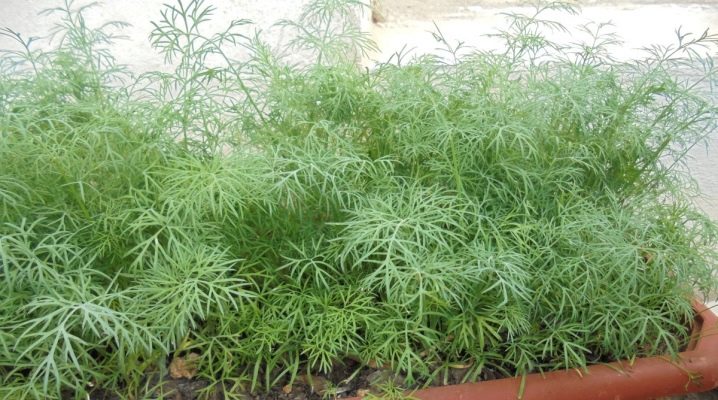
From the very beginning, you need to decide on the landing site in the apartment. In winter and spring, it is best for the dill to sit on a windowsill, which is heated by a battery. The most suitable place would be a window that faces south - the northern ones, on the contrary, should be avoided. In this case, you guarantee the greenery a sufficient level of illumination. It is worth noting that, if necessary, you can plant greens on the north side, but then you need to provide the plant with more light. Among the many rooms in which greenery can be placed, it is still worth choosing a kitchen. In this case, it is convenient to immediately harvest the crop and use it during cooking. You can also choose the living room or bedroom instead, the main thing is that there is a warmed balcony or a windowsill.
Under these conditions, the plant can be there all year round.
Variety selection
Experts advise beginners first of all to try a dill variety called "Gribovsky" for growing. Its main advantage is early maturity. In addition, it does not differ in demanding environmental conditions, is resistant to sudden changes in temperature, has good protection against diseases, and also generally gives a bountiful and juicy harvest. The main challenge to be faced is choosing a good soil. Timely weed control is also important. In addition, the recommended varieties are Richelieu, Kustisty, Kibray and Grenadier.
In apartment conditions, varieties from the south will also feel good. They have a spicy flavor, but at the same time, they are much more difficult to grow than the northern varieties. It is also worth noting that there are no separate cultivars intended for cultivation in apartments. Therefore, when choosing a particular plant, you need to pay special attention to how soon the harvest will ripen. Here it is necessary to observe the measure. The variety should not produce greens too quickly, but at the same time, do not delay with it. With all this late types of dill are much preferable due to the fact that at home there will be more time and opportunity to harvest even after the end of summer.
Preparation
In order for dill to grow healthy and strong, and its harvest is tasty and healthy, all planting conditions must be properly observed. This includes not only choosing the right soil and seeds, but also choosing the type of container for the plant.
Priming
Loose, light soil with neutral acidity and the presence of nutrients is best suited for planting dill at home. The most suitable option is the soil used in the country for growing vegetables. Such land is sold in any gardening store, both in the city and on the Internet.
However, you can save on this if you make the soil for planting yourself. To do this, it is necessary to mix several components, namely: peat, garden soil, humus and river sand.
This should be enough to create a nutritious soil in which the dill will feel as comfortable as possible.
It is also worth noting that any soil used for planting must be carefully processed, since there is a considerable chance that the plant will pick up any infection. It is best to keep it in a working oven for thirty minutes. Ninety degrees should be enough.
Another way is to steam the soil for an hour and a half. As soon as the disinfection procedure has come to an end, it is necessary to treat it with "Fitosporin". As a result of these actions, the land will be safe from pests and other organisms and substances that pose a danger to dill.

Capacity
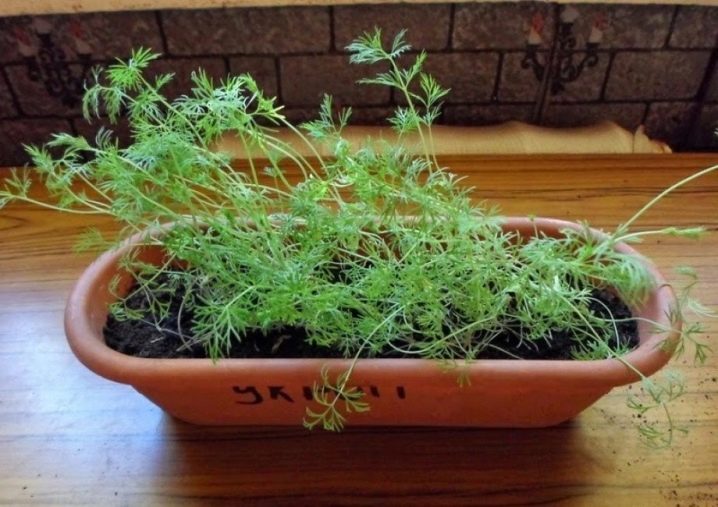
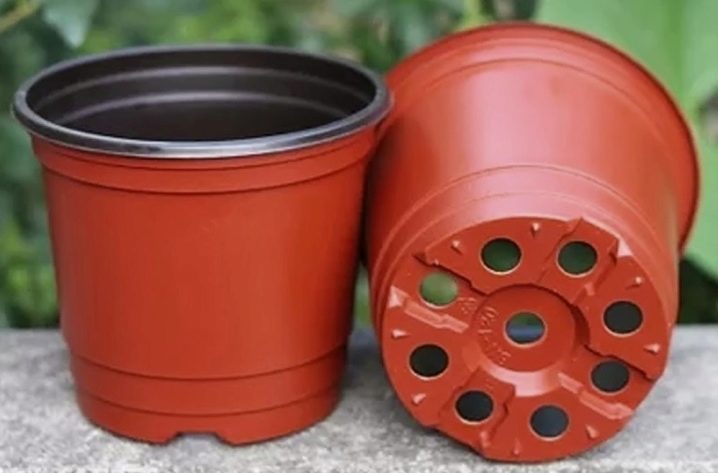
One of the most important conditions for growing dill on a windowsill is a convenient container. A deep and wide container is required for a plant of this species. It is desirable that the depth is between twenty and twenty-five centimeters. It is not worth choosing less, since the culture in question has a voluminous root system.
There are no special requirements for the width, because it all depends on the number of seeds. As a material, plastic or wood is better suited. You can also grow dill in a pot.
It must also be remembered that there must be drainage holes at the bottom of the container so that moisture can be freely removed.
Seeds
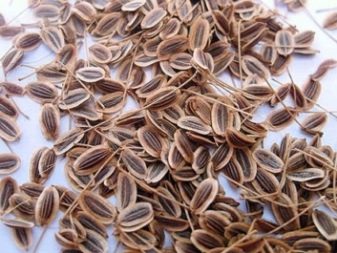
One of the main advantages of dill is that it grows well in various conditions, and therefore you can often plant it in the soil right away without any preparation.
There is only one caveat - dill rises very slowly, and therefore at any stage of growing a plant, you need to be patient. You can also speed up this process if you pre-hold the seeds in warm water for two to three days. If this method was chosen, then the water should be changed at least every five hours. As soon as the seed treatment comes to an end, they can be used for planting.
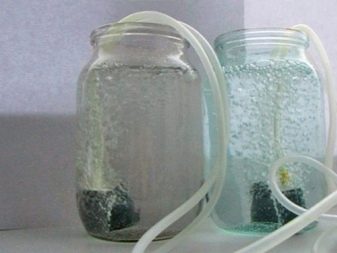
In addition, experts also advise bubble up, during which dill is processed with air and water. The best temperature for this is + 40 ° C. At the end of this process, the seeds will be properly cleaned, which will also speed up the appearance of the crop. The bubbling process should last from twelve to eighteen hours. As soon as the procedure comes to an end, the seeds must be thoroughly dried, and then the planting itself must be carried out.
How to plant?
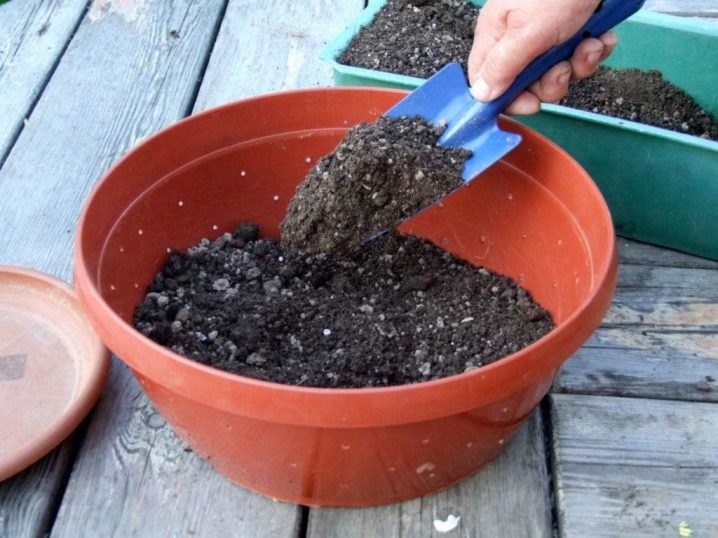
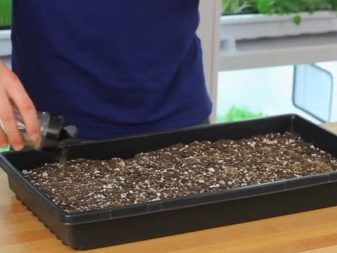
In order to properly plant dill at home, you must follow a number of rules. As soon as a container suitable for planting has been selected, a drainage layer should be laid on its bottom, whose thickness should not exceed two centimeters. For this, you can use expanded clay or perlite. The container itself must be filled with a mixture prepared in advance. There should be a small distance between the edge of the pot and the ground level, not exceeding three centimeters. The surface of the soil must be leveled, after which the soil must be saturated with clean water from a spray bottle.
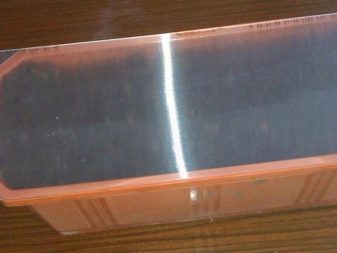
As soon as the moisture is properly absorbed, the sowing begins. To do this, you need to make small depressions in the ground, and then evenly sow seeds there. As soon as the planting is completed, the grooves must be filled up. The thickness of this layer of soil should be equal to one centimeter. It is necessary to carry out another thorough watering from a spray bottle using clean warm water. The container itself should then be covered with a film, glass or any other material capable of creating greenhouse conditions for the seeds to begin to germinate.
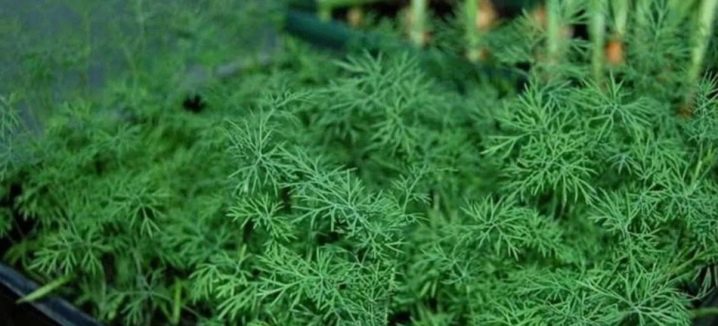
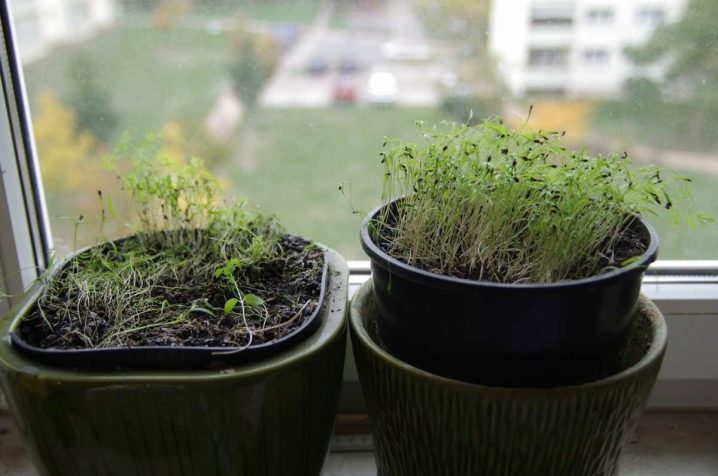
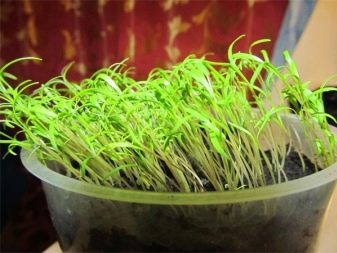
If everything was done exactly according to the instructions, then the first shoots will sprout in a week or two. So the dill will grow in comfortable conditions and will soon give a good harvest.
How to care?
As soon as sowing has been completed, full attention must be paid to ensure that the dill grows in suitable conditions.... Only with good care will the plant develop rapidly, giving a bountiful harvest. If these conditions are not provided, then the dill will grow much slower, and the yield itself will be much smaller. First of all, you need to provide the dill with good fertilizers, and also water it often.
Every day, twice a day, it is necessary to ventilate the room where the dill itself is located. To do this, it is enough to remove the cover or film for thirty minutes. As soon as airing has been carried out, it is necessary to clean the covering material from the accumulated condensation. On the day when shoots appear, the shelter is removed. It is necessary for the plant to get used to being without any protection, but this must be done gradually... First, you should leave the dill without a lid for an hour, then for two. And finally, after five days, get rid of the hiding place forever.
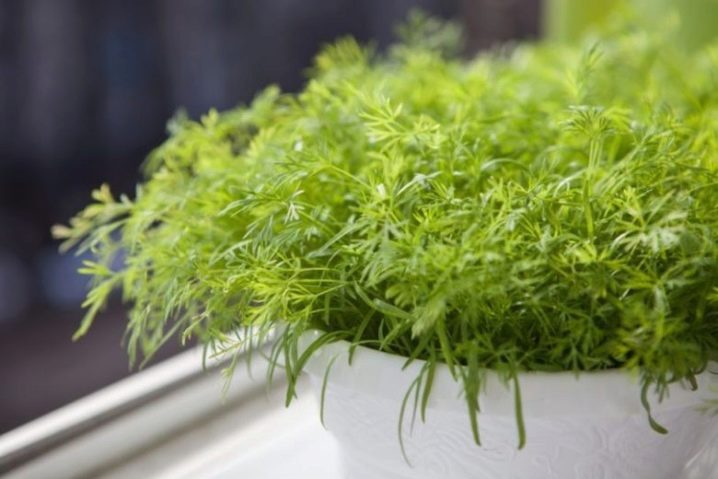
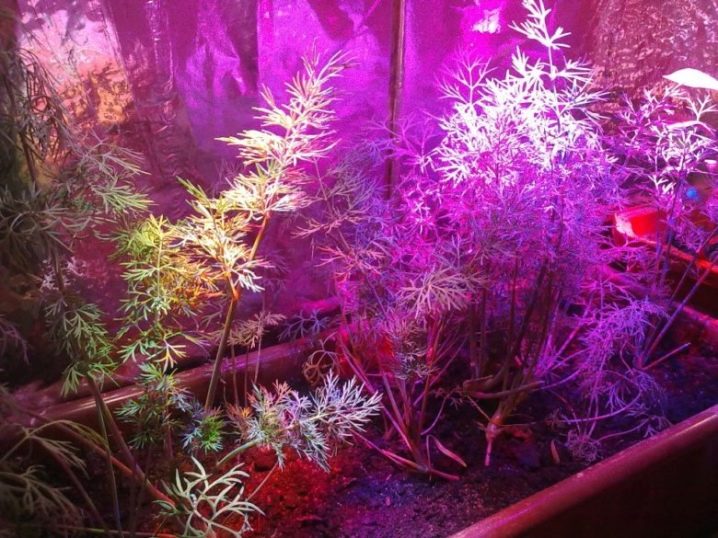
The dill must be provided with adequate lighting. In the spring and summer months, there is usually more than enough normal sunlight. However, if the planting was carried out, for example, in the fall, then the deficiency must be compensated for by LED lamps, as well as phytolamps. The best time for this is early morning or late evening. The window sill itself should be in a place where there is most of the sunlight. This is usually the southern direction. It is important to remember this rule, because with a small amount of light, dill will grow much worse.
In order for the light to be evenly distributed, you need to turn the container with the plant every couple of days to the place where the sunny side is.
In this case, the dill will develop without any problems. It should also be noted that the plant must be at a comfortable temperature. Both heat and cold are dangerous for the culture in question. The most suitable temperature is 22 ° C during the day and 18 ° C at night.
The seedlings should be placed in a room with good air circulation. Fresh air is what plants need for comfortable growth, but you shouldn't overdo it either. With prolonged drafts, the growth of dill will slow down, and it itself will become much weaker and more painful.
Finally, it is necessary to carry out regular loosening of the soil. If this point is observed at the proper level, then oxygen will fully flow to the roots, which will provide the seeds with an additional portion of nutrients. It is better to do this once or twice every seven days a couple of hours after the end of watering. Best of all, when loosening takes place to a depth of two centimeters.
Watering
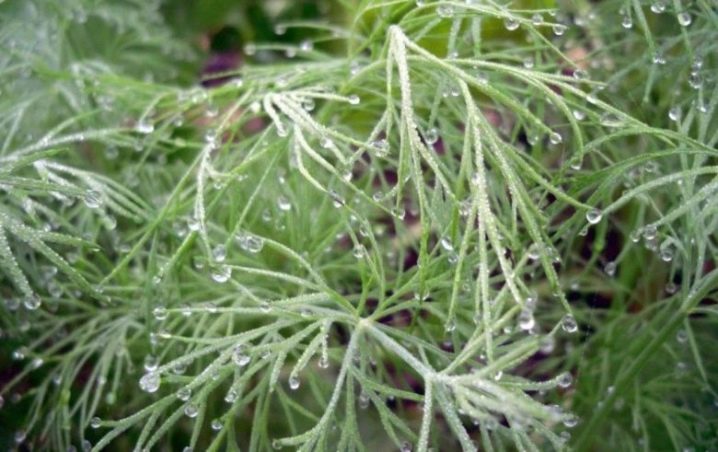
The plant should be watered in a timely manner and abundantly. Every day, you need to monitor the moisture content of the soil so that it is not too dry or wet. Dill itself needs watering every two to three days. The best device for this is a spray bottle.
Top dressing
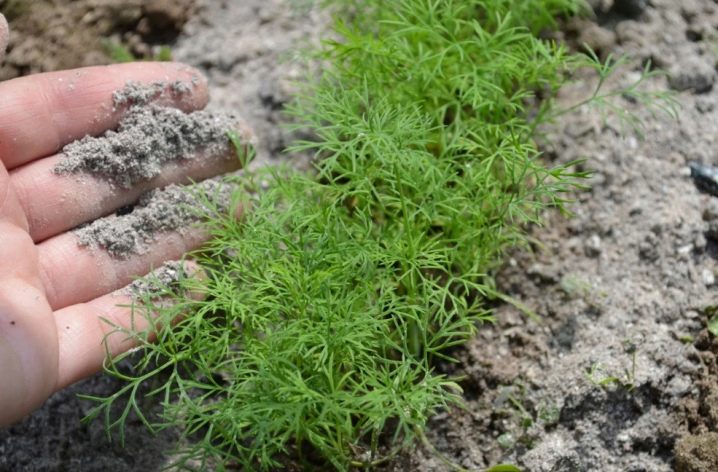
Plant feeding should take place once or twice a month. You should not overdo it with fertilizer, since an overabundance of nutrients will slow down the development of dill, and the plant will feel worse.
Wood ash is the best fertilizer.
Possible growing errors
Growing dill on the windowsill is far from always successful. This is usually due to the fact that gardeners do not follow certain rules and precautions... However, even without this, no one is safe from failure. In this case, the main thing is not to despair, but to find a solution to the problem that has arisen. Fortunately, every such mistake can be corrected in time.
There are times when the seeds simply do not start to sprout. In this case, the problem may be with the seeds themselves. You need to check their expiration date. On average, dill seeds can last up to two years. To make sure they will emerge, you need to wrap them in a damp cloth and then wait three days.After the time has elapsed, you can pull them out and repeat the procedure again.

Sometimes it happens that the plant simply does not have enough sun - it withers. In this case, it is necessary to add more light sources, otherwise the plant will weaken and develop much worse. The soil should not be allowed to be too wet, since in this case the dill seedlings stretch out, and the plant itself will soon wither completely. Gardeners also complain that the leaves turn red. This is a sign that there is an excess of acidity in the soil. To prevent this, add more wood ash or dolomite flour to the soil.
It is enough to follow all the rules and precautions to avoid any of the above problems. In this case, the plant will delight the owner for a long time with a bountiful harvest.


The comment was sent successfully.