How to make paving slabs without a vibrating table?
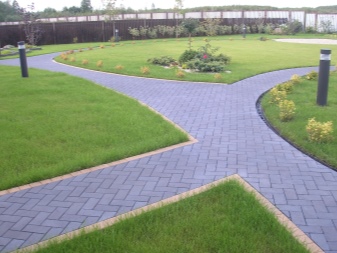
Paving slabs are a high-quality and expensive decoration of a summer cottage. To produce it, you need a lot of different professional equipment, but inventive builders can make tiles with their own hands at home.
Tools and materials
To start making tiles, prepare the tools, the list of which is rather short.
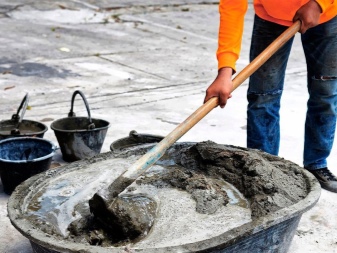
- Capacity for stirring the cement mixture. This can be a metal bucket, basin, or trough.
- Screwdriver with attachment or construction mixer. If neither one nor the other is available, you can manually stir the solution.
- Joiner's hammer. Used instead of a vibrating table or electric vibrating machine.
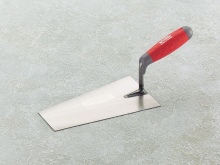
- Trowel. For leveling the finished mortar.
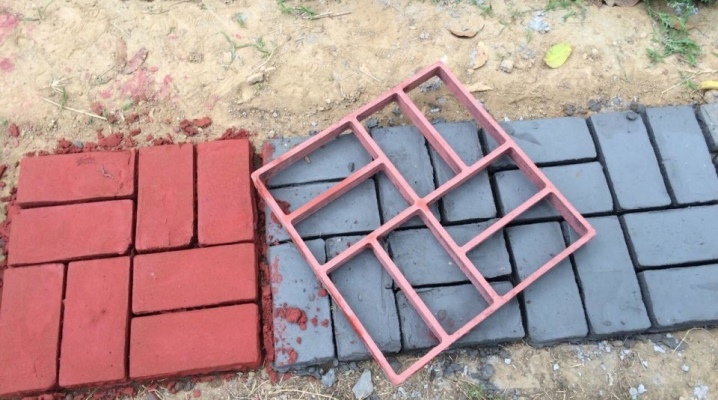
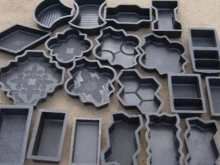
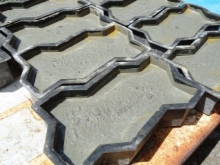
- Form for paving slabs. It is better to choose small containers, this will improve the quality of the hand-made tiles.

The next step will be the preparation of building materials.
Since you will be making tiles without professional equipment, take a very responsible approach to the selection of raw materials.
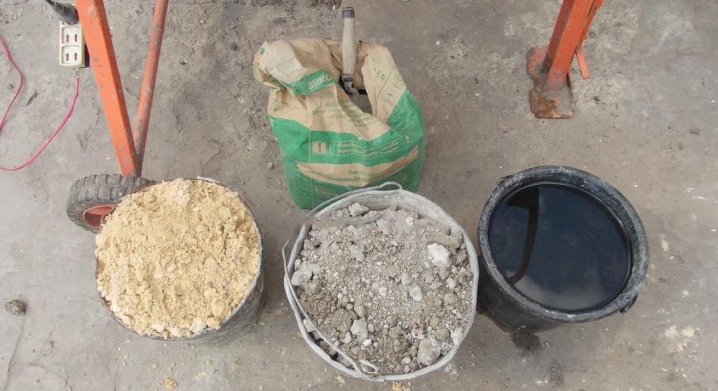
- Cement. It is better to take cement with a quality of M500 or higher, concrete of this brand will facilitate manual work.
- Sand. Before work, it must be carefully sieved.
- Water. It is advisable to use clean water without impurities.
- Mold lubricant paving slabs.
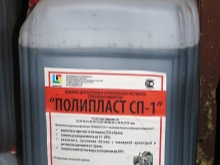
- Plasticizer to increase the life of the tiles.
- Pigment additive. Needed if you plan to change the color of the tiles.

Before buying material, it is imperative to measure the area of placement of paving slabs. It is also important to determine the purpose of the artificial path - whether it will be a pedestrian path or a parking lot. The composition and proportions of the cement mortar will depend on the load on the tile.
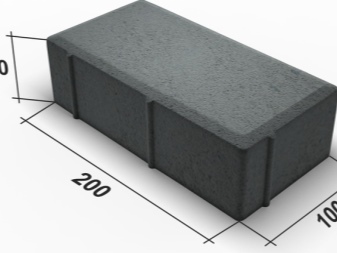
Next, you need to measure the thickness and area of the future tile, according to these dimensions, you can determine the amount of consumables required. This will help to avoid unnecessary expenses and force majeure situations.
After that, determine the total number of tiles, for this, divide the entire footage of the covering by the area of one artificial stone. After the measurements have been taken, recalculate the total consumption of raw materials.

It is impossible to correctly calculate the composition of the solution based on the volume of the container, because each material is different in weight - a bucket of cement and a bucket of water will have different weights. In order to avoid mistakes, you need to weigh the amount of cement that fits in the scoop, then in the same way we calculate the proportion of adding sand to the cement. In the future, the scoop will greatly facilitate and speed up the mixing process.
You should also carefully consider the proportion of water in the composition of the solution. With a lack of moisture, the strength of the tile will be very low, and with an overabundance, excess water forms voids inside the solution and increases the risk of stone destruction.
The amount of liquid needs to be adjusted depending on the moisture content of the sand.
Step-by-step instruction
When all the necessary measurements have been taken, the proportions of the solution have been determined and the tools have been prepared, you can start making an artificial stone. It is quite easy to make a tile yourself and without a vibration table - this is what many novice builders do.
For convenience, we will provide a ready-made ratio of the proportions of the solution, under it you can substitute your numbers:
- cement grade M500 or higher - 15 kg;
- plasticizer - 100 grams;
- sand - 30 kg;
- water - about half the volume of cement;
- pigment - no more than 5 percent of the total solution volume.
The sequence of mixing the solution:
- dissolve the plasticizer in hot water with a volume of about 0.5 liters;
- mix cement, sand and pigment thoroughly;
- pour the mixture in small portions of water with a plasticizer, constantly stirring the solution;
- add the required volume of water to the solution to obtain a thick, flowing and evenly colored material.
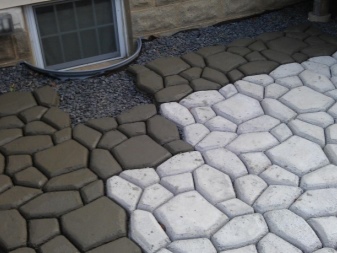
Next, start pouring the mixture into molds. This step must be done very carefully, follow the instructions carefully.
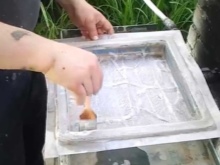
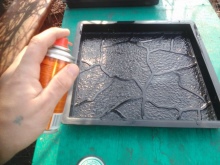
- Apply a thin layer of grease to the molds so that no puddles form. A properly applied emulsion will help prevent tiles from sticking to molds.
- Next, pour the mixture into a greased container and distribute it using a trowel.
- Then hit each edge of the mold with a joiner's hammer. This will seal the solution and push air out of it.
- Place the tiled pan on a flat surface and leave to dry for 24 hours. To use less space, molds can be stacked with wooden beams between them.
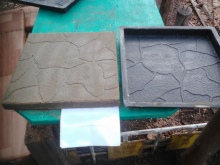
- After a day, the artificial stone can be removed from the mold by gently knocking the tiles onto a soft mat.
- The last stage is final drying in a dry place, protected from direct sunlight. Drying of tiles lasts from 7 to 15 days.
The entire manufacturing process must be repeated until you have accumulated the required number of tiles.
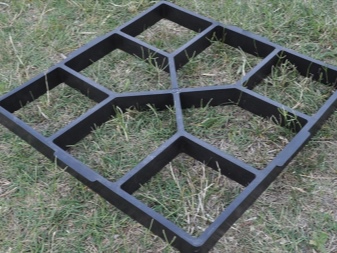
You can also make a tile mold with your own hands: from wood or sheet metal. This method will reduce the cost of raw materials and allow you to be creative in tile decoration. Containers made of wooden bars are twisted with iron corners and self-tapping screws, the bottom can be made of moisture-resistant plywood sheet. For the manufacture of metal molds, you will need a welding machine, this method allows you to get strong and durable containers for casting paving stones.

Advice
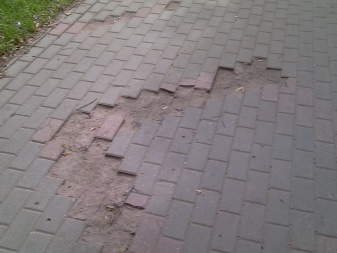
Products made without a vibrator will not be very durable. It is reasonable to use it for pedestrian paths, but the load from cars will quickly ruin such an artificial stone.
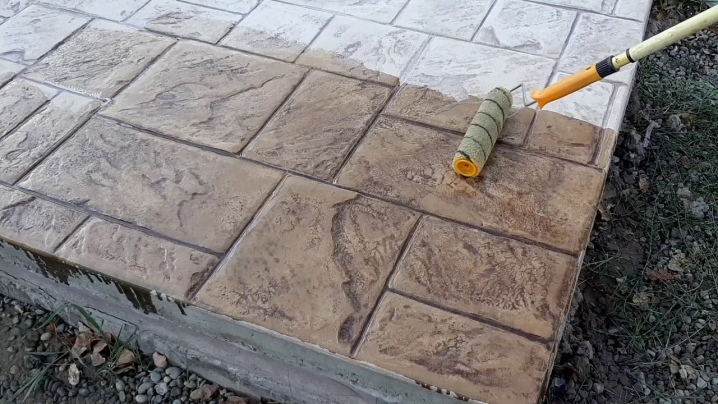
If you want to reinforce the finished paving stone, you can use the surface ironing technique. To do this, you need to rub the cement mixed with the pigment into the finished tile, this procedure allows you not to add dye while mixing the solution.
See the following video for the manufacturing process of paving slabs without a vibration table.


The comment was sent successfully.