Backlight for TV: purpose and installation options
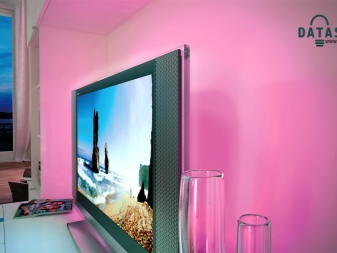
Many people like to watch TV at night, but not everyone thinks about the harm this carelessness has on human health. Watching TV in the dark, according to the results of numerous studies in different countries, provokes stress, impairs attention, puts a huge strain on the eyes, and contributes to a decrease in vision. For an adult, the harm is just as dangerous as for a small child. Backlighting will help make watching TV enjoyable for the viewer and harmless to his health.


Appointment
Ceiling backlighting does not in any way affect the improvement of TV viewing for the simple reason that it tends to light up the screen, as a result of which the contrast of the image decreases. This also puts additional strain on the eyes.
The location of additional light elements at eye level will help to solve this problem., but, again, one should take into account the interior of the room itself and do not forget that the devices located behind the viewer's back will create glare. It will also harm a person's eyesight and interfere with viewing.
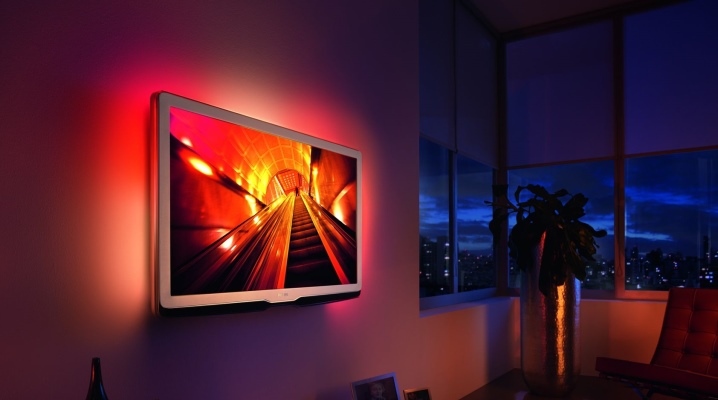
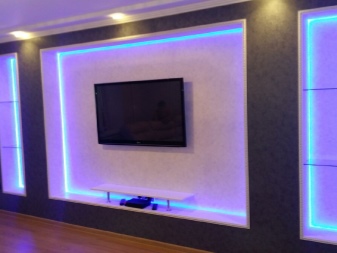
Thus, we can conclude that installing a special backlight on the TV case will be the best solution in this situation.
Requirements
- The backlight for the TV should be soft so that the lighting does not distract attention from watching a TV series or program.
- In this case, there should be enough light so that the eyes do not experience discomfort.
- Like any object in the house, the backlight should be made of materials harmless to the human body, easy to install and of high quality.
- The aesthetic option of placing the backlight can significantly affect the decor of the entire room. If the location is wrong, the light may fall incorrectly and only exacerbate the problem, and elements sticking out from under the TV will spoil the appearance of the room.
- Also, the backlight of the screen should not consume a lot of electricity.
Advantages and disadvantages
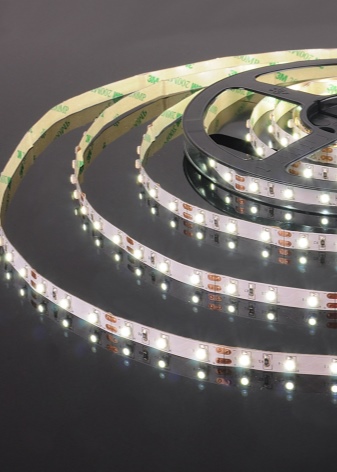
Like any other fixture, LED strip has positive and negative properties. First of all, it is worth describing its many advantages:
- low power consumption;
- an abundance of colors;
- easily assembled with your own hands;
- moderately bright luminous flux;
- there is no strong heating during use;
- long service life;
- high structural density.
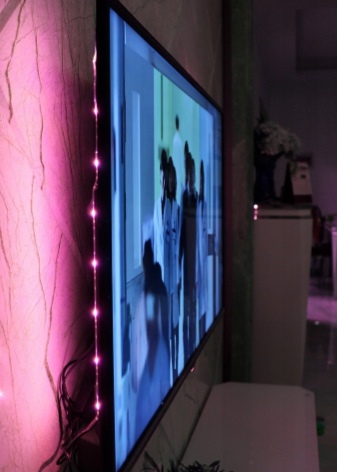
There are not so many disadvantages of the backlights under consideration, and they depend on the manufacturer. For example, some swatches light up the screen unevenly, and there are highlights around the edges.

Types and methods of placement
There is an opinion that making an LED strip at home is not very different (in terms of financial costs) from purchasing a ready-made version, and for those who are not “friends” with physics or a soldering iron, making a strip on their own can be an overwhelming burden. There is also the option of installing a ready-made LED lamp, it will not require inventive operations with a soldering iron and software.
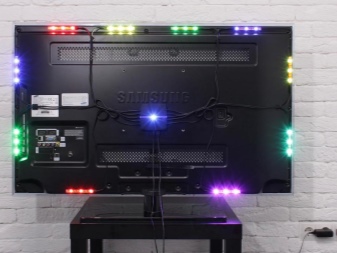
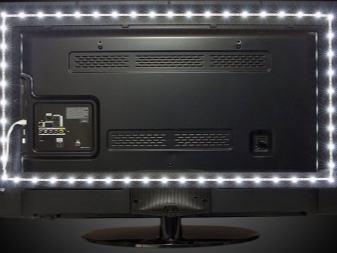
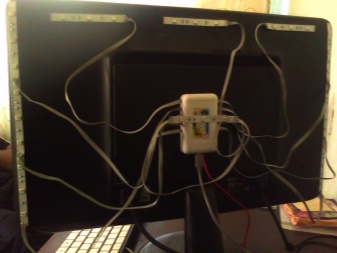
The simplest option for placing a ready-made LED strip for illuminating a TV is on the back of the cover.
The tape "sits" on the glue along the edge of the lid, fixing occurs at least every 15 cm to ensure the strength of the fastening. A wider pitch will cause the tape to peel off when heated. The tape should be soldered in the corner or corner connectors will help you.
Sometimes the tape is glued with thin tape for ease of use, after gluing the tape itself to the monitor case, the tape can be removed.
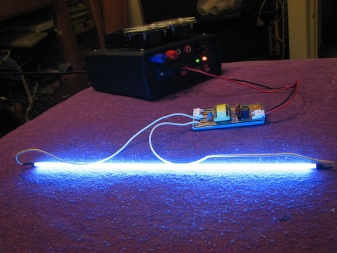
The next step is to connect to an optimal power supply. A relay will be needed. If not, then a 12 volt converter will do (if there is a USB output). If power is supplied via a USB connector from a computer, then you will need to install drivers, the AmbiBox package. This can cause some difficulties for those who have no experience with the software.
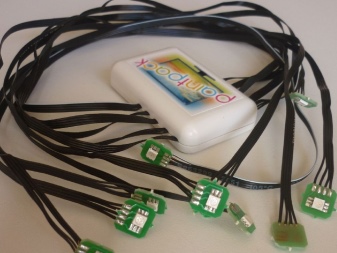
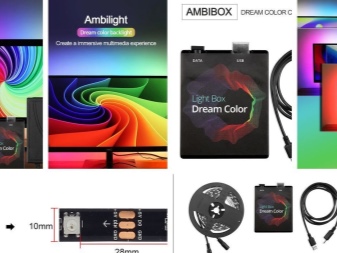
You can also purchase a ready-made version of the LED strip in an online store or a regular supermarket. This option will be easier, but the tape should fit in size for your TV, under its diagonal. Such a tape works from a conventional plug connected to an outlet. The PaintPack system will be the best option for mounting to the TV cabinet. It has a two-way LED strip connection. It contains an indicator, power and daisy-chain connectors. Also included is a remote control that will help you adjust the brightness of the light flux. The remote control will also allow you to change the shade of the backlight, be it rich white, matte white, blue, red or blue.
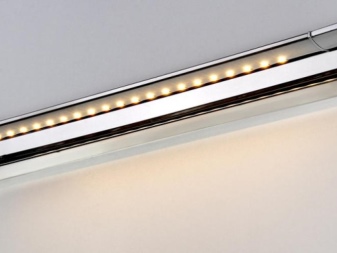
An LED lamp can also be used to illuminate a TV, but location can be difficult.
Such a lamp is usually very bright to illuminate a TV monitor, which means it will be a distraction when watching TV or movies. Another common problem in this situation is uneven light distribution due to using one side of the monitor rather than all four. There are also many problems associated with its large dimensions - it will be difficult to place it behind a flat screen. It is quite problematic to attach the lamp to clamps if there are no shelves or walls next to the TV.
In such a situation, however, it is possible to place the LED lamp near the mounting of the bracket to the wall, but this will require additional drilling of the wall to recess the entire lamp.
With thism LED lamp will not require soldering tape or software, since it is already completely ready for work, not counting its placement.
In some interiors, a special drywall screen for a TV is used, framing it like a frame, respectively, it is possible to connect the tape to this box, then an insulating coating will be required to exclude the situation of involuntary fire when the tape is heated.
How to do it yourself?
If you remember the school physics course, then there is an opportunity to make a tape yourself.
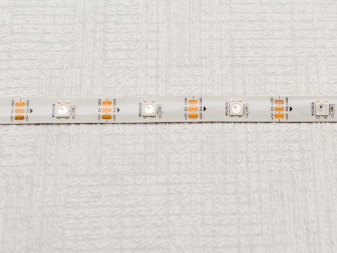
This will require a controllable LED strip (RGB), a standard power supply, a microcomputer (in our case, an Arduino), a soldering iron. All this can be purchased at any electrical and electronics store or ordered on any available Internet resource.
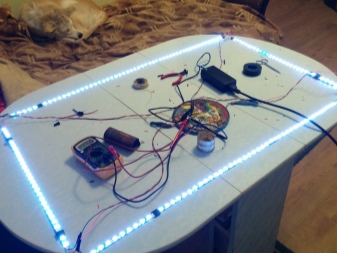
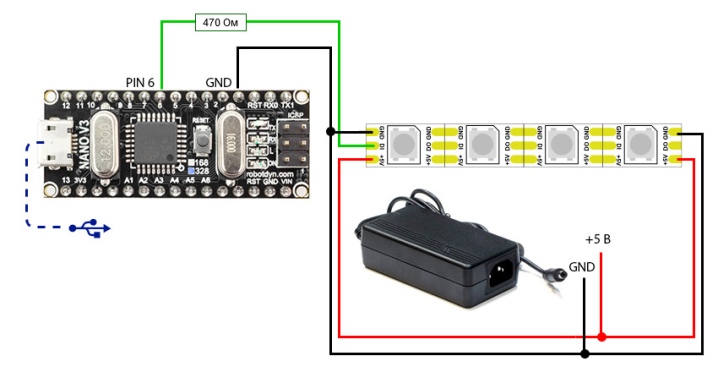
The connection diagram consists of a sequence of steps.
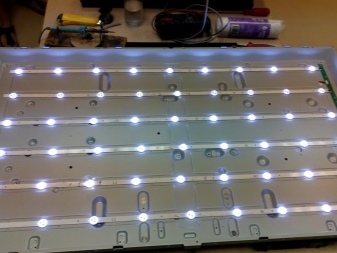
The system will have 57 LEDs and power is supplied through the WS2812B. To make a structure with your own hands, it should be borne in mind that the more often the LEDs are located, the more complex the power circuit will be. And this, in turn, will require a more powerful unit. Therefore, it will be optimal to use up to 60 pcs.
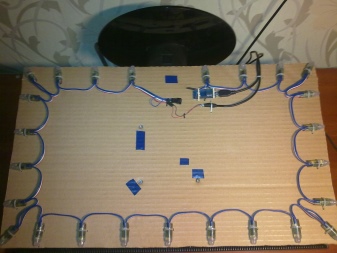
For 42 "diagonal, 3 meters of tape is usually used; for 32" samples, a shorter length is sufficient. In general, it is not so difficult to calculate the length of the tape, the main thing is to initially correctly determine how many sides of the monitor will be involved.
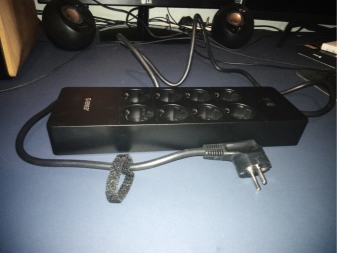
You will also need a USB charger. We will be using Orico, a variation of the CSA-5U (8A) model used, it is multiport.
We will control Ambilight with a microcomputer, we will use the most suitable one - Arduino.
Connect the GND pin to a pin on the Arduino. The second one will be DATA, connect it to the 6-digit pin. For this we use a 470 ohm resistor.
Sometimes there are some difficulties in getting a right angle on the tape itself. Specialized connectors must be purchased. They will be for 3 contacts.Or additional connections will have to be soldered.
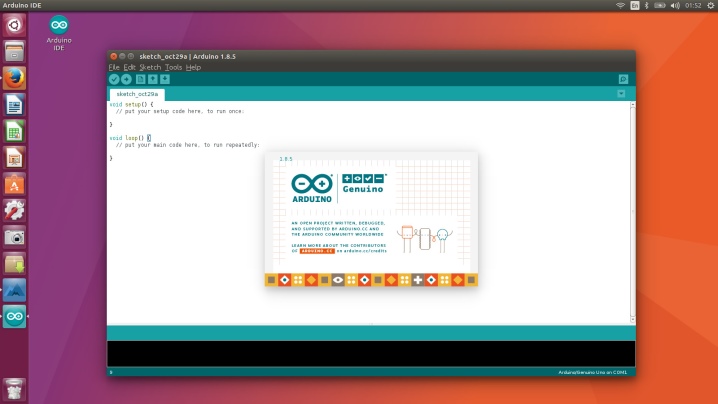
Next, let's get down to the software. Load Arduino IDE, FastLED library. Next, we need to move the libraries to the FastLED folder. We launch the program, we will not need it further, we will close it. The "Documents" will automatically show "Arduino", but we need to create an Adalight folder in it for further operations. Copy the Adalight sketch. ino.
We connect the Arduino microcomputer via USB. The program will be installed automatically.
Launch Arduino IDE and open Adalight. ino.
Let's change the LEDs to the number we need.
Let's indicate the following path: "Tools" - "Board" - "Arduino nano".
"Tools" - "Port" - select the COM port, load.
Next, you need to disconnect the Arduino from the port.
Install the AmbiBox program. Click "More settings" and note the Adalight, COM-port, as well as the LEDs used.
Then we use "Show capture zones", "Zone settings wizard". Let's choose a ribbon. Let's apply and save the changes. The settings are complete. Click on the AmbiBox profile. If problems arise, you can uninstall the software and repeat the download via Add or Remove Programs.
Whichever method of illumination is chosen, each of them has its pros and cons, the main thing is to choose the option that is most convenient for you.
How to make a TV backlight with your own hands, see below.


The comment was sent successfully.