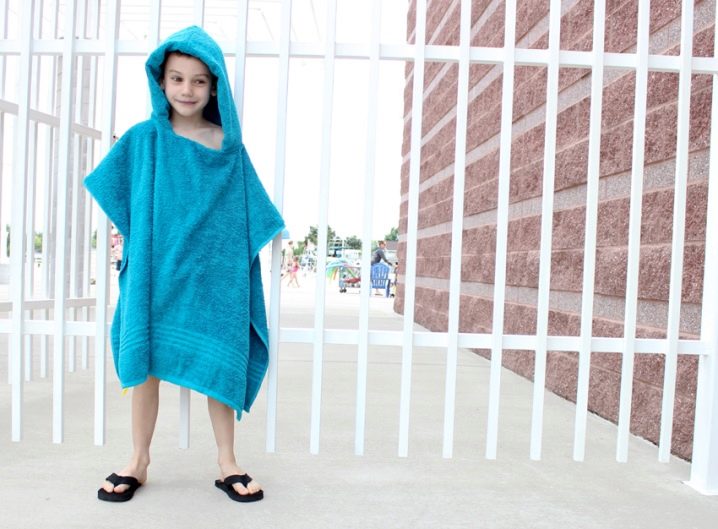
Baby Towel Poncho

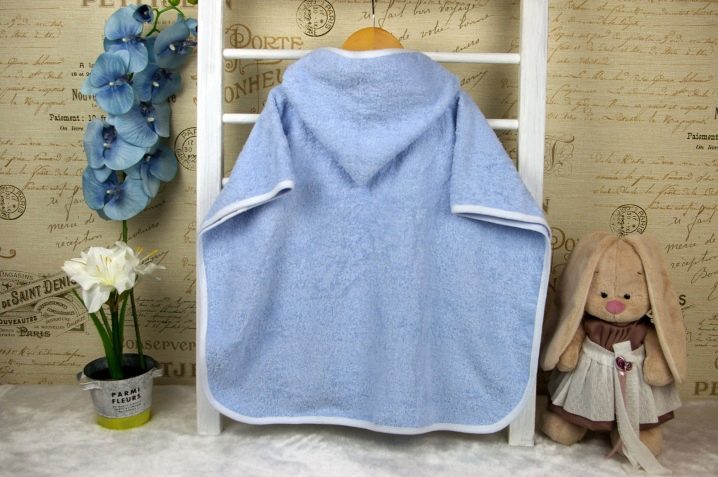
Baby towel-poncho with a hood is a dream of almost every child and his parents. Such a towel is useful not only at home (you can wrap a child in it after taking a bath or shower), but also, for example, on the beach.
What is needed
You can sew a similar thing at home with your own hands. To do this, you need to take one large bath towel, several small hand towels (you should choose towels from one set so that the material and color match completely), threads. You can sew with a sewing machine.


Important advice! Try to use natural fabrics to make a poncho towel for your baby. Cotton is ideal.
Sewing
The process of making this wardrobe item is divided into several stages: sewing the hood and sewing the poncho itself. Then the parts are connected.
Poncho
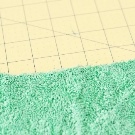
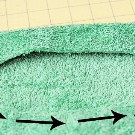
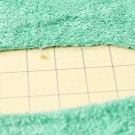
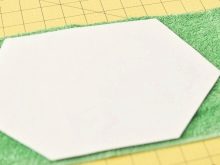
A large bath towel must be folded in half (lengthwise). Then, along the edge that we folded, you need to find the center (for this, the towel can be folded again). Be sure to mark the center point - you can do this with a marker or pen. Make a cutout in the center. For a poncho pattern, use the pattern of any children's T-shirt. You can also make an incision in the eye.
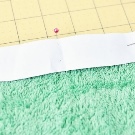
Next, unfold the towel and find that we have got an elliptical cutout. It needs to be hemmed with a straight stitch and processed in order to make the thing more neat and tidy. The poncho is ready.

Hood
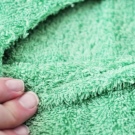
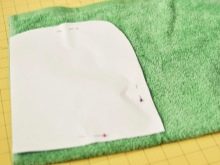
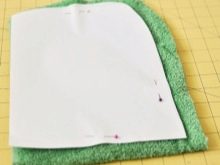
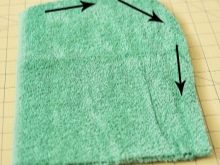
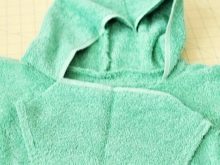
We will use a small hand towel to make the hood. It needs to be folded in half. Above you should attach a hood pattern (you can find it on the Internet and print or circle the hood of your baby's jacket or sweatshirt on paper). Next, you need to cut the hood out of the towel (do not forget to make allowances for the seams). Then, along the outer edge, the hood should be stitched with a sewing machine. Moreover, the element must be sewn in two directions (forward and backward).
Connecting parts
To complete the process of sewing a baby poncho, you need to connect the resulting parts.
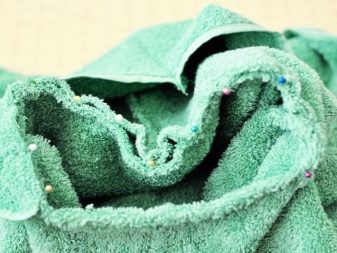
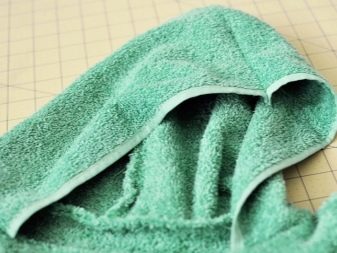
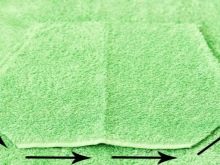
To do this, at the edge of the elliptical cutout in the poncho, you need to find the center and mark it with a pin. The center must also be found on the hood. Then the centers should be pinned together with one pin (the products should be turned to each other with their front sides). After that, it is necessary to sew both parts (an allowance of about 0.5 cm). You need to sew in both directions (you can use a zigzag or straight stitch). The product is now completely finished.
For convenience and comfort, a pocket for small items can be sewn on the front of the wardrobe item (it can be made from the remnants of fabric). Also, this product can be decorated with embroideries or patches. This poncho is suitable for both girls and boys. For girls it is better to choose light colors (pink, yellow), and for boys - a darker range (blue, green).
Advantages and disadvantages
Like any other thing, this wardrobe item has positive and negative sides. The hostesses note that this thing is quite simple to make - it does not require large financial and time costs. On the other hand, ponchos are believed to be uncomfortable for young children without sleeves. For them, you should purchase a cape towel with sleeves.
It's also important to pay attention to length. Many mothers complain that the homemade product is very short.The length of the towel should be carefully selected so that it reaches the child at least to the thighs.
See below for more details.


The comment was sent successfully.