How to make a locksmith workbench with your own hands?
Anyone who knows how to handle a welding machine can make a locksmith's workbench with their own hands. The article presents the drawings of the workbench and the dimensions of the table in accordance with GOST, but no one forbids making a workbench specifically for your tasks.
Peculiarities
A locksmith's workbench is, in fact, a table on which work with metal and wood is performed. Such requirements are imposed on him.
- Strength and rigidity. The machine is designed to work with shock loading.
- Stability. He must not stagger.
- The convenience of use.
- Acceptable cost.
Industrial workbenches with standard dimensions cannot always be accommodated in a workshop. And the quality of their materials is unpredictable.
Therefore, most home craftsmen prefer to make workbenches with their own hands. This not only saves a lot of money, but also allows you to get exactly the design you need.
Before making your own, pay attention to a number of features.
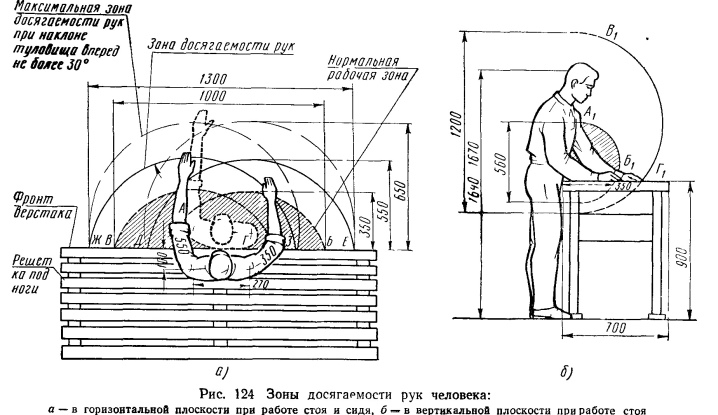
- Only a well-designed workbench will be comfortable and ergonomic, so always consider the size and build of the master. The height of the working surface should be at the level of the navel. When working, the arms should be slightly bent, and the hands should be at the level of the trouser belt.
- The length of the table doesn't really matter. But in spacious rooms it is recommended to do more for processing larger parts. In the working position, it is advisable to reach with your hands to the edges of the table or, in extreme cases, take a half-step-step to the side.
- If the workbench is large, the structure can be made collapsible. But keep in mind that bolted connections are less strong than welded ones. The alternative is to make some workbenches, place them side by side and bolt them together.
- The width (or depth) of the table is between 50-60 cm. This is quite enough.
- Well, if the workbench has a niche for legs, then it is convenient to work with it while sitting. If not, more tools can be placed on the lower shelf, and the rigidity of the entire structure is increased.
- The locksmith's workbench, in principle, does not have excessive strength... The stiffer the structure, the better, because heavy tools with shock loading are used on the table.
- Pay special attention to sustainability. If the workbench wobbles, it will not work properly. In a particularly difficult case, it will fall on a person with all its mass, and then serious injuries cannot be avoided. Therefore, heavy duty machines are anchored to the floor and / or wall with anchor bolts.
- Some tables have 6 or more legs. It is stronger, but it will sway on a crooked floor (and in most workshops, the floor is uneven). Therefore, the legs must be adjustable in length. By the way, 4 legs are enough for most workbenches.
- The center of gravity should be as low as possible, so the heaviest instruments should lie on the lower tiers. Some craftsmen additionally weld ballast. The heavier the workbench, the better, as it becomes more stable and less responsive to impacts. True, it is more difficult to transport it, but this is extremely rare.
This is, perhaps, all that concerns general requirements. Let's start designing.
Preparatory stage
Competent design is the key to successful work. The dimensions of the workbench should correspond to the size of the room and the height of the master, and the structure should correspond to the types of work performed. In this case, the table can be straight or angular (it is not recommended to make the table U-shaped).
You can use computer design. There are many programs for building 3D models (Compass 3D, SOLIDWORKS, AutoCAD) that have libraries of materials and fasteners. In them, you can calculate the cost of material, select the necessary rental and adjust the design. Moreover, the built-in kernel allows you to virtually apply effort and identify weak structural elements.
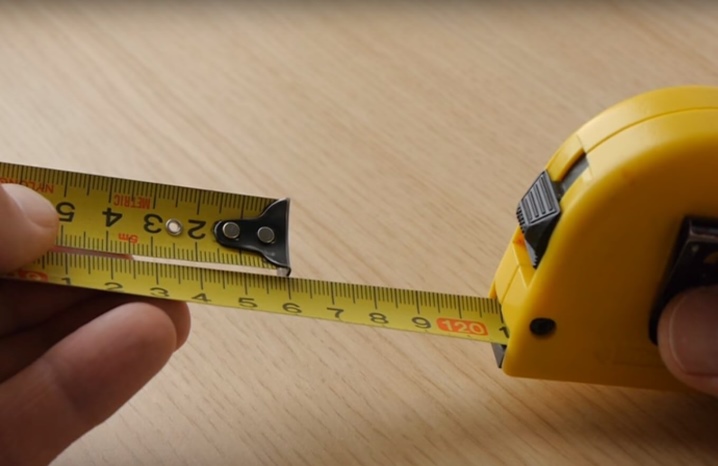
The required dimensions can be taken by measuring your desktop with a tape measure.
In addition, in the process of work, you can always see the subtleties of the design. And one more advantage of modeling - according to the prepared model, you can make drawings and order a work from a professional welder.
If it didn't work out with the model, you still need to prepare sketches and drawings in a scale convenient for you (not necessarily in accordance with GOST). Only very experienced craftsmen can do without design, and the result will not always be positive.
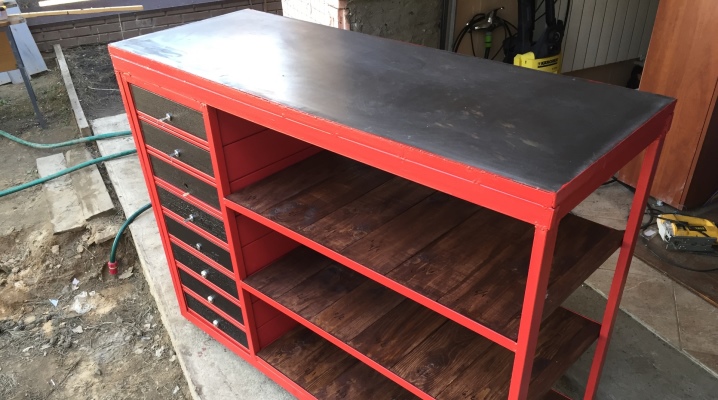
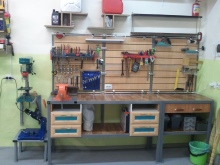
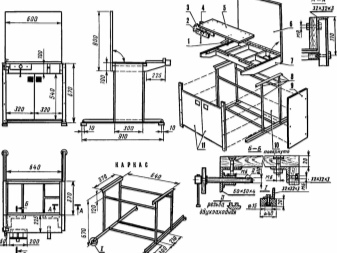
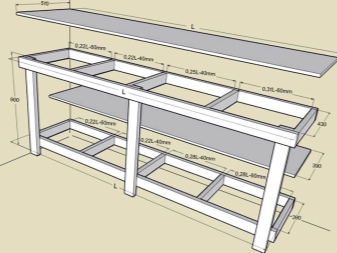
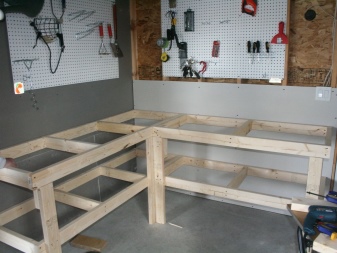
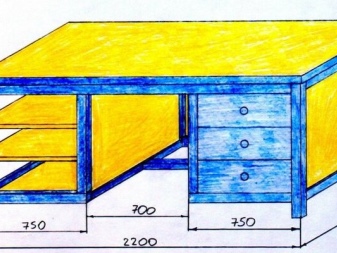
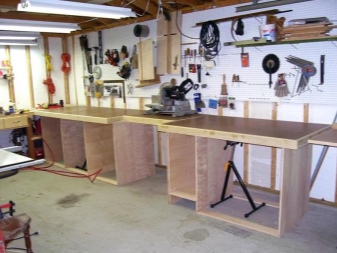
We will give some interesting layouts of locksmith's workbenches with basic dimensions:
- here, metal elements are shown in blue, and wooden elements are shown in yellow;
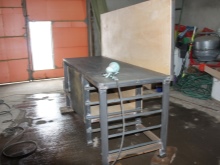
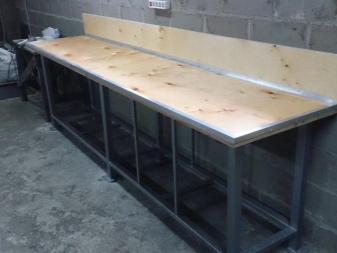
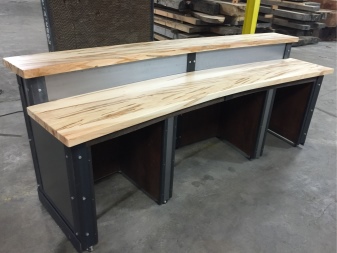
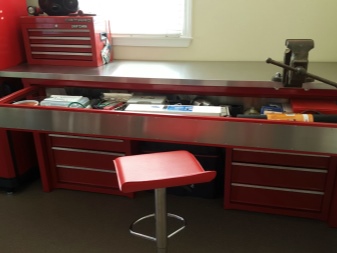
- a couple more decent designs.

Materials and components
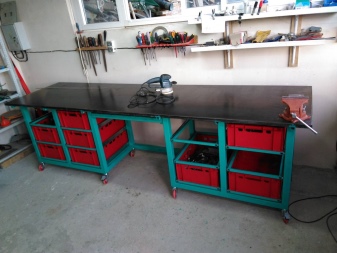
As you can see, workbenches are very different in design, and materials can be very different. This is usually what is in the garage, but they can also be purchased.
For example, to make the frame of such a workbench, you will need:
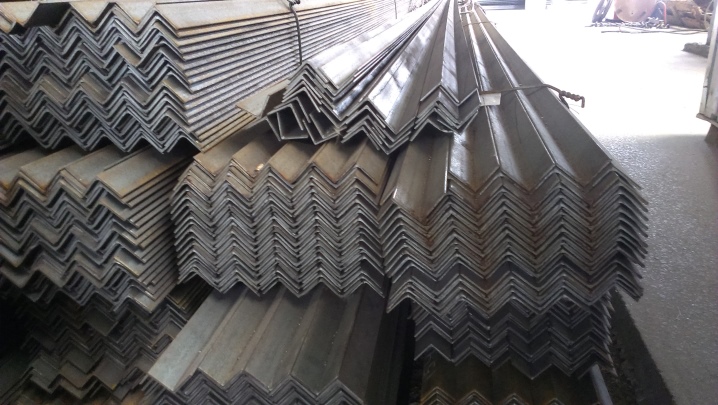
- corner 50x50x4 6.4 m long;
- pipe 60x40x2 24 m long;
- corner 40x40x4 6.75 m long;
- strip 40x4 8 m long.
A total of 121 kg of metal is needed. Its quantity may vary depending on the size.
For such a model you will need:
- 225 m square pipe;
- 8 m corner;
- 10 m strips measuring 40x4 mm.
Rental sizes may vary. The main rule is that the larger it is, the stronger and heavier the structure is.
For the countertop you need a sheet of metal with a thickness of 2–5 mm. If there are very strong loads, the size can be increased up to 40 mm.
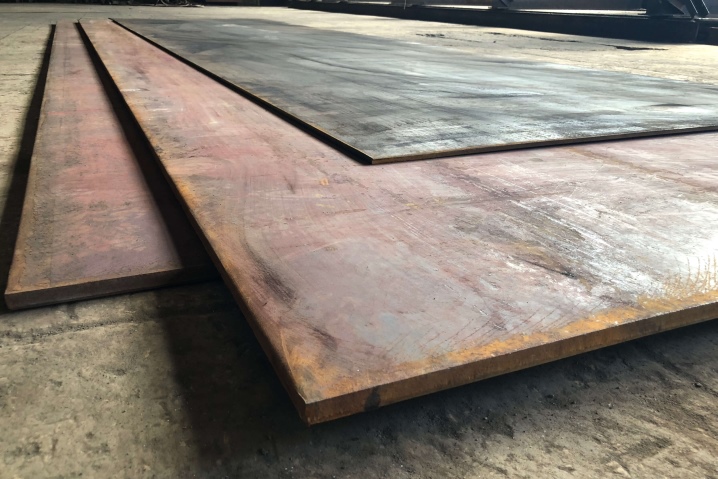
Such a thick area can be small and used as an anvil, while the other part of the table top can be relatively thin. The main thing is to ensure the reliability of the connection.
Think about other points as well.
- For the boxes and toolbox, 5 mm plywood is required. And if you want to make an outlet, you will need an extension cord and a wire.
- In addition, bolts with washers and nuts are required.
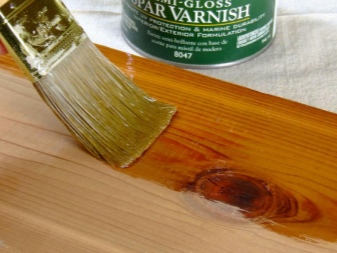
- For finishing work you need a primer, paint and varnish.

Required tools
To make a workbench, we need:
- "Grinder" or hacksaw for metal;
- cutting and emery wheels for her;
- saw for wood;
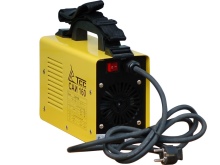
- welding machine and accessories;
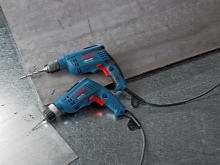
- drill;
- roulette;
- chalk for marking.

While working, you may need something else. But rare tools are not needed, a standard kit for a car mechanic or mechanic is enough.
After everything is ready, we start manufacturing.
Workbench making instructions
Since everyone makes a table "for themselves", it is impractical to give exact methods in the article. But the general algorithm is the same for different constructions.
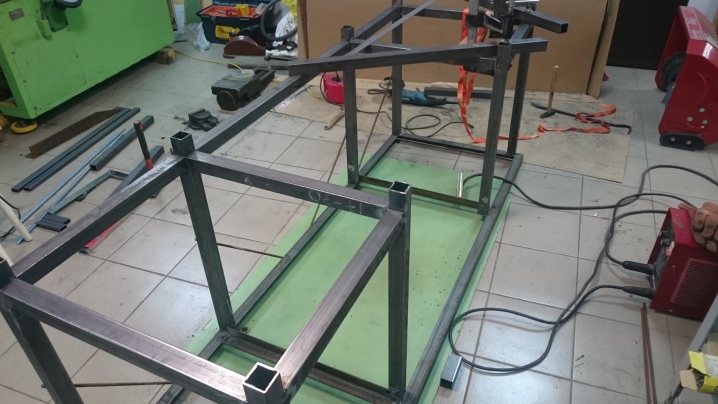
After all the preparation and manufacture of drawings, we proceed to welding our future workbench.
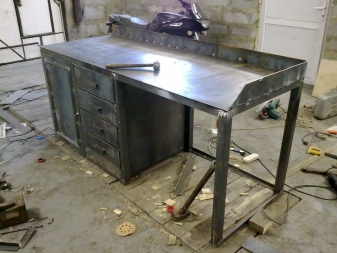
Metal
You can start by making a countertop.
- Make a wooden board 4–6 cm thick. It is needed for shock absorption and silence when working. First dry the wood, and then saturate it with anti-rot and bark beetle products.
- If desired, at the bottom, attach strips of thick rubber around the entire contour.
- Cover the shield with a metal sheet and fix it with self-tapping screws.
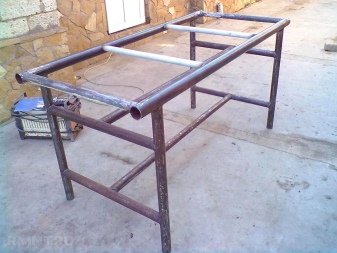
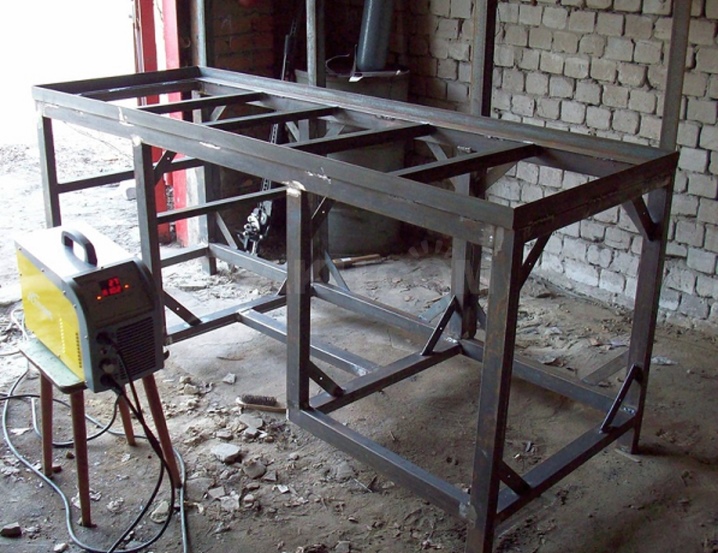
After that, we make the frame.
- Cut the rolled or round pipe into pieces of the required length. It is advisable to immediately remove the burrs and round off the sharp edges. The frame can be made from a corner measuring 20x20x3 mm.
- It will be correct if you first clean the metal from dirt and rust.
- Weld all the lengths in the desired configuration. For strength, additional overlays are welded on the welded seams or spacers are made.
You can make the legs separately or weld the profile sections vertically to the worktop frame.
After installing the main elements, weld on the longitudinal and transverse strips. The more, the better, in terms of strength.
From the corner, make guides for the boxes.
Secure the table top to the top of the workbench. This can be done by bolting or welding. In this case, it is better to first apply the countertop and then drill the holes. Otherwise, during installation, they may not coincide greatly, and they will have to be drilled again.
Countersunk head bolts must be used for safe work on the workbench... Recesses for them are made with a countersink or a large drill (they need to be chamfered under the bolt head).

Sand all seams. They should be neat and free of metal droplets.
The basic rule is that the length and area of the welded seam when joining parts should be greatest. To do this, you can make additional cuts or chamfers in the elements to be welded.
Add less critical details.
- If your workbench comes with a shelf, you will need a sheet of plywood or chipboard for it.
- Make tool boxes out of wood or thin metal. Their size depends on your preference. Remember to cut or weld the handles so you can slide them out.
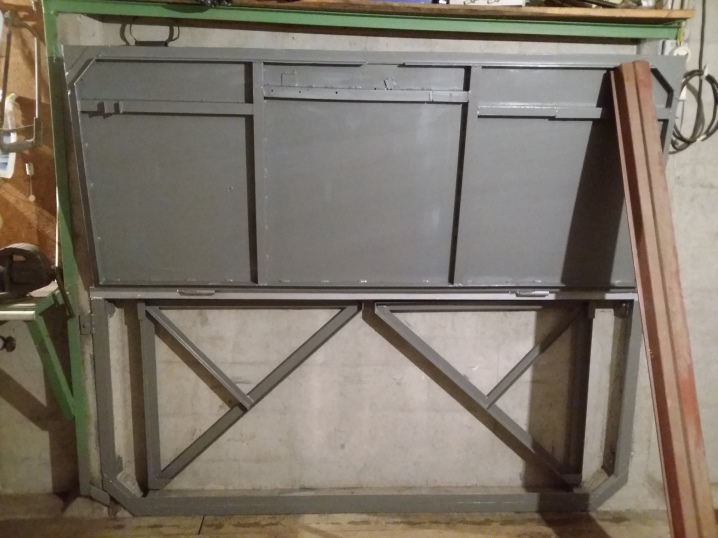
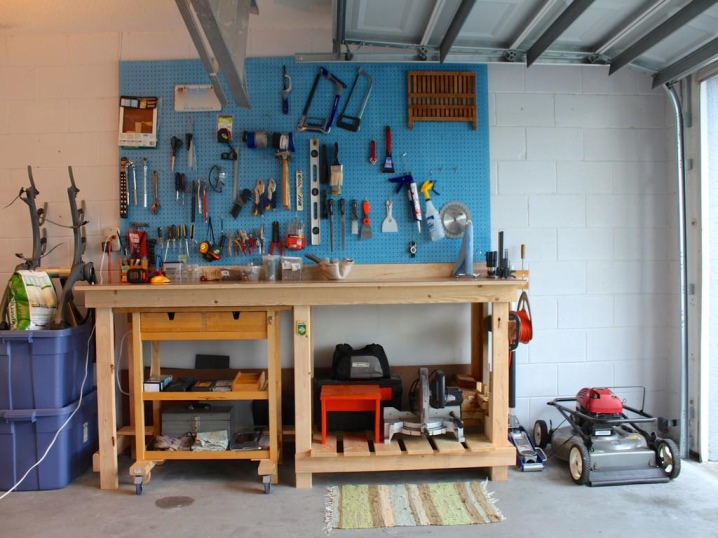
If you want a tool board, weld the strips vertically to the back of the workbench. Then you need to attach a sheet of plywood to them.
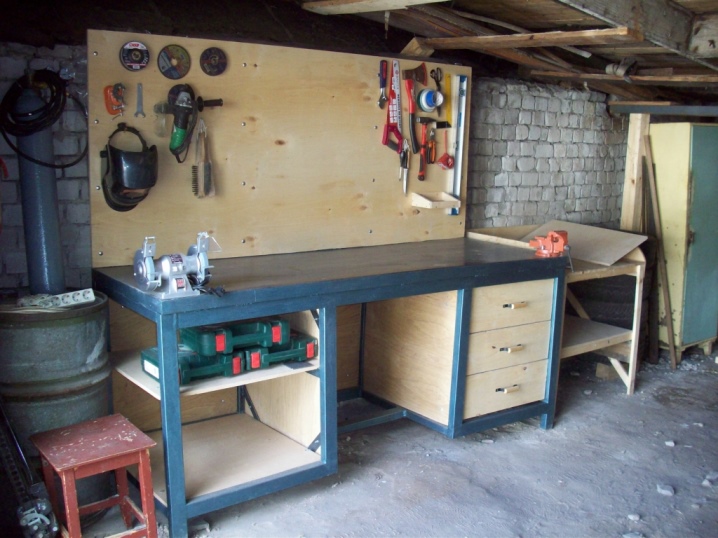
The tools are fixed on pegs or studs.
Next, coat the metal parts with 2 coats of primer and then paint. Treat the countertop with a rust converter.
The process of work is shown more clearly in the video.
And if you want a less monumental structure, you can make a workbench out of wood.
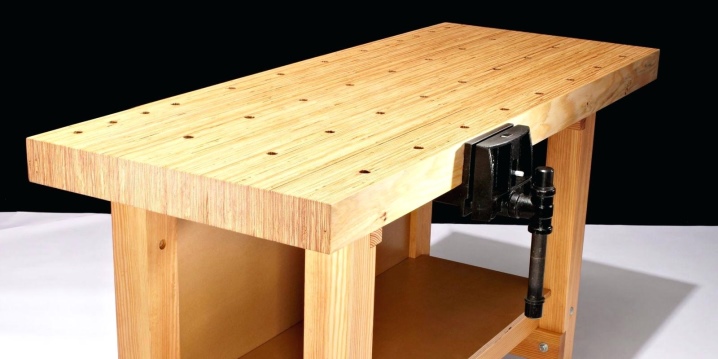
Wooden
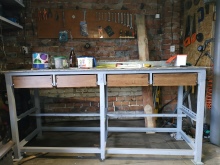
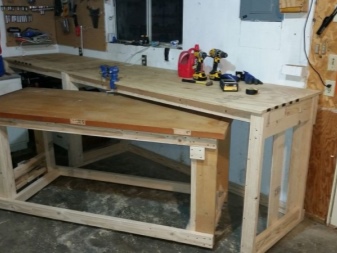
Such a workbench is more suitable for carpentry work than for locksmiths. Even the strongest wood will not withstand heavy loads, so you can make a metal frame and a wooden tabletop.
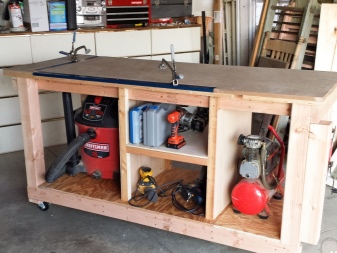
A pure wooden workbench is easier to manufacture and will cost less. This is roughly what it looks like.
Pay attention to some peculiarities while working.
- The bars are connected with corners or screws.
- The connection will be stronger if the bolts go through and end with a nut.
- Remember to put washers.
- The tree must be well dried. Working with raw is not allowed.
- All parts of such a workbench must be coated with an antibacterial compound and a bark beetle repellent.

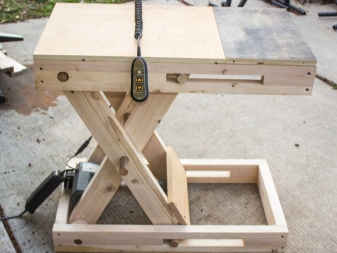
Such a workbench can be foldable (but the durability will decrease even more). In this case, special attention should be paid to the hinges.
- Drill a larger hole in the parts than the fastening bolt.
- Insert a metal tube into it. Its ends should protrude 1–2 mm.
- It is advisable to put a steel washer between the wooden planks.
- Then connect these elements with a bolt. Place wide washers under the bolt and nut.
- Screw on the lock nut or secure the detachable joint in another way.
The tube is needed so that the threads do not constantly drill holes. Instead, you can wind, for example, foil on the thread, but over time it can rub off.
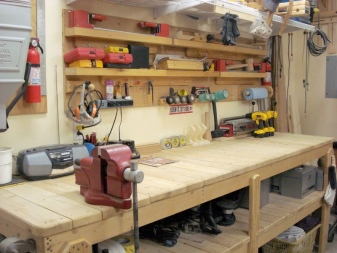
Here are the options for such machines.
Do not forget that wooden structures require maintenance. They must not come into contact with machine oil, solvents and other aggressive substances. Yes, and you need to periodically watch that the nuts have not loosened. Metal workbenches do not require such care.
After assembly, we proceed to the arrangement of our new workbench.
Recommendations
Working at a new desk should be comfortable.
- If the master is right-handed, then on the left side you need to fix the grinder, and on the right - a vice.
- Since you often need a power tool to work, you can install an extension cord on one of the legs. The block is fixed with plastic clamps (stationary) or with a groove in the extension body. In the latter case, it can be removed.
- If you want adjustable feet, weld on the coarse-threaded nuts (the largest you can find) underneath. Then you need to screw in the bolts on which the table will rest. The use of wheels in a locksmith's workbench is not permitted.
- The metal base of a homemade workbench must be grounded, since power tools are often needed during work.
- Don't forget the lighting. One source should illuminate the entire work plane, and the other, on a gooseneck, is used for local illumination. You can also use flashlights. The main thing is that the light should fall from the left (for right-handers) or directly.
- It is necessary to regularly clean the countertop from shavings and debris.


The comment was sent successfully.