The subtleties of the process of installing a siphon in the kitchen
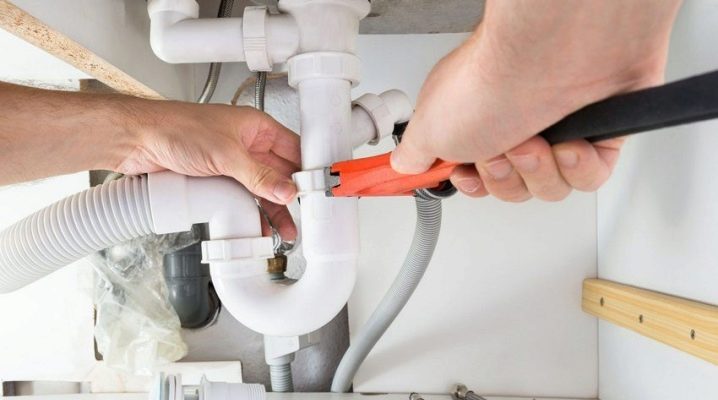
A siphon is an equipment designed to remove dirty water from a bath or sink. This plumbing fixture is installed from the bottom of the sink and removes water through the sewer pipes. Even a beginner who has no experience in plumbing work can perform the installation, the main thing is the correct approach and minimal knowledge. Installation takes a few minutes and does not require the use of any tools. Installation is usually done with bare hands or in rare cases with only one screwdriver.
Purpose
People who are not related to plumbing may assume that the installation of a siphon is optional, but instead of it, you can simply connect a plastic pipe, then use the corners to bring it to the sewer. But it is not so. This device is designed not only to drain water, it is endowed with a number of other functions.
- The siphon has a specific structure, thanks to which large debris does not enter the sewage system, thereby significantly reducing the risk of pipe clogging.
- Very unpleasant odors always emanate from the sewers. Thanks to the siphon, they do not pass into the living room, this is its main purpose.
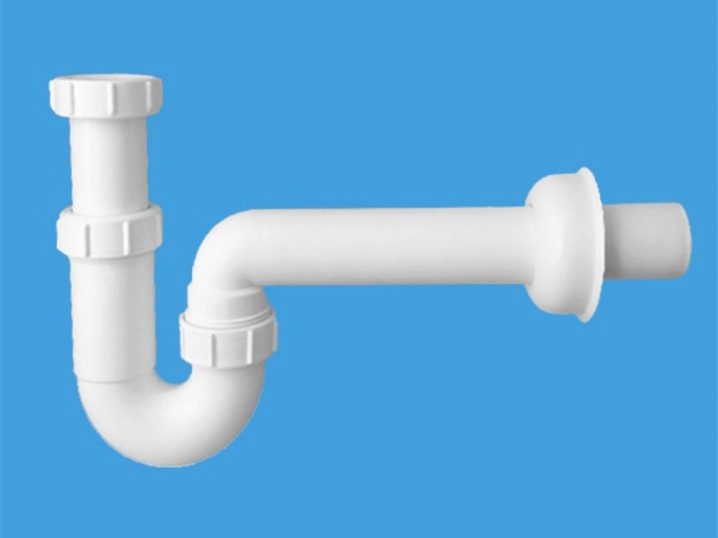
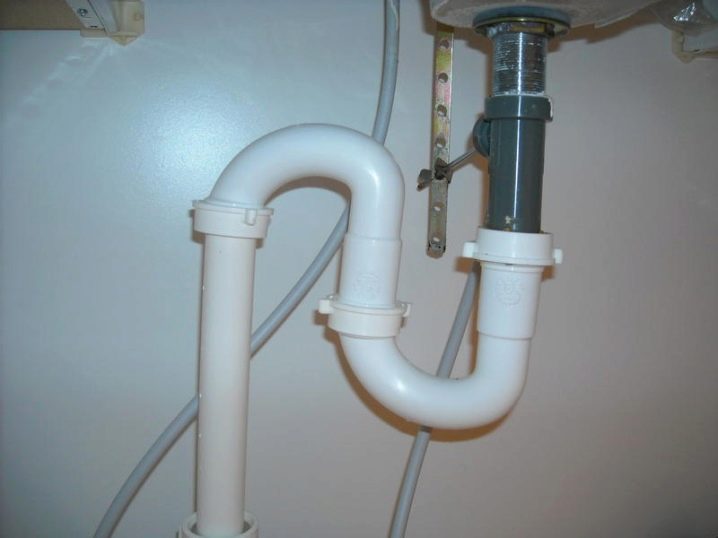
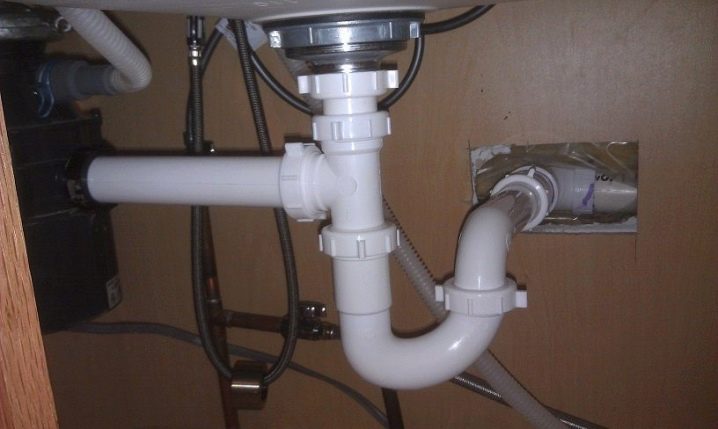
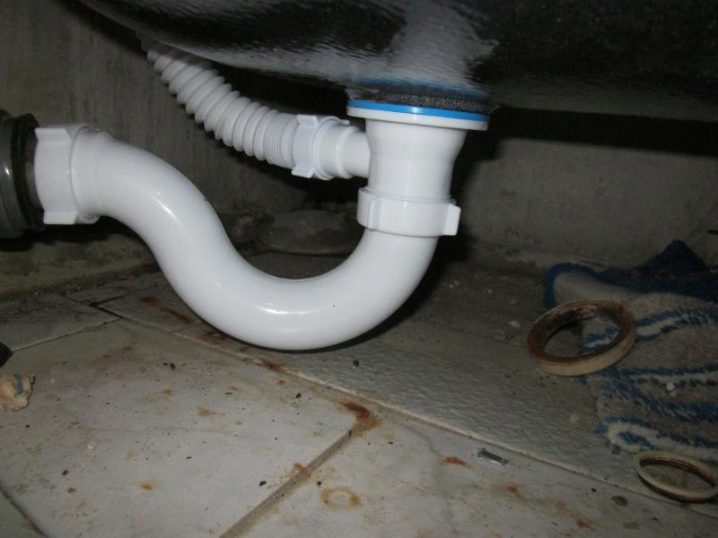
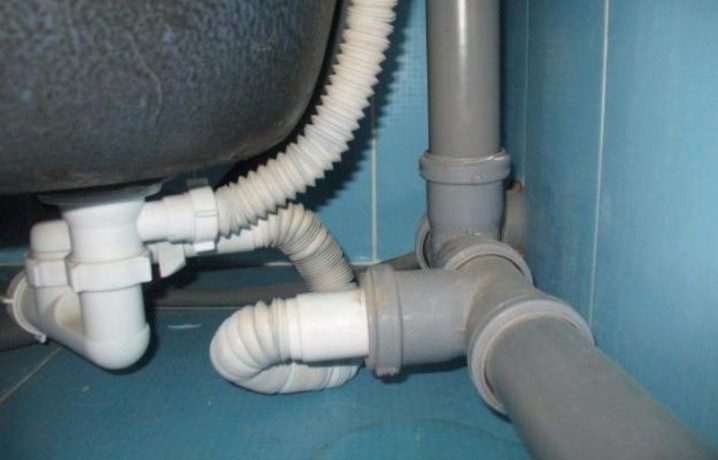
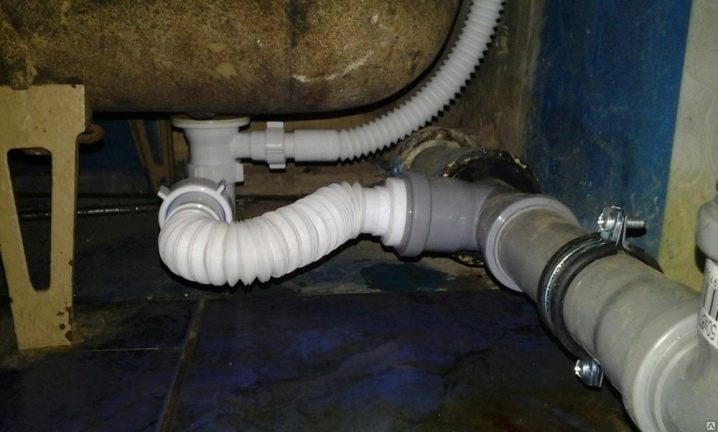
- If you have ever looked at the siphon located under the bathtub, you probably noticed that it has an arched or S-shaped shape. After installation, there will be water in place of this fold. And if the device installed under the bathroom has a rather simple structure, then more complex structures are installed under the sink in the kitchen. They can be disassembled at any time, cleaned of debris and mounted back.
Design
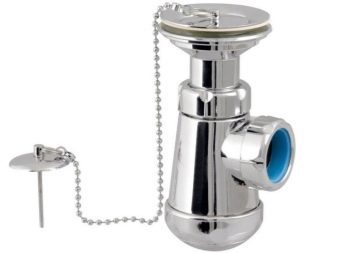
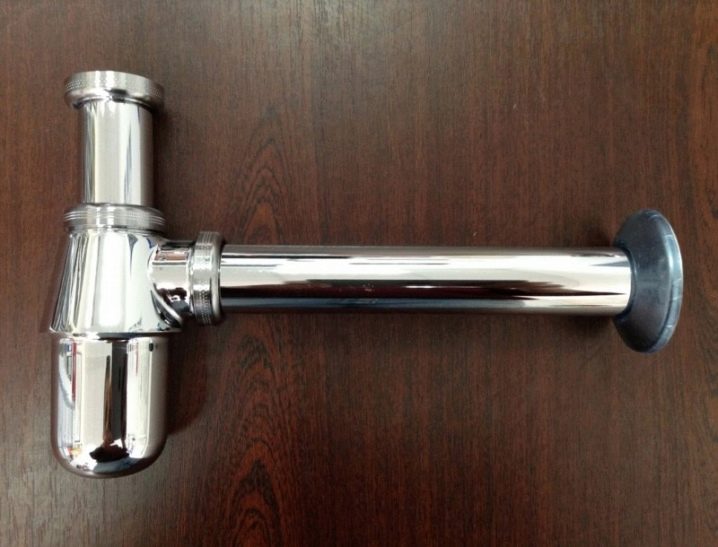
All manufacturers of these structures make their products from plastic or chrome-plated metal. In the modern world, metal options are the most popular due to their stylish appearance. But before buying, it should be borne in mind that after a few months the metal will begin to rust. Even galvanized materials are prone to corrosion. Therefore, a more practical solution can be called plastic siphons.
Water cannot harm them in any way, they are easily cleaned if necessary and have an affordable pricing policy.
Let's take a closer look at the structure of kitchen siphons.
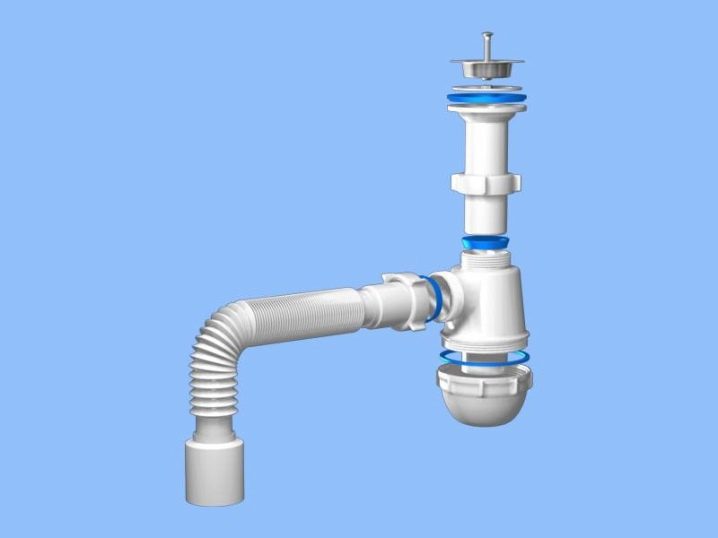
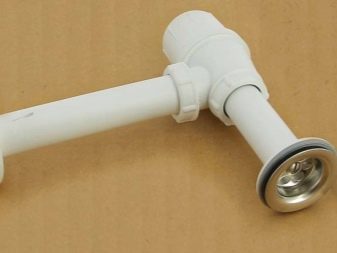
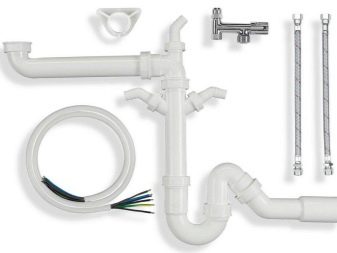
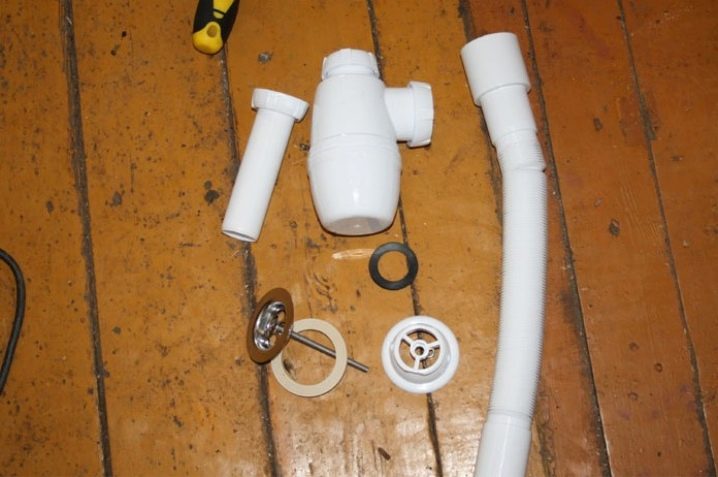
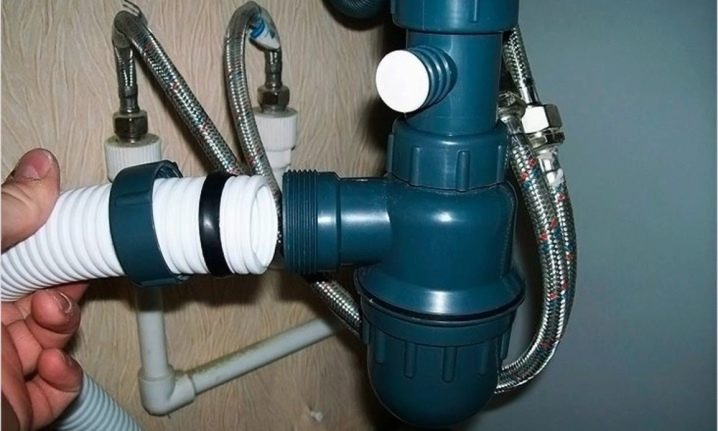
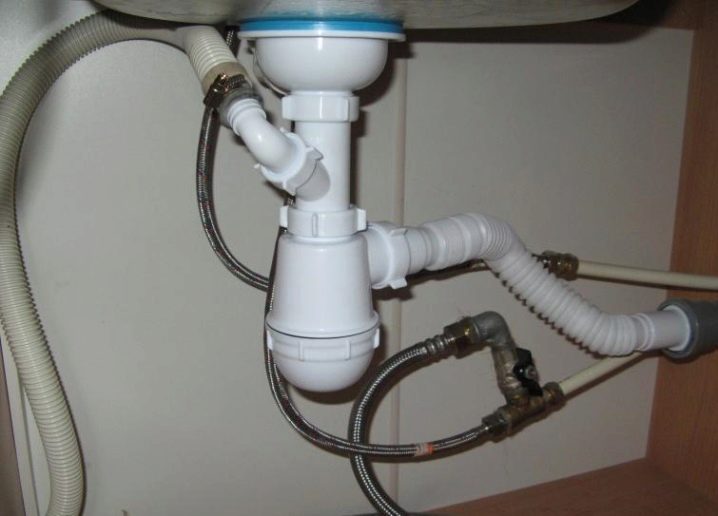
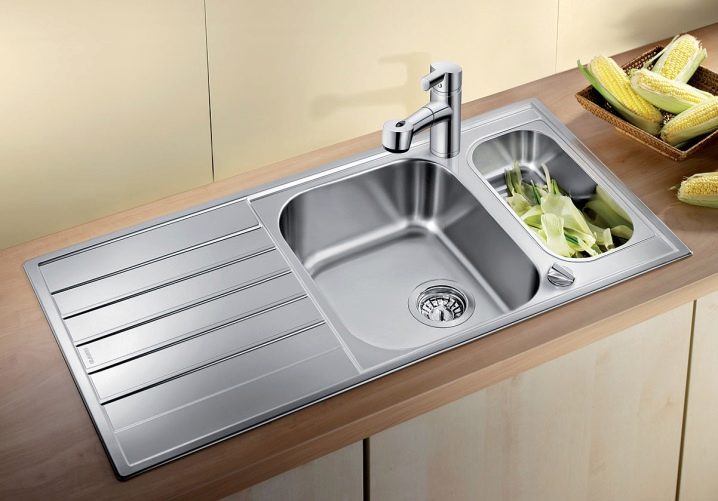
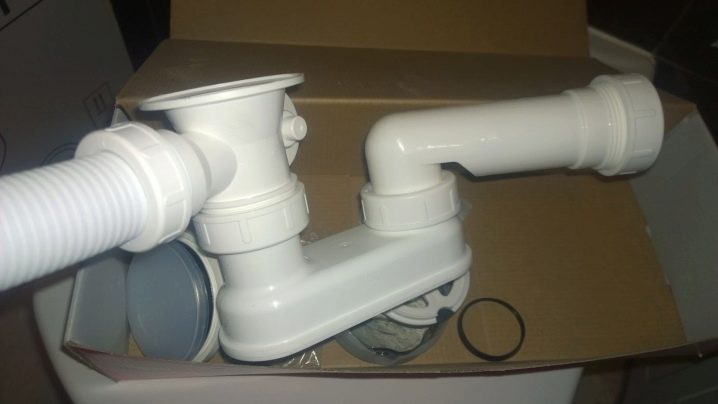
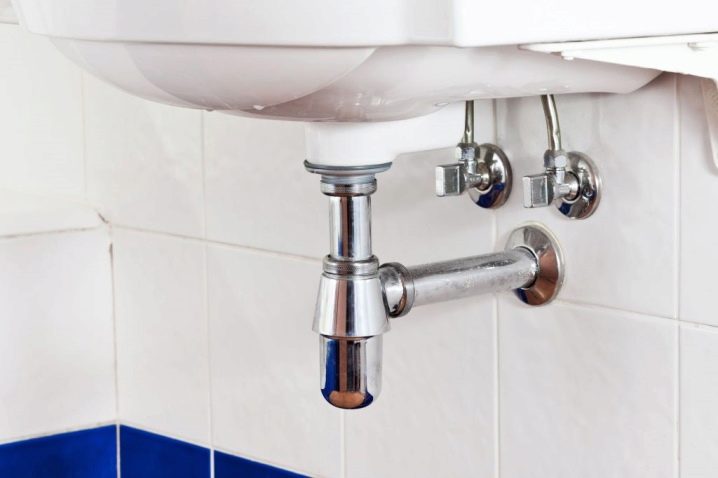
- Pipe branch. It is a tube several centimeters long, one end of which is attached to the sink.
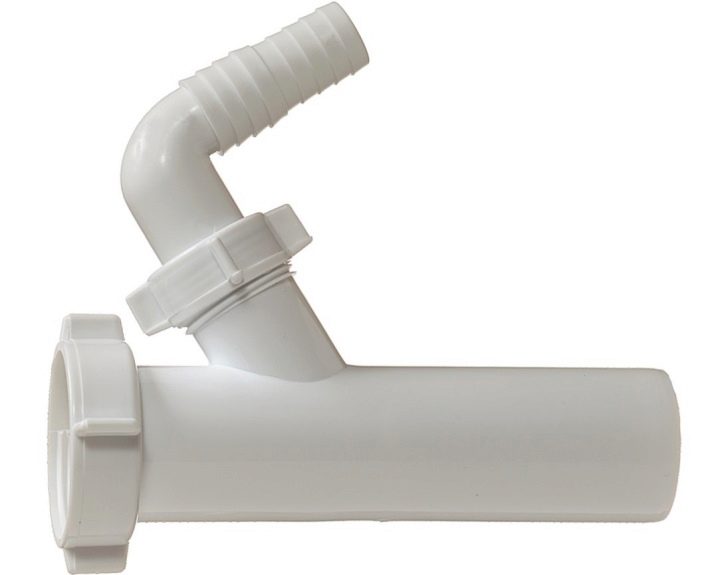
- Additional overflow connection. It is designed to connect the washing machine to a sewer pipe. Almost all manufacturers put this element as a bonus.
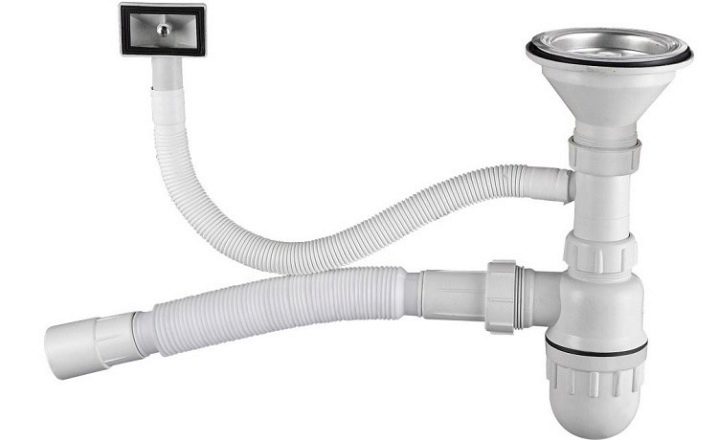
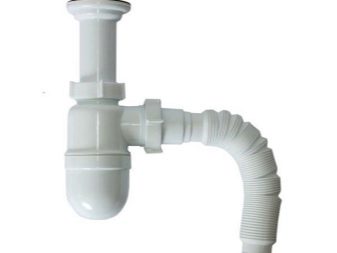
- Cup. This small container is the main component of the siphon. A water blockage forms in the interior of this reservoir. Over time, accumulated debris is easily removed thanks to the removable lid.
- Drainage tube. This branch pipe is attached to the sewer. Dirty water is drained through it.
In the modern world, there are two types of siphons: pipe and bottle siphons. The second option has become widespread in home use, since it does not take up much space and is easy to use. A huge advantage is the presence of a lid at the bottom of the siphon, through which you can get valuable items if you accidentally dropped them into the sink.
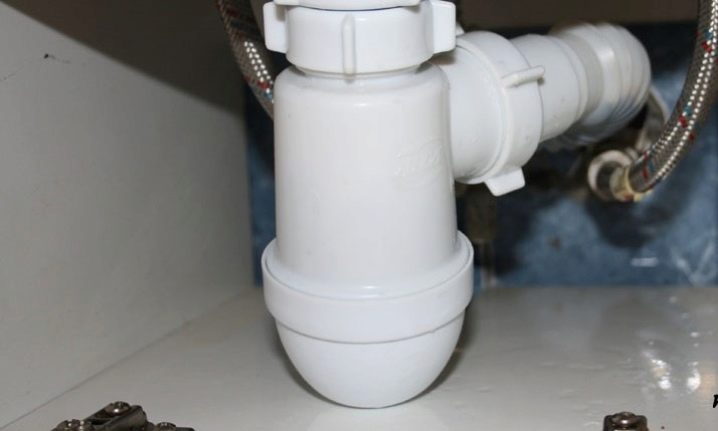
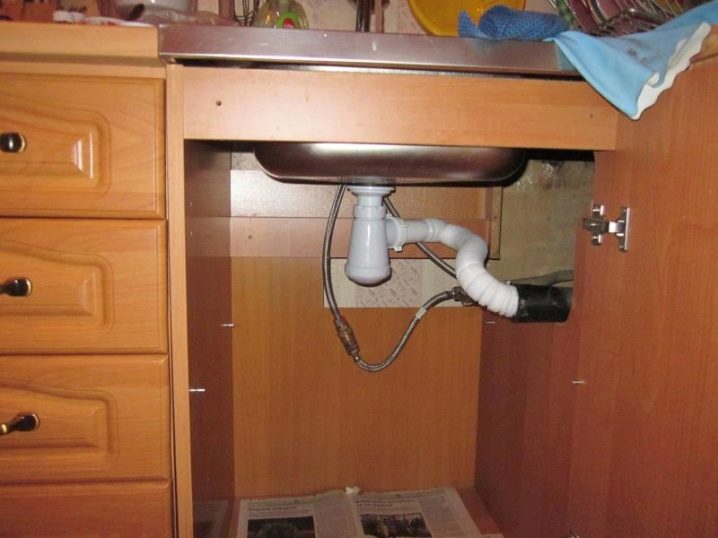
Mounting
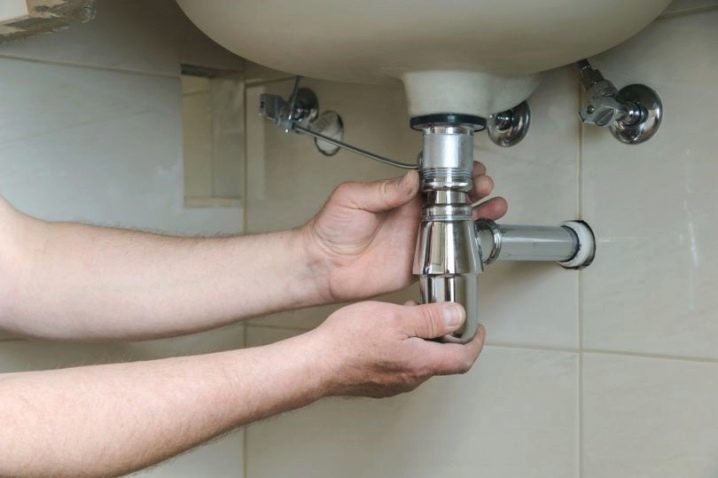
Each owner can screw the siphon with his own hands without involving a plumber.The installation should be carried out very responsibly, paying attention to every detail. Negligence will result in the appearance of constant leaks or the formation of unpleasant odors in the room due to the gaps between the components of the device.
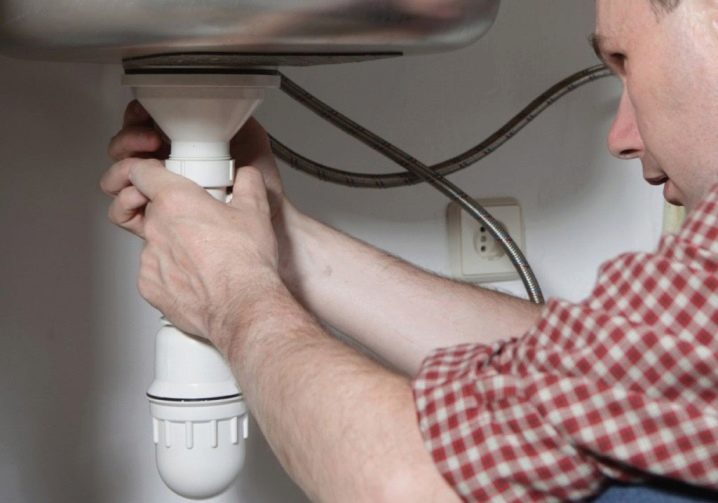
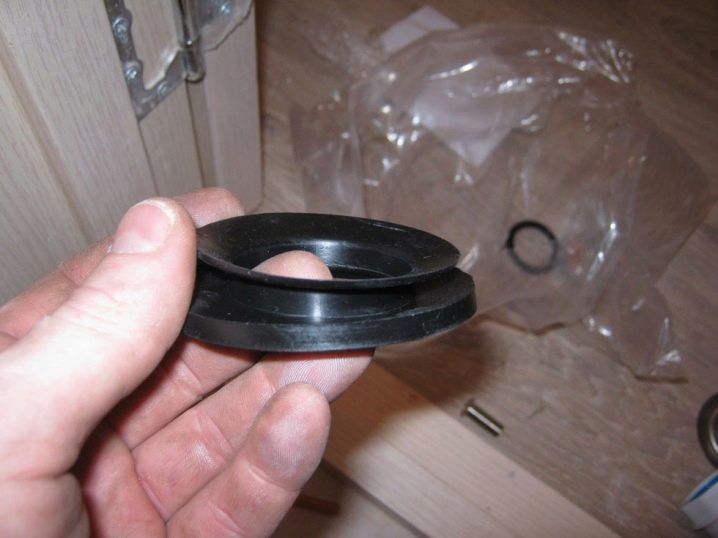
The main requirement during installation of this type is the tightness of the fasteners. Therefore, great attention is paid to high-quality fastening of components. The supplied gaskets are often either too thin or made of poor quality rubber. Therefore, it is advisable to purchase third-party gaskets.
Before purchasing, be sure to check the siphon for damage directly with the seller. Even minor chips can cause unexpected leaks.
Assembly
Each siphon model is supplied with installation instructions. This is a fairly simple scheme that allows you to assemble yourself without involving a master. But even if there is no instruction manual in the kit, a beginner will be able to figure out the details, thanks to the intuitive design. So let's take a look at the basic building rules.
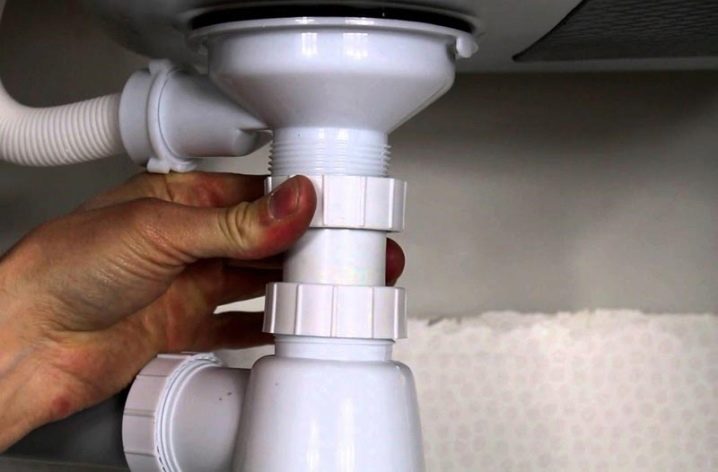
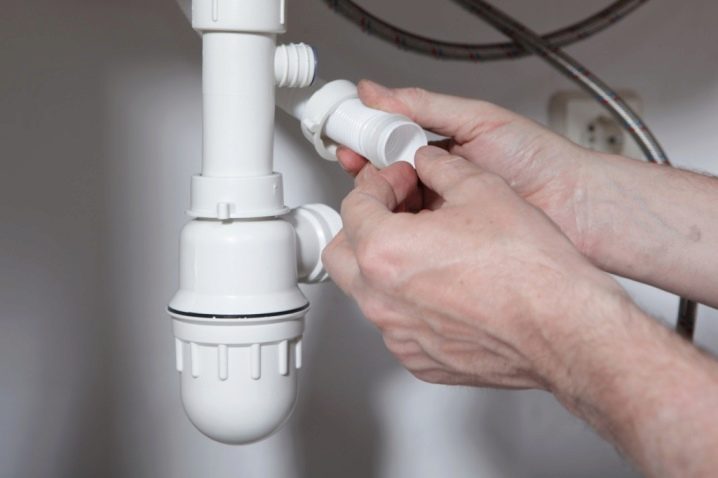
- It is recommended to install the sink siphon without using a wrench. The main thing is not to overdo it with the clamp, otherwise you can demolish the thread and render the device unusable. The nuts should be tightened to the end only with bare hands, without pressing hard on the parts.
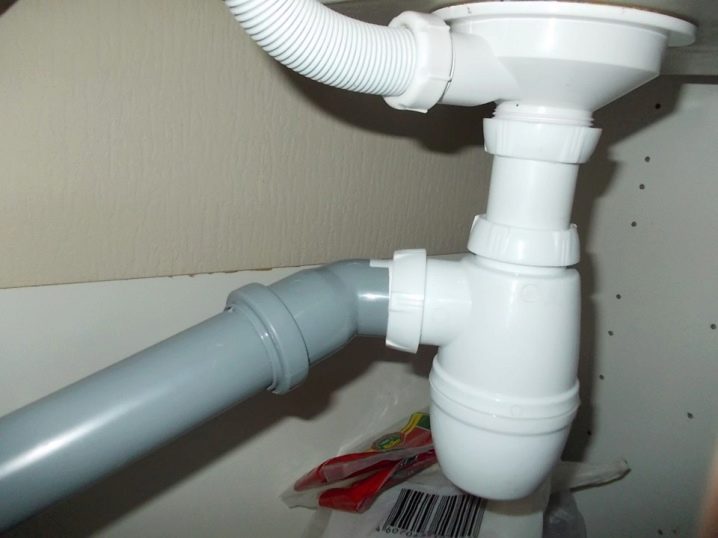
- When fixing the branch pipes, be sure to install the gaskets at the connection point. Experienced craftsmen recommend lubricating them with glue-sealant to prevent even minimal leaks.
- After completing the installation work, remove the remaining adhesive with a cloth. Wait until it is completely dry, and after half an hour try opening the water to check the reliability of the assembly.
- If you are replacing the siphon rather than installing it on a new sink, then before starting work, you should carefully remove the old one. The fastening part must be well cleaned from dirt and rust.
Please note that during the installation process you will have to open the sewer drain pipe. It is advisable to close it with a wet rag, otherwise the appearance of an unpleasant odor in the apartment is inevitable.
More expensive representatives of these devices are sold with a draft and an additional dirt filter. In this situation, you should first install this mesh, and then connect the siphon.
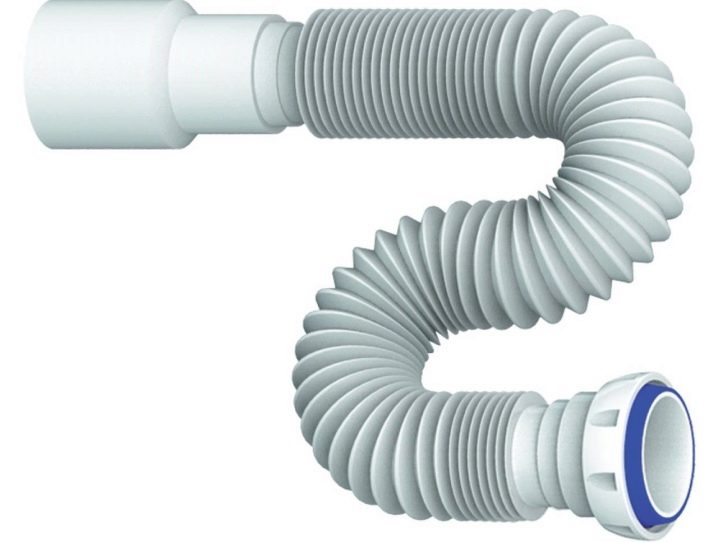
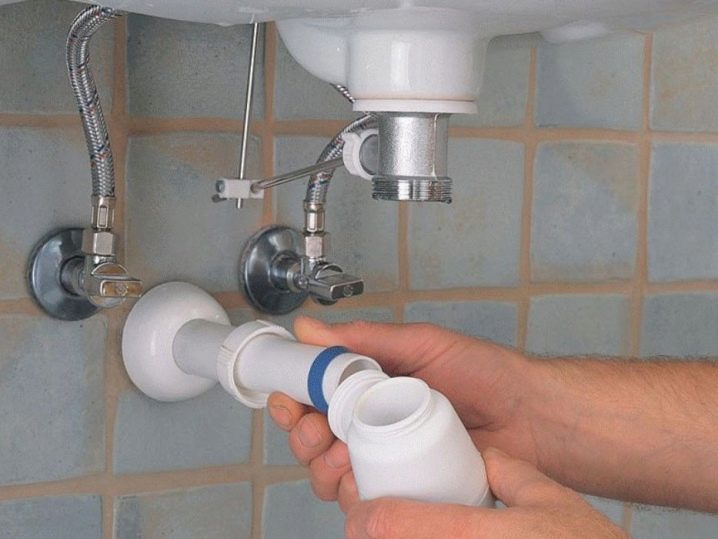
Sewer connection
For the correct installation of the siphon under the sink, the drainage pipe must be connected to the sewer using a corrugated pipe. It is quite flexible, so installation work can be carried out in the most inaccessible places. If the size of the sewer pipe turned out to be larger than the diameter of the siphon, then you need to buy a special nozzle on the pipe or use a gasket. The main thing is that the pipes are in close contact with each other, otherwise sewage odors will still seep into the room.
If, after completing the installation work during the check, you find a leak, then you should disassemble the structure and eliminate the malfunction by placing a thicker gasket and gluing it with sealant. The manipulations should be repeated until all leaks have been eliminated.
How to choose?
It is recommended that you study the points below before purchasing this attachment.
- Take into account the size of the sink hole. Each manufacturer offers products with a wide variety of mesh filter sizes.
- If you are installing a siphon in the bathroom, then it must be taken in such a way that you can connect the washing machine. Therefore, you need to purchase a structure with an additional drainage system.
- Many siphons have a function to control the height of the connecting pipe. This way you can set a convenient glass level. This is especially useful if you need to attach a siphon under the bathtub.
- Many inexperienced craftsmen do not fully tighten the thread so as not to damage it. This is not recommended.The branch pipe must be screwed in until it stops, but controlling the applied forces.

- Pay attention to the dimensions of the device. If there is always a lot of space under the sink or sink, then there may not be enough space under the bathroom. In this case, small-sized models will be especially useful.
- The option when the size of the drainage pipe is less than the size of the branch pipe is not allowed., otherwise you simply cannot insert the siphon.
- Aesthetics. If the siphon is planned to be installed under the sink, then its design does not matter. However, if, upon entering a room, the gaze immediately falls on him, then the aesthetic component is of great importance. In this case, the best option would be a chrome siphon, but you will have to overpay for the design.
- Price. Contrary to popular stereotype, high cost is not an indicator of quality here. Plastic options can last more than 10 years, and metal ones even longer. But overpaying for this option is impractical. Few people expect to use one siphon for more than 10 years, because repairs, replacement of sinks or sinks, and the like are possible.
Summing up the above, we can state that the installation of a siphon is a simple exercise. But if you do not want to study the instructions, or you do not have time for this, then any plumber can help with the installation, this will take no more than 10 minutes.
For more on the intricacies of the process of installing a siphon in the kitchen, see the video below.


The comment was sent successfully.