How to make a screen with your own hands?
Decorative partitions (screens) have been used since antiquity. But in order to enjoy such a product, it is not necessary to buy it ready-made. You just need to know how to do everything competently and quickly.
Types of structures
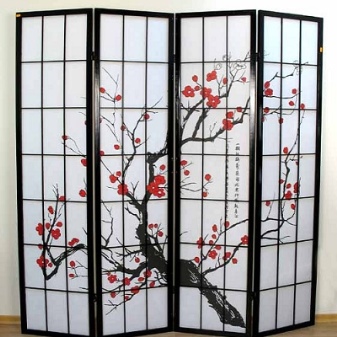
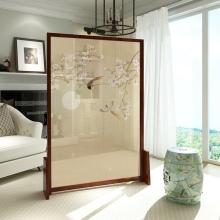
It is appropriate to start a conversation with traditional japanese screen... This style is suitable for any home, kept in the appropriate spirit. Byobu (this is how they call their classic partition in Japan) is often decorated with paintings on both sides. The image is thought out in such a way that it is comfortable to study it while sitting on the floor. This design is great for limiting a secluded space.
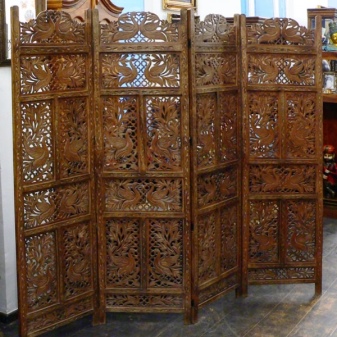
It is more difficult to imitate Indian screens. They use precious teak wood and other elite wood species.
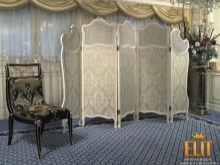
Later in Europe, the partitions were changed according to the dominant style. This is how performances appeared in the spirit:
- classicism;
- baroque;
- modern;
- provence;
- hi-tech.
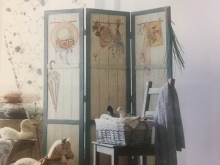
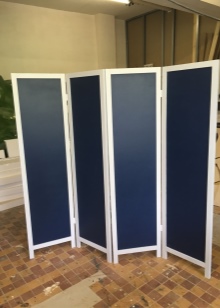
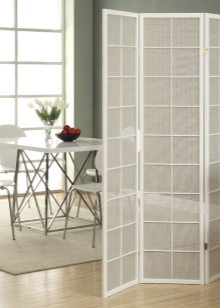
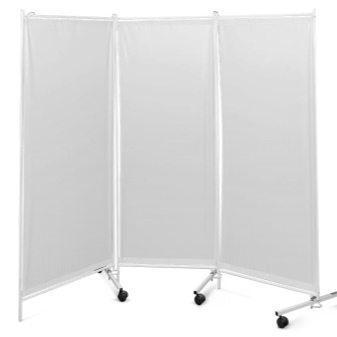
People often use folding (or rather, sliding sash) screens. They are formed by several interconnected frames, usually there are 3-8 of them. Occasionally there are more frames. This design folds like an accordion and retracts as needed. Single-screen screens (in which there is only one wide sash) are also widely used.
The material inside the sash is selected at your discretion. Most often, the product is equipped with wheels that facilitate rolling to the desired location. The "book" type construction is formed by a pair of flaps of the same size. However, some modifications may be slightly asymmetrical.
The "book" is useful for dressing up, and for festive or home photo sessions.

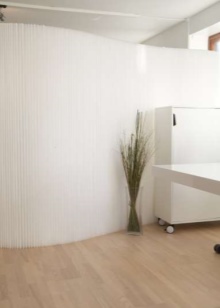
Flexible screens deserve attention. For them, a lot of long, but differing in small thickness, sections are made. Such sections are created from rails, pipes, and plates. It will be possible to deliver the finished product in the manner of a spiral or even a roll. This, of course, also makes storage and transport easier.
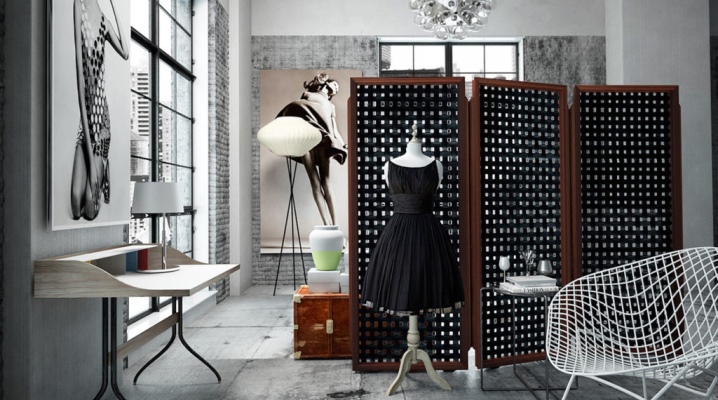
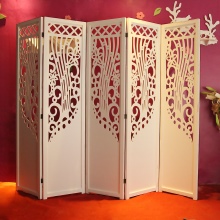
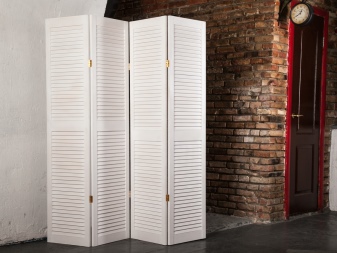
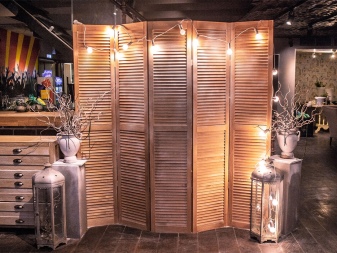
A blind screen is made from a different number of doors. But in any case, they are completely opaque. This is very convenient for all sorts of delicate things, for example, the same dressing. However, as a partition in a room, a blind screen turns out to be very good.
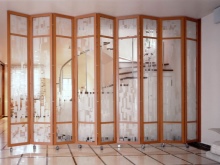
There are also transparent versions - they are used mainly for decoration and in amateur (and professional too) photography.
What materials can you make?
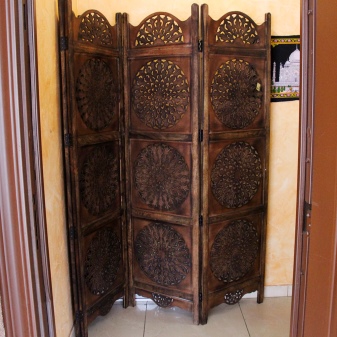
The wooden screen is a real classic. Now it is no longer possible to establish what the very first construction of this kind in history was made of. But there is no doubt that wood is traditional and was used already in hoary antiquity. Along with monolithic boards, partitions in the past were also made of slats. In the second case, various types of fabric were pulled over them - what was at hand and what they liked.
Today, wooden screens are still in demand, and the main types are still the same. But, along with simple slats, timber is often used. Plywood designs have also gained considerable popularity, since they:
- allows you to save;
- weighs relatively little;
- processed without unnecessary problems.
Design developments do not stand still. AND lately, screens from blind doors have begun to be encountered more and more often (and just out of unnecessary wooden doors). They usually still contain quite solid wood, but the structure itself is morally or technically outdated.
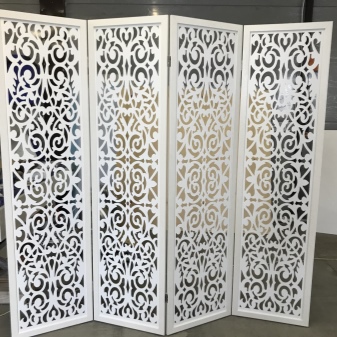
Screens with a wooden base are installed both in houses and on the street. In addition to the frames themselves, various types of decorative panels are used, which significantly improve the appearance.
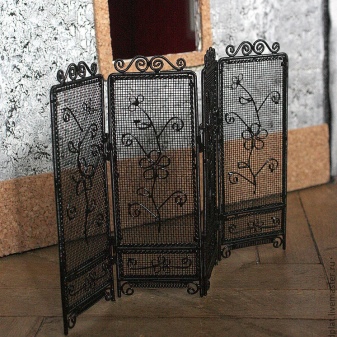
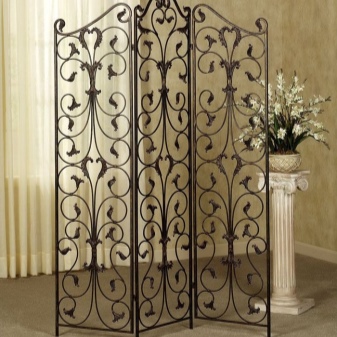
But some home craftsmen try to use metal (usually stainless steel or aluminum). In this case, you will need a frame of a certain shape. Any experienced welder can make it, although sometimes it is better to contact a metalworking company. Insert inside the frame:
- wooden panels;
- sheet glass;
- plastic.
Important: you should avoid using sheet iron, which looks bulky and deprives the room of comfort. It is much better to use a complex ornament made of forged rods.
Instead of them, medium-sized (up to 5 cm in diameter) pipes are also suitable. Tubular screens are widely used in gardens and courtyards. Regardless of the shape of the frame, it should be covered with an elegant fabric or paper with an original image.
Important: paper is used only when the screen is placed indoors or at least under a canopy. In any open place, the first rain will destroy it.
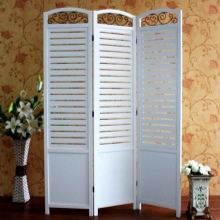
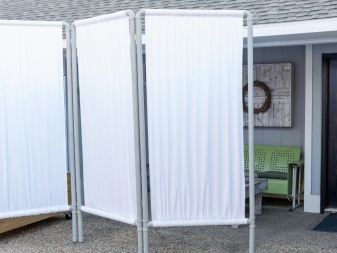
If a high-tech style is chosen, then it is logical to use blinds for framing a steel screen with your own hands. But those who want to simplify their work as much as possible should abandon metal and focus on PVC. Pipes made from this material are quite lightweight and, in addition, practical.
And you can also apply in work:
- cardboard;
- polymer panels;
- cane;
- willow or bamboo branches;
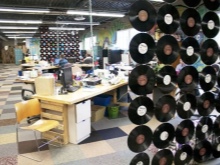
- CDs or vinyl records.

Required tools
Most often it is enough for work such a set of tools:
- drill;
- screwdriver;
- special stapler;
- roulette;
- marker;
- saw on wood;
- saw for metal;
- sandpaper of any fraction;
- paints (varnishes) and brushes for their application.


Manufacturing instruction
Consider the options for making screens from various materials.
Made of wood
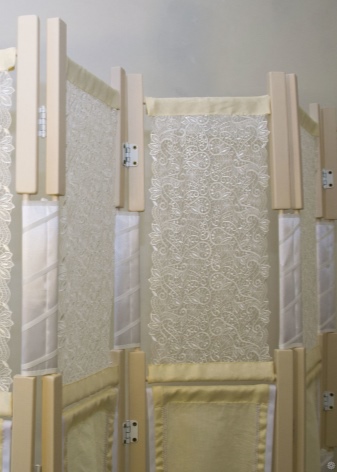
It is quite simple to make a wooden screen for a summer residence yourself. The classic version of such a product is assembled from fabric and a wooden base. The fabric is simply pulled over the frame. By varying the specific pattern and color of the canvas, it is easy to adapt the "homemade" for any room. To work with a bar, along with the tools listed above, you will need a dozen more door hinges, 96 screws, strong and beautiful fabric, universal glue, decor of your choice.
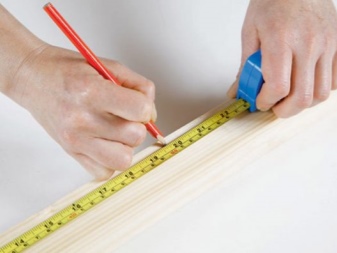
You can make a full-size screen using 24 bars 6 cm wide and 2 cm thick. Half of the bars should have a length of 1.7 m, and the other half - 0.6 m.Lines are drawn on the strips 6 cm from the edge and the excess is sawn off exactly along the marks.
Important: the cuts should reach exactly half the width of the planks - no less and no more.
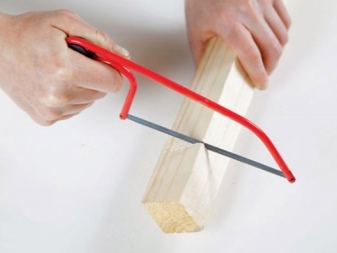
The next step in making a homemade room screen is to cut the edges of the slats with a chisel. The wood is removed in layers, up to the cuts. From the inside, the cuttings are covered with glue. After assembling them into a single frame, the entire workpiece is pressed tightly. Only after the glue has completely set can you continue to work.
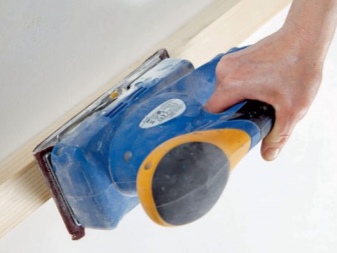
When sanding wood with emery, special attention is paid to all joints. Then the varnish is used. Note: Regardless of the number of leaves, conventional steel corners can be used instead of door hinges. The fasteners are fixed with a screwdriver. After that, it remains to decorate the screen with a cloth, choosing it at your discretion.
Be sure to make a pattern, in addition to the dimensions of the frames, take into account excesses, difficult places. The use of multi-colored and heterogeneous fabrics is allowed. In order not to sew it with your own hands and a needle, it is better to use a sewing machine. She will also help to sew the edges. The attachment of matter to the frames is performed with a construction stapler from top to bottom; at the same time, they carefully monitor that everything is stretched perfectly.
They work with the sidewalls after attaching the fabric from the top and bottom. When it's done, two hinges or corners for each joint connect the parts of the screen.It is this amount of fasteners that is considered optimal for the convenience of folding the partition.
Attention: when choosing a fabric, take into account the style of the room. The tree should be selected as carefully as possible so that there are no even small defects.
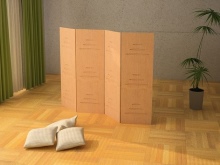
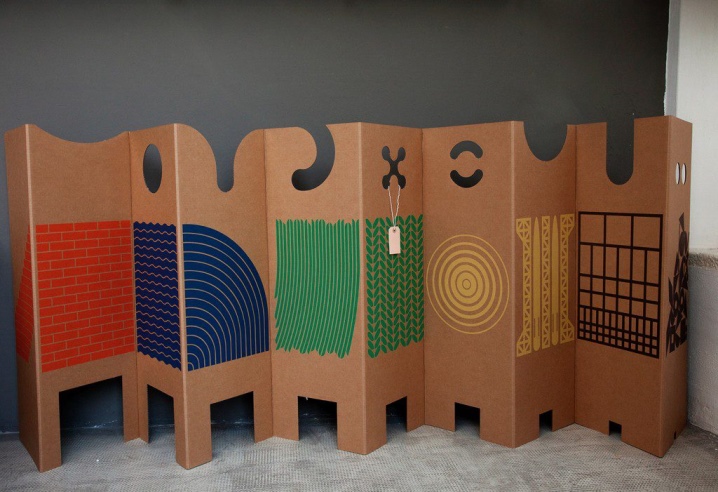
Made of cardboard
But if you need to make a screen for the bedroom yourself, then it is better to use cardboard. A mobile partition of a modular type will not externally overload the space. It is enough to cut out any details you like according to the scheme and fasten them into a single canvas. If necessary, such a screen is easy to remake at your own discretion.
Parts can be fastened not only straight or at an angle, but also in waves. The only negative: they are completely unsuitable for the street, they can deteriorate from moisture, wind and sun.
For a serious screen for a large area (in the office or in all rooms of the house at once), binding cardboard, corrugated cardboard are used. The color of the starting material is irrelevant. For the support part, high-density cardboard is used.
Another option is to use a TV box, refrigerator or washing machine. Then the sidewalls are cut off and the place where the first and fourth faces meet. The second of the three seams of the rectangle is bent in the opposite direction to ensure the rigidity of the screen when unfolded.
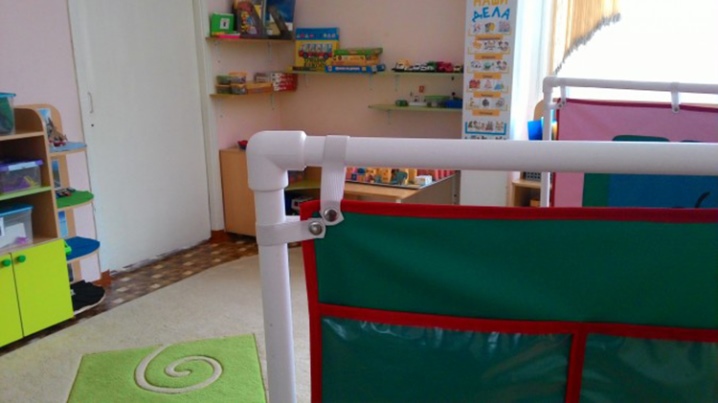
From plastic pipes
The creation of a screen made of PVC and polypropylene pipes does not have any significant differences. It can be any pipes - heating, plumbing, sewer - as long as they are strong. Such products are suitable for mobile and fixed, transparent and opaque partitions. The transparent version involves fastening the pipes together and pulling light matter on them. Sometimes they even take starched gauze.
The pipes can be connected in a flanged way, that is, with fittings. Before starting work, the edges must be cleaned. Putting the fittings on the cuts, put on a gasket with a rubber layer inside, and the flanges are already pulled over this gasket. Sometimes counter bolts and counter flanges are used.
Important: all fasteners should be tightened uniformly, otherwise the reinforcement will not fit. If necessary, the structure can be easily disassembled. But when assembled, it is extremely stable.
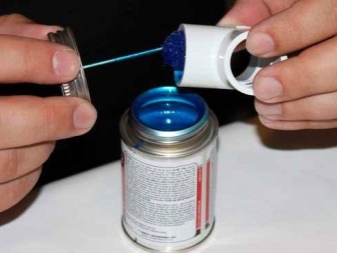
An alternative is to glue the pipes. All connected elements are freed from chamfers, and then covered with special marks. From the markings, it is easy to understand to what depth to screw the flange. Of course, 100% of the parts are degreased. Glue is applied to the clean surface from the inside of the socket, to the chamfers and pipes. Then the pipes are inserted into sockets or fittings, unfolded by ¼ of a turn and clamped for 60 seconds.
Attention: all these manipulations must be done as quickly and accurately as possible; any excess glue is removed immediately. The glue will dry in a few hours. Despite the laboriousness, this method of creating a wireframe is slightly more reliable than the previous method.

There is another option - the use of a rubber seal. It is available at any socket at the end. The rubber seal allows the pipes to be connected quickly, easily and absolutely tightly.
The surfaces need to be cleaned as best as possible. On a smooth area, get rid of the chamfer. Then a mark is made to show how deep the pipe will go into the socket. All smooth spots are coated with silicone. Further, the structure is assembled. Despite the simplicity and ease of dismantling, such a product will not be particularly durable.
If the screen will be made with wheels, they are attached to self-tapping screws. It is advisable to use a weighting agent that is placed on the bottom of the base. It must be fastened with self-tapping screws and holders. Flanges for inserting pipes are placed on top. There are several more vertical elements above the horizontal pipe; when the assembly is complete, the structure is often painted.

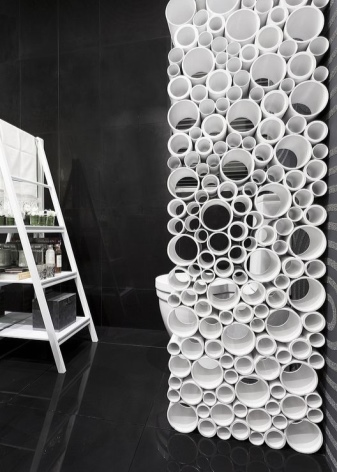
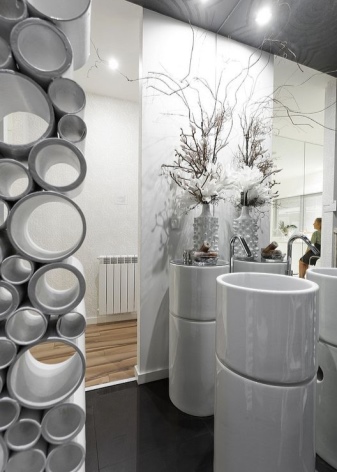
An interesting option is plastic screens made of pipes cut into rings.
Important: whenever possible, it is better to cut pipes to size on special machines. The width of the plastic screens is approximately 5 cm.If it should be less for some reason, you will need to work with an improvised tool. It is recommended to mark on the surface every 5 cm. The workpieces are clamped in a vice and cut with a hand saw.
Next, you need to align the edges perfectly. The best tool for this purpose is the iron. They need to work through confectionery paper.
Important: the paper is removed immediately, otherwise it will be impossible to remove it. The rings are connected with glue; before that, the workpieces are laid out on the floor in order to clearly see what to do with what and in what order.
Rings must be placed from larger to smaller; the pattern is selected to your liking. The edges are usually flattened, but they can be bent. Of course, all this is thought out in advance. Apart from their structural role, the rings are suitable for storing small items. The screen itself is made both mobile and fixed to the wall.
An alternative version of a plastic screen consists of the following parts:
- a set of wheels for furniture;
- steel pipe as a weighting agent;
- pipes on the frame;
- paints and brushes;
- fasteners;
- flanges;
- board.
The frame is assembled in the same way as in other options. Attention should be paid to choosing a good paint. Before applying it, all surfaces are degreased and cleaned. All metal parts are covered with anti-corrosion protection. The finished structure is easy to repaint.
For information on how to make a screen with your own hands, see the next video.
Partition decoration
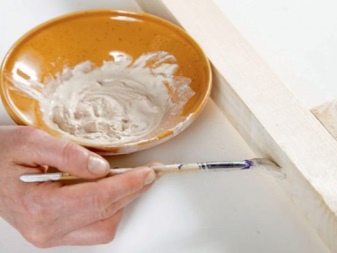
If the screen was not painted or varnished, then it should be painted with acrylic paint in two layers. If the material was previously trimmed, the wood is sanded. With cardboard, everything is much easier - you can paint right away, as long as there is a clean surface. Sometimes matt varnish is used to fix the painted layer. However, it can be discarded if the partition will be used only at home.
You can attach laces with a construction stapler. For your information: it is better to stretch the canvas so that there are no bubbles. Usually, all the doors are decorated with the same fabric.
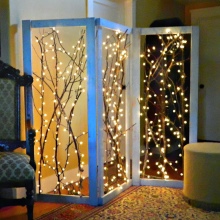
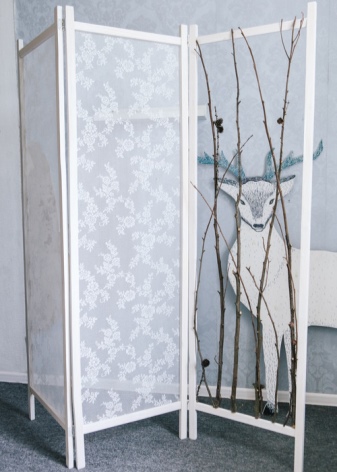
A more interesting idea, however, would be to decorate the partition with twigs. They are glued with a glue gun.
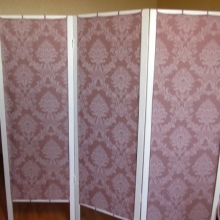
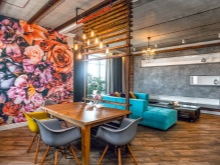
Sometimes the screen is covered with a plain fabric and covered with a stencil pattern. Most often, floral motifs are used. Do not worry if the flowers around the perimeter are slightly smeared. You can increase the picturesqueness of the drawing if you put the stencil sheet in a new direction every time. The stencil is prepared independently using a sharp wallpaper knife. It is dyed with a common textile dye.
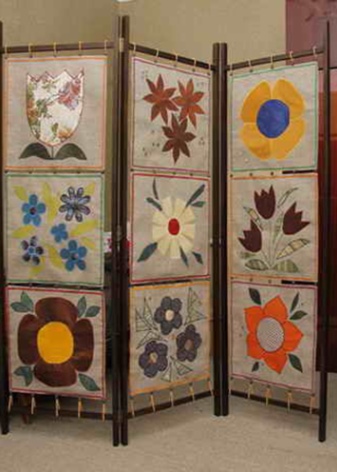
The use of soft fabric appliqués is recommended. Most often these are the same flowers. They can be made from gauze.
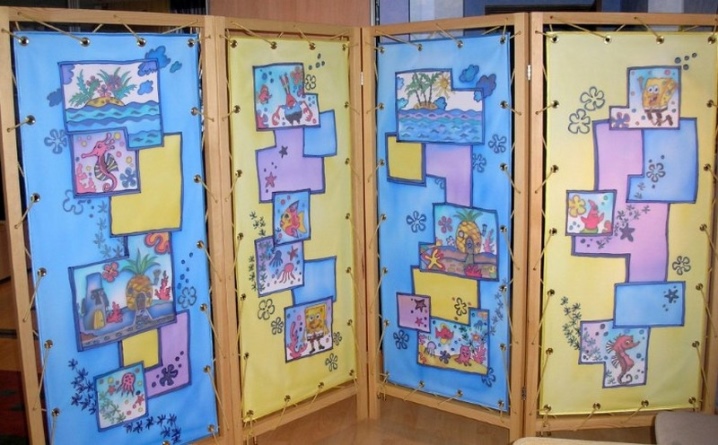
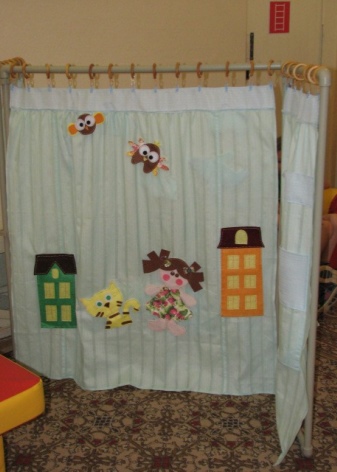
The partition in the nursery is usually decorated with cute animal figures or cartoon characters.
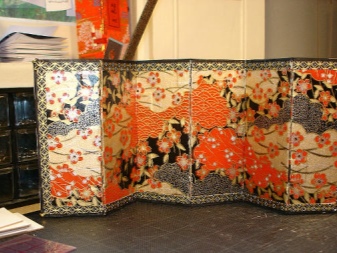
Screens in Japanese and Chinese styles make them look as luxurious as possible. Not only the fabric, but also the depicted plots are selected in an appropriate way. A logical step would be to use images with a national flavor. Pagodas and rice fields, hieroglyphs and mysterious mountains, Buddhist symbols and the rising sun - there are a lot of options. In addition to painting, you can also use a thematic application.
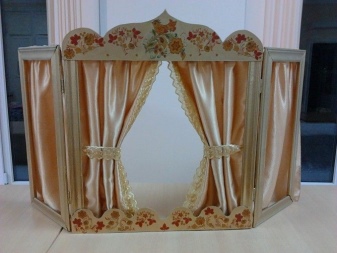
Screens for home puppet theater are made the more colorful the better. This applies not only to fabrics, but also to paints. The "roof" with triangular teeth of different tones will look quite appropriate. But whether to do it - everyone decides on their own.
In a Provence style kitchen, a partition imitating a pergola will look appropriate. It is airy and much simpler than the ones described above, made from stained brown strips.
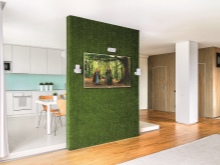
An alternative can be a screen imitating a "grassy lawn". Its rich, rich color catches the eye and attracts attention.
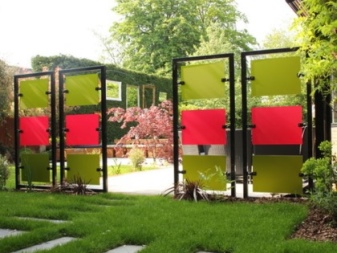
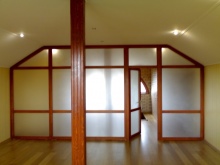
But there is another option - a partition of complex shape (fixed) with heavily tinted glass and a wooden frame. There is no need to decorate it additionally - it will become an ornament in itself.


The comment was sent successfully.