Armstrong suspended ceiling: pros and cons
Armstrong suspended ceilings are a versatile finish suitable for offices and shops as well as living spaces. Such a ceiling looks beautiful, is mounted quickly, and is relatively inexpensive. I would like to say right away that manufacturers often say that Armstrong is a new word in design, but this is not so.
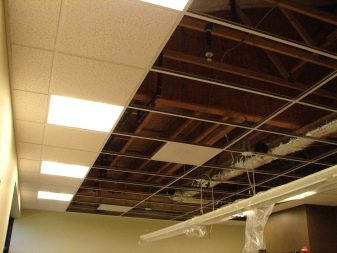
Cassette (tile-cellular) ceilings were widely used in the Soviet Union, however, not in residential, but in industrial premises. Under such ceilings, it was possible to successfully hide any communications - wiring, ventilation.
Let's take a closer look at the characteristics of Armstrong ceilings.
Peculiarities
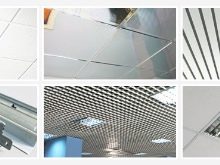
Armstrong suspended ceilings can be roughly divided into five main classes. To understand what materials you will be dealing with, ask the seller for a manufacturer's certificate. It must indicate all the technical characteristics of the ceiling tiles.
Such coatings are divided into the following types:
- Economy class... As plates, mineral-organic plates are used, which do not have such advantages as moisture resistance or thermal insulation. True, they cost a little. Most of the economy class models have a wide range of colors and look neat and beautiful. The main thing is not to use them in damp rooms.
- Prima class ceilings... Excellent technical characteristics - moisture resistance, durability, strength, combined with a variety of colors and reliefs. Such plates are made from metal, plastic, acrylic and other durable materials. Manufacturers give a guarantee for such products for at least 10 years.

- Acoustic... Such ceilings with a slab thickness of up to 22 mm are needed where it is necessary to provide noise reduction. These are reliable, robust ceilings with a long service life.
- Hygienic... They are made of special moisture resistant materials with antibacterial properties.
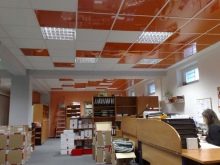
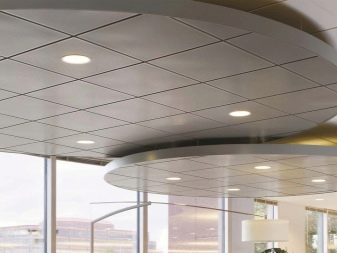
- Special category - designer ceilings... They can be very different and from materials with a wide variety of textures.

Armstrong ceiling slabs also differ in the way they are installed: the classic way, when the slab is inserted from the inside into the frame, and the modern option, when the slabs are installed from the outside (they snap into the frame with light pressure).

Advantages and disadvantages
The Armstrong ceiling has many benefits:
- a huge variety of panels for suspended ceilings allows you to choose the right color, texture, thickness and size for any room;
- this finish is perfect for a large room;
- the ceiling will perfectly cope with the insulation of the room, since light insulation can be laid in the space between the main ceiling and the suspended one;
- the moisture resistance of the ceiling depends on the quality of the tiles. Most of the ceilings of the Prima class are not afraid of humidity;
- if your ceiling is not perfect and there are cracks, seams, height differences and other defects on it, then Armstrong finish will be an excellent solution to the problem;
- wiring, ventilation and other communications are easiest to hide in the Armstrong ceiling structure;
- the installation of a suspended ceiling can be done by yourself;
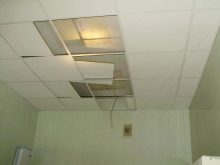
- if any of the tiles is damaged, then you can replace the element yourself;
- the finishing materials used in the construction of the Armstrong ceiling, in their overwhelming majority, are easy to clean and even wash;
- tiled panels are environmentally friendly and safe for humans.Neither plastic nor mineral panels emit harmful substances, do not smell or deteriorate from exposure to heat or sunlight;
- the design does not exert unnecessary pressure on the floors;
- Armstrong ceiling has good sound insulation characteristics.
Of course, this finish also has some disadvantages:
- in terms of style, it is not always suitable for finishing an apartment or a private house, as it looks like an "office" one;
- the use of cheap materials will mean that the panels will not last long. They are easily scratched or damaged by any accidental impact;
- the ceiling construction will inevitably "eat" part of the height of the room.
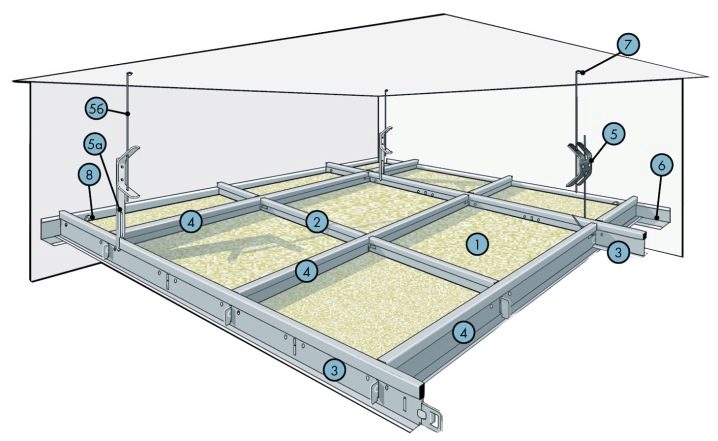
Device
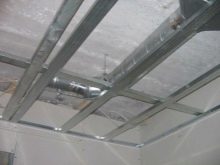
The ceiling device is a suspension system consisting of a frame, a suspension system and tiles. The frame is made of light alloys, the total weight will depend on the area of the room (the larger the area, the heavier the structure), but in general, the load on the floors is very small.
The structure can be mounted on almost any ceiling.
The height of the room plays an important role.
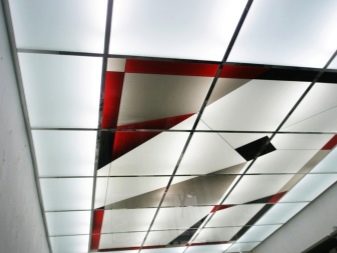
remember, that Armstrong ceiling will "eat" at least 15 centimeters in height. Designers recommend using suspended ceilings in rooms with a height of at least 2.5 m... If they are a necessity in a small, low room (they hide the wiring or ventilation), then be sure to consider using mirrored panels. Mirror panels will visually increase the height of the room.

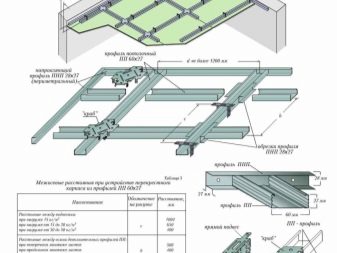
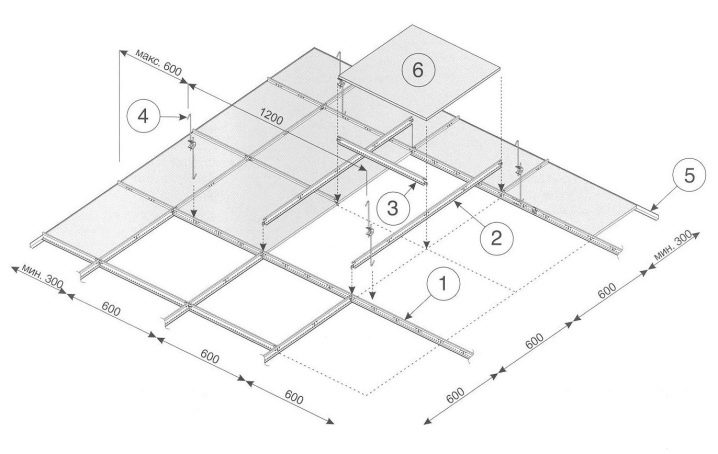
The technical characteristics of the elements of the suspension frame are as follows:
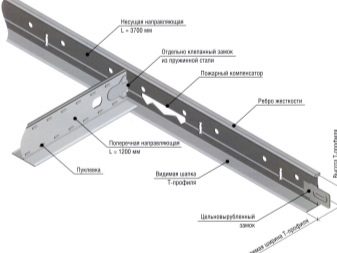
- bearing profiles of type T15 and T24, length in accordance with GOST 3.6 meters;
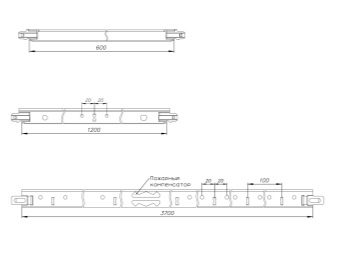
- transverse profiles of type T15 and T24, length in accordance with GOST 0.6 and 1.2 meters;
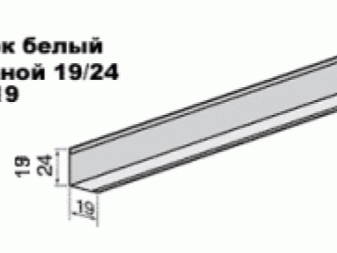
- corner wall profile 19 \ 24.
The suspension system consists of:
- Spring loaded spokes (strings) to support the profiles with which the frame height can be adjusted. Standard knitting needles (strings) are of two types - knitting needles with an eyelet at the end and knitting needles with a hook at the end.
- butterfly springs with 4 holes.
After installing the frame and the suspension system, you can fix the most important part - the plates (trim). Slabs can be of different sizes, but most often there are standard square 1 m².
Fastening
The ceiling consists of a set of elements (profiles and panels) that can be easily connected together. Therefore, for such a ceiling, the size does not matter, difficulties can arise only with non-linear shapes of rooms. Correct fastening of aluminum or galvanized profiles to walls and ceilings is the key to the durability of the entire structure. There is nothing complicated here, but it is worth dwelling on some details in more detail.
The toolkit you may need is small: pliers, perforating drill, metal scissors, dowels and a hammer... The profile length usually does not exceed 4 meters. By the way, if you require shorter (or longer) profiles, then you can almost always order them from a seller or manufacturer, in this case you do not have to bother with cutting or building up.
It is important to understand that different materials of the base ceiling dictate to us the choice of different fasteners.
So, stone surfaces or silicate blocks require the use of dowels of at least 50 mm. For concrete or brick floors, 40 mm dowels with a diameter of 6 mm are suitable. It is easier with wooden floors - a suspended frame for such a ceiling can also be fixed with self-tapping screws.
Fastening the plates is not difficult even for a novice master. Before installation, it is recommended to check all the angles between the guides (they should be exactly 90 degrees)... After that, the panels are installed, leading them into the hole "with an edge". Next, we give the panels a horizontal position and carefully lower them onto the profile.
note that if the edges of the slabs were visible, then this indicates errors when installing the frame... Unfortunately, it often happens that the slabs need to be cut.


The installation of such plates must be done at the final stage of work, when all the rest are already in cassettes. Make sure that the wall edge is even, and if necessary, use a ceiling plinth. He will give completeness and accuracy to the entire structure.

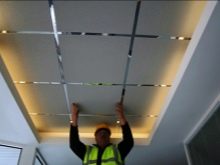
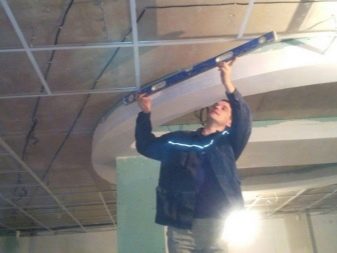
Frame installation and assembly
Most often, installation is carried out by firms selling suspended ceilings, since they include this service in the cost of the entire structure. Nevertheless, many home craftsmen take up the installation of the Armstrong ceiling with their own hands.
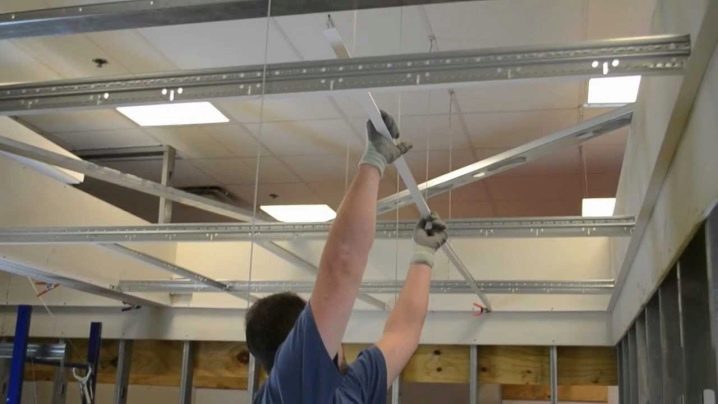
We offer you step-by-step instructions for installing a false ceiling, which will help you easily master the preparation technology and quickly assemble the structure:
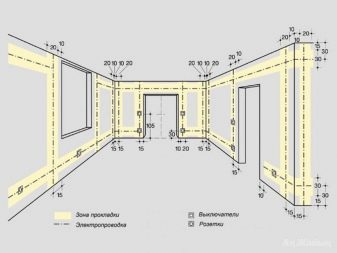
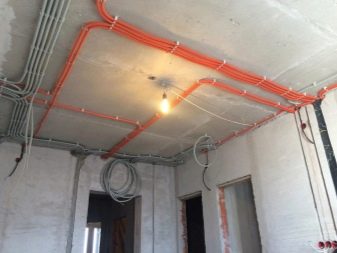
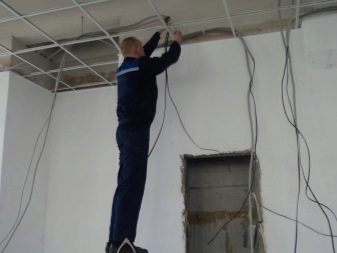
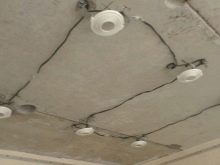
- Before starting the installation of the ceiling, it is necessary to complete all work on laying communications.
- Start the installation by marking out the starting point. To do this, from the lowest corner downward, mark the distance corresponding to the height of the suspension structure. The minimum indentation is 15 cm. It all depends on the size and number of communications that will be hidden inside the suspended structure.
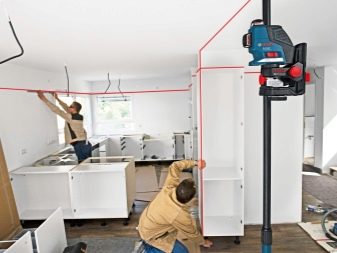
- Now you need to install an L-shaped profile with a section of 24X19 along the perimeter of the walls. To do this, we make markings using a chopping cord. It is not difficult to do it yourself - you need to smear the cord with a special coloring element (you can use ordinary graphite), attach it to the marks in the corners and “beat off”. We can now see the level of our new ceiling.
- The starting profile (corner) is attached to the wall with dowels, which must be selected depending on what material they will be installed in - concrete, brick, wood or stone. The distance between the dowels is usually 500 mm. In the corners, we cut the profile with a hacksaw for metal.
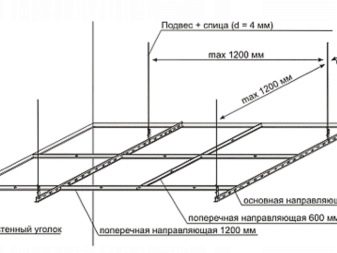
- The next step is to define the center of the room. The easiest way is to pull the ropes from opposite corners. The intersection will be the center of the room.
- We set aside 1.2 meters from the center in each direction - bearing profiles will be installed in these places.
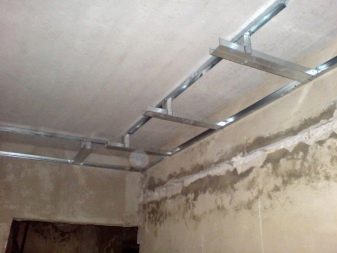
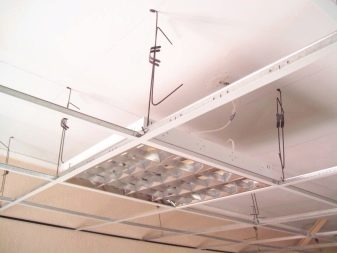
- Fastening of T24 or T15 bearing profiles to the ceiling is carried out using suspensions. The length of the bearing profiles is standard - 3.6 meters, but if this length is not enough, then the profiles can be connected using special locks.
- After the bearing profiles are fixed, we begin the installation of the transverse ones. For this, there are special slots in the bearing profiles, where it is necessary to insert the transverse ones. By the way, they can be either short (0.6 m) or long (1.2 m).

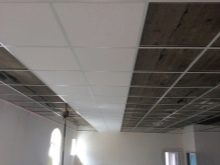
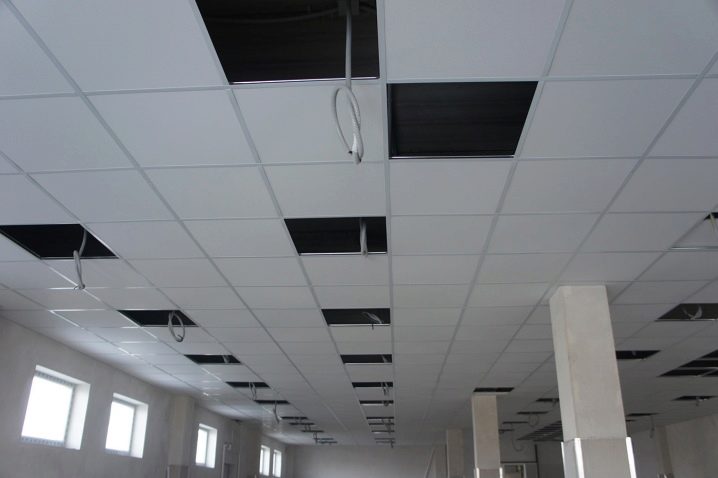
The frame structure in the form of cells with cells is ready, you can install tiles. The technology for installing tiles is generally simple and described above, features are only available for the installation scheme for closed-type ceiling tiles. For such ceilings, special profiles are used (with a hole in the lower profile shelf).
The edges of the panels are inserted into it until a characteristic click. Plates can be moved along profiles.
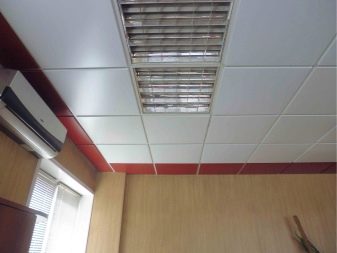
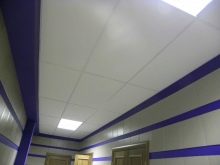
If you need to install lamps in the suspended ceiling, then you should determine the need to install lamps of that particular type (rotary or fixed), their power and the general style of the room. If you decide to use rotary lights, then it is recommended to “assemble” all the wiring and the lighting fixtures themselves before installing the plates. However, today there is a large selection of built-in lighting devices - they replace a number of panels... Installing pre-fabricated recessed luminaires is straightforward and generally similar to installing a tiled finish.
Calculation of materials
You should start by calculating the length of the wall angle. We add up all the lengths of the walls where the corner will be attached. Don't forget to add overhangs and niches. The amount must be divided by the length of one corner. For example, if the perimeter of the room is 25 m, and the length of one profile is 3 meters, then the number of corners we need will be equal to 8.33333 ... The number is rounded up. Bottom line - we need 9 corners.
The drawing of the guides (main and transverse) is of great help in the calculations - you can see the direct arrangement of the elements.
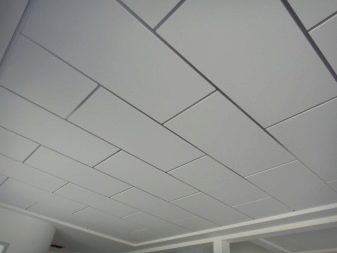
It is good if the frame of the harness contains an integer number of cells, but this rarely happens. Sometimes designers use a "trick" with components of different sizes, placing, for example, large identical panels in the center of the room, and small panels along the perimeter of the walls... But if you are hanging the structure yourself, then you just have to place the trimmed elements at one or both ends of the room.
In order to decide where your "incomplete" cells will be located, you need to divide the ceiling area into squares right on the diagram. Standard cells - 60 sq. cm... Count the number of squares you get, including "incomplete cells". Subtract the number of panels for which the fixtures will be installed.
Now you can calculate the number of guides that will be located across the room, starting from the wall. If you see that the length of the room is not divisible by an even number of guides and you have a small piece, then it is necessary to try to place "incomplete cells" on the side where they will not be conspicuous.
If working with a drawing is difficult, a simple formula will help. It is necessary to calculate the area of the ceiling (multiply the length by the width).
For each element of the ceiling, we will need an individual coefficient.
The coefficient for the tile is 2.78. For the main profile - 0.23, and for the transverse - 1.4. Suspension coefficient - 0.7. So, if the area of the room is 30 meters, then you will need 84 tiles, while the thickness does not matter.
According to the size of the entire ceiling, the number of lamps is also calculated. Standard - one by 5 square meters.
Accommodation options
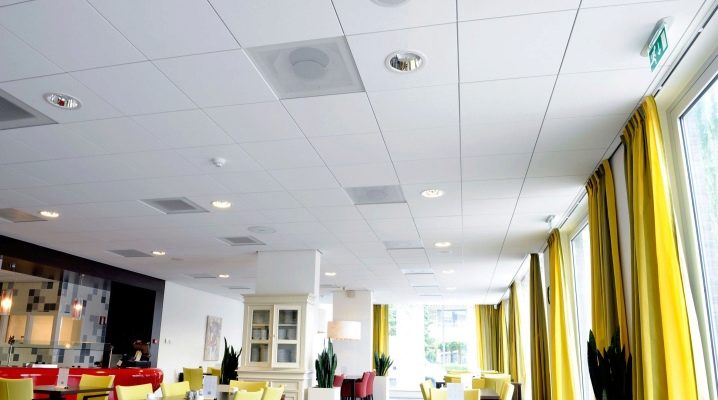
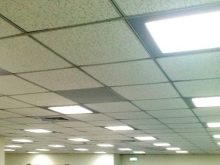
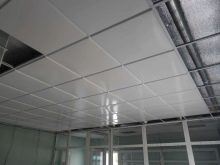
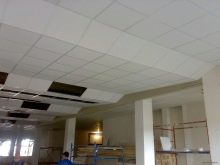
Armstrong's ceiling design is versatile and suitable for placement in both public buildings and private homes and apartments.
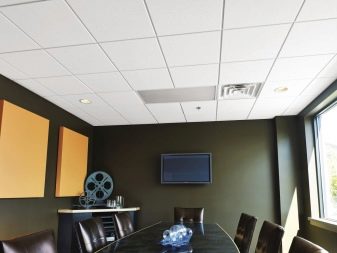
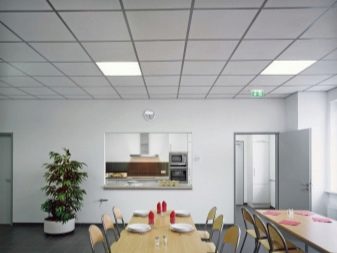
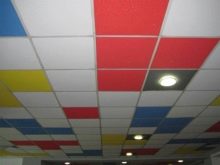
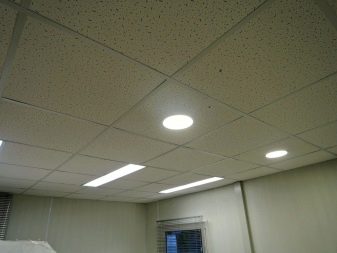
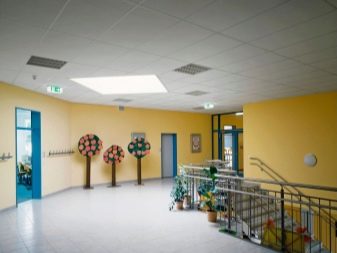
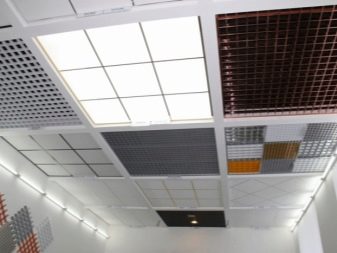
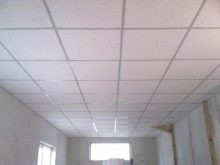
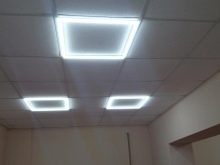
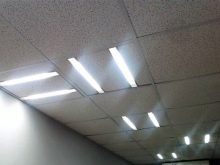
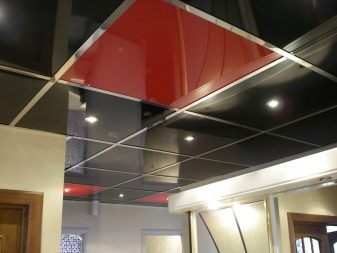
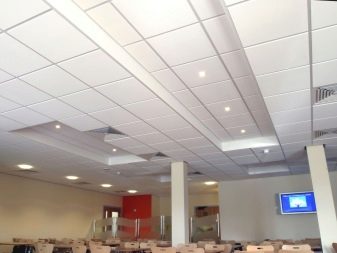
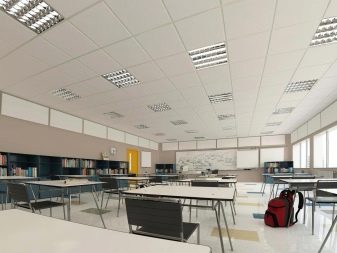
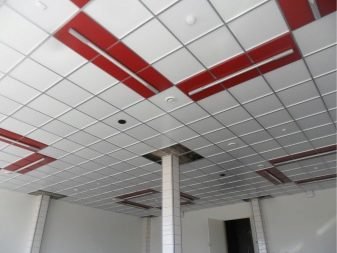
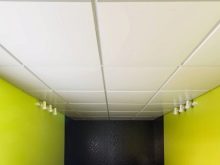
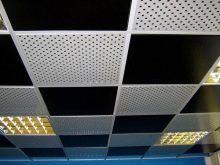
Offices and shopping malls with large spaces, hospitals and schools - Armstrong ceilings will serve you faithfully in these spaces for many years to come. The placement of the plates is usually standard - they are all the same and alternate only with lighting elements. Sometimes you can find a checkerboard or linear combination of matte and mirror surfaces.
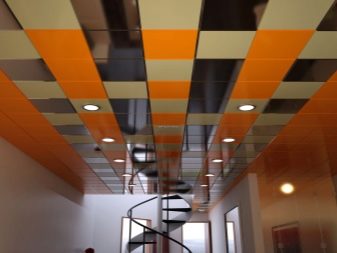
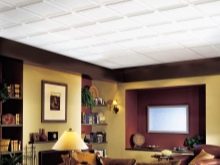
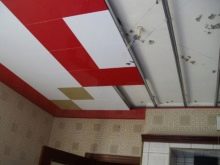
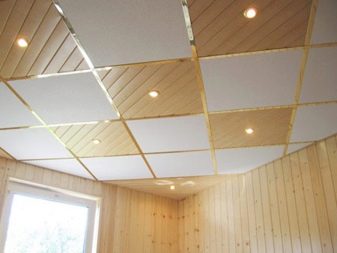
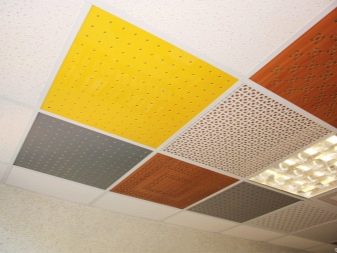
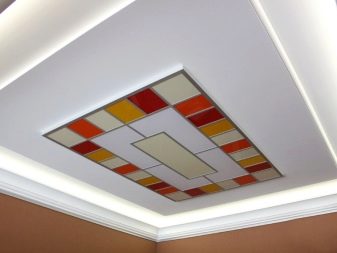
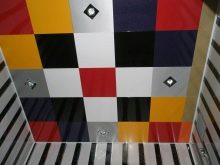
Placing finishing slabs in living quarters allows you to experiment with textures, colors and sizes. In modern interiors of kitchens and bathrooms finishing with plates of contrasting colors is popular, for example, black and white, blue and orange, yellow and brown. Combinations of gray and white also do not go out of style. The placement of tiles in Armstrong's design can be anything - "checkerboard", chaotic color spots, lighter slabs around the lamps, lighter tiles in the center and darker at the edges - the complexity of the overall tiled pattern is limited, perhaps, only by the size of the room.
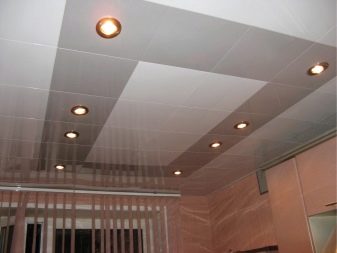
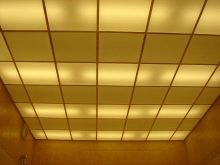
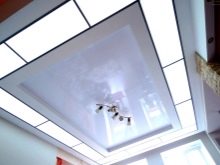
For bedrooms and halls, a combination of mirror and ordinary tiles is suitable. Illuminated acrylic tiles from the inside will look spectacular.

Helpful hints
- when installing plates in cassettes, carry out all work with clean cloth gloves, as hand stains may remain on the plates;
- a crooked or unevenly lying slab must be lifted and laid again, but it is impossible to press the slabs against the suspension elements - the finishing material may break;
- heavy luminaires are best installed on their own suspension systems;
- as soon as the luminaire is installed, you must immediately connect the wiring to it;
- built-in lamps require an increase in the number of conventional suspensions;
- if the ready-made fasteners are too large, then they can be replaced with homemade ones;
- it is preferable to install a washable ceiling in kitchens;
- the Armstrong ceiling is perfectly combined with the insulation of the house, for which any light insulation is laid between the base ceiling and the suspended one.
You can see the installation process of Armstrong suspended ceiling in this video.


The comment was sent successfully.