Backlit two-level ceilings: their device, pros and cons
In an effort to stand out, people often seek out-of-the-box solutions. This also applies to the design of ceilings - the structures are becoming more complicated, they use different types of lighting fixtures. However, before choosing one or another option, you need to carefully consider all the pros and cons of each of them.

Advantages and disadvantages
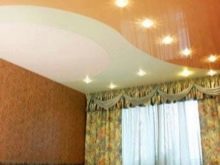
A two-level backlit ceiling is one of the options for volumetric structures, a distinctive feature of which is the height difference.
Compared to the traditional ceiling design, two-level structures with built-in lamps have a number of advantages:
- originality;
- room for design solutions (in addition to lighting, decorative elements can be the form of structures, images, perforation, etc.);
- masking irregularities, ventilation ducts, cables, wires, lamp holders;
- the ability to install additional light sources;
- dividing the room into functional areas.
The disadvantages of this design include:
- high cost;
- reducing the volume of the room with each additional tier (therefore, this option provides for a height of at least 2.5 meters).
Views
The shape of any of the tiers of the structure can be:
- rectilinear (square, rectangular);
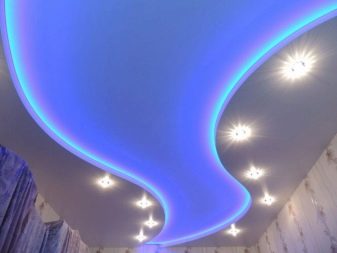
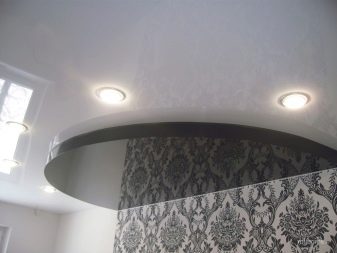
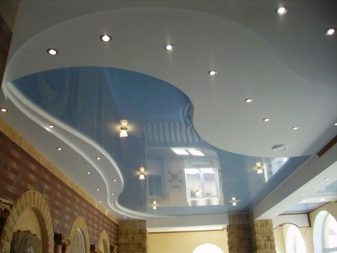
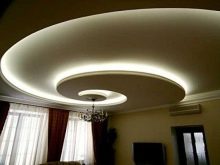
- curvilinear (round, oval or arbitrary).
The lower level can overlap the upper one to varying degrees (slightly go over its edges, cover a significant part of it, or even cross it across). It all depends on the set concept of the interior, the designer's imagination, financial and technical capabilities.
All bunk ceilings with the possibility of installing lamps can be conditionally divided into three types:
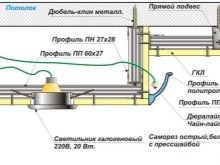
- Suspended. They are based on a metal frame. It is usually sheathed with plasterboard (less often plastic, aluminum, wood are used). The undoubted plus of this type is environmental friendliness, the disadvantages are laborious installation and design complexity.
- Stretched. They use a polymer canvas instead of solid materials. Such a ceiling does not need painting, it can have a matte or glossy surface. The color scheme is also varied.
- Combined. Such designs combine two materials.
What lamps can be used
Artificial lighting is divided into:
- general (central) - illuminates the entire room;
- zonal - intended for a part of the room;
- decorative - used to decorate a room, it is turned on temporarily;
- mixed (for convenience it can be equipped with a remote control system).

The luminous flux can be:
- directional (to highlight an object, add volume, create lighting effects);
- reflected (diffused).

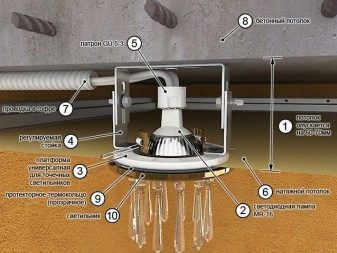
Lighting devices can be located on both levels, on one, as well as between them. The main element of any lighting fixture is a lamp. They can be classified by size, power, energy consumption, shape.
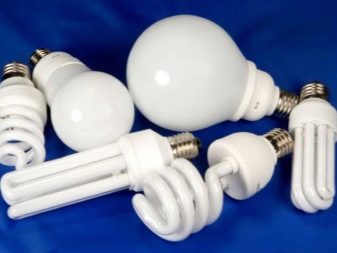
There are the following types of lamps:
- incandescent;
- halogen;
- LED;
- energy saving;
- luminescent.
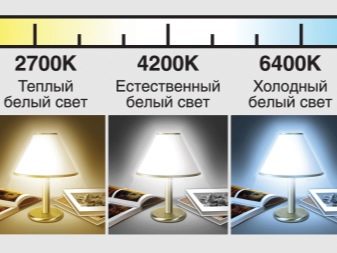
They can emit cold, neutral or warm white light.
In addition, you can give the light one or another shade by spraying the flask or pumping in a gas that can color the rays (this applies only to gas-discharge lamps).
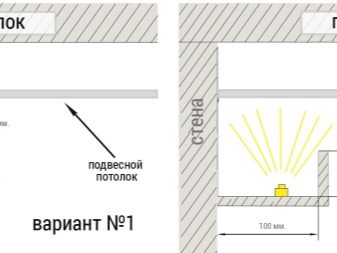
If incandescent incandescent spot lamps are used, the distance between the stretched or suspended canvas and the ceiling should be no less than the value of their immersion in this or that material. For incandescent lamps, this figure reaches 12 cm, for halogen - up to 6 cm, for LED - up to 2 cm, for fluorescent - up to 8 cm.
Preparation for the installation of lighting fixtures
Before starting the installation of lamps, it is necessary to carry out preparatory measures:
- Assess the light level in the room. If it is below the level recommended by sanitary norms and rules, it is necessary to increase the number of lighting fixtures or their power. When assessing illumination, it is important to consider both artificial and natural lighting.
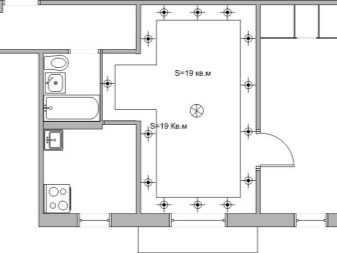
- Decide on the location of the lighting fixtures.
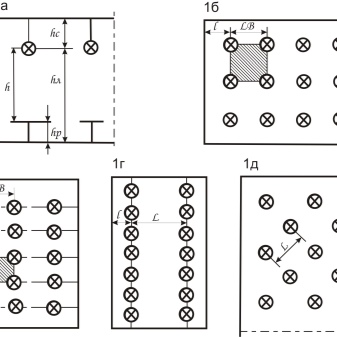
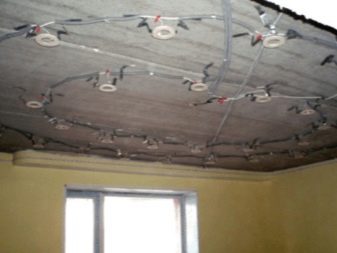
- In accordance with the task at hand, it is necessary to draw up a diagram where not only the landmarks of the location of each device will be indicated, but also the wiring connection system.
- Select the type of wiring according to the room in which it will be used. The bathroom needs special protection against moisture. However, good insulation should be everywhere, since no one is immune from flooding by neighbors and other unforeseen situations.
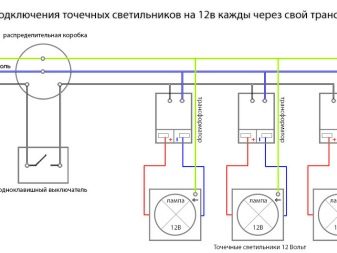
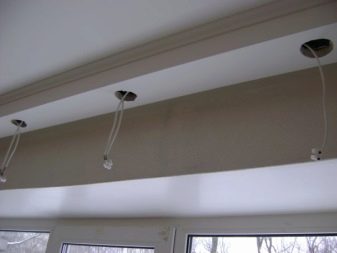
- It is necessary to install the wiring before the web is stretched or the plates are installed. Until this moment, it must be checked, since then it will be possible to correct the shortcomings only by dismantling one or both levels. Do not forget to disconnect the power supply during installation.
- Select the type of attachment.

There are three main types of lamps:
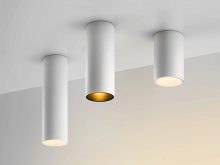
- Overhead. For them, special overlays are provided, which are attached directly to the ceiling covering.
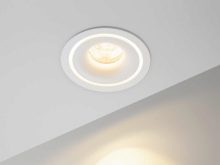
- Embedded. They are inserted into the ceiling so that their surface almost completely merges with the level of the canvas.
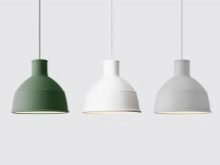
- Suspended. These are usually large lighting fixtures.
There are also lamps that can be installed in a niche. Usually, a niche is located at the place of the drop between the levels.
Installation
Installation of lighting fixtures on a two-level ceiling is not difficult, but it is fraught with certain difficulties, since the main requirement is safety. This applies to both ongoing work and further operation. It is better to entrust the installation to professionals, but in order to understand the essence of the process, it is worth knowing some of the nuances.
Recessed luminaires are quite simple to mount into plasterboard ceilings.
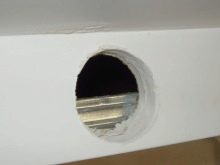
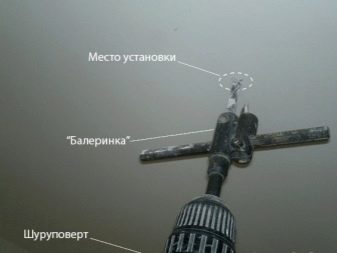
- An opening of the required size is cut in the installed ceiling. The wire must be led out. Its length should be calculated with a small margin, so that it is more convenient to perform manipulations.
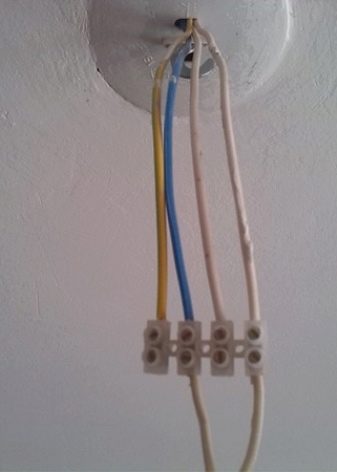
- The wires placed inside the plasterboard construction with a socket are connected using a terminal block.
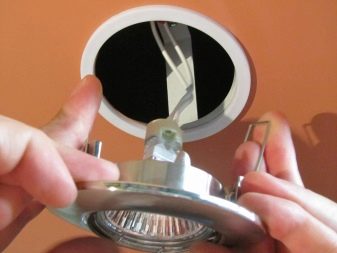
- The luminaire cover is placed in the hole and secured with clamps.
To install the same luminaires in a stretch ceiling, special ring-shaped clamps are required. They are necessary to protect the polymer material.
Pendant lights are mounted differently:
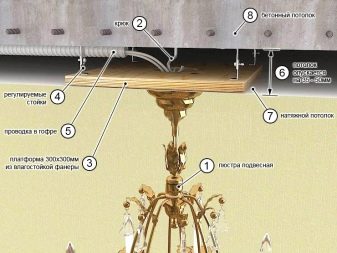
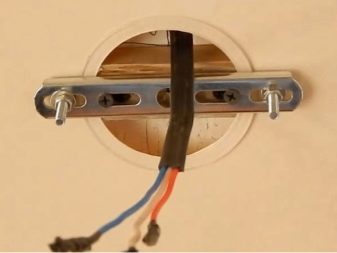
- When installing such luminaires, it is important to calculate the load that they put on the ceiling. In the installation places, there must be special fasteners to reduce the load. In their absence, the device is additionally attached to the ceiling. A fastening element in the form of a bar, metal plates or special adapters is installed in the space between the base ceiling and the canvas.
- At the stage of preparing the hole, it is necessary to mark out a special protective ring and glue it to the canvas.
- To connect the wires, you need the help of a second person who will support the chandelier from below.
- The chandelier can be hung in two ways (on a hook by a ring or on a bar using screws). All actions performed on a stretched web must be careful, as the material is easily damaged. It is important to control the thermal effect on it. Drywall also requires careful handling because of its fragility.
Installation of an overhead lamp is as follows:
- a hole is cut into which the wire is inserted (it must be smaller than the size of the base of the lamp);
- a bar is installed;
- wires are connected using a terminal box;
- the wires are laid in the hole, and the luminaire body is screwed to the bar.
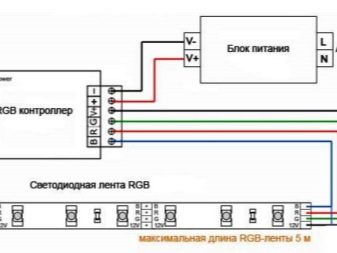
There are many ways to lay the diode tape. The hidden fastening option is safe even for a polymer cloth, since the tape does not overheat. It also features high flexibility and low energy consumption. For installation, you need a power supply, controller and connectors for connecting wires.
The tape is attached with double-sided adhesive tape to the ceiling or walls (depending on the required lighting direction).
Use cases
Despite some pompousness of two-level ceilings, decorated with different types of lighting, they are appropriate in almost any corner of a house or apartment. Do not think that complex ceiling structures are intended only for spacious rooms. They can be used even in narrow corridors.
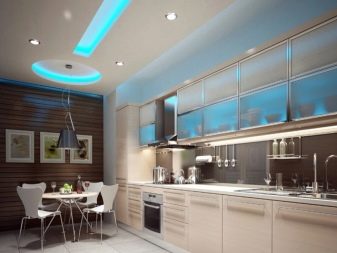
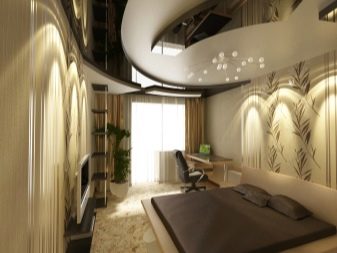
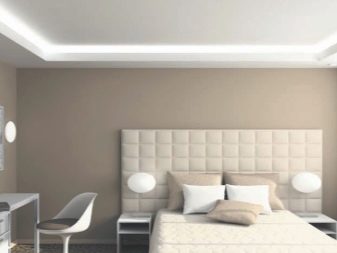
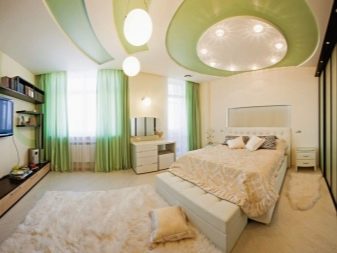
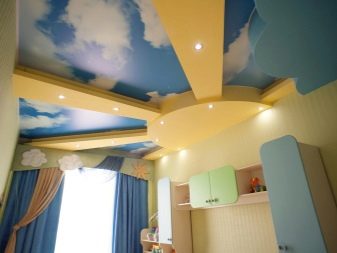
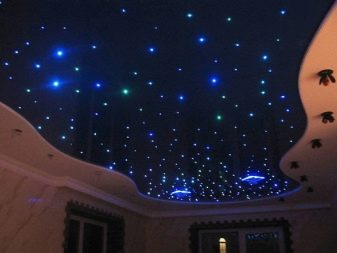
In the bedroom, with the help of ceiling drops and the placement of built-in lamps, you can distinguish between areas for sleeping and working. In a children's room, the ceiling can become a picturesque decorative element. To do this, you can use not only various lamps, but also photo printing. And perforation combined with backlighting can create the illusion of a night sky strewn with stars.

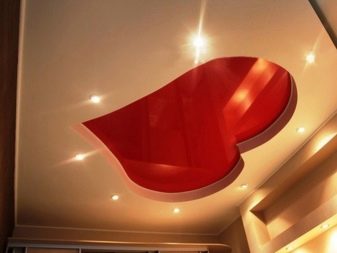
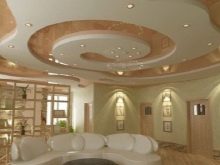
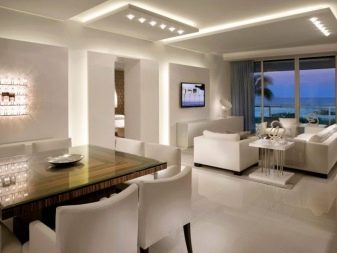
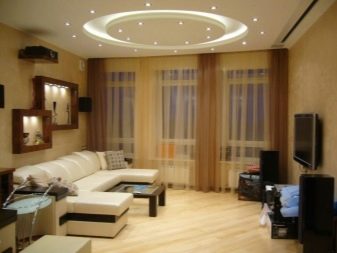
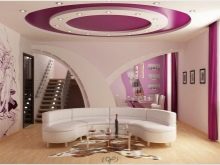
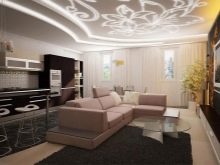
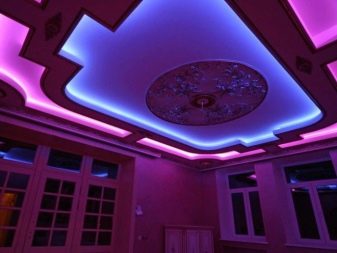
But the real scope for a two-tier ceiling can be found in living room designs. Here you can find strict geometric shapes that complement the laconic interior, and asymmetric flowing lines that continue the intricate outlines of the walls and furniture, and fantasy patterns.
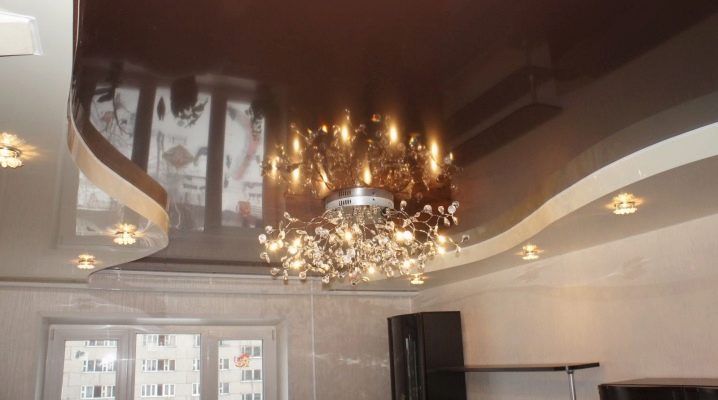
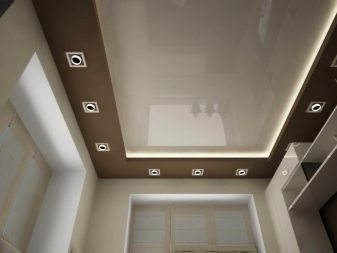
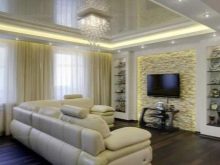
Both levels of construction can have the same color or be different. The snow-white ceiling is versatile. It visually expands the space, makes the room brighter.
This effect can be increased several times if the coating is finished in gloss and the highlight is placed around its perimeter.
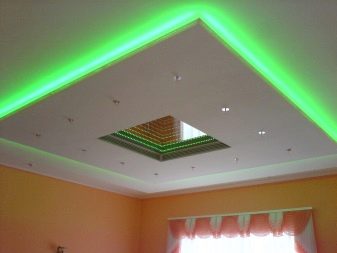
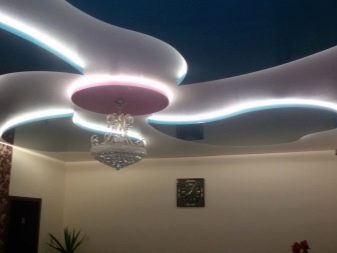
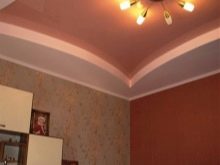
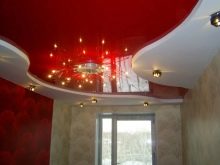
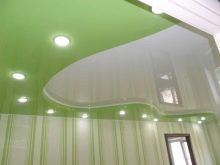
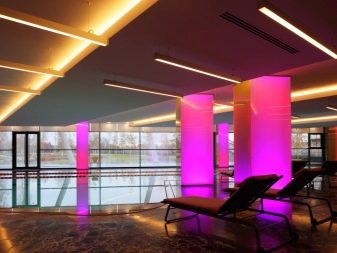
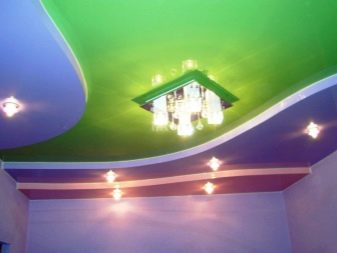
Colored ceilings have come into fashion relatively recently, but their popularity is growing. They create the appropriate mood and set the tone for the entire environment. If you decide to make the ceiling multi-colored, it will definitely be in the spotlight. In addition, not only the canvas can be colored, but also the built-in illumination.
For information on how to install a two-level backlit ceiling, see the next video.


The comment was sent successfully.