How to make a miter box with your own hands?
Carrying out repairs or any type of construction work is rarely complete without cutting parts at a certain angle, for example, forty-five degrees. Typically, both wooden and ceiling skirting boards, door and window frames, moldings and cable ducts are subject to such processing. As a rule, this process is carried out with the help of a miter box, which is quite easy to do on your own from improvised means.
Pros and cons of a homemade miter box
If we talk about the advantages of a homemade miter box, then it is worth starting with the ability to choose the optimal length of the device, which is extremely important in cases where long elements are processed, for example, plinths. In addition, several cutting corners can be placed on one box, and only select those that are most often required.
Having picked up a resistant and durable material, it will be possible to increase the service life and protect the device from all kinds of damage.
A miter box is created literally in a few hours from scrap materials. For example, if a household has a supply of previously used boards, then the manufacture of a sawing device is completely free.
We must not forget that purchased miter boxes are usually made of plastic. This material can hardly be called durable and reliable., and after several of its uses, deformation of the grooves is often found, which negatively affects the direct work.
It makes sense to mention the high cost of purchased equipment. As a result, it is easy to conclude that the home-made miter box has no disadvantages - only solid advantages. The only thing that can be noted is the inability to match the expensive high-tech electric models. The latter are a combination of a rotary miter box and an electric cooker, complete with laser marking.
The subtleties of choosing a saw
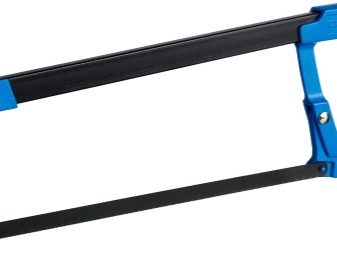
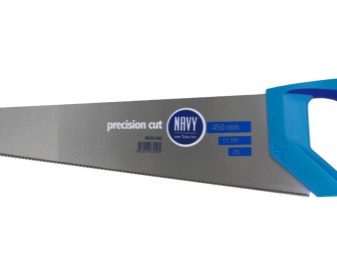
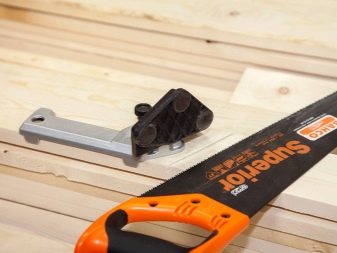
Even before you start creating a miter box, you will need to choose the right hacksaw. A quality tool has small teeth, thin blades, high rigidity and strength... The small size of the teeth allows for a neat cut that does not spoil the condition of the wood surface. The fineness of the blades ensures more precise cuts - straight on the marked line.
In the case of the stiffness of the web, the required state is achieved with the help of an additional element called the backing.
If skirting boards or polyurethane stucco molding are to be processed, then the hacksaw must necessarily be made of metal.
Tools and materials
Usually, a homemade miter box is made of high-quality and dry wood, without chips or other damage.
Experts recommend choosing hard varieties, but if this is not possible, then take a coniferous board, the thickness of which exceeds 2 centimeters. If oak or ash is purchased, the thickness of the material may be reduced to one and a half or even one centimeter.
The blanks for the miter box must have right angles and be polished with high quality. Professionals do not advise using plastic, since this material is not durable and easily deteriorates during work processes.
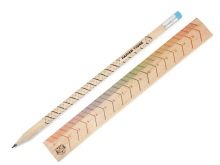
In addition to the main material, to create a miter box, you will need a pencil with a ruler, sandpaper, a vice, a hacksaw with small teeth, a drill with drills, as well as confirmations.The hexagon used to twist the confirmations will also not interfere.

How to do it yourself?
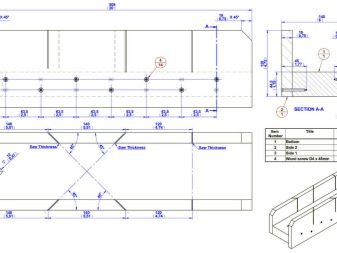
Numerous drawings available on the Internet allow you to make various variations of the miter box, from the simplest to the more complex.
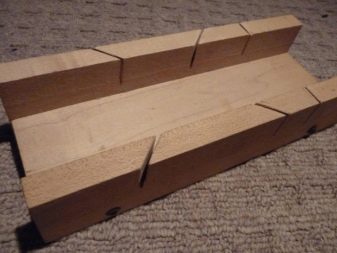
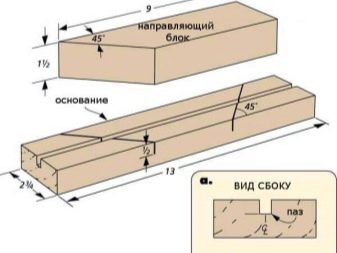
As a rule, guide slots are made for the device in the tray, but if you wish, you can add a straight groove, as well as built-in stops and clamps.
The width of the miter box is determined depending on the available blanks. It is usually based on the parameters of the materials being processed. For example, the width of the miter box can correspond to the width of the plinth, which is 150 millimeters. It is recommended to make the sides similar to the plinth for greater convenience. On average, the width of the sides will vary from 1 to 2 centimeters, the height will vary from 3 to 5 centimeters, and the length is 25 centimeters. Alternatively, in the case of ceiling plinths, a three-centimeter height is used, and a five-centimeter height for wooden floor skirtings.
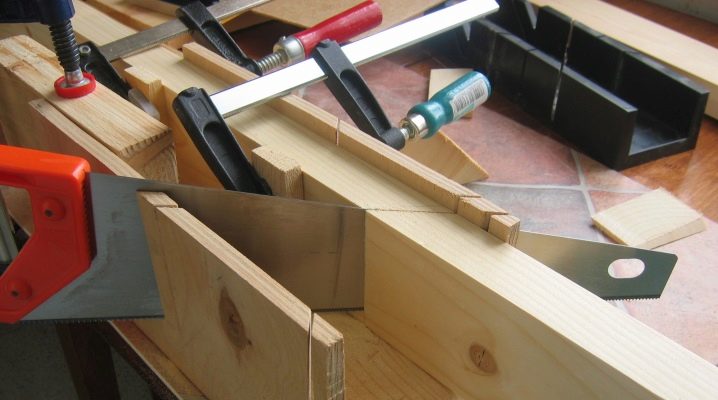
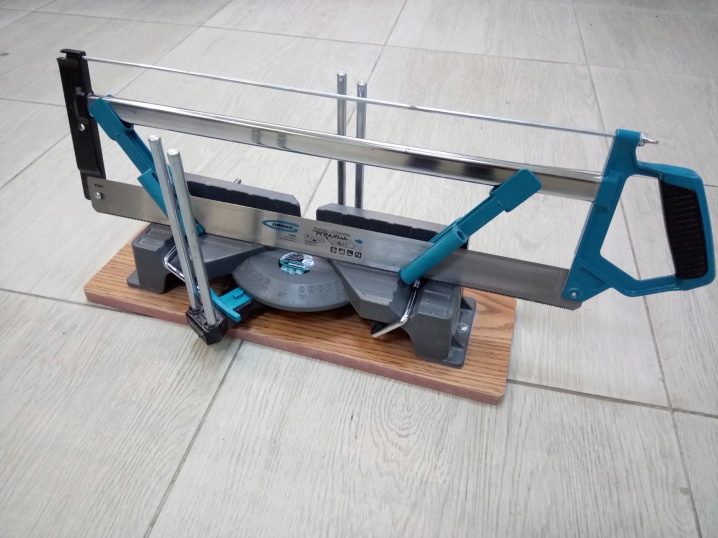
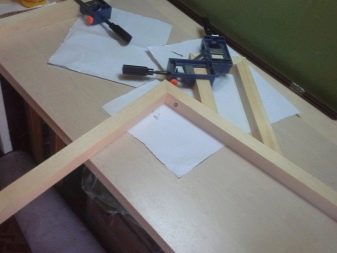
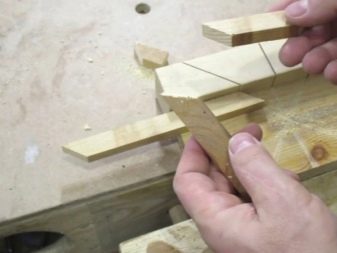
Making the simplest miter box begins with creating a box. Two absolutely identical sidewalls are cut and the base is prepared. The elements used are attached to self-tapping screws, in addition, dowels are additionally glued. For a more reliable fixation, it is worth thinking about the use of a clamp. All excess adhesive fragments are carefully removed with a cloth, and the structure is removed to dry.
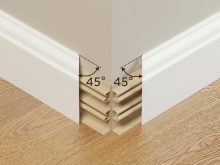
At the next stage, markings are formed on the surface, including for confirmations. At the sides, you need to find the middle, and then select the angles of 90 and 45 degrees on both sides. To make diagonal cuts, you need a metal hacksaw to achieve the required depth... It is already necessary to widen the hole using a hacksaw for wood, a two-layer coarse-grained sandpaper or a circular saw. The cutting depth must not exceed the base point of the miter box... At the end, a perpendicular hole is formed at will, which is suitable for cutting frets at an angle of 90 degrees.
Everything ends with cleaning the cuts from the inside of the holes.
It is important to mention that experts advise making cuts even at the stage when they are not attached to the base.
In this case, the walls are located next to each other and clamped with a vice. Marking is the most important step in making a miter box., as erroneous calculations will lead to equipment that cannot be used. All points and lines have to be rechecked several times.
When holes were made on unconnected boards, they must be connected in the future. The sides and base are combined at an angle of 90 degrees so that the joint occurs with the ends.
In certain places cut through holes for confirmations. It is better to make the hole using drills of different diameters. - create a recess with large ones, and then set the exact direction with small ones. The structure is connected with confirmations and cuts are added to the base.
Some experts also advise adding rubber to the bottom of the miter box, so that the device does not slip, and processing can take place on any surface.
The swivel miter box has a fixed base and a swivel part that allows you to create the most accurate cut. The hand saw is also movable in this case.
Most often, the rotary device is made of metal., so making it at home is quite difficult. The swivel miter box has angles from 15 to 135 degrees. The length of the rotating hacksaw is 60 centimeters. This device is perfect for cutting stucco moldings.
The magnetic miter box is very popular, in which the hacksaw blade is held by magnets. There are several versions of this device, for example, in the form of a compact square with magnets on both sides, with a retainer or U-shaped with eccentrics.It is also difficult to develop a magnetic device on your own.
Recommendations
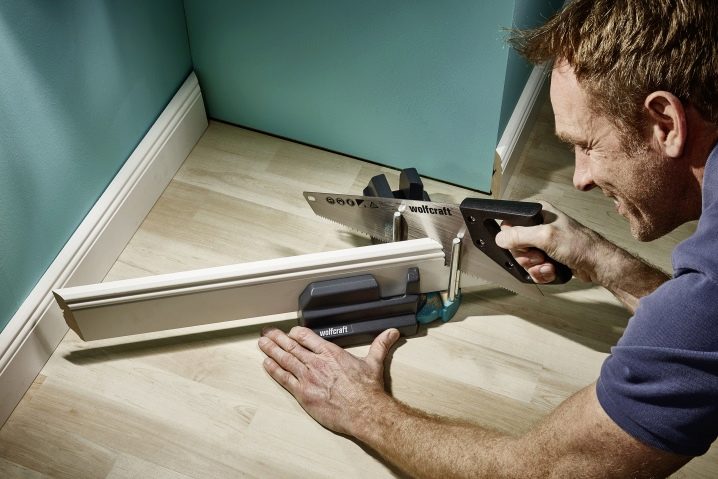
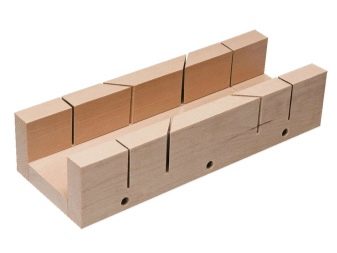
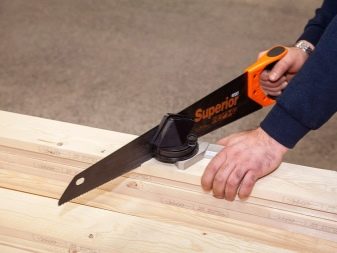
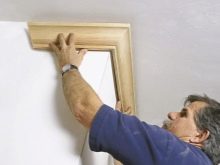
It is not difficult to use the miter box and everyone can do it. First, markings are made on the material to be cut for further cuts. Next, the part is placed in the miter box so that these marks coincide with its slots, and, if possible, is additionally fixed. Finally, the cutting itself is performed with a hand hacksaw, for the evenness of which are the walls of the miter box, which play the role of guides.
If we are talking about a rotary miter box, then the workpiece to be processed is first fixed on the board with special clamps. The cutting point is marked on it, after which the lower part is set according to the mark, the cut is made.
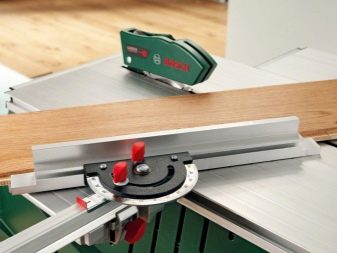
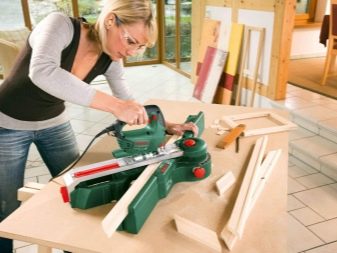
The electric miter box allows you to fix the board on the device, make markings with special drawing equipment, and then make a cut thanks to a special angle. Before starting work, experts advise practicing on unnecessary boards or scraps in order to understand the features of the process.
The material should always be measured with a margin of five centimeters to avoid errors. In addition, it is important to place the skirting boards in the miter box in the same position in which they will be installed in the room. This will avoid uneven joints after the adjustment.

The processing of skirting boards on a miter box has a special specifics. It is important to understand that skirting always has left and right sides, which are processed differently... The right plinth is fixed in the miter box on the right, and the corner is cut on the opposite side. The left plinth is placed in the miter box on the left, and the corner, in turn, is cut on the right side.
By the way, professionals have identified four common mistakes when working on a miter box, and they are all related to measuring and determining the inner and outer corners of the skirting boards.
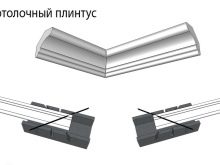
It is worth noting that ceiling and floor skirting boards are sawn differently.
A homemade miter box, if desired, is made collapsible - in this case, for fixing it is enough just to limit yourself to confirmations and not use glue. If the equipment is to be used at a professional level, then it is important not only to secure it as much as possible, but even attach it to a flat surface., for example, the desktop.
For information on how to make a miter box with your own hands from improvised means, see the next video.


The comment was sent successfully.