How to use a miter box?
Those people who are far from carpentry often express bewilderment at the word "miter box", you can even hear laughter and jokes about this unusual word. However, experts can easily explain the meaning of this simple word.
What it is?
This word comes from several ancient foundations included in many European languages. "St" - translated means "approve, put", "sl" - "fold", the ending "o" indicates what helps to fold and connect. Take a few words as an example. For example, a chisel is something that helps to chisel, a drill is something that can be drilled.
As you can see, the very meaning of the word "miter box" encrypts its use. It can be used to make parts that fold together. There is also one old concept: “connect in a mustache” (without flaws) - some masters translate the name of the instrument in this way. The same meaning is encrypted in the more understandable word for many - to meet, to unite, to get together.
A miter box is an auxiliary carpentry tool, invented for sawing materials at a strictly specified angle... The correct angle, as well as a neat cut, is especially important when installing finishing materials, such as ceiling or floor skirting boards, baguette frames or platbands.
This handy device is attached to a workbench or other surface using screws, clamps or self-tapping screws - only a reliable fastening can ensure the quality of the cut produced.
Having mastered the miter box, any master will significantly reduce the number of rejects, thereby quickly enough to recoup this simple but necessary tool.
What is it needed for?
Initially, the miter box was used as a device for cutting down the boards at an angle of 45 and 90 degrees. Modern tools allow you to cut the workpiece at different fixed angles. The swivel miter box provides adjustment of any cutting angle.
The need to cut at an angle arises with a lot of carpentry work, for example, when cutting down a door frame, because a mistake can literally cost dearly: you will have to purchase a new box. But even relatively minor work, such as the manufacture of frames, material for platbands and baseboards, does not allow distortions and inconsistencies.
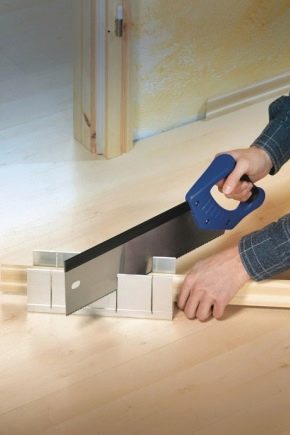
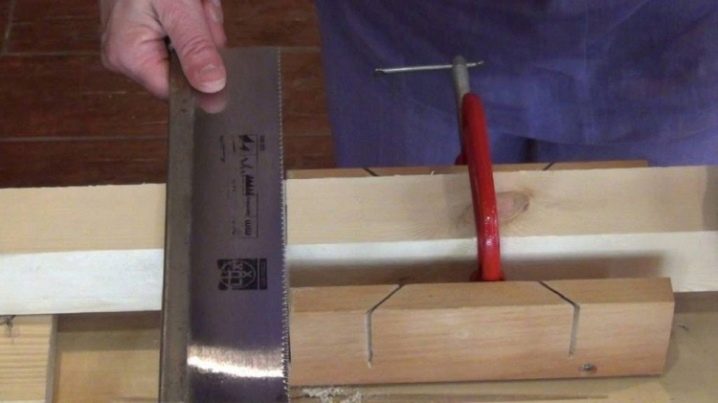
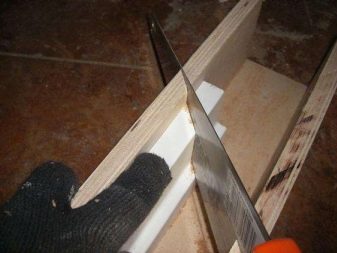
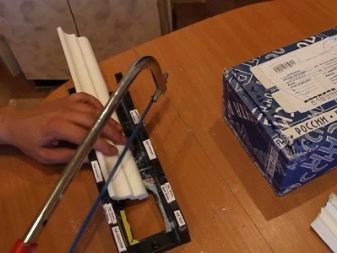
A special hacksaw is required for work. It differs from the usual version by small teeth and a small set, allowing you to make a narrow, accurate cut.
The handle of such a saw is fixed at the top of the blade so that it is possible to use the hacksaw along its entire length.
Varieties
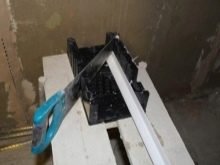
The design of the miter box has been developed for a long time. Its shape resembles a tray or box without end walls, which has a U-shaped section. Slots are made in the side walls at a certain angle. Initially, the device was made of wood.
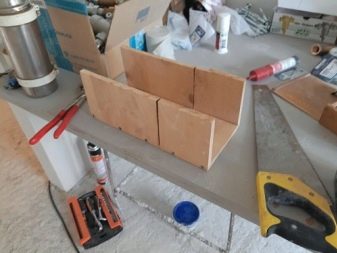
For some work, a tool made with your own hands from scraps of bars and boards with clearly adjusted corners is quite suitable.
You need to work with such a miter box very carefully, since you can easily cut the tool itself along with the workpiece.
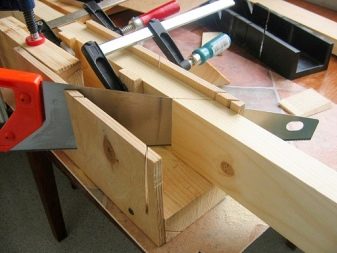
Step-by-step manufacturing of the simplest wooden chair can be represented as follows:
- first of all, you need to choose an even cut of the board up to 50 cm long and 10 cm wide;
- screw side boards of the same size as the base to it;
- using a protractor, mark the side walls for the slots, make angles of 90 and 45 degrees;
- carefully saw through the guide grooves in both side walls.
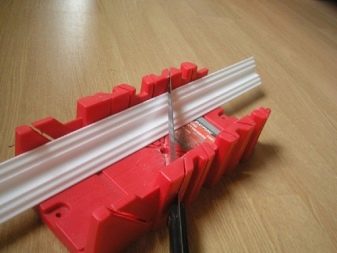
Modern products have become cheaper as they are made more massively from plastic or polyurethane. They weigh a little and are suitable for mobile repair crews.
The plastic miter box has one, but rather serious drawback - rapid wear... The slots gradually widen, and it becomes impossible to work with such a tool. However, due to the low price, there is always the possibility of replacing a worn-out device with a new one.
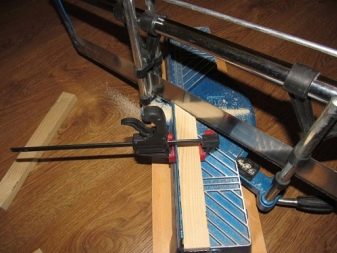
Metal (aluminum) products - the most reliable and durable... Many professionals use just such tools. The only drawback of this type of product is its price.
However, with constant use, the metal miter box will quickly pay off.
Structurally, the tools can also be divided into several groups.
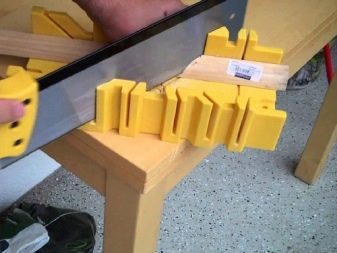
- Simple... Such a device fixes the workpiece for sawing at a right angle and an angle of 45 degrees. It can be successfully used for sawing skirting boards, battens, platbands, moldings and other details. For this type of tool, a special hacksaw is produced with a small set of teeth.
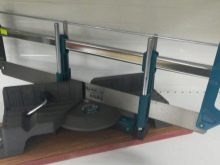
- Swivel option makes it possible to turn the hacksaw to almost any angle: from 15 to 135 degrees. This type of tool is of little use for small household work, but it is very convenient in workshops, as a stationary tool that works in a constant mode. Some inconvenience is the rather laborious setting of the required angle. But if the workpieces are cut into several pieces, then this factor will not be relevant.
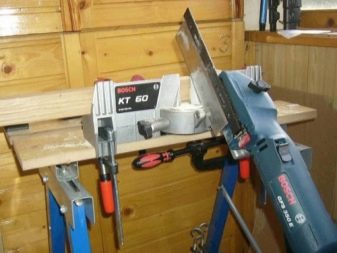
- Electric miter box is a circular saw mounted on a special machine with a turntable.
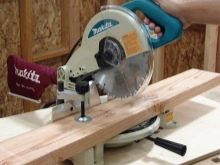
The last two types of tools will be useful for large volumes of work - they can cut several products at once. A special clamp helps to cut, for example, several blanks of floor or ceiling plinths, products for frames.
Some models allow you to cut at the corners of the workpiece for a dovetail connection.

How to use?
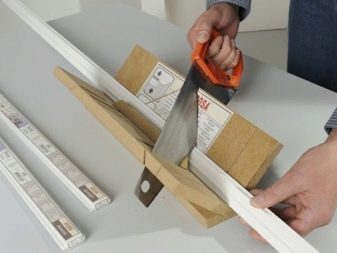
Before starting work, you need to prepare all the necessary tools: a miter box, a special butt hacksaw with fine teeth (sometimes sold complete with a miter box), a pencil, tape measure, sandpaper.
Using the miter box requires some skill.
A typical mistake is insufficient clamping of the workpiece or the tool itself, which often leads to material displacement during the sawing process. In addition, loose parts and elements are a direct path to injury.
Safety precautions when working with this tool require special attention - this applies to both fixed parts and a movable hacksaw.
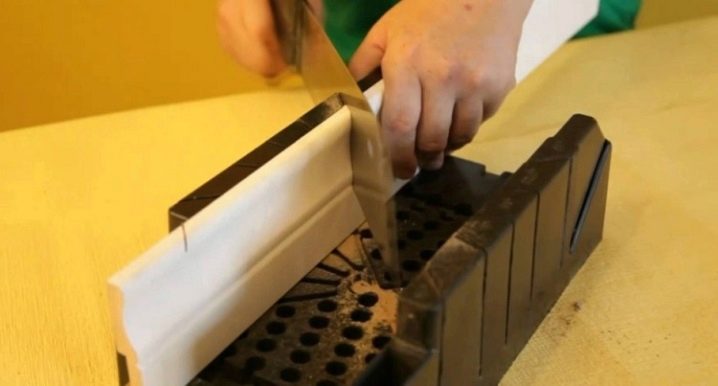
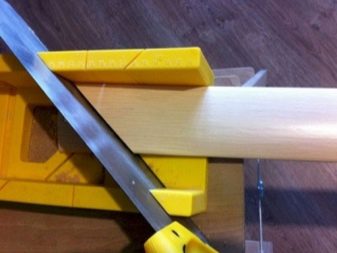
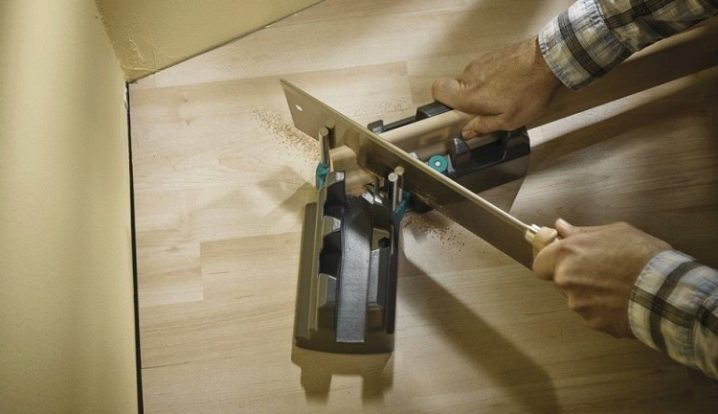
The workpiece is placed in the device in such a way that it fits snugly against the bottom and one of the side strips. The correct position must be observed in accordance with the required cutting angle. You need to cut with a hacksaw to the end, otherwise, in the process of breaking the workpiece, the end may split.
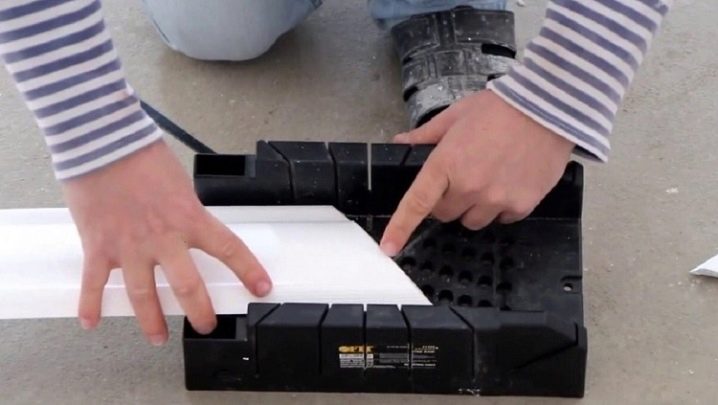
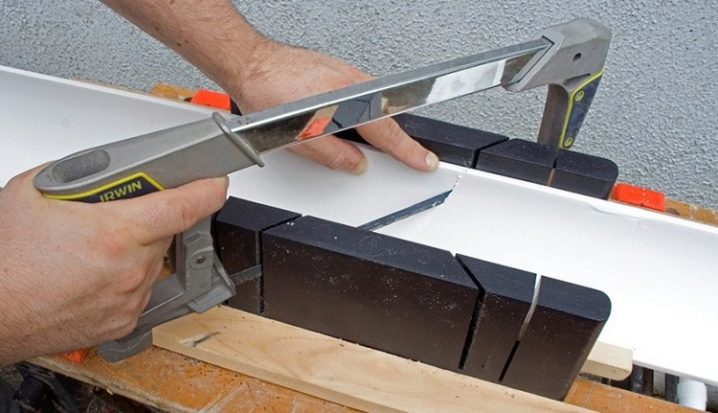
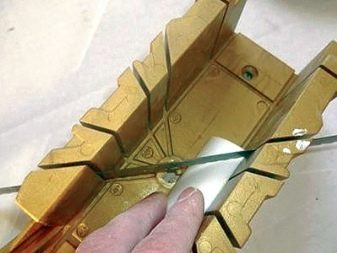
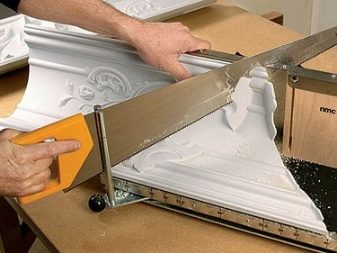
It is very convenient to cut the baguette using a miter box for finishing frames or a special ceiling baguette made of polymer materials. Since decorative fillets are often found on the outer surface, the requirements for cut quality are always very high.
For a more thorough fit, you should stock up on a clerical knife - the baguette can be easily processed with this tool.
The cutting principle is one.
It is described below.
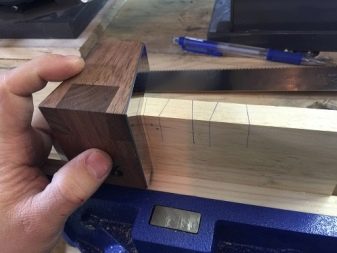
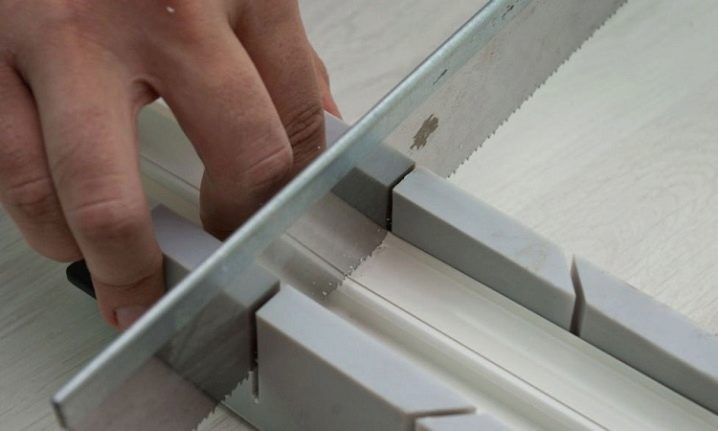
- Before cutting, you need to carefully mark the workpiece so as not to confuse the corners.
- Place the workpiece in the miter box so that the marked line coincides with the corresponding groove in the tool.
- Then you need to press the workpiece and cut it off with a hacksaw strictly according to the mark.
- When cutting the second workpiece, you need to clearly understand how it should be docked with the first one - it is important to correctly position the baguette in relation to the tool slots, otherwise the work will have to be redone.When you have made sure that everything is installed correctly, the operations must be repeated in the same order.
In order to saw off the corners of the plinth, the miter box is installed on a workbench or table. Both adjustable skirting boards are placed in the miter box at once - it is important to ensure that they fit perfectly to the opposite walls of the device.
An excellent miter box copes with the preparation of cable channels... This element of the interior can be difficult to hide, and all the flaws of their laying and installation are in plain sight. It is not difficult to use a miter box in this case, and the effect will be amazing.
Nuances
Sawing the workpiece at the desired angle using a miter box, at first glance, is not difficult - it, in fact, was invented for this.
However, special requirements apply to the hacksaw. A regular tool will not work for fine work - wide setting and large teeth will not give the expected effect... The cuts will be rough, and the groove of the miter box will gradually be widened so that the hacksaw blade will start to "walk" in it, after which you will have to purchase a new device.
The most important rule when working with this tool is laid down in the saying - “measure seven times, cut once”.
Errors in marking and measurements will lead to a large number of rejects.
The walls in rooms are not always connected at right angles, so you need to carefully monitor this - a perfect cut may not look perfect during installation. In this case, you can make a template and use it to assemble a homemade device with grooves at the required angle.
If the walls are not perfect, and adjusting the ceiling plinth seems to be a rather difficult undertaking, then in this case, corner decorative elements can be saved - in this case, you can cut the plinth at a right angle, without worrying too much about the accuracy of the joint.
When working with a hacksaw, do not rush - you need to carefully monitor the position of the blade. Plastic miter boxes are most easily damaged, and metal versions can blunt the teeth of a hacksaw.
An overview of the miter box and the rules of use are presented in the video below.


The comment was sent successfully.