How to make a corkboard with your own hands?
Currently, there are a huge number of different options for interior decor. Small products made of cork board will look interesting. In addition, they can act as convenient wall-mounted stands for positioning paper notes. This material can be easily made independently at home. Today we will talk about how this can be done and what materials will be needed for this.
Peculiarities
The cork material is completely environmentally friendly and lightweight. In addition, it can boast of its incombustibility - when in contact with fire, the board will burn rather slowly and poorly.
The cork board is hypoallergenic, which allows you to place products made from it in children's rooms and in rooms where allergy sufferers live.
This material is particularly elastic, so it is quite easy to work with it. It is able to bend even under the influence of heavy loads, but in the end it will still come to its original position; it is difficult to break such products.
The cork board is considered hygienic and does not require any maintenance. If dirt appears, the surface should simply be wiped lightly with a dry cloth.
Tools and materials
First of all, you should prepare all the accessories and materials necessary for the manufacture of such a cork panel. These include the following elements:
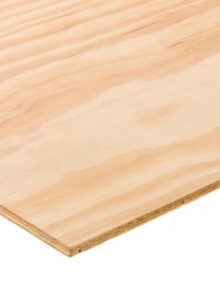
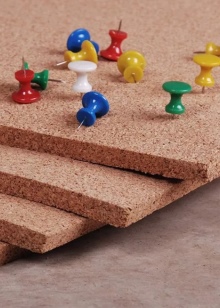
- a sheet of plywood or cardboard (you can take any size depending on personal preferences, the board can be made according to individual sizes);
- cork (it is permissible to use a special cork backing), it must correspond to the size of the plywood;
- fabric (you need to select a material that will be 2 centimeters more in mercy than a piece of plywood, it is better to take a cotton base);
- glue machine;
- jigsaw (you can take both electric and manual);
- stapler;
- knife;
- pencil;
- wood lath;
- PVA glue and a brush for applying it;
- acrylic paint.

Manufacturing options
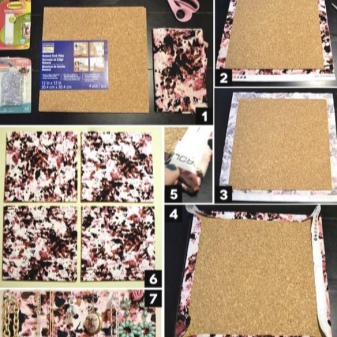
To begin with, consider the simplest option for making a cork board from plywood and corks with your own hands.
- First of all, you will need to pick up the most suitable work surface and lay a sheet of plywood on it, and put the wine corks on top. All dimensions must be carefully adjusted. If necessary, you can trim the materials with a construction knife.
- After that, the cork and plywood are firmly glued together with a glue gun.... After applying the mass, it is better to leave the product to dry, this can take about one hour. The cork layer will act as the front side, the plywood layer will act as the back side.
- Later, the fabric is taken, it must be carefully ironed and steamed... It is laid out on the working surface, a made wooden blank is placed on it, while the cork should be at the bottom and in contact with the fabric. The woven base is well straightened, the surface should be perfectly flat and neat. It should be pulled quite tightly without wrinkles. It is better to unfold the stand first to make sure that the material is evenly distributed on the other side.
- Then you need to glue the fabric from the back using a glue machine... In this case, it is necessary to ensure that the glue is distributed as evenly as possible over the surface, there should be no lumps.Instead, you can use a special stapler.
- The glue should dry completely, after which you can start creating the frame... To do this, with the help of a jigsaw, form its separate parts from the rail, while you first need to accurately measure all the notes with a simple pencil.
- All cut out parts of the frame must be glued together into a single structure. After the whole piece is completely dry, you can paint the whole thing with acrylic paint for a more decorative appearance.
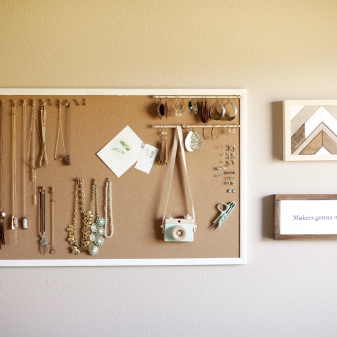
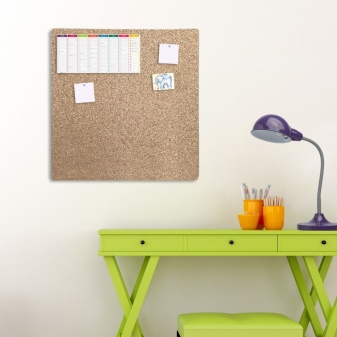
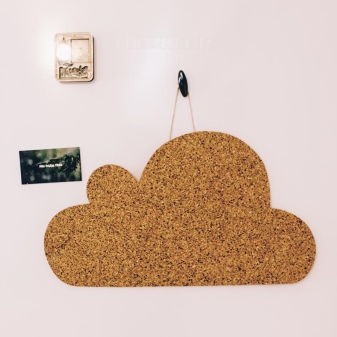
As a result, you should get a beautiful stand for notes and announcements. Also, several small hooks can be attached to the surface, and then the structure will act as a key holder.
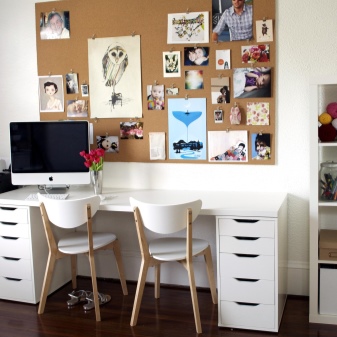
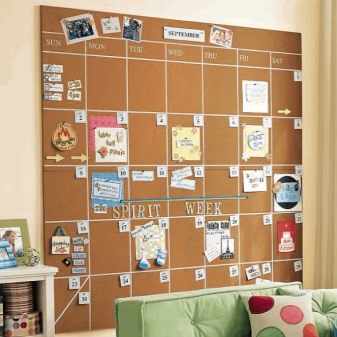
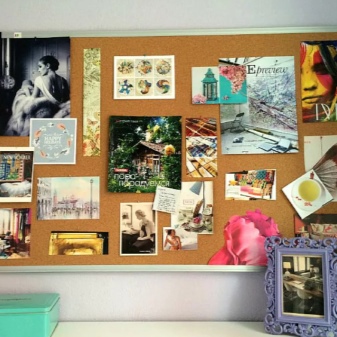
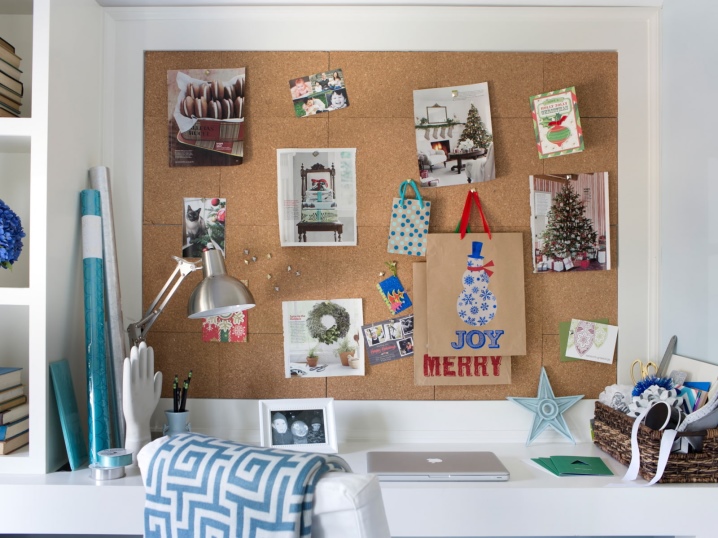
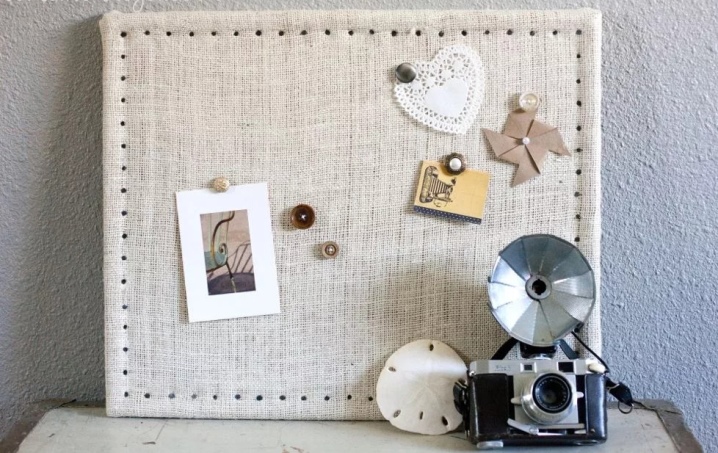
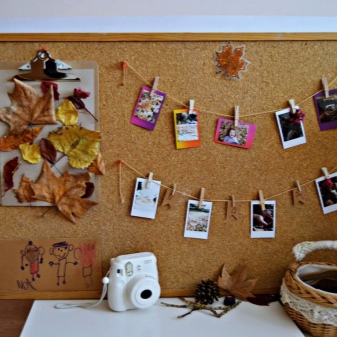
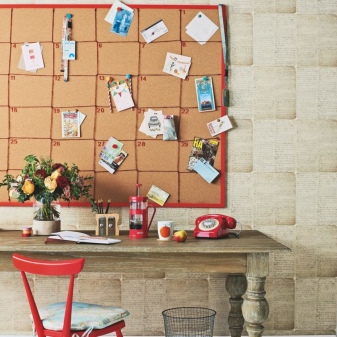
With the help of such a cork board, you can also make an interesting calendar, one large photo frame, or a surface for placing many small photos at once.
Using this scheme, you can make a cork board for a children's room. In order not to store children's drawings in a separate album, you can simply place such a structure and fix several sheets of paper on its surface. You can additionally decorate it with stickers with images of your favorite characters.
Consider another option for making a cork board.
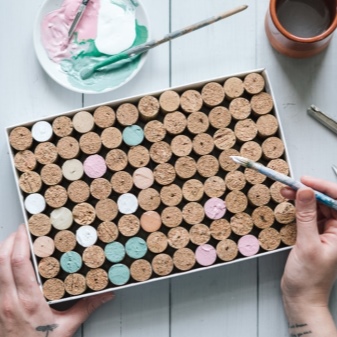
- You will need to prepare in advance a shallow cardboard box and a lot of wine corks... You will also need a satin ribbon of any color, depending on personal preference.
- First, you will need to correct the wine corks with a construction knife. They must be the same length.
- After that, a mount is created on which the board will subsequently be fixed when it is placed on the wall.... In order to create such a mount, you will need to form a small hole in the bottom of the cardboard box, you can do this with a clerical knife.
- A satin ribbon is carefully threaded into the hole made. It must be fixed in the inside of the box with PVA glue. At the same time, it is necessary to carefully coat the bottom with an adhesive mixture. It is better to do this in several layers at once. At the same time, keep an eye on the appearance of the product, everything should look as neat as possible.
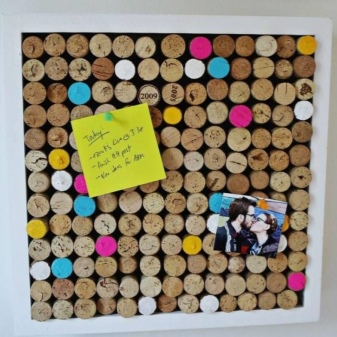
- Later in order in several rows to the inside of the cardboard box install wine corks.
- When they are all inside, you can paint some of them with acrylic paint composition.to make the overall look brighter and more unusual. You can use different colors at once, but all of them should go well with the shades in the interior.
How to register?
There are several basic ways to decorate such a board.
- Soft French version. In this case, you will need to lay a thin white cotton base on the surface. Openwork and beautiful braid is laid out on top. It should be secured as securely as possible. The result is a fabric panel with small cells for announcements and notes.
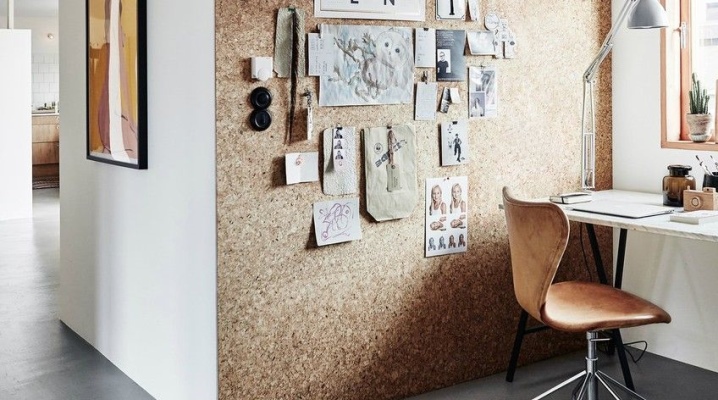
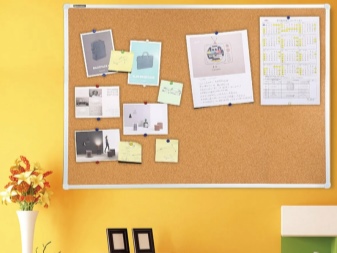
- Modern version. In this case, several small paper holders are attached to the surface of the cork board at once. In this case, it is better to use original elements, decorated in various colors, which will go well with each other. Such a simple but beautiful option is perfect for placement in offices or home offices.

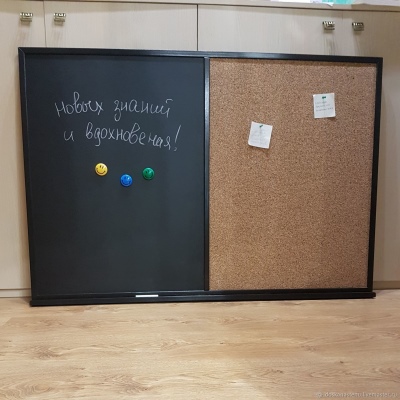
- Graphite option. The cork stand is completely painted in a special paint so that the material acquires a graphite surface. With this option, all notes can be written using crayons.
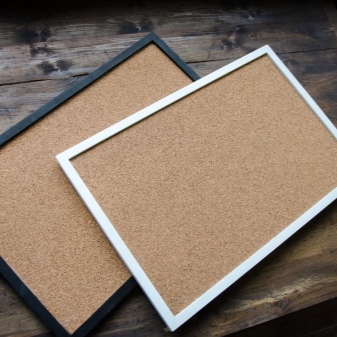
- Option with additional decorative details. Often in the process of creating such a board, various beautiful frames are used, decorated with floral ornaments and other elements.

Recommendations
There are some important guidelines to keep in mind when making a cork board.
- After the material is completely ready, it is better to cover its surface with a special protective varnish. Such additional coating will significantly extend the service life of the structure, make it much more durable and resistant.
- Do not place such a board in rooms with a relatively high degree of humidity, since the cork material is difficult to tolerate the negative effects of water.
- If the cork board will serve as an interesting accent in the interior of a room or simply as a decorative structure, then then it is better to decorate its surface additionally.
This can be done not only through various acrylic paints, but also with the help of multi-colored stones, pearls, beads.
An interesting do-it-yourself cork board workshop can be seen in the next video.


The comment was sent successfully.