Recommendations for the manufacture of wooden slides for children
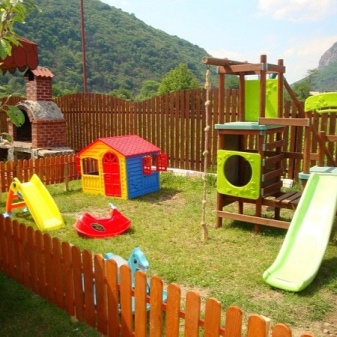
Walking in the fresh air is always a guarantee of a child's health. If in the city almost every courtyard is equipped with modern children's equipment in the form of swings, merry-go-rounds, sports complexes and children's slides, then in private territories and dachas the issue is acute. Firstly, there is not as much space on a private territory as on a public yard. Secondly, the cost of playgrounds is not cheap, so it is better for parents of growing toddlers to think about building a slide on their own.
Peculiarities
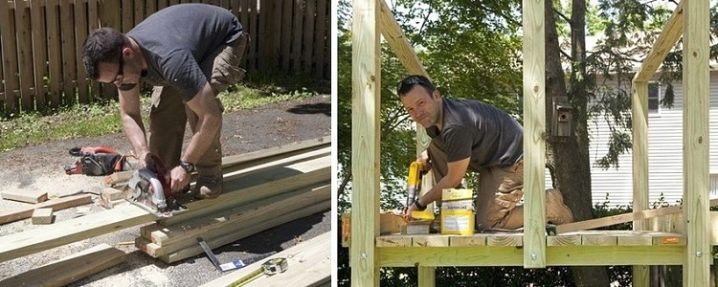
It's easy to build a slide yourself. This can be done even by 1 person without assistance. Of course, if this is your first time doing this, help will not hurt you. The main feature of a street slide is that it must be all-season, that is, it must be strong, stable, reliable and comfortable. There are several rules, following which you will be sure that you have got the best slide for children.
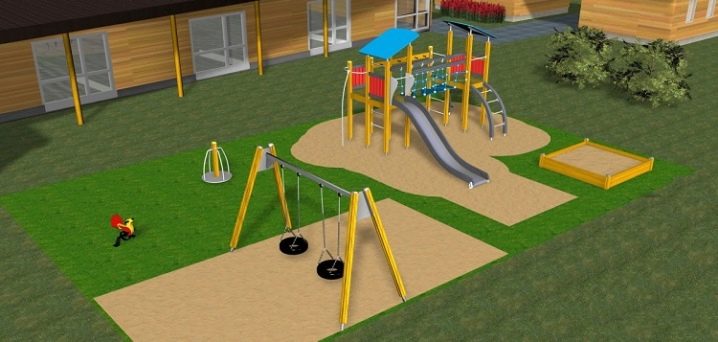
- Leave a safety zone around the slide within 1-2 meters, so that the playing children will not stumble over obstacles and not get injured.
- Place the slide close to the tree so that it does not fall into the safety zone, but in the summer its crown gave a shadow over the slide. Such measures will not allow the ramp to heat up if it is made of plywood or steel.
- Pay attention to the descent area: first, set up a parallel "braking" platform, and secondly, ensure safety on it (pour sand or put a rubber tile, it will provide shock absorption for the child upon landing).
- It is better if the length of the slope is 2 times greater than the height of the structure.
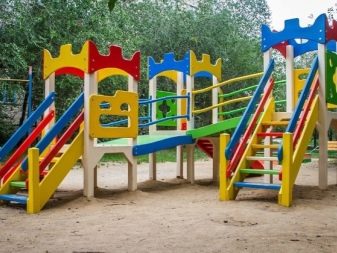
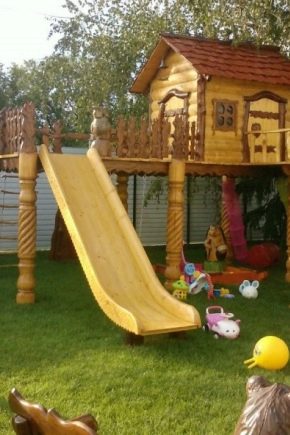
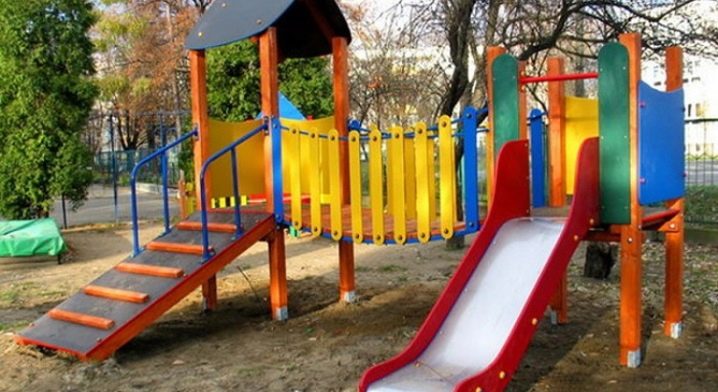
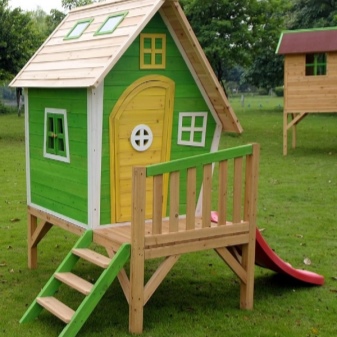
You can build a completely wooden slide or a wooden frame with a plastic all-season slope (there are many different models on the market now). The main thing is that the street slide is popular with children and the trust of parents. Wooden slides for children can be used all year round. In cold weather, you can fill it with water, and your children will be happy with such winter fun. In the summer, care must be taken to slide the slide. A slide with a wooden slope has both pros and cons.
pros | Minuses |
Eco-friendly material | Poor sanding results in splinters and scratches |
The stingray does not heat up in the heat | Sliding on even treated wood will be minimal |
Easily turns into a winter ice slide | Self-assembly, in contrast to the finished plastic slope |
Preparation for work
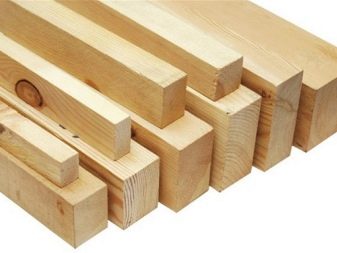
When choosing material for a future slide, be guided by the safety and environmental friendliness of materials. Despite the fact that modern plastic does not emit toxins, wood is still the most reliable, natural and affordable material. When making a slide from wood, do not forget that wood tends to rot and deform, so stock up on coatings and impregnations.
To make a slide with your own hands, first you need to draw or find ready-made drawings. Pay attention to the age of the child for whom the slide will be intended. Determine the dimensions, place of installation of the future slide, calculate how much material is needed. Calculate your strengths and abilities, because having promised a slide to a child, you will no longer be able to refuse this venture.

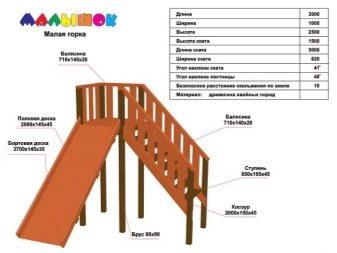
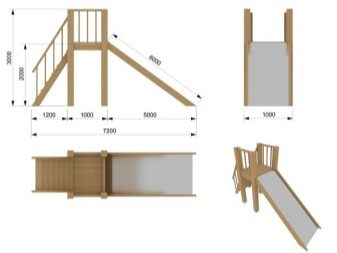
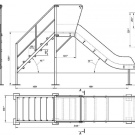
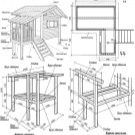
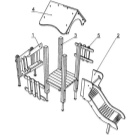
Blueprints
The pictures show the simplest drawings of slides that any dad can bring to life.Ready-made drawings are more convenient in that they indicate ready-made calculations of the proportions of each element of the slide. Take care of the steps - for kids they should be flat, for older children they can be vertical. The shape itself can be straight - when the ladder is parallel to the ramp, or angular - when the ladder is on the side of the launch pad.
Place of installation
The selected area must be fenced off, leveled, and pegged in place of future supports. Please note that there are no thorny bushes nearby, no wires or irrigation equipment. Remove rocks and possible debris around the slide. After installation, continue to monitor the cleanliness of the site.
Material calculation
For an example of calculating materials for an outdoor wooden slide, take a drawing with dimensions: slope - 3000 mm, launch pad - 500x500 millimeters. Based on the rules for the best slide, we determine that the height of the launch pad is 3000/2 = 1500 millimeters.
For what | Material | Quantity, pcs. |
Support | Bar 150 * 150 * 1500 mm | 4 |
Stiffening ribs on top | Bar 20 * 40 * 500 mm | 2 |
Bottom stiffeners | Bar 20 * 100 * 500 | 4 |
Fencing | Bar 40 * 40 * 500 mm | 2 |
Railing (if necessary) | Beam 20 * 20 * 1500 mm | 2 |
Railing Supports | Beam 20 * 20 * 900 mm | 6 |
Floor | Board 25 * 100 * 500 mm | 5 |
Steps | Board 25 * 100 * 300 mm | 6 |
Stingray | Floor board 20 * 500 * 3000 mm / moisture-proof plywood 20 * 500 * 3000 mm | 1 |
Ramp fence | Bar 25 * 100 * 3000 | 2 |
Mountings | Self-tapping screws, anchors, bolts, screws | Of necessity |
Ladder material (for bowstring / stringer) | Board or timber | 2 |
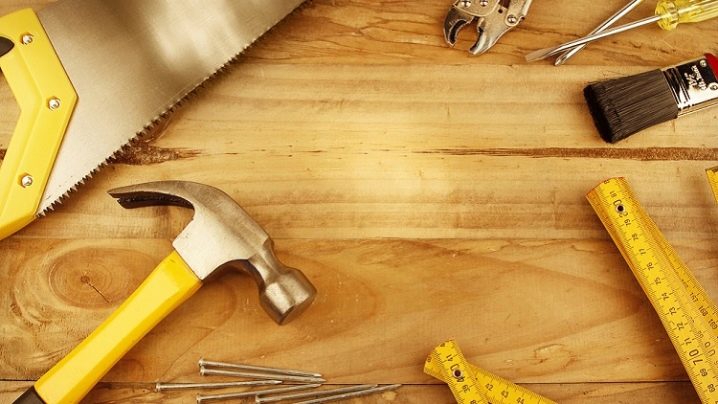
Of the tools come in handy:
- roulette;
- hammer;
- spirit level;
- drill;
- electric plane;
- saw.
Check that all fasteners of the future slide are galvanized. It is better not to use nails.
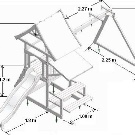
Stingray
The most space is given to the slope in the device of the slide. This is regulated by GOST R 52168-2003. The figure shows excerpts from GOST - the classification of slides. A drawing of a slide with a slope of 40 degrees (see photo).

Material handling
The wood should be well dried, planed with a plane (it is more efficient to take an electric one), round off all corners, grind the surface. Treat the bottom of the timber under the supports, about 50 cm from the edge with resin, machine oil, mastic or any other antiseptic to prevent rotting.
How to do it yourself?
DIY outdoor slide installation in stages it will look like this.
- In place of the installed peg, dig holes with a width slightly larger than the support bar and a depth of about 40-50 cm each. Backfill with sand or gravel for added traction and protection.
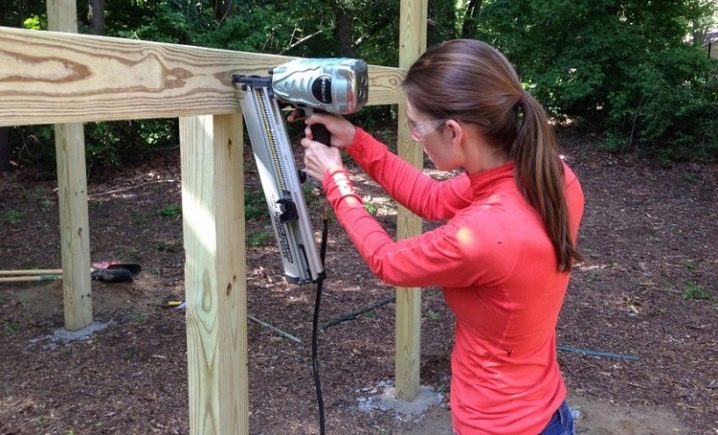
- Install the support pillars and fill them with concrete. When installing on an anchor, screw the anchor bolt to the support, drive it firmly into the ground. Check that the anchors are L-shaped, it is more reliable to drive in. Then tamp the supports round with earth.
- Install the lower stiffeners. To do this, it is necessary to connect the support and the rib with screws or self-tapping screws.
- Install the upper stiffeners parallel to each other and secure the floor to them. To prevent water from accumulating, leave gaps of a few millimeters between the floorboards.
- Before installing the ramp, choose one of the installation options: form the required angle (usually 45) and attach the ramp to the base or cut out the grooves (see photo).
- After installing the ramp, treat it immediately, and also decide what to cover it with for sliding. If this is a slide for winter, it is enough to fill it with water, but if the slide is used in summer, you can put linoleum on it, pour wax on it, or choose in advance not wooden materials for the slope, but plywood or galvanized steel.
- To build a ladder, select the type of construction: bowstring or stringer. The bowstring is a structure with grooves where the steps are inserted. There are two bowstrings at the stairs - on both sides of the steps. Kosour is a type of load-bearing beam on which the steps are attached. It is installed either on the sides, like a bowstring, or in the middle.
- Install a ramp and railing.The height of the handrail according to GOST is not less than 900 millimeters and is calculated as follows: the height of the rack + the height of the handrail, therefore the support itself may be less than 900 millimeters and depend on the height of the child.
The main thing is that the railings can be used for their intended purpose, and the child can reach them and hold on to them independently. Alternatively, a cross bar can be made between the two front support legs. The child can hold on to it in order to sit on the slope.
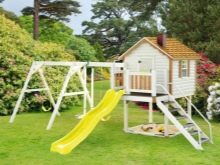
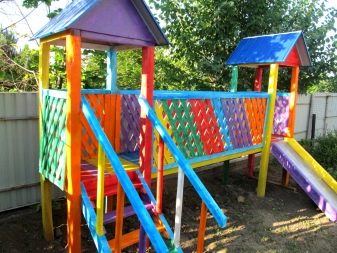
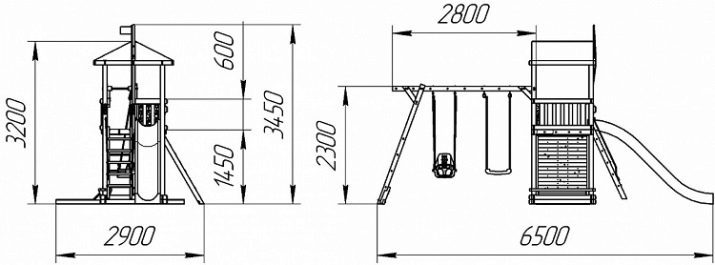
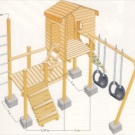
Thanks to a simple step-by-step scheme, you can build a wooden slide with your own hands for your child. For older children, you can make not a simple straight slope, but a wave or helical one. In this case, the drawings will be different, and the easiest way out of the situation is to purchase a ready-made plastic screw slope. A slide with a plastic slope is assembled in the same way as with a wooden one, only on the condition that a slope made of a different material is attached to the launch pad.
There are also options for making such a slope from flexible plywood. In this case, take care of the high strength of the structure and stock up on additional spacers and stiffeners. Children will have a place to hide from the rain if you put the support poles of a higher height, and fix the roof on them.
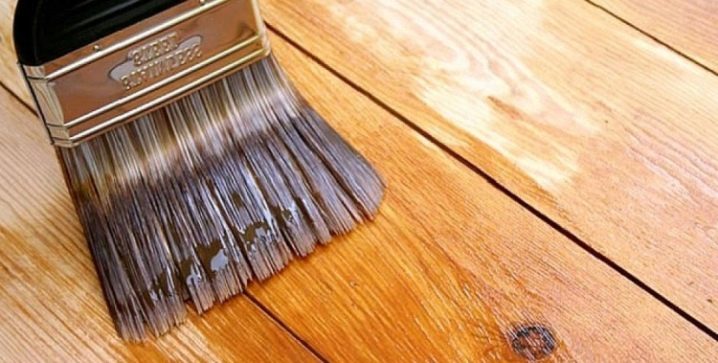
Secrets of sliding: coat the wooden slope with oil in at least three layers, so the surface remains smooth and moisture will roll off. Sand the slope after each coat to achieve a mirror effect, allowing the slide to be truly slippery. Also take a look at liquid bath acrylic - a good alternative for sliding.
After installing the slide, check its strength. It should not stagger, tilt or twist in any direction. All elements must be strictly perpendicular, vertical or horizontal to each other. It is recommended to cover the finished slide with protective materials. It can be a water-repellent varnish applied in several layers.

To make the child like the slide, paint it with bright acrylic water-repellent paints. Take care of painting in advance - even before assembly, paint every detail, so the slide will be of an even color, there will be no unpainted joints and drops of paint on it. With prolonged use, the elements of the slide will be wiped off, and the paint will come off. To renew the coating, it is necessary to re-grind each element and only then proceed to a new painting.
Safety comes first! After installation, regularly inspect the slide for cracks, loosening, and loose elements. Most often this is true after winter and during the period of heavy rains. If your imagination is not limited to one slope, there are a lot of drawings of complexes for children on the Internet. Thanks to the step-by-step instructions, you can create a children's wooden slide for your child with your own hands!
In the next video, you will find how to make a wooden children's slide with your own hands.


The comment was sent successfully.