Ideas for a panel for a bath
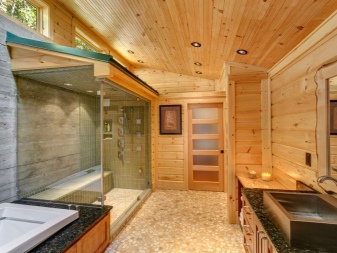
Modern saunas increasingly represent not only a steam room and a small dressing room, but also a full-fledged relaxation room. And so that the pastime in it was pleasant in every sense, it is worth taking care of the appropriate design of the space. For example, the panel will look very beautiful on wooden walls.
Design options
The choice of the design of the bath panel is determined, rather, depending not on the interior itself, but on the preferences of the owners of the place of rest. Someone will like the traditional options for decorating the space with the help of images of people, including nude, in the bath process, as well as demonstrations of various scenes taking place in the bath.
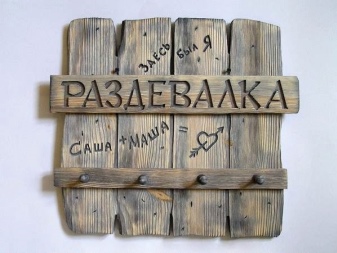
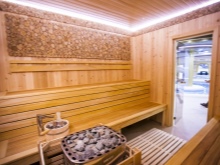
Some may limit themselves panel with a laconic inscription, emphasizing any popular bath wisdom. For lovers of calm interiors, the a panel made of saw cuts or salt tiles, a landscape or still life, made using the carving technique.
If the recreation area is designed in a certain style, then the decor used must correspond to it.

Materials (edit)
A panel for a bath cannot be created from paper, but otherwise there are no restrictions. The main problem of even the most dense cardboard is that the high humidity of the bath will sooner or later lead to its damage. We must not forget that paper is fire hazardous. In most cases, a panel for a bath is made of wood... This eco-friendly material is in harmony with any finish, withstands high humidity and temperature fluctuations.
In addition, not only the works themselves can be wooden, but also the framing for them. An interesting fact is that at high temperatures, some types of wood (for example, conifers) begin to secrete resins and essential oils, which have a beneficial effect on the state of the body. Thus, even just resting after water procedures in a room decorated with wooden panels, you can heal your body. To create a bath decor uncommon materials such as straw and birch bark can also be used.
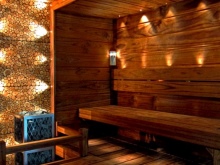
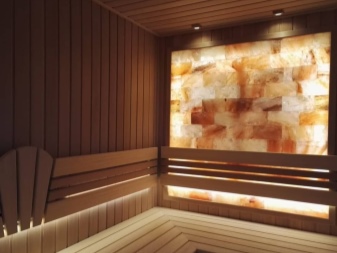
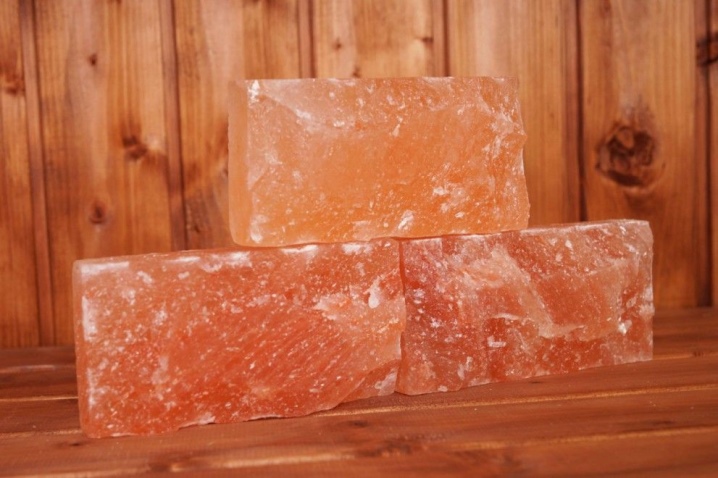
Special attention should be paid to the salt panel for the bath, characterized by the presence of a pronounced structural pattern and a variety of natural shades.


How to do it?
Possessing the skills of carving, you can make a variety of panels for the bath with your own hands. They are created according to the same principle.
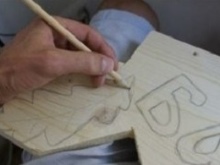
- First, the drawing is prepared on a paper stencil.
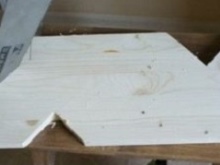
- Then a wooden board prepared to the required dimensions - the basis of the future panel - is carefully sanded from the front side.
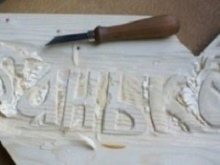
- The conceived drawing is transferred to the base, after which all contours and patterns are cut out with a knife.
- The carved areas are treated with wood stain (always water-based), and the rest - with a solution of linseed oil or turpentine.
- For the convenience of mounting on the wall, the corresponding fittings are attached to the back of the work.
Having purchased the required amount of salt tiles, it will be easy to lay out and salt panel. In fact, the fragments in a well-thought-out sequence will simply need to be fixed to the wall with construction glue that does not contain water. It can be mounted either close to each other or through a small gap, and the emerging seams can be rubbed with the same salt.
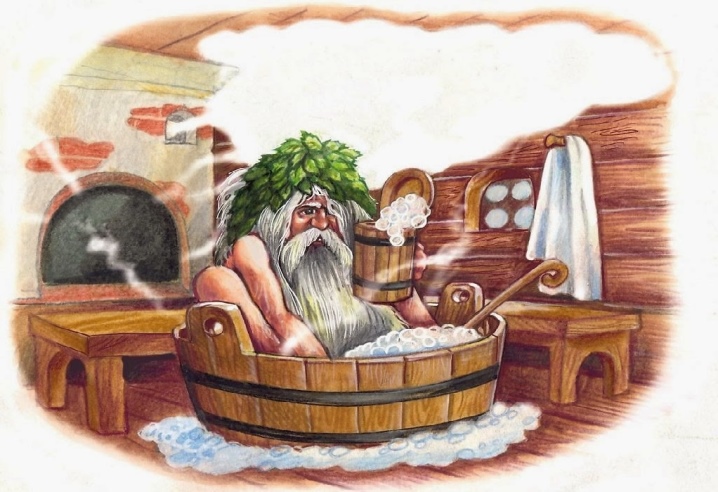
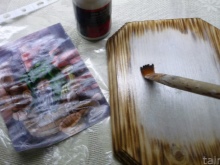
Another unusual solution is the use of decoupage technique for a bath panel. For example, this is how an unusual decorative hanger is created with the image of a brownie-bannik.
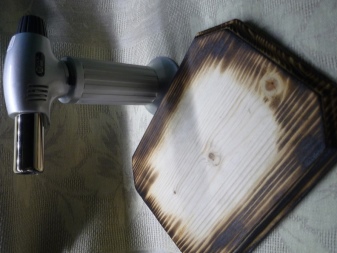
To create such a panel, you will need pine blank, gas burner, laser-printed drawing and acrylic paints. In addition, special decoupage glue and matte acrylic varnish, several brushes, a rubber roller, sandpaper and an emery bar are useful.
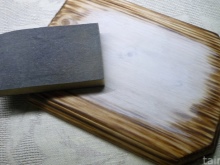
Work begins from the firing of the workpiece using a gas burner. The place in the middle of the front side, where the drawing will be located, must be left untouched. The next stage is carried out withsanding the surface with sandpaper... The tool is moved along the grain in order to emphasize the natural structure of the wood. Excess dust is removed with a brush.
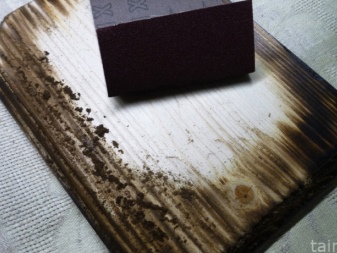
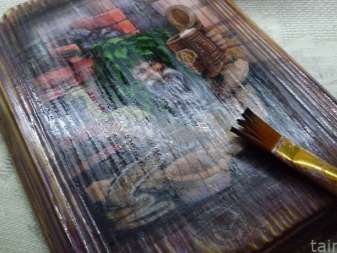
Wooden plank varnished acrylic and dried... Central zone painted over with white acrylicslightly diluted with water. After drying the surface, it must emery.
When the white area is twice covered with acrylic varnish, you can proceed to the drawing itself. The front side of the printout is processed with decoupage glue varnish and dried. Then the second layer of varnish is applied both to the picture and to the piece of wood, after which the image is immediately glued "face down".

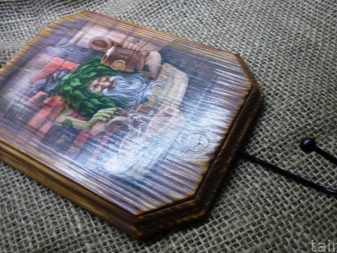
The sheet is pressed, rolled with a roller and left to dry. The paper is removed by slightly wetting the surface and using the roll-up method. The edges are skinned, the panel is varnished and, if necessary, tinted.
And so that the decorative element is also functional, a hook is attached to it. The panel hanger is ready.
Beautiful examples
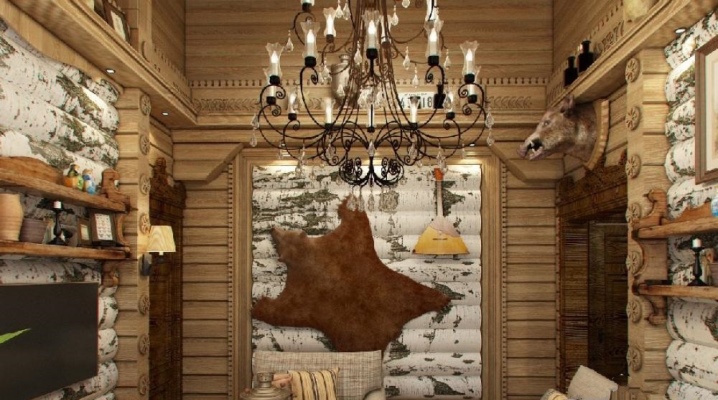
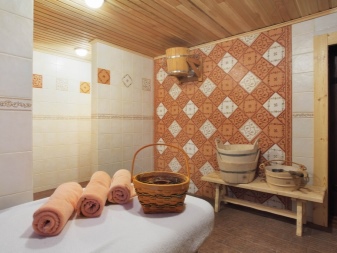
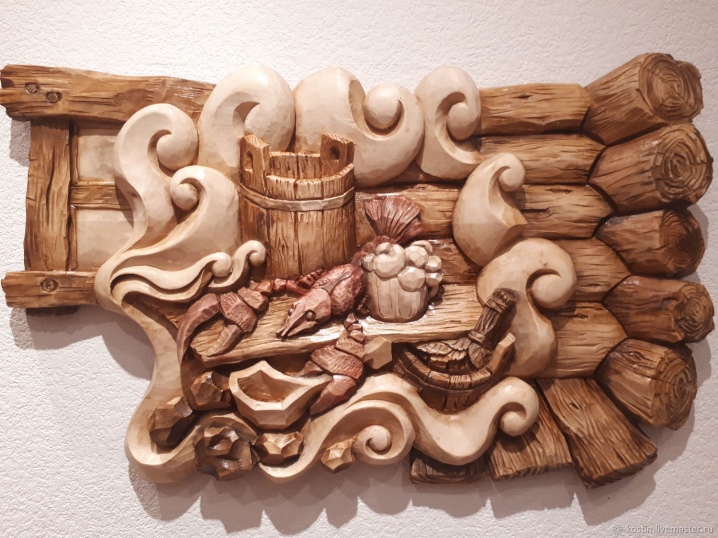
Quite typical is panel for a bath, made using the carving technique... Deliberate roughness of work only gives it a certain zest. The panel depicts the interior of the steam room itself with traditional brooms and tubs, surrounded by steam, the unusualness of which is added by the cancer lying on the bench. The composition is made in natural shades, and therefore will easily fit into any bath interior.
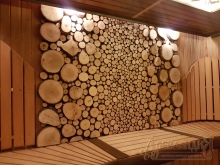
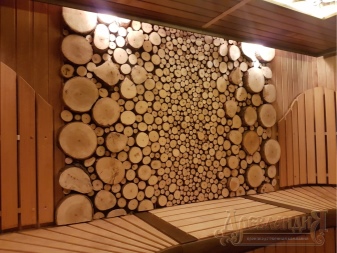
A more modern solution would be to decorate the recreation area. panel from saw cuts, designed in the shape of a big bear. Both large and very small wooden blanks are used in the work.

For information on how to make a panel for a bath with your own hands, see the next video.


The comment was sent successfully.