Wall cladding with OSB-plates inside and outside
Wall cladding with OSB slabs with lathing for finishing allows you to quickly prepare a residential building for subsequent finishing. Installation of OSB on different types of frame is carried out taking into account the peculiarities of their orientation, size, bearing capacity of the base. In the absence of experience with how to fix the panels, how to close up the joints of OSB-plates, it is worthwhile to familiarize yourself in advance so as not to encounter problems in the process of performing the work.


Peculiarities
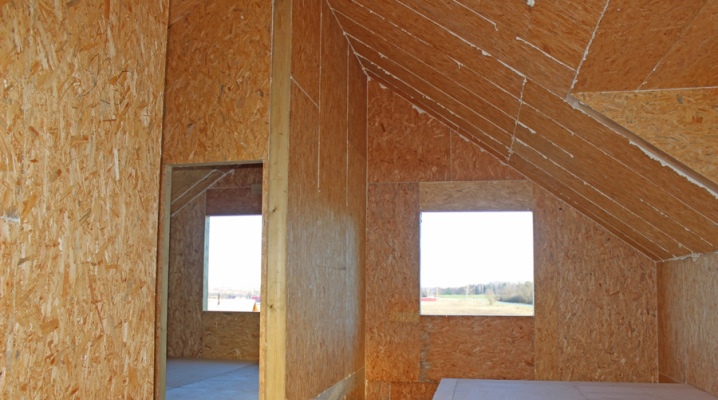
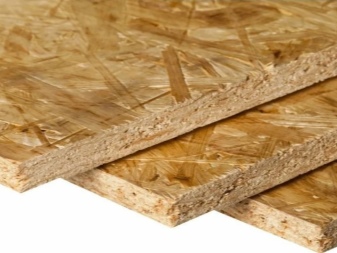
Wall cladding with OSB panels has gained popularity in the field of frame construction. Such a coating allows in a short time to ensure the construction of a house under a roof with the installation of walls outside and inside the building. The board is glued with resinous substances, formed under pressure, consists of 3-4 layers of chips, laid in different directions.
As a material for cladding walls of buildings and structures, OSB is used as widely as possible in both residential and commercial construction. This compares favorably with plywood or chipboard, which are difficult to adapt to outdoor use. The material is durable, easy to cut to size. Some boards are available with a ready-made flame retardant impregnation, they may not have a smooth edge, but a ridge or tenon-groove connection.
How to calculate the number of slabs?
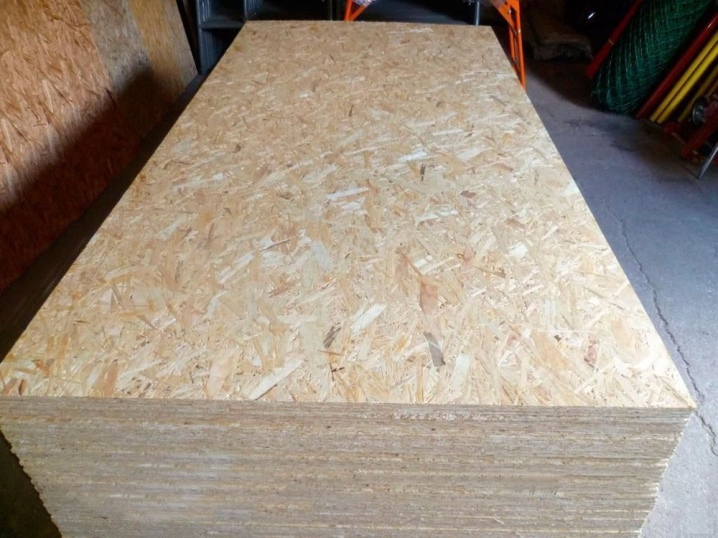
When choosing OSB as a material for wall cladding, accurate calculation is very important. The main standard sizes depend on the production standard - European or American, are divided into:
- 2440 × 1220 mm (USA);
- 2500 × 1250 mm (EU).


Modules of non-standard sizes, with increased length or width, are sometimes produced on an individual order. The easiest way to plan the number of plates is with lined paper in a cage. The easiest scale to take is: 250 mm for 1 cell of European material and 300 mm for American material. Taking into account these indicators, a wall plan is drawn, slabs are indicated on it.

The docking method is also taken into account when planning. For example, under siding or gypsum board, you can mount the material with non-factory edges. For painting, it is required to provide more accurate geometry. For this, the plates are connected exclusively according to the cuts provided by the manufacturer. The fewer joints there are, the better, so they try to use the sheets as a whole.

When calculating the material, it is important to provide a margin. This will help to avoid problems when detecting defects or errors in cutting. If you don't want to waste time building drawings, you can simply divide the wall area into similar parameters of 1 sheet - this will determine their number. In this case, an additional 20% of the material is laid for unforeseen expenses.

Choice of materials
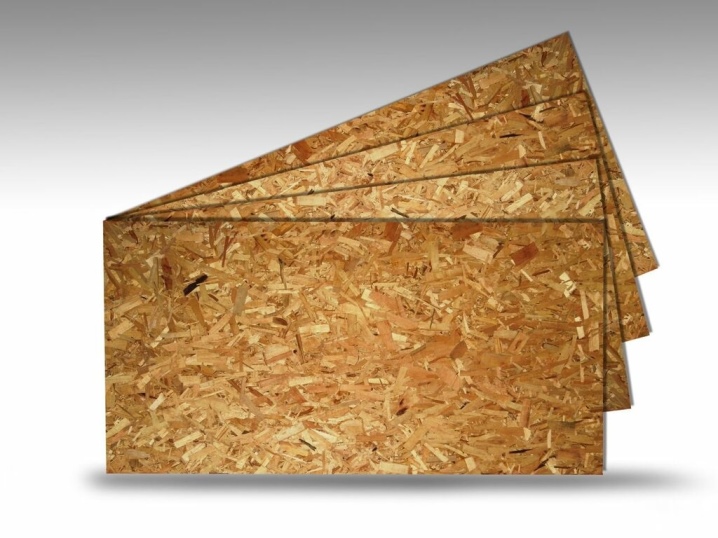
It's not just size that matters. When planning to choose OSB for cladding external walls, it is worth considering slabs, the thickness of which starts from 12-16 mm. They have a greater bearing capacity and provide high strength. For interior work, you can take materials with a lesser thickness. In addition, it is customary to choose OSB-plates in accordance with their classification.
- OSB-1. Material intended only for rooms with low humidity levels. The bearing capacity is low.
- OSB-2. Structural panels with improved load-bearing capacity. Designed for use in dry environments only.
- OSB-3. A versatile board for use in exterior cladding or as a base for walls inside a building.Suitable for rooms that require increased moisture resistance of the materials used - bathroom, kitchen, bathroom.
- OSB-4. The most durable and moisture resistant boards. The material is well protected from the effects of atmospheric moisture, withstands significant operational loads.


In the outer cladding, only class 3 and 4 slabs are used. The rest are well suited only for interior work. The higher the number of storeys of the building, the thicker the slabs should be. A country house for seasonal use can be sheathed with OSB 6-8 mm. For interior decoration, only E1 class panels with a minimum formaldehyde content are chosen.

Finishing technology
You also need to be able to properly attach OSB boards to the surface. If the building is constructed of monolith or slabs, the slab can be screwed directly to the concrete surface by pre-drilling the holes and inserting dowels if necessary. Continuous installation is used if you just need to level the surface for finishing, to improve its heat-insulating and sound-insulating characteristics.

Similarly, you can attach the material to the wall from the foam block, screw it to the wooden base - here you can do without pre-drilling, nail the plates with nails or fix with self-tapping screws. A frame in the form of a crate is used when installing panels inside and outside. Plates can be mounted to a metal or wooden profile, slats. This mounting method allows the following.
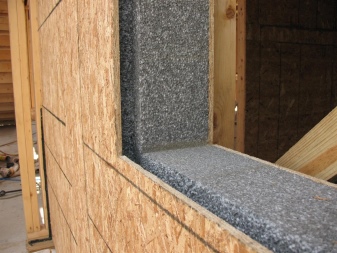
- Insulate the walls. OSB is laid on top of a thermal insulating layer to protect mineral wool or expanded polystyrene from external influences. The method is suitable for outdoor and indoor work.
- Sheathe walls in frame construction. In this case, the walls are formed on both sides of the base. Outside, they protect the insulation from precipitation, wind, and from the inside, they prevent it from shrinking. Also, the OSB-plate in this case performs load-bearing functions.
- Level the surface of the walls. This is necessary for the repair and restoration of old buildings, the walls of which cannot be strengthened. Outside, a crate is made, to which the plates are attached, decorative trim is mounted on top of them.


For outdoor work, the frame is most often assembled from wooden blocks with a cross section of 50 × 50 or 40 × 50 mm. Non-planed lumber made from spruce, pine is suitable. Inside buildings and structures, metal profiles are used, similar to those used for the installation of gypsum board.

Outside
Do-it-yourself wall cladding outside involves the use of windproof, moisture-proof films or membranes. They are fixed with a ventilation gap recommended by the manufacturer. The step of the crate also matters. When insulating walls, it is calculated according to the width of the insulation minus 20 mm. In other cases, the frame supports are positioned so that sheet joints fall on them, intermediate elements are located at a distance of 600 mm or more.

The order of sheathing the outer walls of OSB will be as follows.
- Preliminary work. With cosmetic repairs, you can partially remove the old wall covering, and then clean them of dirt and dust. It is also worth removing hanging objects and elements of communication systems from the walls.
- Preparation of the base. In some cases, reinforcement may be needed, including on the foundation, sealing cracks, antiseptic treatment of areas affected by fungus and mold.
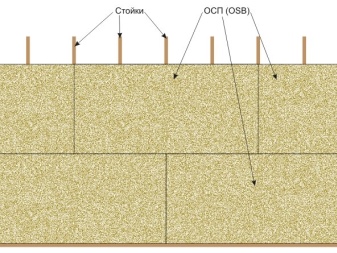
- Installation of the frame. The bars are mounted in one plane, most often in a vertical one. At the top and bottom of the connection, you can reinforce them with corners. Corner elements are always placed first.
- Warming. If provided, between the elements of the crate, sheets of heat-insulating material of suitable size are inserted. It is important that the insulation is held tightly even without additional fixation.
- Fastening the vapor barrier. It will prevent problems with air circulation, ensure the removal of moisture from the insulation.On top of it, counter-rails are mounted, simultaneously ensuring the creation of a ventilation gap and acting as a place for fixing wood-based panels.
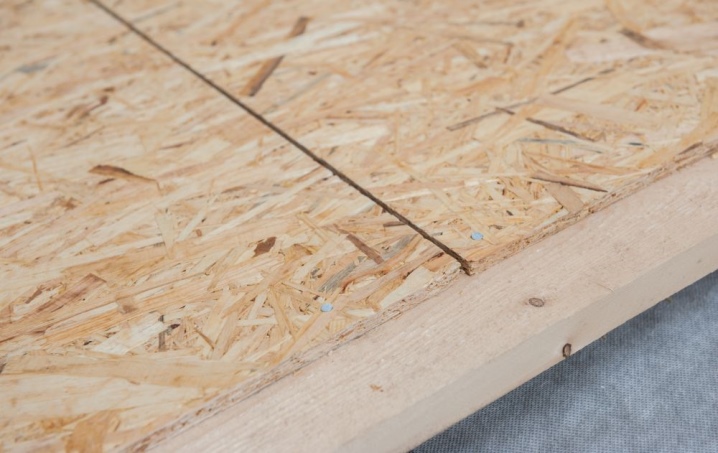
- Installation of 1 row of OSB. Typically, the sheets are placed vertically with the right side out. Only slabs up to 9 mm thick are mounted horizontally in one-story buildings. In this case, the lathing is also attached longitudinally. The first element is mounted from the corner of the building with a gap of 1 cm from the foundation, laying a rail or starting profile. Fastening is done with a step of 10-15 cm, the gap between adjacent plates is left at 2-4 mm.
- Fastening subsequent rows. Each level is fixed with an offset of 1 step. On adjacent sections of the walls, the installation of the plates is carried out with an overlap, so that a straight joint is obtained. The second floor is sheathed according to the same pattern, but with an offset so that the seams on each of the tiers do not match exactly.

The choice of fasteners is determined by the type of frame. For steel, aluminum profiles, self-tapping screws are used for metal, in other cases - for wood. The optimal length of hardware varies in the range of 25-45 mm.
They must be screwed in strictly in one direction, otherwise during operation the material will be subjected to loads leading to its warping. The hats sink into the base flush.

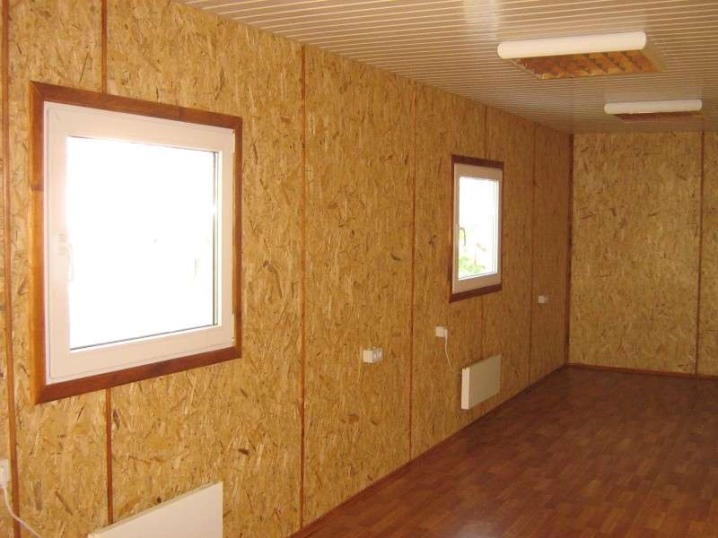
Inside
When working inside buildings and structures, OSB flooring technology will have some differences. In this case, the wall cladding is carried out according to the profiles. Metal ones are mounted on top of a concrete or brick base, a wooden block inside a log. With a noticeable curvature of the walls, you should pay attention to the drywall fittings, which help to level all the height differences. Indoor installation of OSB-plates differs little from the work of fixing them outside the building. But some subtleties still have to be taken into account.
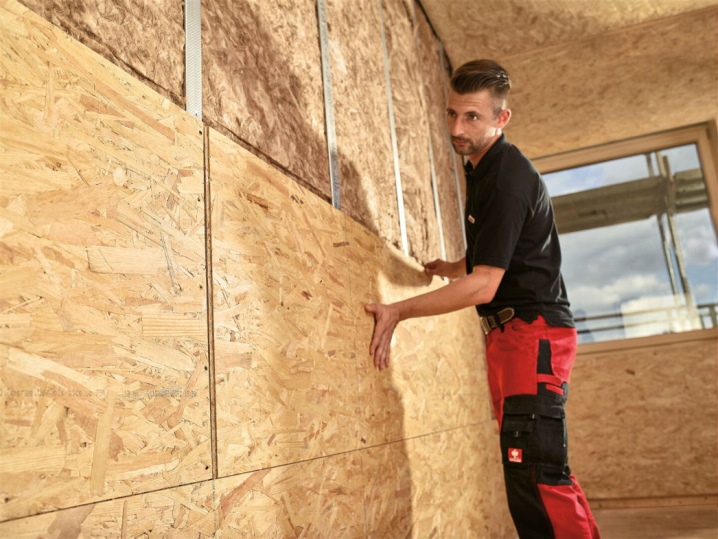
- Installation of lathing racks. It is carried out with a pitch of 400-600 mm.
- Fastening plates with screws or nails. For the metal frame, you will need special hardware.
- The size of the gap maintained between the slabs is 3-4 mm. An indent of 1 cm is formed from the ceiling and floor.
- You need to fasten screws or nails at least 10 mm from the edge of the plate, in increments of 100-150 mm. In the central part of the slab, the pitch is increased to 300 mm.
- Inside buildings, the slabs must be placed vertically. This minimizes the number of joints.

Sheets must be turned with the front part inside the room. This surface has a lacquered sheen, the chips are larger here than from the inside. With OSB-3, OSB-4, before the subsequent finishing, you will have to grind the moisture-resistant impregnation. To avoid unnecessary problems, the purchase of slabs designed for indoor use from the very beginning will help.
It is important to remember that the interior cladding of the house is always started only after the exterior walls are ready. For a frame house, it is better to choose OSB-3 for all stages of work, which is suitable for both the bathroom and the external wall cladding.
How to close up the joints?
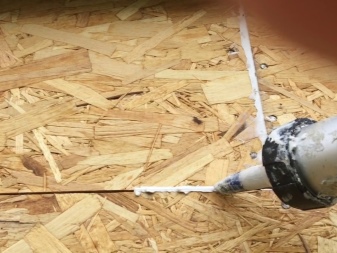
The mounting gap between the sheets must be preserved. But upon completion of the fastening, it will have to be repaired. The easiest way is to close the seams outside the building with elastic fillers. They can be used to cover up gaps up to 5 mm. It is important that the composition is intended for outdoor use.
You can also make a putty yourself. For this, PVA glue is mixed with small waste from carpentry work. The composition is not completely moisture resistant, it is better to close the gaps treated with it with thin strips or overlays. Among the ready-made mixtures, sealing compounds of the "warm seam" type are also distinguished, with a large gap, laying a special cord inside.

For more information on installing walls with OSB plates, see the video below.


The comment was sent successfully.