How to solder headphones?

How to solder headphones correctly and easily, connecting 3-5 wires according to the scheme, with and without a microphone - this question is asked by all fans of electronic gadgets. Most of these devices use accessories that cannot withstand even the slightest careless handling. It is quite possible to fix a breakdown with your own hands, but before you solder thin wires to the plug correctly, you should understand the methods and features of this process.
The ways
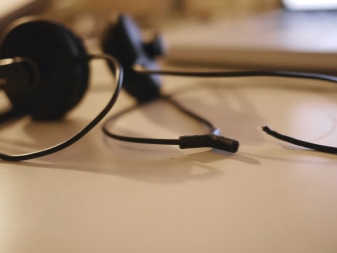
The main reason for headphone breakage is wire break... It is he who does not allow you to listen to music or use a headset with a microphone in normal mode. A break can occur in the immediate vicinity of the plug or at the point of contact with the speaker. Before soldering the headphones and connecting the wires together, you need to find a place where the damaged area is localized.
Diagnostics is performed both manually and by instrumental method.

Among the methods of soldering headphones are the following.
- Solder and rosin. Pre-tinning is useful if the wires are connected to the contact pads. In this case, a soldering iron is usually used.
- Solder paste. It allows you to ensure a reliable connection of the wires if the break is in the middle of the connecting cable. In this case, before soldering, the core elements are twisted together, covered with solder paste and heated until the composition melts.
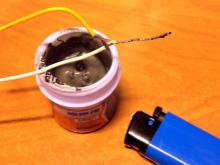
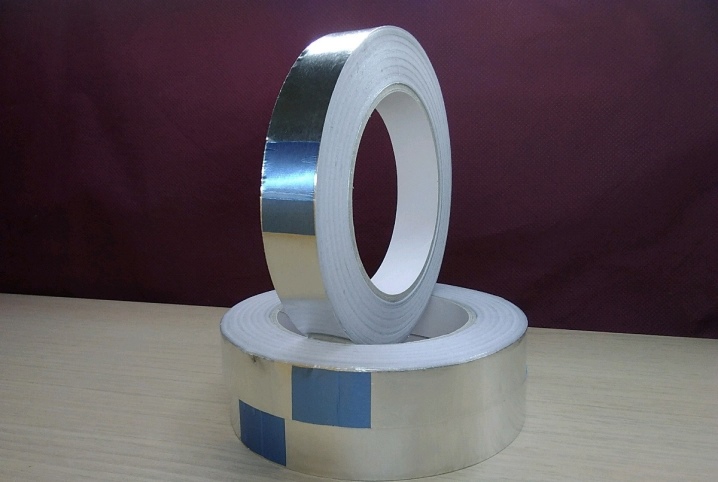
Also, instead of paste, special foil can be used - a flat element already containing rosin and solder. Such a tape is wound on the surface of the area to be joined and also warms up and then insulates.
What is required?
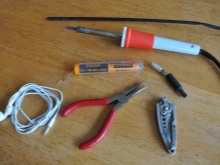
For self-soldering of headphones at home, you need to prepare a set of tools and materials.
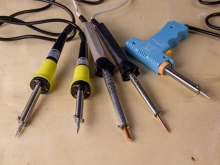
- Soldering iron... For soldering thin wires, a low-power soldering iron with a copper, ceramic or nickel-plated tip will suffice.
- Power supply. An outlet and extension cord if the wire is not long enough.
- Flux... Ordinary rosin is suitable for home use. It will allow you to properly tin the soldering iron and wire contacts.
- Solder. Tin-based compounds in the form of wire, tape, paste are usually used. When choosing the last two options, you do not need to buy a flux separately.
- Stationery knife for cutting paper.
- Expendable materials. Additional wires for replacement, plugs, if the existing option has become unusable.
- Diagnostic multimeter... With its help, you can find out exactly where the fault is located.
- Electrical tape or special tubular thermal insulation.
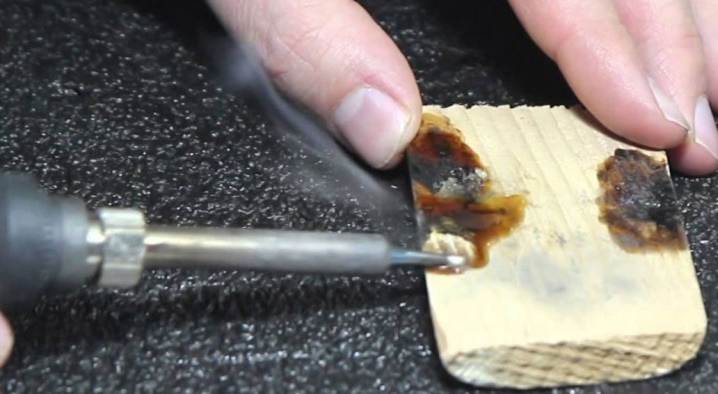
Since soldering involves working with a tool that heats up to high temperatures, it is necessary to pre-equip a place to perform these tasks.
A special silicone mat will be useful, which can be laid on any flat surface. For a soldering iron, it is better to stock up on a special holder. A piece of felt will be useful for tinning the tip during work; you can clean it on a pine block during work.
Step-by-step instruction
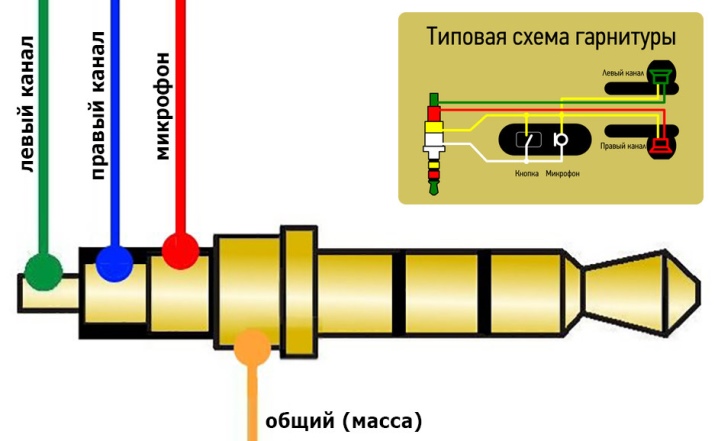
The scheme for self-soldering the headphone wires is pretty simple. The procedure does not change depending on the number of speakers, the presence of a Bluetooth connector and a microphone. In work, accuracy and accuracy are very important: it is quite difficult to solder correctly thin wires comparable to a thread in thickness. In total, there are 3 contacts in each core:
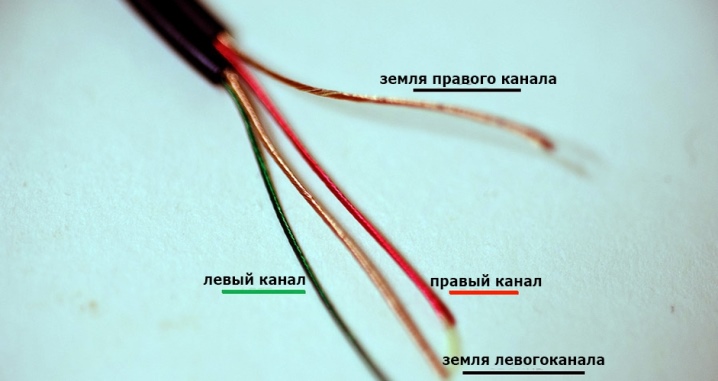
- 1 or 2 wires in a varnish sheath without braiding (1 per channel) - grounding;
- green - left;
- in a red braid - right.
If the headphones act as a headset, the shade and number of elements may differ. They usually contain 4 wires: for the left and right audio channel, common (-) and for the video channel.
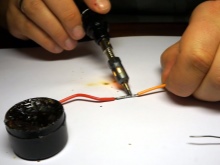
Soldering wires at the break
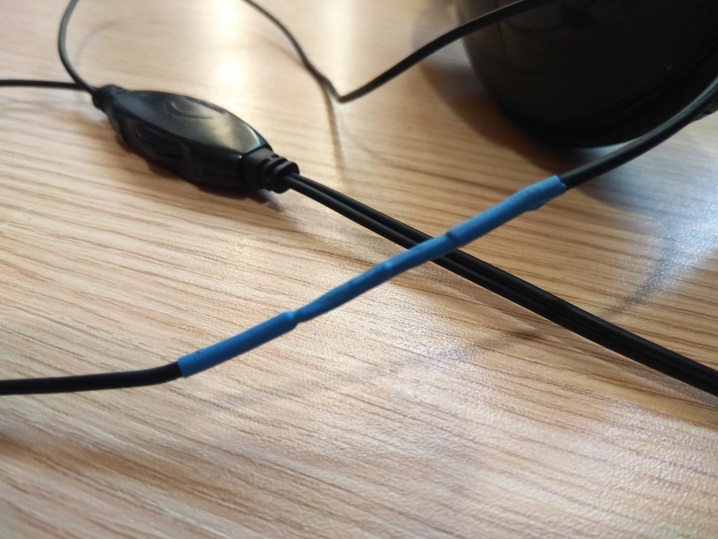
If damage occurs on a long section of the wire, to eliminate the malfunction, you will have to cut off a part with a length of 20-30 mm in the place where the lack of contact was detected. With the help of a clerical or construction knife with a beveled blade, the cable insulation is stripped; if electrical varnish is present, firing is used to remove it.
All wires inside are divided by color into 2 channels - for each headphone, the common grounding conductor has no insulation or is placed in a yellow braid.

Further, it remains only to tin and solder the ends of the wires that correspond to each other. If a thermotube will be used for insulation, it is put on the cable in advance. In other cases, tape is used.
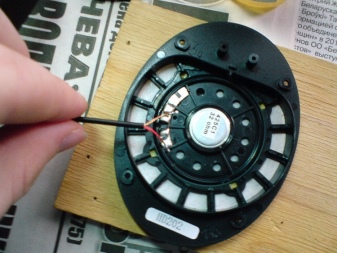
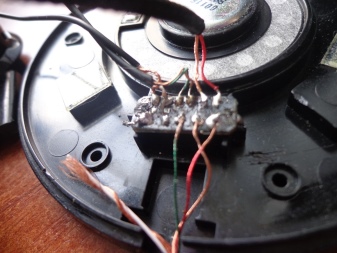
Soldering the speaker
When damage is localized in the dynamics of the headphones, the repair begins with dismantling their case. Care must be taken not to damage the board. By freeing the contact pad, you can visually detect the breakage point. It is stripped of solder, the ends of the wire that have come off, too, then they are covered with half and connected. After completing the soldering, all that remains is to assemble the earpiece and check its performance.
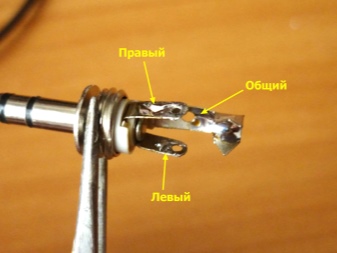
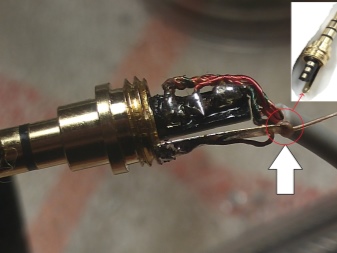
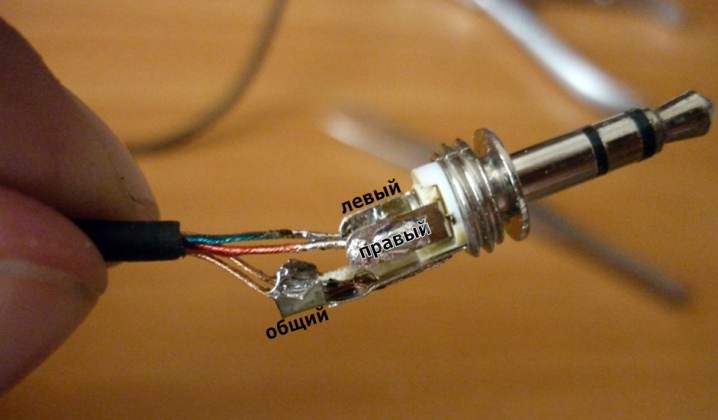
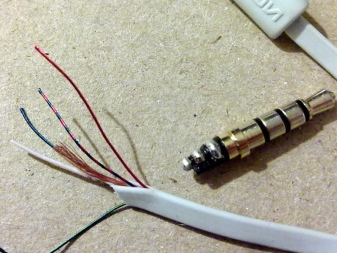
Soldering at the headphone jack
The repair procedure in the case of localizing the problem in the area of the headphone plug is quite simple.
- The soldering iron heats up to the melting point of the solder.
- Above the plug, 0.5-1.5 cm, the wire is cut.
- The free end is split into separate elements. Each wire is stripped.
- By firing or mechanically, with sandpaper, the varnish is removed from the ends of the bare core.
- The old plug is disassembled with a clerical knife at the seam. It is needed for the correct pinout of the wires. If you do not plan to change the part, you will have to free the old plug from the insulation. In this case, you must first remember the location of the contacts.
- Thread the wires into the plug housing together with the heat shrink tubing. Tinning their ends.
- Solder the wires to the contacts. Check functionality.
- Insulate the surface. If the heat shrink tubing was previously used, it will remain warm. You can replace this option with ordinary electrical tape.
Headphone repair completed.
Soldering at the headset connector
This connector has 5 wires, 1 of which is for the microphone.
The main problem with soldering is precisely in determining the order of connecting the contacts.
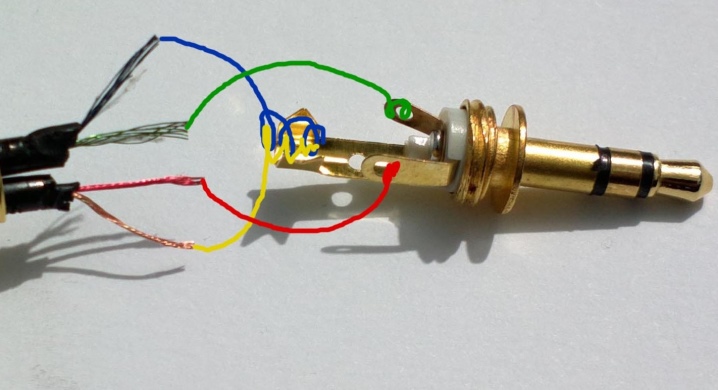
For all headsets released after 2012, the procedure for attaching wires from the edge of the plug is as follows:
- red M + (microphone);
- yellow M-, on the other side of it, the ground is fixed, it is of the same shade;
- green - right earphone, blue - left.
This color scheme is considered standard, but individual brands may vary the color of the braid. It is important to note that the microphone pins are located on one side of the connector, and for grounding and headphones are fixed on the other. The rest of the soldering procedure is similar to the standard one.
There are also variants of headphones, which have 6 wires for 4 contacts. Usually such a set is found in models where a block with a button is installed. All wires with yellow / copper inclusions in this case refer to ground. The rest correspond to the microphone, left and right earphones.
Recommendations
If the wires are broken, you can find a malfunction not only with a multimeter. The simplest diagnostics, especially if the connection was subjected to shock, strong stretching, is a manual check. Having bent the wire at a right angle, you need to feel it along its entire length, leaving the headphones turned on.Where the change will appear in the speakers will be the wire break area.
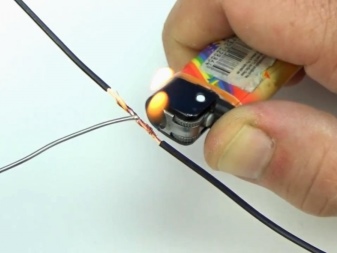
If you cannot repair a damaged earphone with a soldering iron, the necessary equipment is not at hand, you can cope without it... When the break point is located on a long section of the wire, you can temporarily connect the cable with a twist, having previously stripped it of insulation. You can increase the reliability if you use solder paste or foil, and then warm up the area to be repaired with a lighter. The connected places are covered with electrical tape.

If there are remaining traces of solder on the contact pad and the ends of the wires, they can be warmed up by making an improvised soldering iron from ordinary copper wire or a nail.
By warming up the tip of such a "tool" on gas or in a candle flame, you can temporarily restore the integrity of the connection. It is only important to remember that such soldering will not last long, subsequently it is necessary to carry out the procedure again, with stripping and applying a fresh half-day to the cable veins.... All temporary repair methods are emergency measures, they do not guarantee the preservation of the achieved result for a long time.
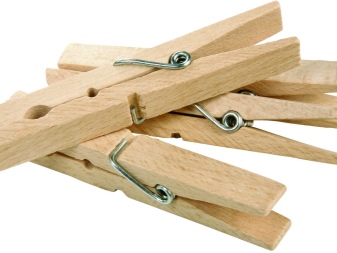
When soldering headphone wires, regular office clips or wooden clothespins can be helpful. They will play the role of mini-clamps, facilitate fixing of the part, and prevent injury from close contact with the red-hot tip of the soldering iron. This accessory is especially useful when repairing breaks in the plug area.
When diagnosing damage, you need to pay attention to the nature of the malfunction. If the break is incomplete, when the wire position is changed, the sound will be restored or noise interference will appear in the faulty channel. In the absolute absence of contact, the most accurate place of damage will be shown by a test with a tester.
See how to solder the headphone wires below.


The comment was sent successfully.