Tiles in the kitchen: design options and installation recommendations
If tiles become the facing material of the kitchen, many nuances have to be taken into account so that the appearance of the interior is beautiful and harmonious. Let's take a closer look at the nuances of the material, its varieties and rules of use in a particular style.

Material features
Facing tiles are considered one of the most relevant materials for finishing vertical and horizontal surfaces. Today it has a wide range of varieties and is characterized by a mass of color shades, which greatly simplifies the purchase and allows you to find an option even for the most demanding buyer. The finish itself differs in the type of structure, it can have a different thickness and caliber.
This is convenient because the customer can choose the right size in order to minimize the amount of cutting during the stacking process.
In addition, the tile is characterized by water absorption, resistance to temperature drops and household chemicals. Depending on the type of material, tiles are characterized by varying degrees of fire resistance and have different bending strengths and tensile strengths. In general, this type of finish is specific due to its fragmentation. It has inter-tile seams, which are a "sore spot", complicating care.
From an aesthetic point of view, the seams can be called a lack of material due to their visual fragmentation of space. Of course, this nuance can be played up with the peculiarity of the form and the compositional approach to the cladding. However, the fact remains: division into fragments requires a more careful selection of the elements of the arrangement.
In addition, this forces the dosage of the amount of wall and floor cladding, as well as a more careful approach to the issue of combining wall and floor finishes.

Depending on the type of tile, it can have a different basis for laying. For example, the cladding can be applied to drywall, plywood, plaster, old tiles and even previously painted subfloors. However, such material should not be placed on aerated and foam concrete, as well as OSB. As for the shape of the dies, they can be:
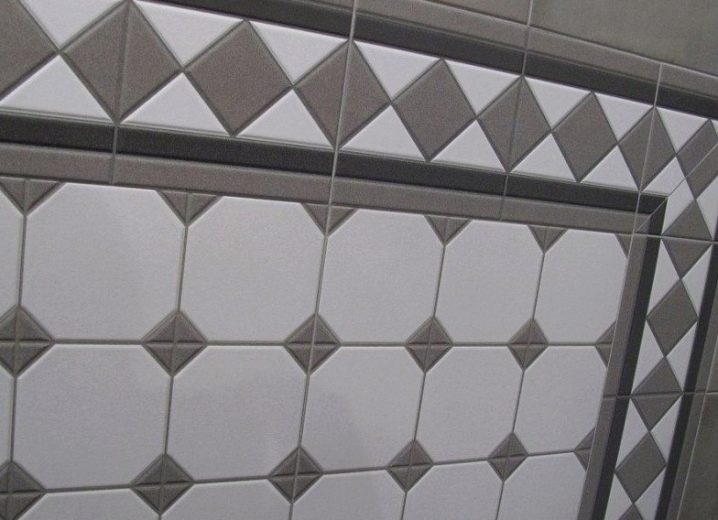
- traditionally square;
- rectangular;

- rectangular-half (halves of a square);

- triangular;
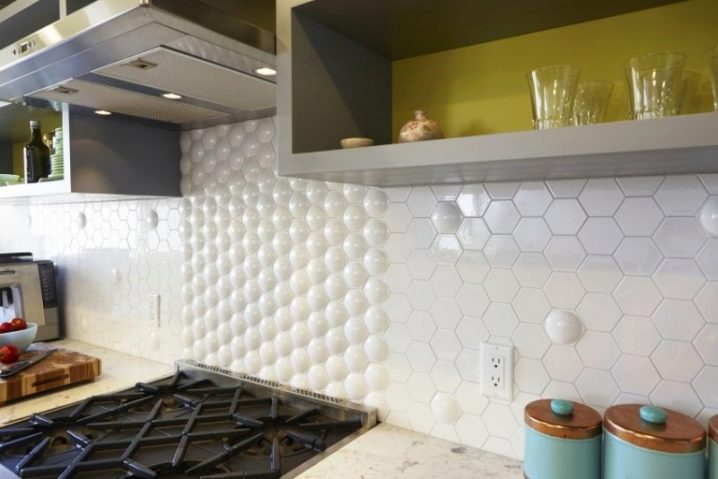
- hex;
- tetrahedral, which are halves of hexagons;
- octagonal.
The material needs to be calibrated, since any deviation from the geometry will affect the final result, whether it be wall or floor cladding. The tile is difficult to dismantle, this process requires a lot of labor and is accompanied by a long period of time. It should also be noted that when facing both the floor and the walls in the kitchen, you will have to select the material, taking into account the harmonious combination and uniform style. In this case, the wall decoration will have to be dosed, placing it, for example, in the area of the kitchen apron.
If the entire floor area is tiled, you cannot create wall panels from the dies.
Varieties
If we classify tiles by production method, we can distinguish two lines: pressed and extruded. The first is created on special equipment by pressing the charge (plastic mass). It is pressed into the required shape, and then fired, resulting in high quality and durable dies.Analogs of the extruded type are produced by the method of forcing a plastic mass through a special hole, then the slab is cut and fired. Conventionally, kitchen tiles are divided into two large groups: wall and floor. Each of the categories, in turn, is divided into subspecies with characteristic characteristics. Floor tiles have a lot of variations. For example, these include:
- porcelain stoneware created by pressing from press powder;

- porous, made by a single firing;
- unglazed metlakh, produced by pressing with a single firing;
- glazed, with a layer of protective enamel;
- unglazed ceramic painted with pigments;
- cotto, highly porous clay version;
- clinker, high-strength variety with high quality characteristics;
- monocottura, option with glaze and low water absorption;
- bicottura, with a lower density and greater thickness.
In addition, the floor tiles can be synthetic. Dies of this type are divided into several categories:
- carpet (interpretation of carpet that needs to be glued to the floor);
- PVC (fragmentary type with a high coefficient of friction);
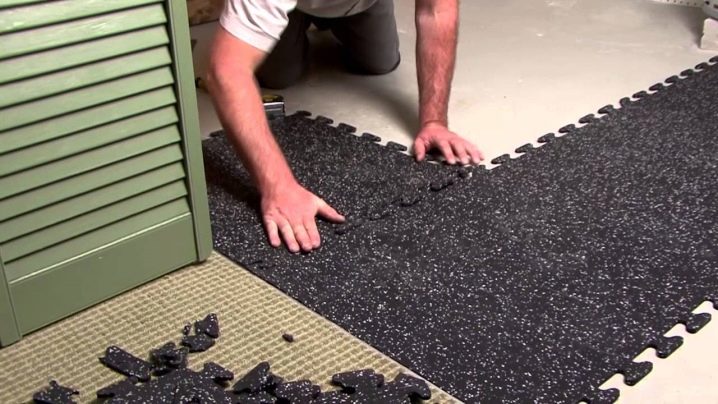
- rubber (wear-resistant version created from old tires, stacked by means of bushings);
- quartz vinyl (eco-friendly tiles with mineral filler).
In addition to these modifications, the tile is cork. It is made from crumbs of various types of trees. This variety can have a natural or decorative surface created by means of synthetic materials. Glue it with rubber glue. In addition, floor tiles can be marble and granite.
As for the varieties for the walls, such tiles are less thick. Wall tiles are of high quality and reliability. Such tiles are covered with glaze (a special glass layer that protects the surface from dirt). The tile is divided into several varieties. These include:
- majolica with two firing, especially resistant to aggressive environments;
- terralia, which is made from valuable varieties of clay, sand and flux;
- cotto (Tuscan tiles), made from clay mined in the Mediterranean and Central America regions;
- clinker, considered the hardest type of wall tile;
- gres, which is ceramic granite.
Among the wall varieties, the best options demanded by buyers are glazed gres and clinker dies.
Color spectrum
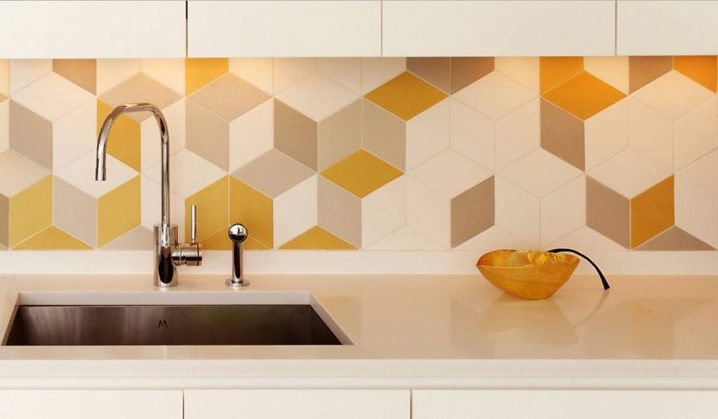
The choice of this or that color scheme depends on the style of the kitchen, taken as the basis for the interior composition. Today, brands offer a lot of color solutions, through which you can not only diversify the design, but also emphasize its uniqueness, as well as place accents in certain places. The choice of color solutions is varied: both light and dark tiles are in demand. This palette is neutral, natural and vibrant.
Light colors (for example, white, yellow, beige) can add visual space to the atmosphere of the kitchen, and bright ones (green, orange) relieve the interior of boredom. Dark shades (brown, steel, black) bring brutality to the kitchen design. It is easier to trace the relevance of a particular shade using the example of a specific style.
Style options
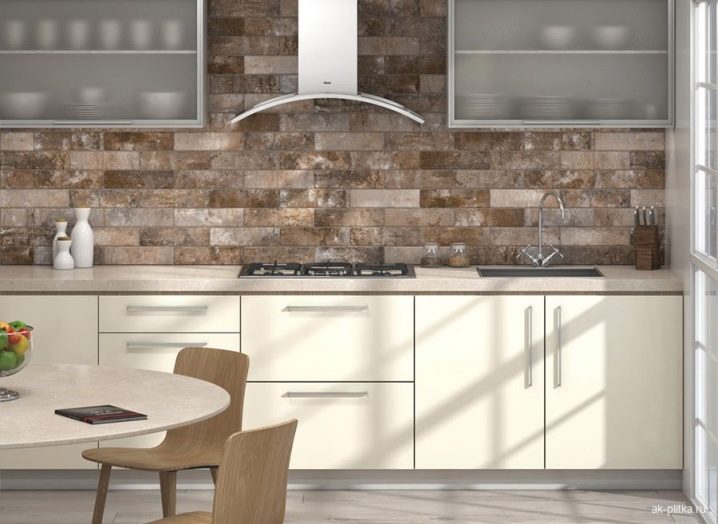
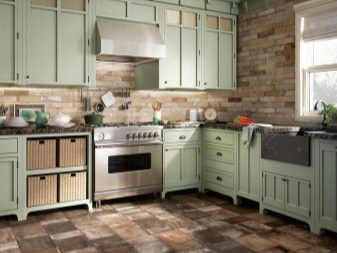
As for the harmonious infusion of tiles into a particular kitchen interior, there are some nuances here. Taking into account the style, you can bet on specific shades to which the chosen branch of design gravitates. For example, a loft or grunge tends to showcase an inhabited industrial facility. The favorite tones of these directions are gray, brown, brick. In principle, they should repeat the rough finish (concrete, brick, metal).
If the kitchen already has such tones, you can highlight the apron with tiles, taking as a basis the white color and the most laconic dies.
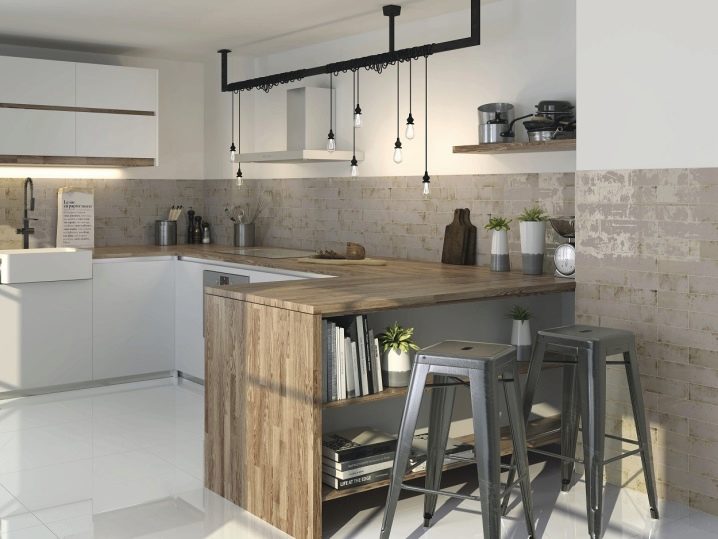
For modern trends design requires light and space. This can be done with tiles in white, beige, silver, cream shades. In addition, light shades of pastel colors (peach, blue, pink, lavender, pistachio, light green) will be relevant here. The classic style (classic, neoclassic, classicism) needs light beige and white tones that fill the atmosphere with space and light.
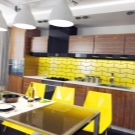
Dark materials are chosen for the floor, as well as the design of accent walls, if creative style requires it. For example, it can be dark tiles with a metallic texture. Dark tiles look good in the directions of brutalism, hi-tech, bionics and modern. Moreover, for a harmonious combination, it can be used to decorate either the floor or the wall. Other popular tile shades include yellows, reds, oranges and multi-colored patchwork dies.
How to do the styling correctly?
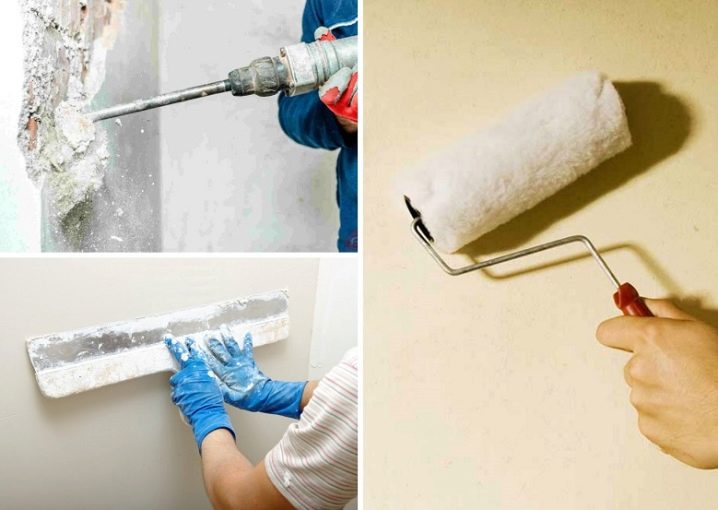
Cladding involves the implementation of a whole list of works. They begin with a thorough preparation of the base (walls or floor), since for a high-quality result it must be perfectly flat. Remove everything from the base that can reduce adhesion, get rid of irregularities, bumps, cover up pits and cracks.
In addition, in the process of preparing the working surface, the base is impregnated with a primer solution to enhance the adhesion properties.
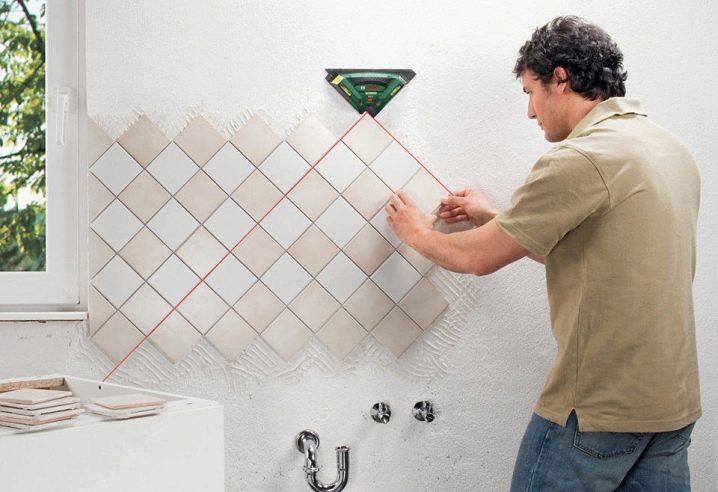
An obligatory stage of the work is the preliminary layout of the tiles, taking into account the planned pattern (for example, honeycombs or panels). It will allow you to calculate the required number of dies and determine where to trim. Tiles are taken with a margin of 10-15% of the required amount. This will eliminate the likelihood of a lack of material in the event of a marriage.
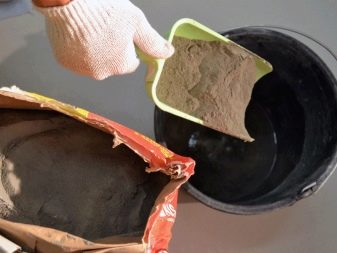
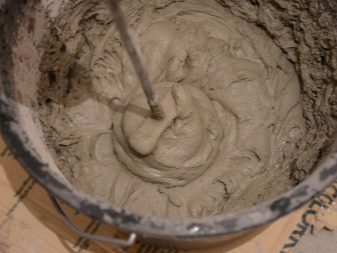
After the base is dry, you can start working. You need to put the tiles on tile glue, which is diluted to a pasty consistency in the proportions indicated on the packaging of the building material. If it is a cement mortar, PVA glue can be added to it, which improves the quality of the tile adhesive. The life of the solution is short, so you can't hesitate in work.
Layout is performed by distributing the glue both on the base and on each plate. In this case, a notched trowel is used, removing excess adhesive with it. To lay out the tiles evenly, use a metal profile, equalizing the first row along it. It is easy to put modules with the same seams if you use special clamps or plastic crosses for this.
The size of the latter is selected based on the size of the facing dies (the larger they are, the larger the seam gap can be).
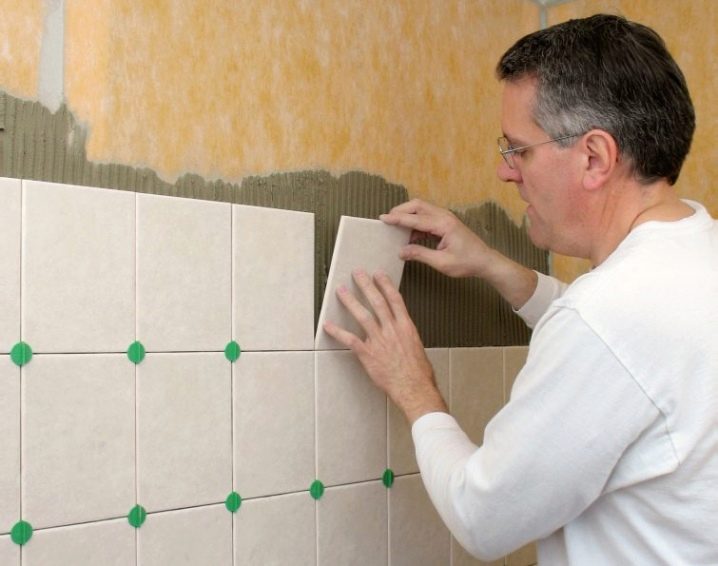
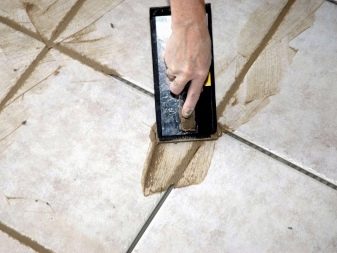
As you work, immediately remove the glue that falls on the front side of the dies. It is absolutely impossible to scrape it off with a spatula when it dries up. After the last module has been laid, the surface is left to dry for 24 hours. After that, you can grout the joints using a special grout mixture in the desired color.
Grouting is done with a rubber trowel. After it dries, the remnants of the grout mixture, dried on top of the tiles, are removed with a regular soft sponge. In order to increase the resistance of the joints to operating conditions, the surface can be treated with a special spray. This completes the installation work.
Care
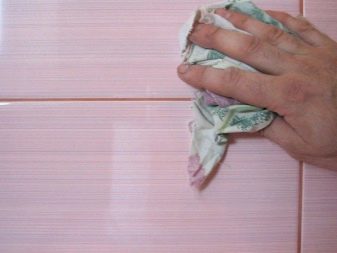
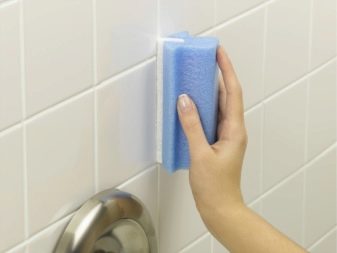
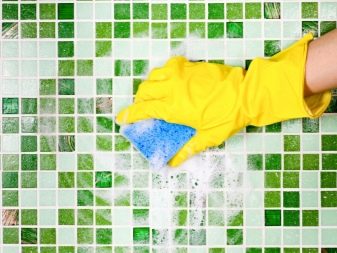
Care of the lined surface consists in the timely elimination of dirt and greasy stains. Usually it is enough to wipe the surface with a damp cloth. It is not necessary to fill the cladding with water - this is harmful to the seams of the finish. You should not be zealous with aggressive chemistry, as this will impair the aesthetic appeal of floor or wall decoration. It is unacceptable to peel off fat from the surface, as well as scrape it with a knife: this may cause scratches on other types of cladding.
For carpet tiles, they are vacuum cleaned.
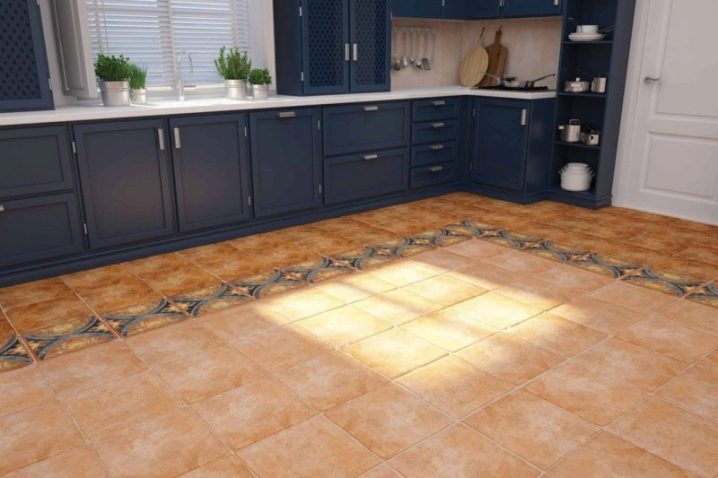
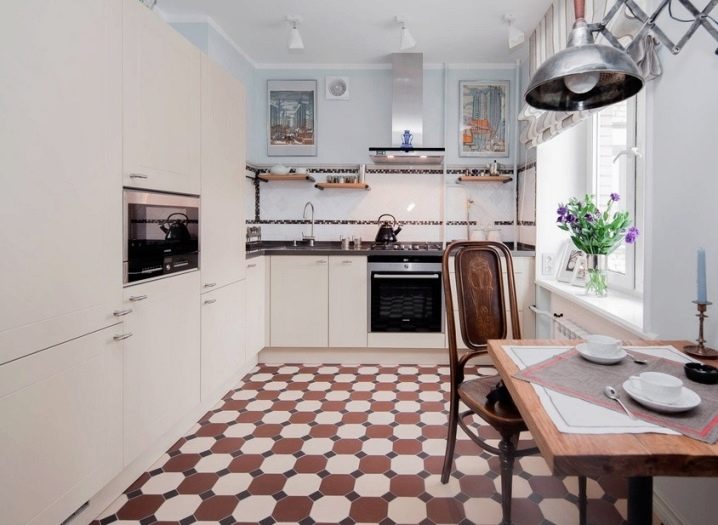
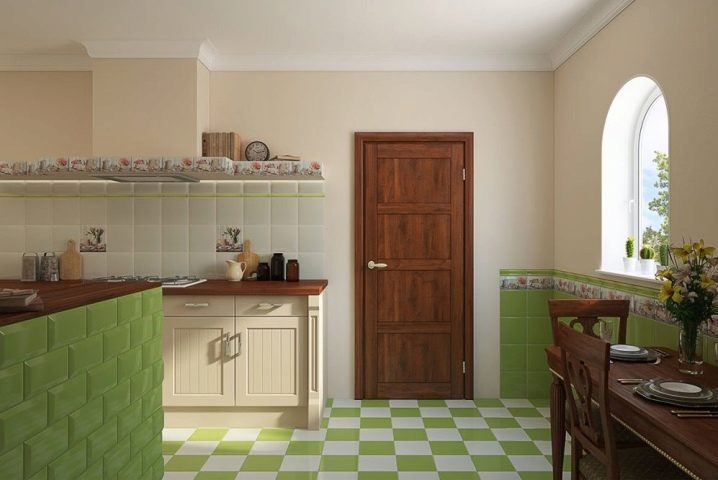
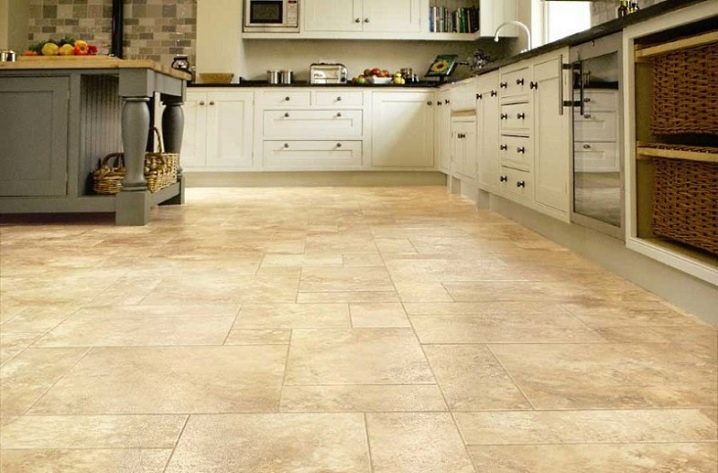
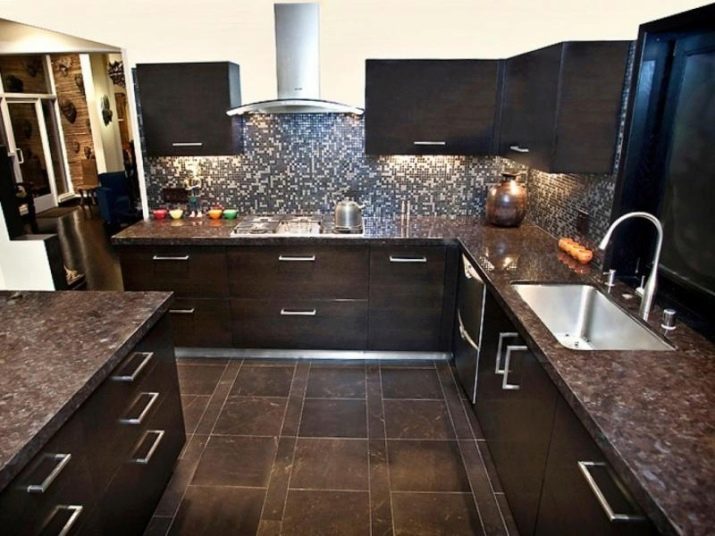
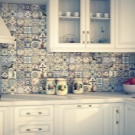
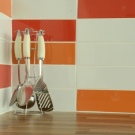
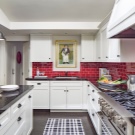
Interesting examples
Let us turn to examples of photo galleries that clearly demonstrate the relevance of this or that cladding in the design of the kitchen.
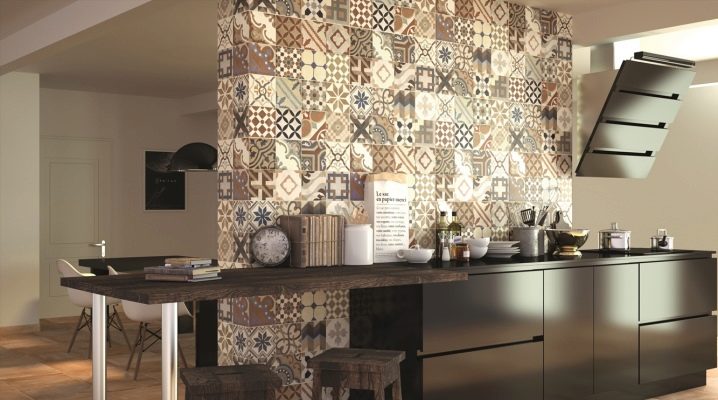
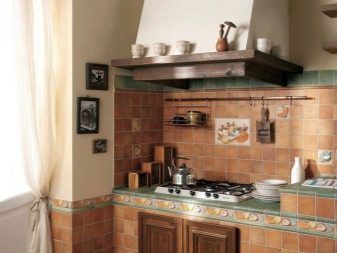
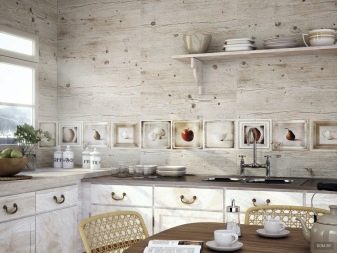
- Moroccan style accent wall decoration.

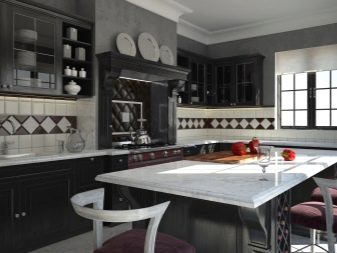
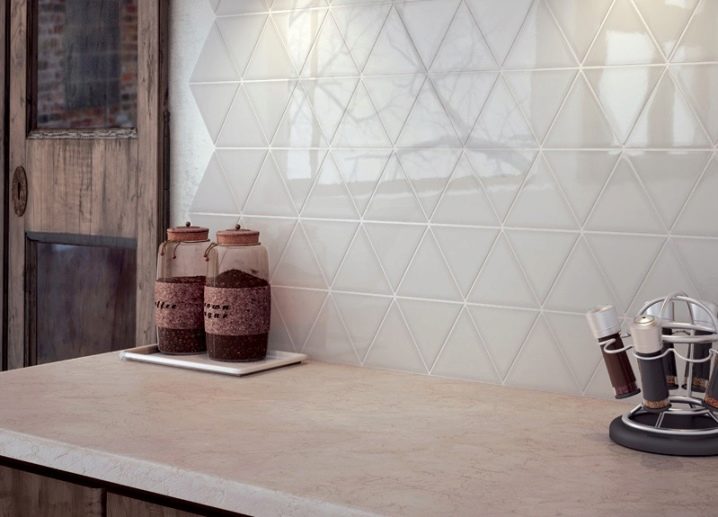
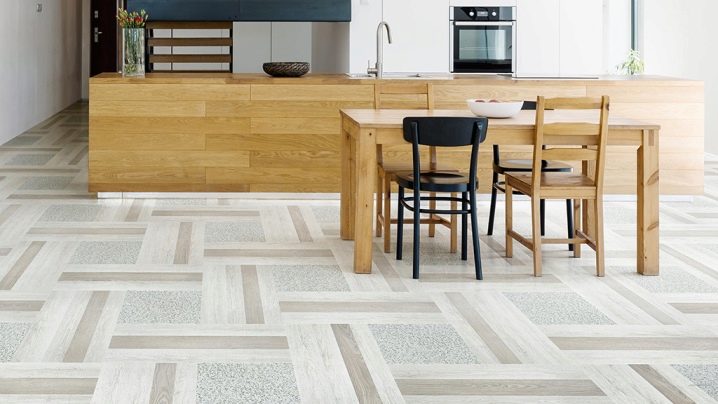
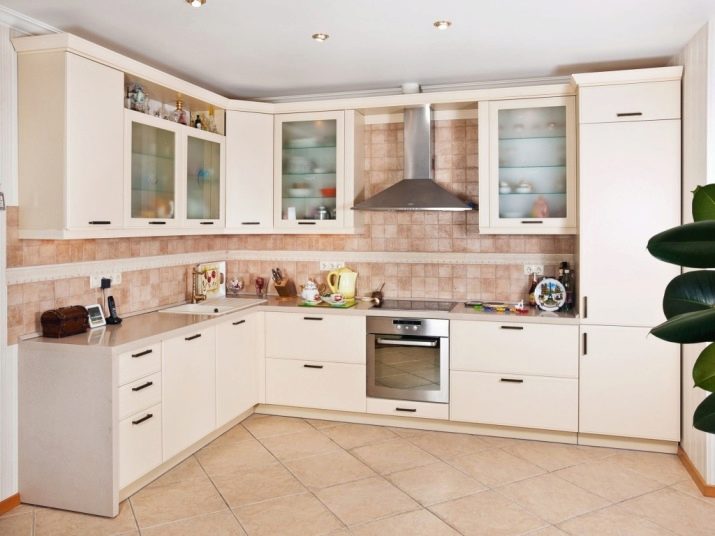
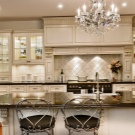
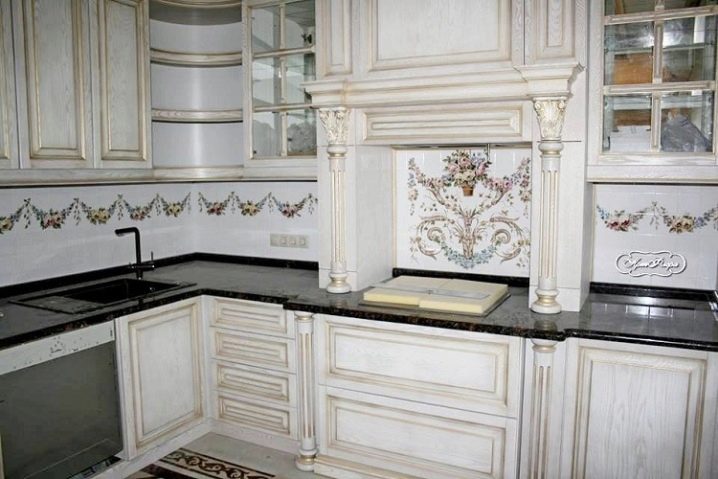
- An example of kitchen decoration with tiles in a classic design. Used the technique of decorative panels.
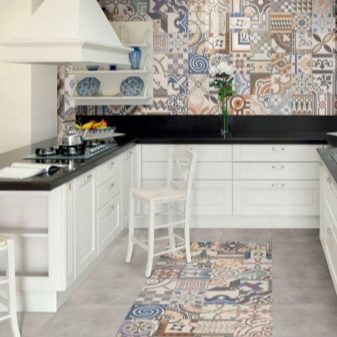
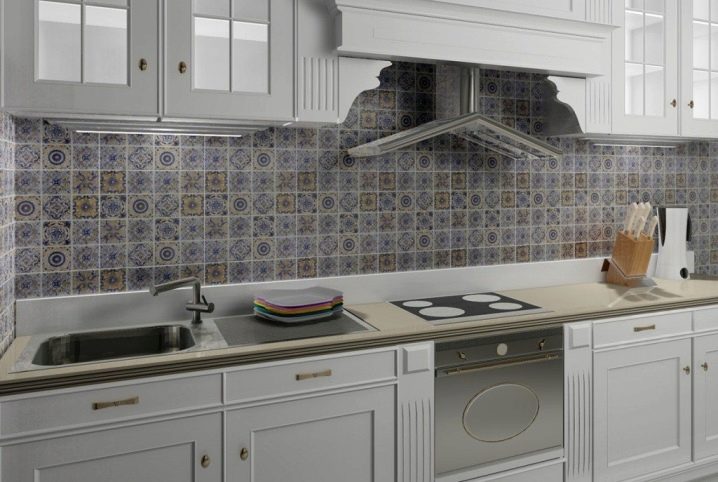
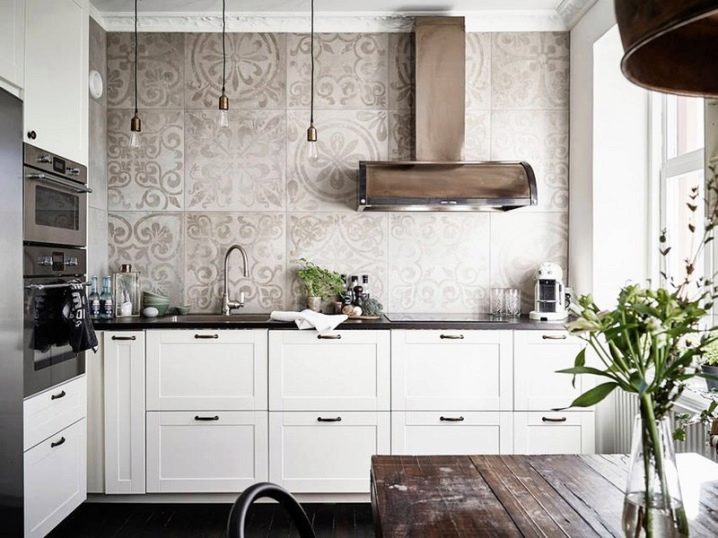
- Scandinavian motives with patterned tiles in the cooking area.
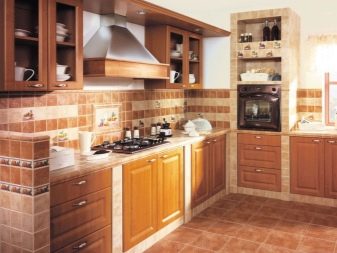
- Kitchen decoration with tiles in oriental style.
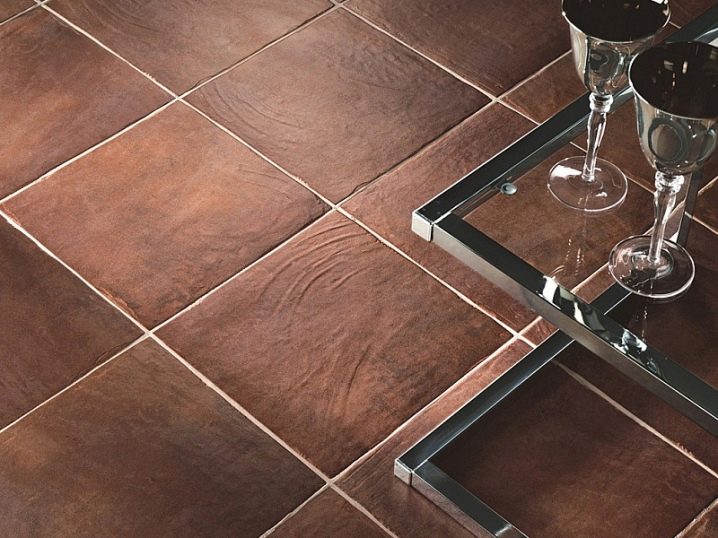
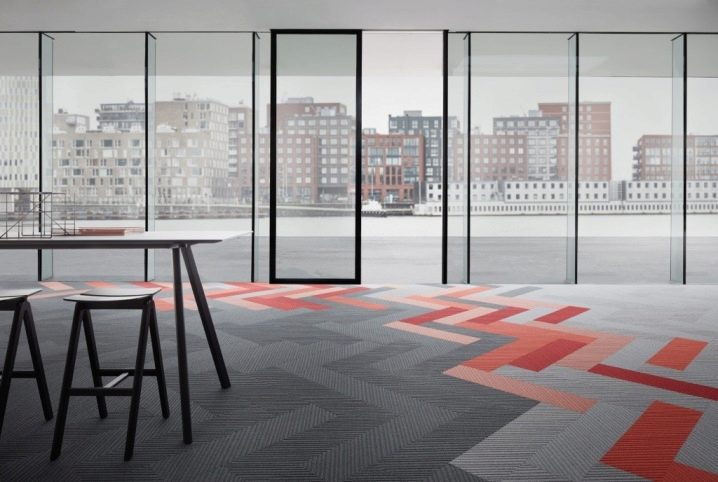
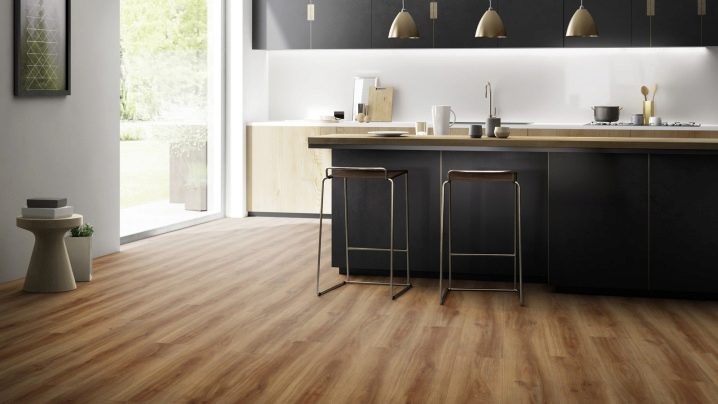
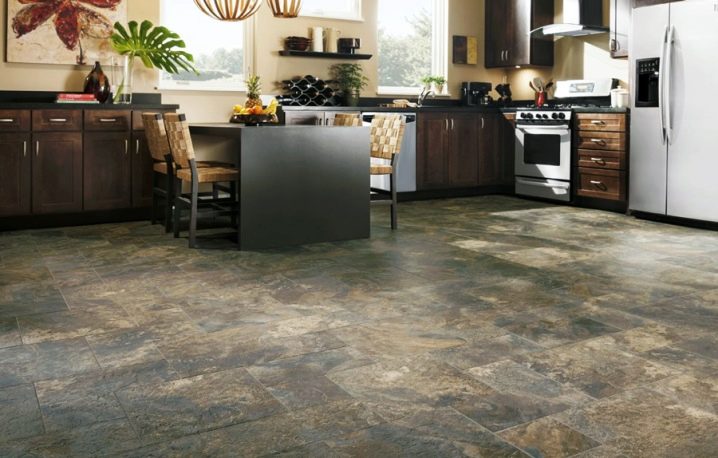
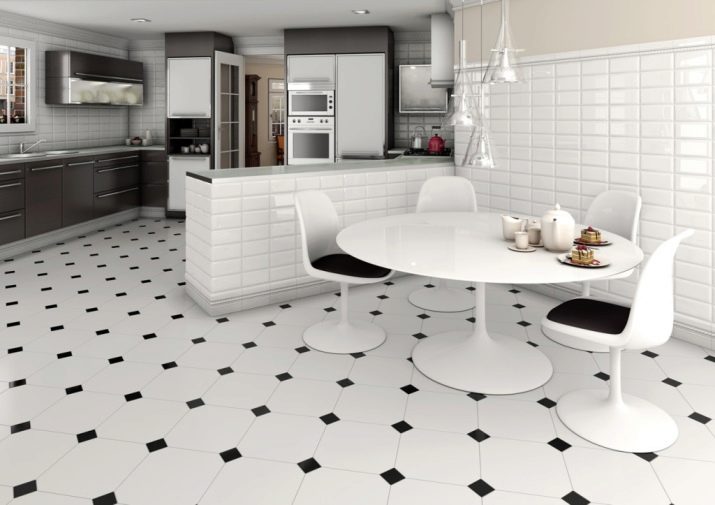
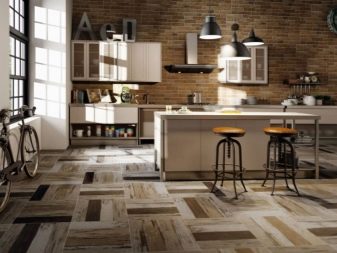
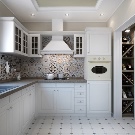
- Loft studio kitchen design with floor tiles.
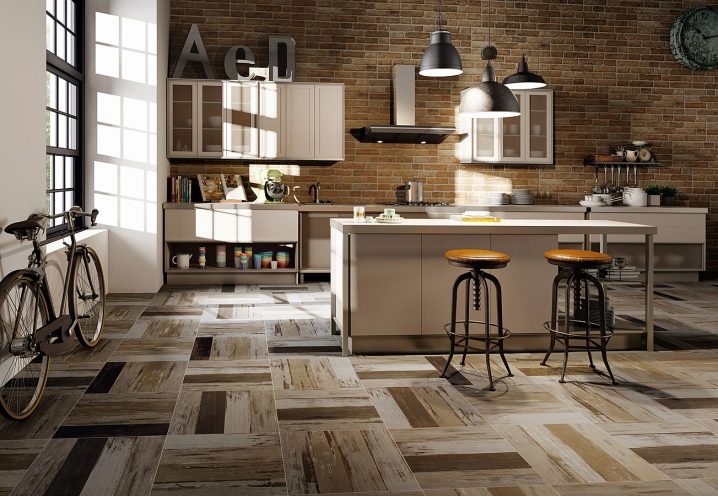
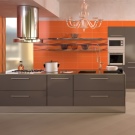
- Accentuating grunge style kitchen tiles.
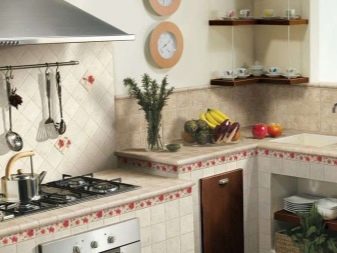
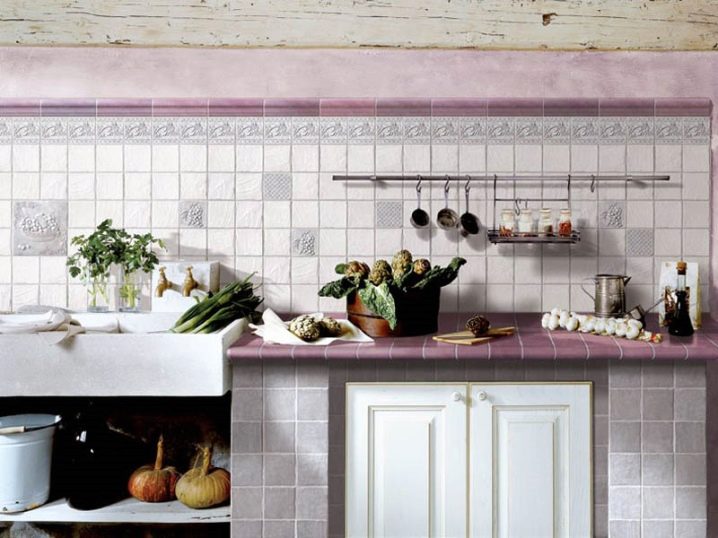
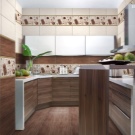
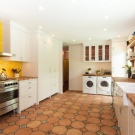
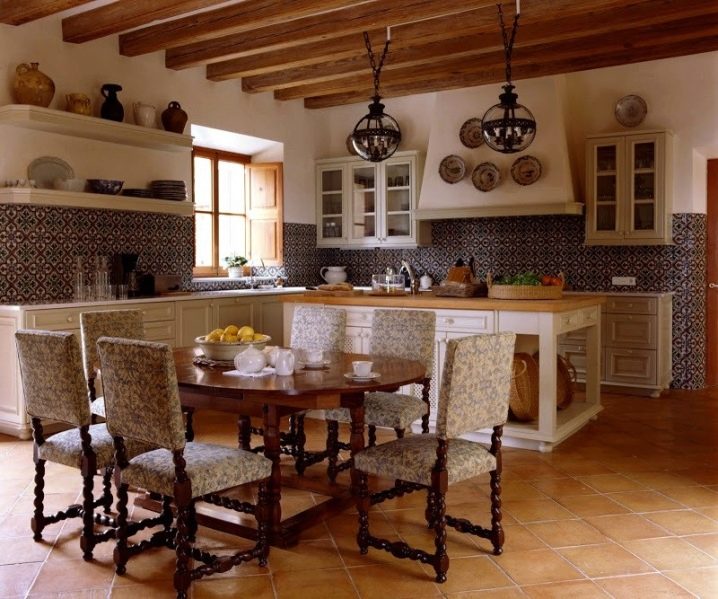
- An original solution for a country style kitchen.

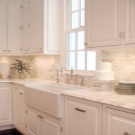
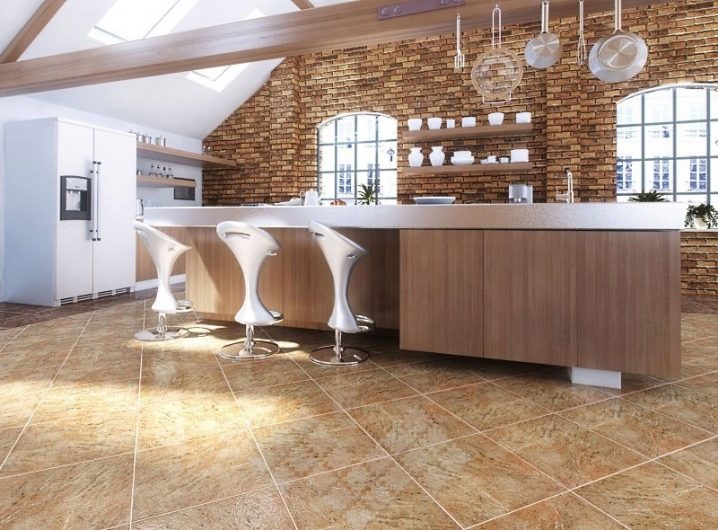
- An example of a harmonious combination of floor and wall cladding in the arrangement of the kitchen space.
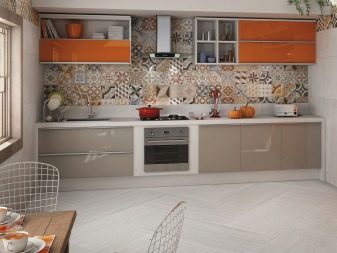
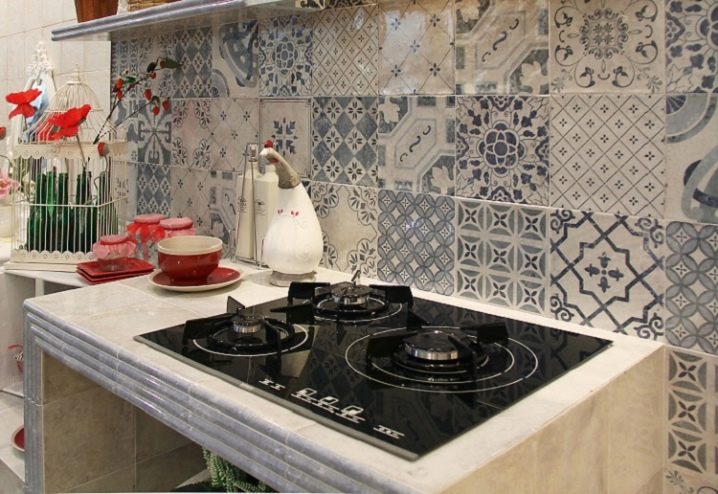
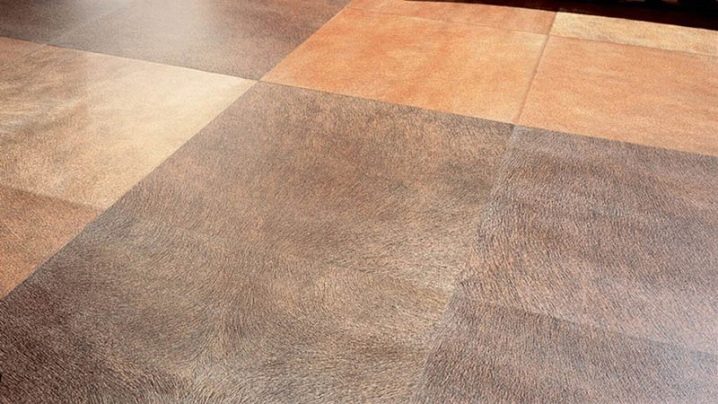
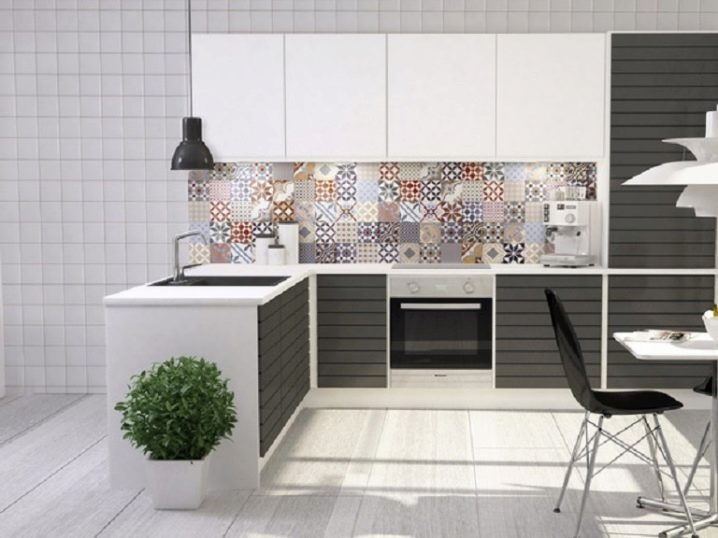
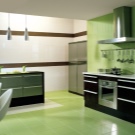
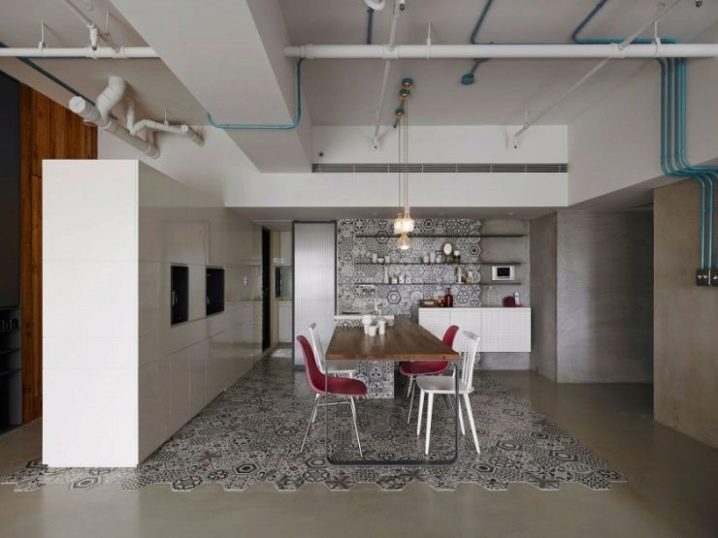
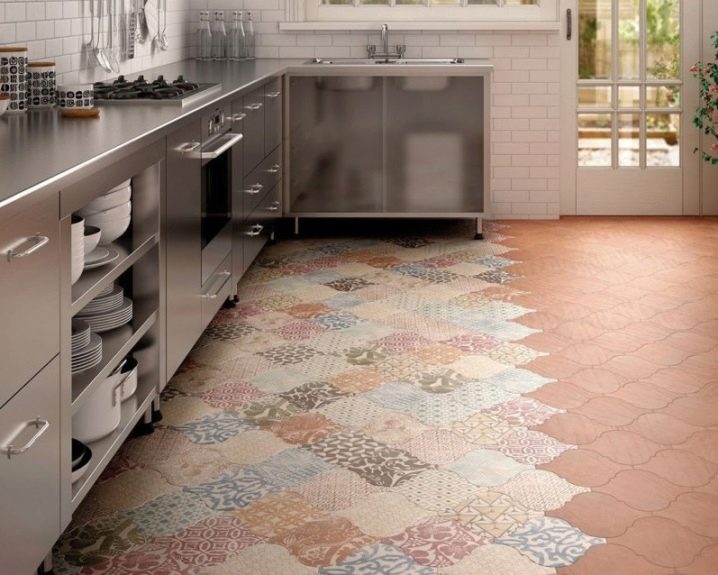
- Zoning of the cooking area, made by means of multi-colored tiles.
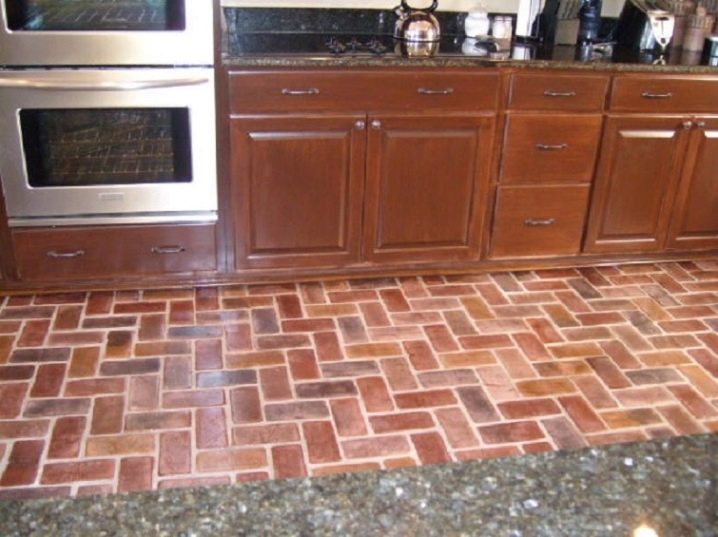
- Diagonal installation of stone-look flooring.
For tips on laying tiles on the floor, see the video below.


The comment was sent successfully.