Plastered walls for wallpaper
Rarely, renovation in an apartment or office space is complete without working with the walls. The final stage before gluing the wallpaper on the walls is the putty of the walls.
What it is?
This is a mandatory type of repair work, which involves working with a wall, after which glue and wallpaper are already applied to the wall. The advantage of the method is that the alignment of the walls occurs quickly, and, if necessary, the putty can be corrected.
There are people who believe that the stage of filling the walls is absolutely superfluous during the repair. It seems to them that the walls are perfectly processed without it. But this opinion is erroneous. It is fraught with the fact that after gluing the wallpaper, the defects that the surface had will become obvious, and it will no longer be possible to hide them, since the wallpaper has already been glued. We'll have to start repairs, if not from the beginning, then from the middle. After all, you have to rip off the wallpaper, putty the wall and glue them again. This is a lot of work, a waste of money and wasted time. That is why it is necessary to putty the wall.
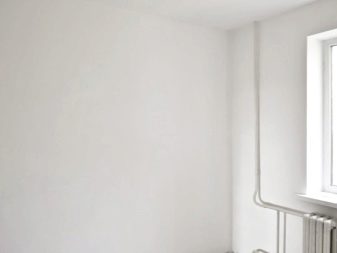
The putty allows you to make the surface as flat, smooth and even glossy as possible. This makes the repair of the wall surface ideal.
Why do you need it?
Obligatory puttying before gluing wallpaper is a requirement that must be strictly followed.
Putty is intended to eliminate and hide not only large and medium defects, but also tiny, barely noticeable or completely invisible to the eye microscopic flaws that are present on the surface. This is facilitated by the granularity of the mass structure. It is important to note that the level of graininess of the putty is several tens of times less than that of various compounds that are used when plastering walls.
Putty is a renovation material that is able to level the surface so that it turns into a perfectly smooth wall. As a result, it will be much easier for the master to glue the wallpaper on it. Much easier than on a plastered wall. At the same time, minor defects will not appear through the structure of the finishing material.
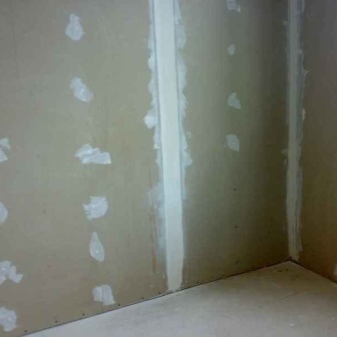
We should also mention the apartments where the walls are sheathed with plasterboard sheets. Of course, this surface must be finished by gluing wallpaper on it. In this case, the application of a material such as a putty is imperative.
Some people think that it is possible to do without it, because it seems that the surface is quite even without it. But the reason is that if gluing wallpaper directly onto drywall threatens problems in the future. So, for example, when at the next repair it becomes necessary to remove wallpaper, the finishing material is very likely to be removed along with a layer of cardboard. This threatens that the wall will need more serious repairs than simple and quick puttying.
As a rule, specialists can conditionally divide the process of preparing the wall using puttying for the subsequent gluing of wallpaper into two stages:
-
Application of a starting layer of rough putty. It will allow you to fill in all defects and microcracks on the wall surface, as well as smooth out small surface irregularities. This layer, according to experienced craftsmen, should have a thickness of about 3-5 millimeters.
-
The second layer is the finishing compound of the putty. Its application will make the wall incredibly smooth, one might even say perfect.The thickness of the finishing layer, as a rule, can be in the range of 1.5-2 millimeters.


It is not so important how much experience a person has when doing wall putty. It is important to follow the instructions and carefully select the type of mass that will be applied to the wall. To do this, you need to take into account many parameters: the humidity that will be in the room, the possible thermal effect, as well as what type of wallpaper is planned to be glued over the putty layer.
You cannot be afraid of doing the work, even a beginner will succeed if he strictly follows the instructions and does not worry if something does not go according to plan.
Almost all flaws can be corrected immediately, without waiting for the mass to harden. When the composition has already been applied to the wall and began to dry out, and suddenly defects were found, they must be corrected as soon as possible.
Views
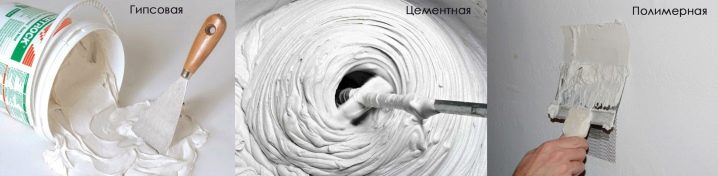
It is extremely responsible to approach the selection of coatings that are planned to be applied to the walls. You need to choose only high-quality material. It is these mixtures that are considered to be the key to successful work. There are a lot of material options.
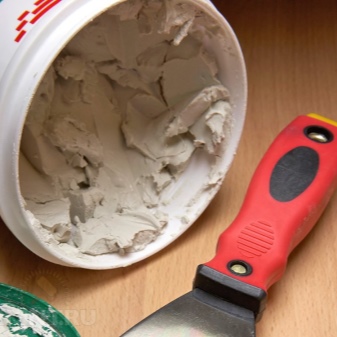
The market offers powdered, which still needs to be cooked, or ready-made pasty, which does not take time to prepare. On sale you can find gypsum, cement, polymer, initial (starting) and finishing putty.
It is noticed that the ready-made mixture is more popular among buyers in construction goods stores.
Regardless of the type, any putty effectively removes imperfections on the surface. The mixture serves as the basis for further processing and copes with this task perfectly.
To select the correct filling mass, you need to consider the characteristics of the walls, the purpose and type of coating. It is important to know what types of filler bases are, as well as what their areas of application are.
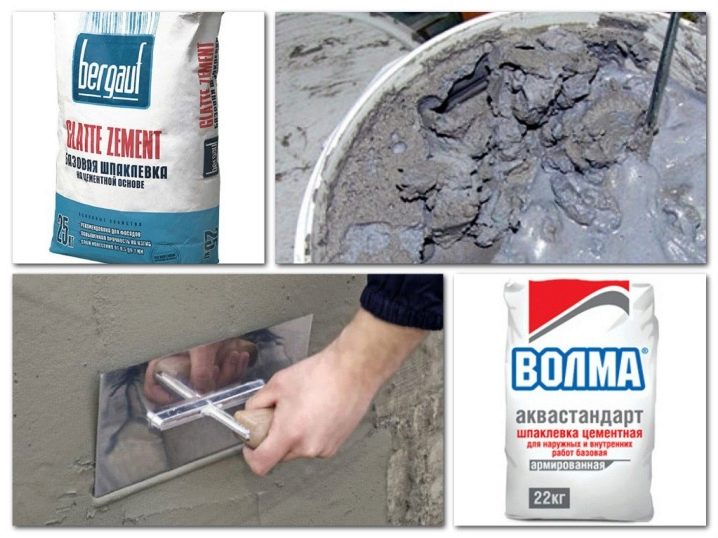
Cement
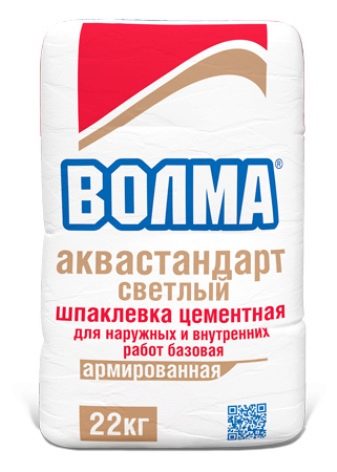
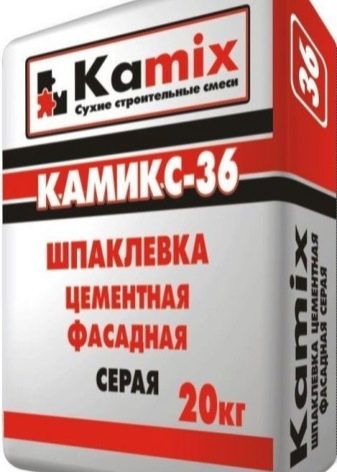
The cement base for the putty is recognized by the master finishers as a universal material with which the external and internal walls are aligned. This material has excellent resistance to high humidity and frequent temperature extremes. Due to this property, it is often used for application in a bathroom or toilet room, basement, shower room, cellar.
It is excellent for external walls. The cement base fits perfectly on concrete and brick surfaces, but due to its rough texture, which is difficult to grind so that it is perfectly even, rather rigid decorative coatings are most often applied on top of the base, for example, tiles, tiles, chipboard.
Gypsum
Usually this type of putty is used only for interior decoration. The reason is that gypsum plaster is the most flexible. Craftsmen recognize that it is easy to use and allows you to make the walls much lighter. Another property that they get is dullness. Finishers are advised to use two types of mixture at the same time: starting and finishing. The starter is used to completely level the surface of the wall, which noticeably diverges in structure.
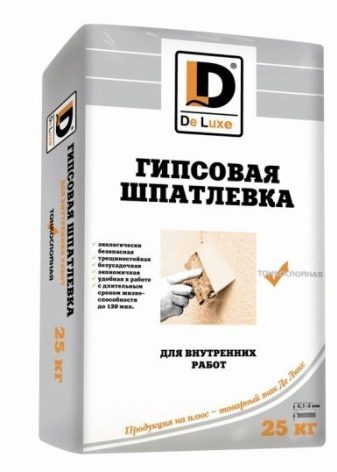
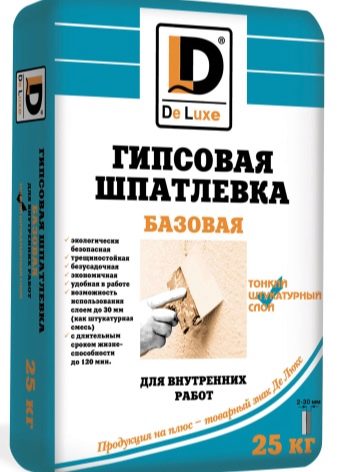
This mixture is excellent for filling cracks and holes in the surface. A second coat of the mixture will create and sand a smooth base for the wallpaper.
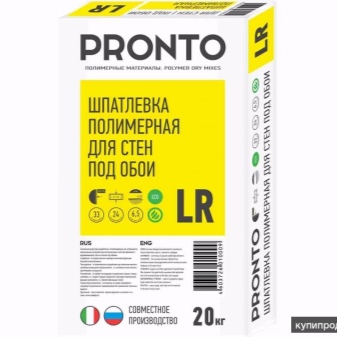
Polymer
The mass based on polymer is an innovative material. It is noted that he has the highest indicators for smoothness. Polymer putty is divided into two types: acrylic and latex. The first option is used to create any type of coating inside and outside the house. As a rule, it is used as a roughing base at the beginning of puttying, and also as a leveling finishing layer.
Finishers believe that it is not difficult to apply polymer putty to walls. This can be done in almost any room. In this case, the amount of material spent will be small.Usually latex material is used as a finish. As a finishing touch, it is ideal.
This mass is very good for covering walls. Often used on ceilings before being painted. The latex material allows you to create smooth, glossy, almost oily surfaces on the surface, which will not have the slightest flaw.
It is important to note that, unlike other materials, this one is the most expensive. This is due to the fact that, despite the huge number of advantages, it is not yet particularly popular on the territory of Russia. But experts still appreciated the quality of the putty and the result it gives.
Water-dispersive
There is another type of putty. Buyers have recently become interested in this variety, since it appeared in hardware stores very recently. Since the water-dispersion putty has very high performance, it is preferred by professional builders. Finishers note that it can be easily applied to all surfaces, even concrete or fiberboard. They can also be applied effectively to brick or wood surfaces.
This putty compound has an acrylic base. The composition also has adhesion, shrinkage. The mixture is characterized by high moisture resistance, fire resistance. Moreover, it does not contain all kinds of organic compounds. The cost of the mixture is within the affordable price range. If suddenly the mass becomes too thick, then it will not be difficult to fix it. You just need to dilute it with water. It dries quickly after application. Since a certain amount of different resins is added to it, all of its properties are improved compared to the mass in which there is no such addition.
It is due to the fact that the composition contains resins that the putty dries much faster than everyone else, so it is very convenient to use it in cases where repairs need to be done as soon as possible.
Instruments
To complete the puttying work, you need not only materials, but also tools.
For high-quality work with putty you may need:
-
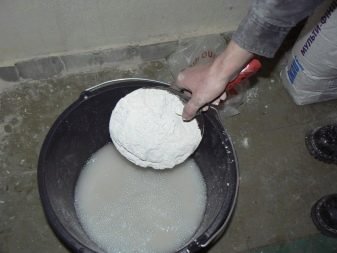
Drill with mixer attachment. The putty mixture is often produced as a dry powder. To be able to apply it to the wall, you need to dilute it with water and then bring it to the required consistency. In order for the putty to turn out without lumps, it is best to use a drill with just such a nozzle.
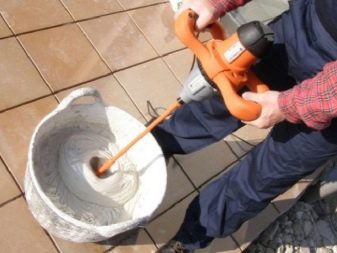
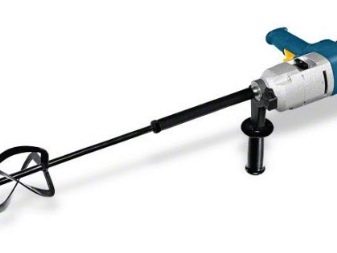
If there is no opportunity to mix the mixture, then it is better to choose a putty in a different form, because it is almost impossible to mix it without a mixer, and applying the mixture with lumps on the wall means derailing the repair.
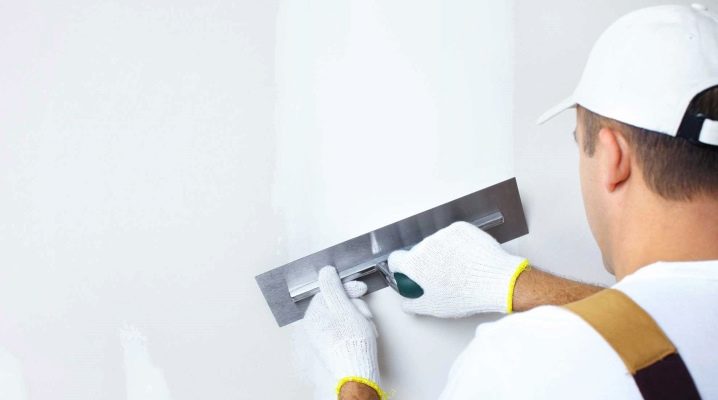
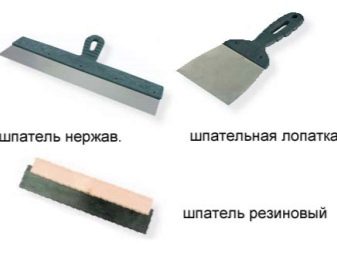
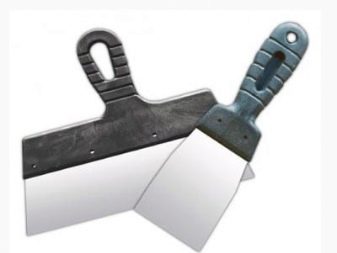
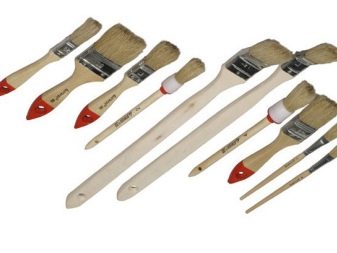
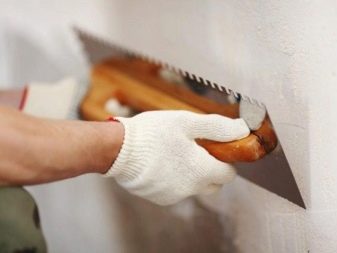
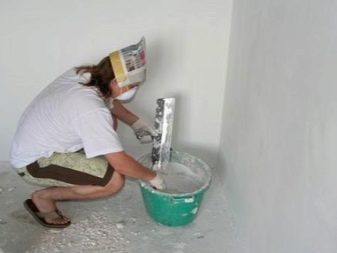
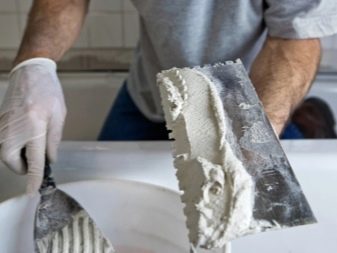
- Several spatulas of different sizes. They will come in handy in a wide variety of repair situations. So, for example, when working on corners or other difficult surface areas, a small trowel is perfect. But for everything else, a spatula is useful, the size of which will be in the range from forty to fifty centimeters.
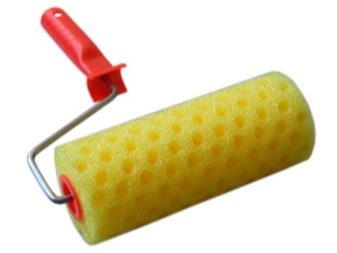
- A variety of brushes and foam rollers of different diameters. Such tools contribute to the high-quality performance of the primer of various walls. They are very easy to apply the thinnest layer of primer. It is this thin layer that provides excellent adhesion between the wall and the wallpaper layer.
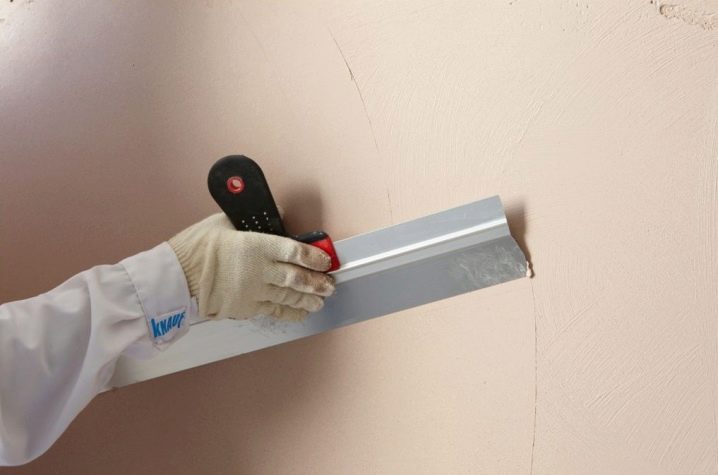
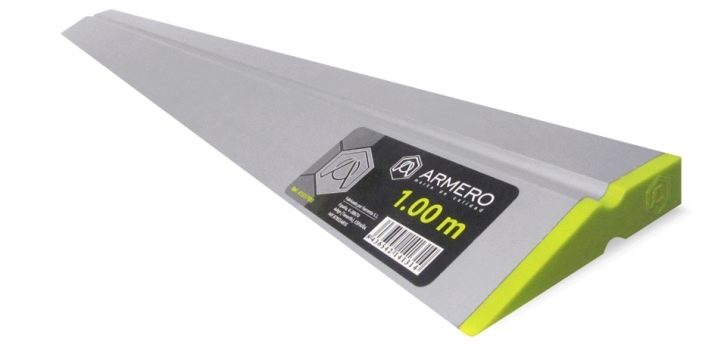
- If the walls are very uneven, then you will need a tool with an interesting name "rule", which is formed from the word "correct". Such a tool is required when working with walls that have noticeable irregularities. In such cases, the putty should be applied in a fairly thick layer. Because of this, there is a risk of uneven distribution of the mass over the surface. To avoid this, you need a rule.
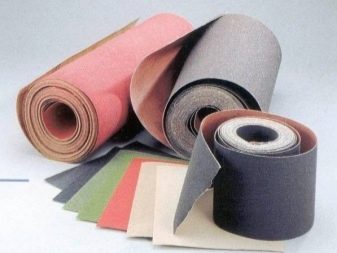
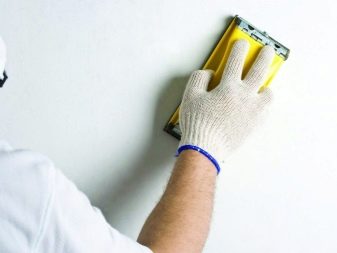
- Sandpaper. It is used when grouting of walls is needed. These works are carried out after the puttying process in order to improve the transitions between different layers. In addition, microscopic bumps and depressions that appear after application of the solution are eliminated.To get rid of them, paper with small grains is used. You can also take a manual skinner to facilitate grinding.
There are several types of primer solutions that are used in repair work by both professional builders and amateur finishers:
-
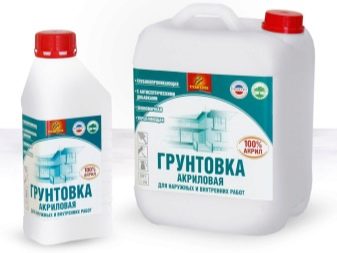
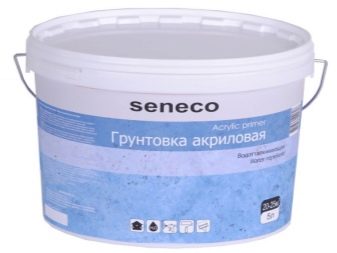
Acrylic blends are used for application to a wide variety of surfaces. They will work equally well on concrete, cement, wood, brick, plywood and plastered wall surfaces. Masters appreciate the fact that this material does not have all sorts of specific smells, which some do not like very much. Among the positive qualities, it is also noted that the composition can dry in five hours. Sometimes it happens even earlier.
It is the acrylic mixture that is most often bought by professionals in order to prepare the wall for further gluing of various types of wallpaper.
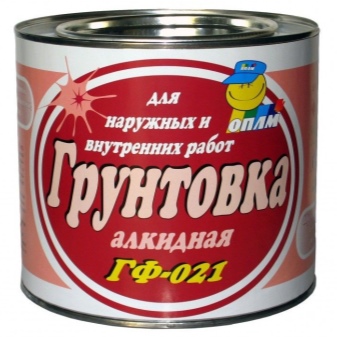
- Alkyd putties purchased for finishing wooden walls. As a rule, such a mixture is the most popular and relevant for country houses. Unlike the previous type, the drying time is much longer. But at the same time, the masters note that the mixture does not dry out for more than fifteen hours, as a rule, the drying process ends earlier.
- If you need to finish wood or metal surfaces, and the humidity in the room is quite low, then you can purchase glyphthalic putty mixtures... A distinctive feature of these mixtures is that they dry out within a day, which is much longer than in previous species.
- Perchlorovinyl putty can be purchased if the wall is concrete, metal, brick or plastered. It is distinguished by almost instant drying, it will take no more than an hour. It is important to note that this applies only to those cases when puttying is carried out at room temperature.

Brands
The choice of materials for repair is a responsible event. After all, it depends on how high-quality they will be, what the interior will become after the end of the work. Before going to a hardware store, you need to carefully familiarize yourself with what brands and brands exist that produce building mixtures in order to choose what you need in a specific situation.
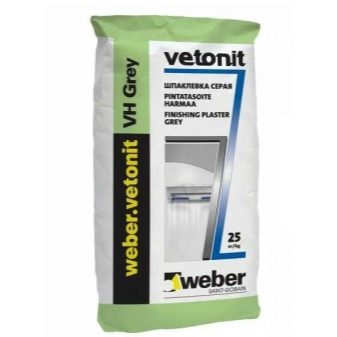
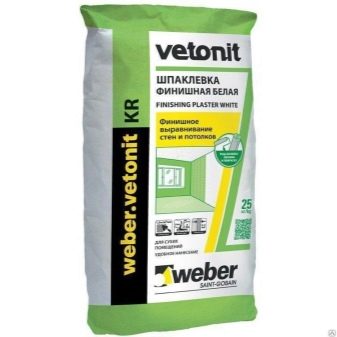
Often, professionals buy one of the cheapest mixtures on the market under the brand name "Vetonit"... Despite the low price, it is good in that it has a relatively minimal consumption, easy application to almost any surface. With its help, it is possible to correct almost any wall defects, regardless of the extent to which they are presented on the surface.
But even such a great blend is not without its drawbacks. Among the minuses, it can be noted that it has a low level of strength. In no case should it be used in high humidity. In addition, after drying, it has a fairly large shrinkage.
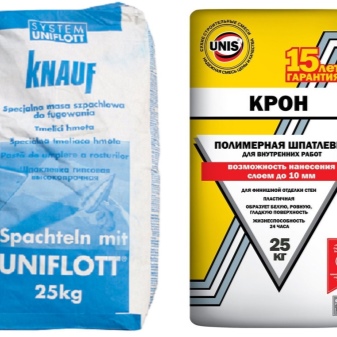
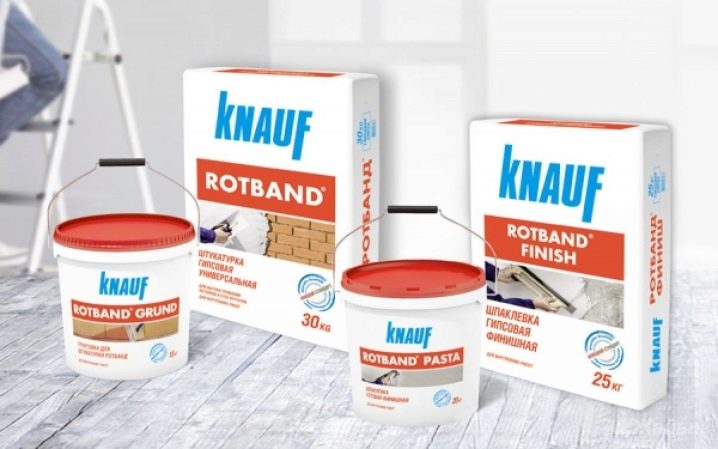
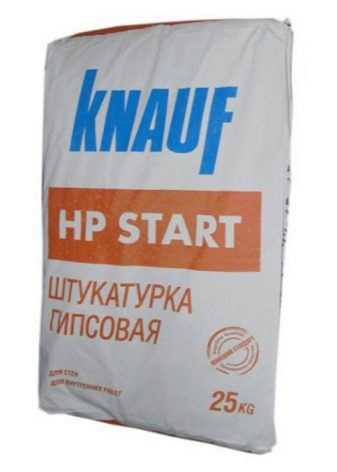
German brand Knauf is noted by professional finishers as a manufacturer of high quality finishing materials. Thanks to this, the company quite justifiably somewhat overestimated the cost of its products relative to other materials. Usually craftsmen use this putty in order to putty the plastered walls. In addition, it is excellent for plasterboard surfaces, which will subsequently be coated with a layer of decorative paint or glued with wallpaper, be it paper, fiberglass or non-woven.
Knauf HP for roughing jobs is very popular. It is purchased both for work inside a dwelling, and for all kinds of premises that are not intended for living. When working with this mixture, it is important that normal air humidity is maintained in the room. Experts believe that it is necessary to apply the mass in a layer, the thickness of which will be at least 4, but not more than 5 millimeters. It is in this range that it works best. The package of such a mixture weighs 30 kg. No other packaging is provided.The craftsmen note that they did not reveal any shortcomings in this mass during their work, therefore they recommend it to all colleagues and novice finishers.
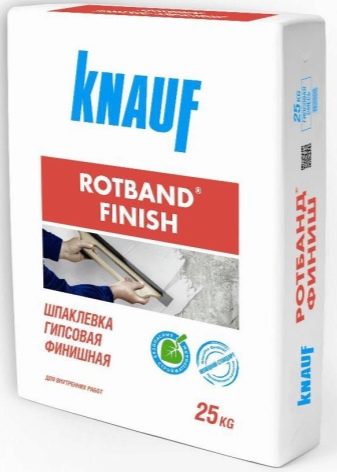
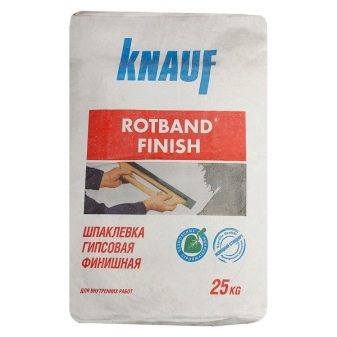
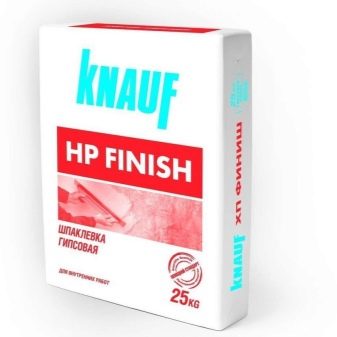
Finish Knauf HP also has proven itself on the positive side. It is used to prepare surfaces for painting or wallpapering. It is not suitable for indoor use. where the humidity is high. Masters recommend not to make a layer thicker than 4 millimeters when applying, otherwise the work will be of poor quality. The mass should be applied within 15 minutes, and after that it becomes unusable. Unfortunately, according to otlochnikov, large particles of different diameters are often found in the mixture, and this significantly complicates the puttying process.
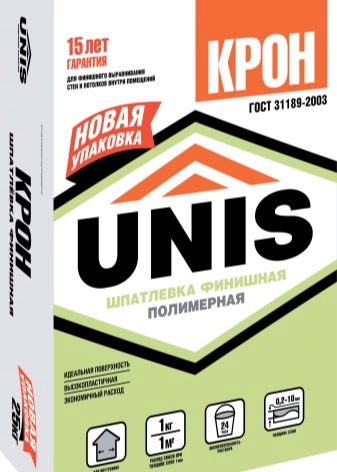
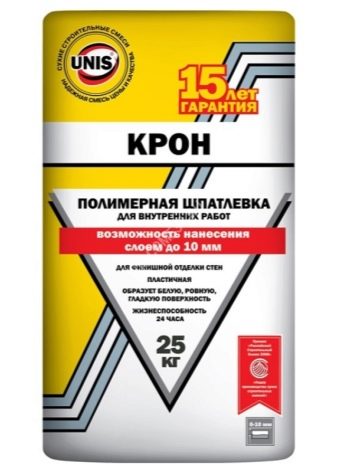
Very white putty Unis "Crown" used in heated rooms where it is dry enough. Non-professional finishers really dislike this material because it is quite difficult to handle it. For amateurs, it will not work, since it is difficult to smooth it, and the consumption of the mixture is very high. It is better to choose something else if the work will be carried out by a beginner.
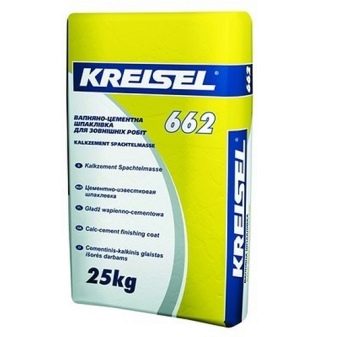
Cement based putty for concrete walls - Kreisel 662... She has a fine grain. The mixture can also be applied to an unprepared surface. Its peculiarity is that the application involves only a thin layer. Craftsmen who are well acquainted with this material note that it has a very large shrinkage. If a decision is made to purchase this particular mixture, then you need to take into account that it is packed in bags of 25 kg. There are no other packaging proposals on the market.
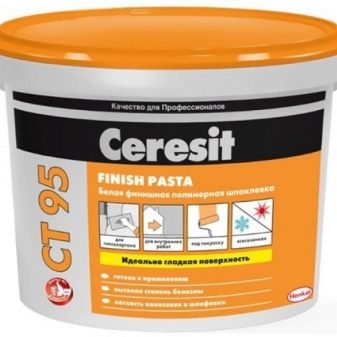
Expensive but high quality mixture Ceresit there are both starting and finishing. The first category includes Ceresit CT 29, and the second - Ceresit CT 225. Both types are based on gypsum. If we talk about the starting mixture, then it is perfect for both interior and exterior decoration, there will be no difference in the quality of work. In addition, it can be used to cover up defects of various kinds. But it is important to consider that it is not suitable for wet rooms. A distinctive feature of this mixture is that the composition contains special microfibers. Thanks to them, a very strong adhesion occurs. For this, the mixture is appreciated by professionals.
No less high quality and finishing mixture. To perform work, it is necessary to apply it to a surface that has already dried and primed. Before this, a starter coat must be applied. Both types of putty are packed in 25 kg bags and are much more expensive than similar putty mixtures. It is the high price that can be considered the main and, perhaps, the only drawback.

If work on the wall putty is coming for the first time, then, on the advice of experts, it is recommended to take an already prepared mixture, which is created on the basis of water and polymers. Its convenience is that a suitable optimum consistency has already been achieved and it is very easy to apply. Such mixtures are sold in very convenient plastic packaging.
There is no need to doubt whether the best putty has been purchased or not. In addition to a small overview on the types of putty materials, which is given in this article, consultants can help a beginner when choosing a store. They know very well what to advise a layperson. Do not hesitate to seek help from professional craftsmen. If we neglect this, then the work can be done very poorly and they still have to be redone, attracting professionals. And these are additional costs.
We calculate the amount
Before work begins on the puttying of the walls, you need to familiarize yourself with the material consumption. It is necessary to know this, since before buying the material it is necessary to calculate the required quantity. Consumption depends on many indicators. They must be taken into account even then. when a team of craftsmen is working on the repair, and not the owner of the apartment himself.
The required amount of the mixture depends on how initially the walls are curved, what is its size and the area to be processed.The average consumption figures are as follows: if you make a layer of putty with a thickness of 2 to 5 millimeters, then you will need 1-3 kg per square meter. If the surface is extremely uneven, flaws are noticeable, then the layer thickness increases from 7 to 10 millimeters. This, accordingly, affects the consumption, which increases to five to six kilograms per square meter.
We should also highlight the final coating. As a rule, the finishing putty is applied in a very thin layer, the thickness of which does not exceed 1 mm. Naturally, its consumption is much less. It ranges from 0.5 to 1.5 kg per square meter.
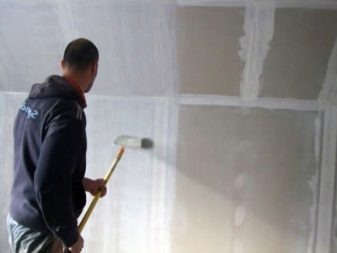
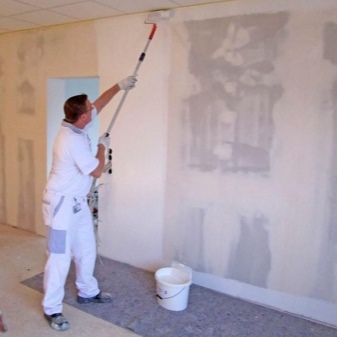
Technology
Having studied the application technology, any beginner will be able to easily rub the joints, level the corners, correctly putty with his own hands without experience a wall made of plasterboard or plywood, an OSB board. It will not be difficult for him to make puttying of concrete and plastered walls, wood, chipboard. Panel walls, hardboard, painted walls and even very crooked ones will succumb to it. Plastering will be a pleasure, and finishing will be a joy to finish.
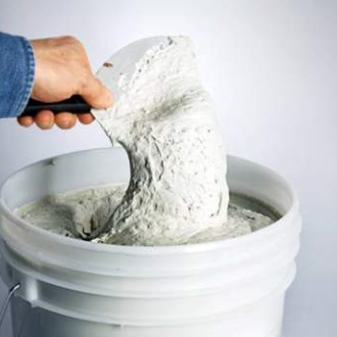
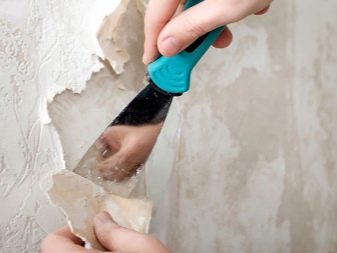
Before starting work, you must remove the old wallpaper. When it comes to basic leveling, you need to use clean dishes and pour water into it. Pour a little powder into it, and then mix everything with a special mixer-attachment on a drill. You can also take a special mixer or a perforator with a special nozzle. More powder can be added as you mix. The result should be a mixture, the density of which corresponds to the density of sour cream. The consistency can be selected by trial and error.
Certain features include working with gypsum plaster, as it dries very quickly. In this regard, it is necessary to prepare the mixture exactly as much as it is planned to use in the next half hour, otherwise it will turn into a plaster figure.
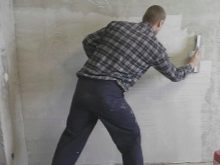
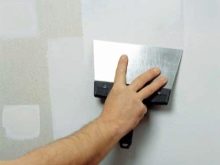
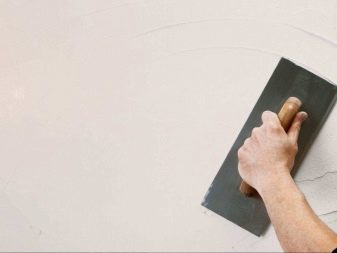
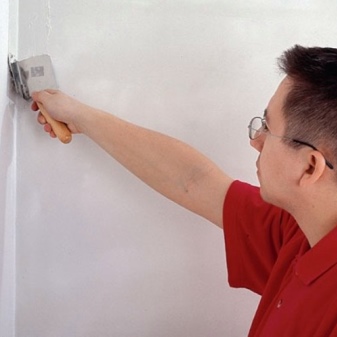
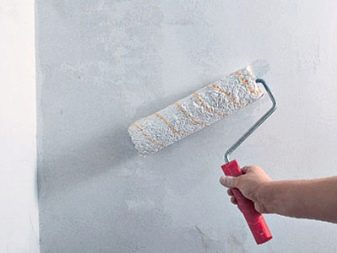
The first stroke should be applied in a thin layer. The putty should be liquid and the application should be done with sharp movements. The spatula must be taken so that the length of its blade is about 60 centimeters. Despite the vigor of the movements, you cannot press on the spatula, otherwise it will cut off small irregularities. The mixture does not fill the cavities formed during operation, so when everything dries up, new irregularities will appear. They will disappear after the next thicker layer.

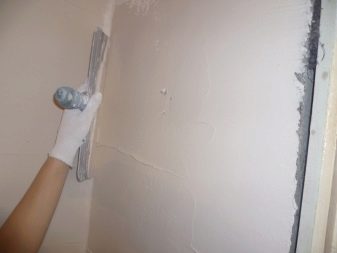
When working in corners and joints of walls, the movement of the trowel should be horizontal in the direction from top to bottom, and on all other parts - arched.
Next, you need to eliminate the remaining noticeable depressions. The thick putty is excellent for this. To take for work you need again the same spatula, the blade of which is 60 centimeters.
Having picked up a spatula for the first time, a person may decide that working with it is an overwhelming task, since significant efforts are needed. But if you take a spatula with a shorter blade, then it is simply impossible to get a perfect or close result.
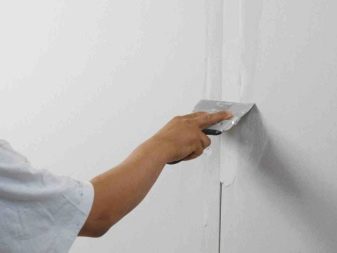
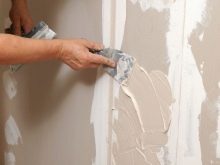
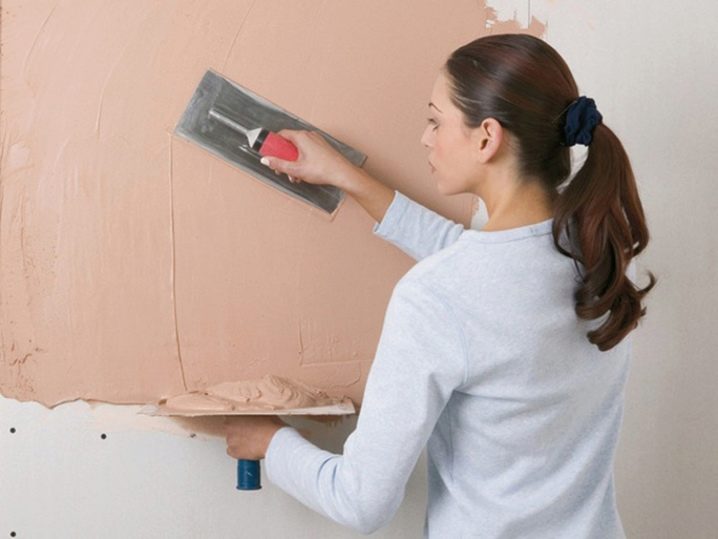
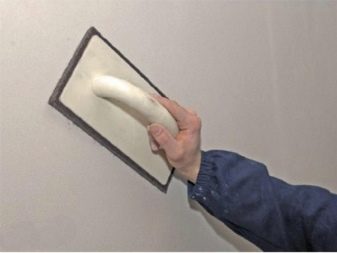
After the composition has completely hardened, you need to take fine sandpaper and carefully sand the treated surface. Paper will help eliminate all imperfections. And only after this action, a finishing layer should be applied to the wall. A liquid putty is perfect for this.
How many layers should I apply?
This issue is resolved strictly individually. as each wall may need a different number of layers. For smoother ones, start and finish are enough. For those where flaws are visible to the naked eye, three layers are urgently needed, two of which will be rough and one final, finishing. In addition, it is important to note that some of the surfaces look level anyway. For them, you can take only the finishing compound, but still apply it in two layers.
Smooth and clear corners are the most important requirement for a rough finish. It is necessary to ensure that the corners are as even as possible, then the wallpapering will be of high quality.Before gluing the wallpaper, you need to carefully check that there is not even the slightest flaw, and that the corners have acquired a clear shape. It may seem like a very time consuming and costly process. For a beginner in finishing work, this is indeed the case.
Professional finishers advise not to remove excess mixture from the corner surface in order to carry out after grouting using an abrasive material, so the corner will take on the required shape.
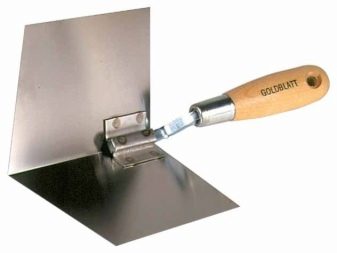
For this type of work, a special angled spatula is most suitable. This tool is very effective for this job. Its peculiarity is that it functions according to the principle of "support on the wall". If the work is carried out by a beginner and he does not have a large number of tools, you can take a special silicone tube and use it to distribute the amount of putty. The most common pastry syringe is also great for this. It will allow you to distribute all the putty mass.
Following this action, you need to sharpen the corners with an abrasive. Slopes are putty in the same way as corners. The difference between these types of work is only that much more time will be spent due to the painstaking work. If the work is done for the first time, then it will be extremely difficult for a beginner. A rare person who first took up this job will do it perfectly the first time. Professionals use an angled trowel and smooth the surface with an abrasive.
Important nuances
Craftsmen-finishers produce putty for all types of wallpaper using a single technology. It consists of several important stages. It does not matter what kind of wallpaper the master took: paper, structural, vinyl or textile.
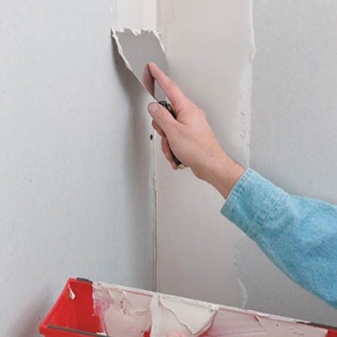
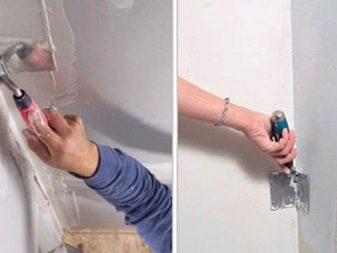
The very first stage of work involves cleaning the surface from dirt, dust, as well as old finishes, whatever it may be. This is very important, otherwise new work can go down the drain, because a new layer on top of the old one will not hold well.
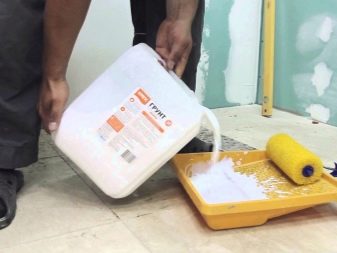
Next, you need to prime the cleaned surface. Non-professionals may find that priming is an unnecessary step and can be avoided. You should take an impregnating or strengthening mixture. They will help the finisher prepare the wall surface. In addition, a tight adhesion of the putty and the wall surface will be ensured. It is most important to saturate walls that are made of concrete with a primer. For such work, it is best to take a wide roller.
The next stage involves applying a layer of leveling putty to the wall. In this case, the thickness of the layer is determined individually for each wall, since some surfaces may have only the slightest flaws, while others require a long and careful work on them.
Next, you need to apply the finishing putty mixture. If the surfaces of the walls have obvious irregularities, then these flaws should be corrected using three layers of putty material at once. But if there are no obvious pits, cracks, bumps on the surface of the wall, then two layers will be enough, one of which will be the starting one, and the other the finishing one. Relatively flat concrete walls are most convenient for work. Finishing specialists recommend that in cases where the concrete surface is already perfectly flat, use only the finishing compound. But at the same time, it still needs to be applied in two layers, just both will be made of finishing putty.
Masters highly do not recommend using mixtures of different manufacturers for work.
This is due to the fact that the products of the same brand are perfectly combined with each other. The finishing and starting putties of the same manufacturer complement each other, while the compositions of different brands may conflict with each other. Because of this, cracks and irregularities will appear on the wall. In some cases, even shedding of the finishing material is possible, which is very dangerous not only for builders performing repairs, but also for future visitors to the premises.
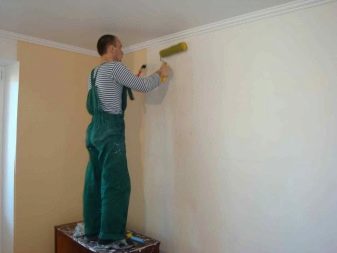
Upon completion of these works, the surface should be primed again.This is necessary so that the wallpaper that will be glued on top of the primer will hold as long and tightly as possible. This final stage prepares the surface for decorating.
For a beginner, it is quite difficult and time-consuming to make the filling of the wall surface, especially if the filling is required for the subsequent gluing of the wallpaper. It will take a lot of physical work to do quality work, as well as a healthy dose of perfectionism. Those who can call themselves a pedant may find it a little easier, it is easier for them to achieve an ideal result, but at the same time they notice defects better than others, so the work may take longer than usual.
If you look at the issue of plastering walls from the point of view of technology, it becomes clear that this is not as difficult as it might seem at first glance, because if flaws are found, then they can be easily corrected before the final finishing is carried out.
Thanks to puttying, a beginner in finishing work will be able to save money by doing the work with his own hands. In addition to satisfaction from quality work carried out independently, he will receive the first skills in finishing work. From now on, it will be easy for an amateur finisher to navigate the topic of wall plastering, as well as to choose materials for certain types of wallpaper. Such knowledge will be useful in general in life.
For information on how to putty the walls under the wallpaper, see the next video.


The comment was sent successfully.