Repair sequence: where to start?
Starting renovation work in the house, many owners are lost. At the initial stage and during the process itself, many questions arise, especially during the period of interior finishing work. To facilitate work and streamline all actions, you should develop a plan in which each stage is clearly distributed. It will help you not to make mistakes, save time, nerves and money.
Finishing stages
So, starting the decoration of the premises, it is worth familiarizing yourself with the sequence in which the work is performed. As mentioned earlier, such an approach will help to quickly complete the repair and avoid various shortcomings, and, consequently, their correction.
The main stages of finishing:
- The main direction of work is from top to bottom. In other words, the standard is to finish the ceiling at the beginning, then the walls and at the end of the floor. This unusual principle serves to preserve the finished parts of the room from damage during the processing and installation of other areas.
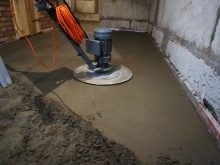
- If a floor screed is required before laying a fine floor covering, then first do it. The screed is an intermediate layer that serves as a base for the floor covering, adding rigidity to it, and hides communications. The better it is made, the longer the coating will last. Ties differ in composition, method of adhesion and laying, as well as purpose.
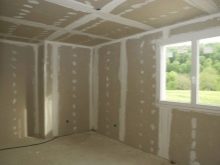
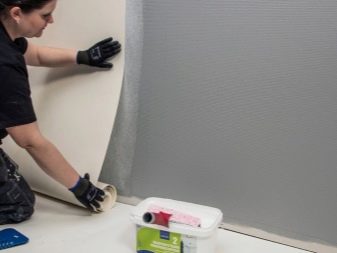
- You can level the walls with plaster. Depending on the initial state of the walls, one or more layers may be needed. Before plastering, the walls must be primed in order to improve the surface condition and subsequently the paint holds better.
- Finally, at the end of the preparation of the walls, they are putty. All irregularities and places for breeding communications are carefully sealed. The walls are being prepared for finishing.
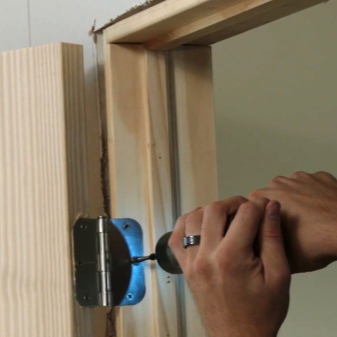
- Installation of door frames. The door can be installed immediately and closed with dense polyethylene to protect it from dirt and mechanical damage.
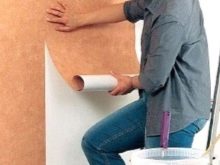
- Pape the walls with wallpaper;
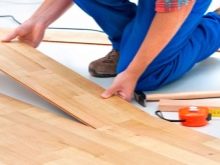
- Laying of a clean floor covering (laminate, linoleum, parquet).
- Fastening of ceiling plinths, decorative elements, switches, sockets and platbands.
Repair work should start from the farthest rooms and move towards the exit. The decoration of the corridor and hallway is carried out at the very end. All this will prevent dirt and dust from entering the finished rooms, as well as damage to fresh coatings.
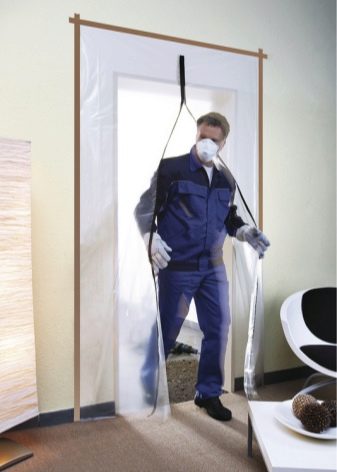
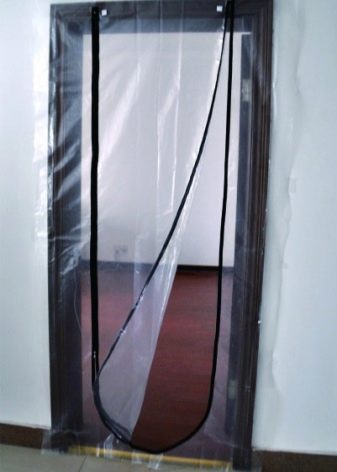
After finishing one room, the door leading into it is closed and covered with thick plastic wrap. This will protect the clean finishing materials from dirt, dust, paint or plaster.
FAQ
Some of the most frequently asked questions regarding interior finishing works.
What is the door or wallpaper first?
You can put interior doors both before and after wallpapering. The main thing is not to combine these two works and not to carry them out at the same time. When wallpaper is glued, moisture collects in the room and remains at a high level for up to three days.
The canvases, door frame, decorative strip swell and increase by about five centimeters. The simultaneous installation of the door will lead to the fact that subsequently after drying there will be a large gap between the leaf and the frame.The door lock is also more likely to break.
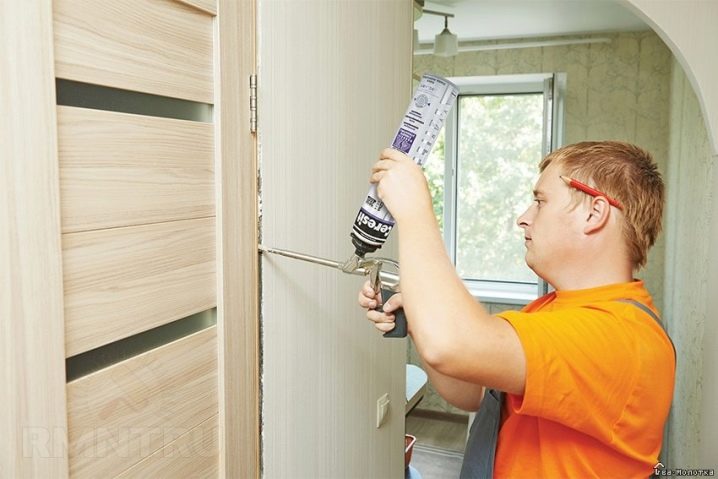
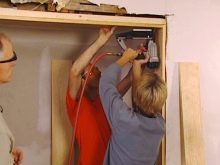
Installation of an interior door
Before:
- Good: dust generated during door installation will not settle on top of the wallpaper.
- Badly: you will have to spend time and carefully trim, and then tuck the edges of the canvas behind the decorative strip (platband).
After:
- Good: during the installation of the door, you can hide all the errors of plastering work.
- Badly: if the dimensions of the doorway are not maintained, and at the time of pasting the wallpaper was cut along the opening, then the platband may not close the gaps formed.

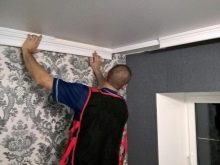
When to glue the skirting board?
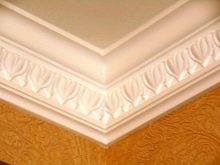
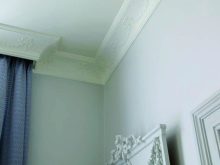
Ceiling plinth is a decorative element that serves to delimit and hide the joints between the ceiling and walls.
Ceiling plinths include:
- baguettes;
- cornices;
- curbs;
- fillets.
Their task is not only to hide the seams and transitions between the wall and the ceiling, but also to prevent the formation of cracks.
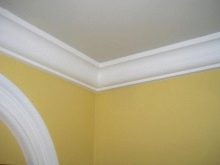
You can glue the skirting boards before and after wallpapering. However, it would be more expedient to fix them just before the wallpaper.
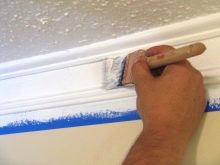
All surfaces must be leveled with a putty. When the fillet is planned to be painted over, this is done immediately after painting the ceiling, until it dries up. Otherwise, traces will remain between them.
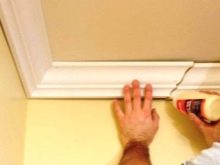
Without painting the skirting boards, after waiting for the ceiling to dry completely, close the joints with tape, which will protect the ceiling from glue, and fix the skirting boards. Only then the walls are painted or pasted over, adjusting the edges of the canvas. If you later need to change the wallpaper without touching the baseboard, they can be easily removed. Therefore, it is correct to first stick the ceiling plinth.
If the plinth is glued on top of the wallpaper, then in this case you will have to painstakingly cut everything or change it completely, along with the plinth.
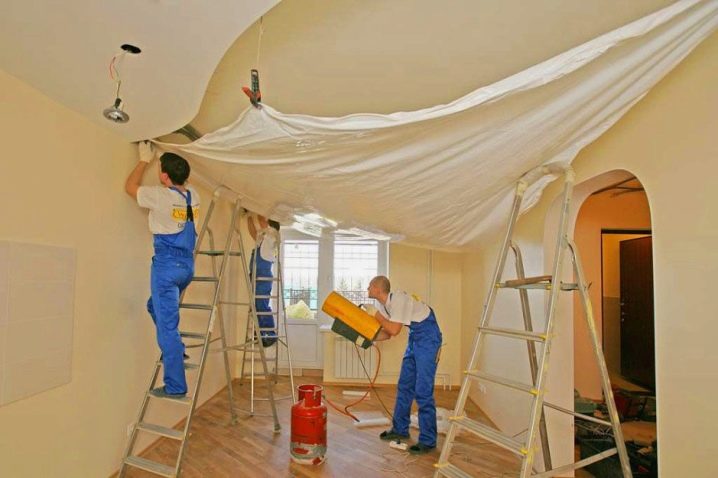
When is the best time to stretch the ceiling?
Stretch ceilings are a specific product, which makes it possible to mount them already at the final stage of finishing work. There is practically no dirt during pulling and the probability of damaging the finished wall and floor covering is very small. However, experts advise hiring craftsmen to get a quick and high-quality result.
In this case, the top-down principle does not work. It is intended for mainly standard and routine repairs.
Ceiling tiles or wallpaper first?
It is best to stick the ceiling tiles first. In order not to stain or damage the wallpaper in the future, since paint, whitewash, glue and similar substances leave practically indelible marks on them.

Floor or wallpaper: which comes first?
Preparation. You need to prepare the walls only after the floor. The debris is removed and must be ready for the final floor covering. It fits at the end of the renovation work. Prior to this, the base is covered with a film, so that later it is easy to remove traces of plaster.
Styling. All wallpaper is glued before the linoleum is laid; the wooden floor should also be looped at the end. However, some craftsmen believe that they are engaged in wallpaper after laying the floor and attaching the baseboards. This is due to the fact that the wall decoration can be replaced at any time without touching the baseboards.

What is forward decorative stone or wallpaper?
Here it is also not important what to glue first. Basically, it all depends on the professionalism of the performer.
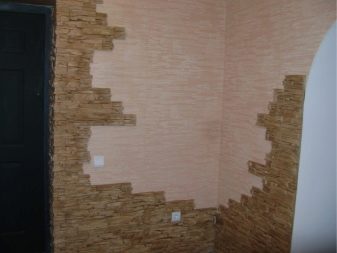
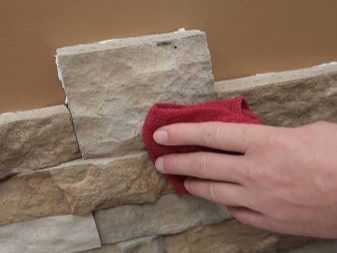
If you stick a decorative stone at the beginning, then the wallpaper is simply adjusted and cut in the areas of overlap with the stone. Even if an excess damp canvas remains, it will dry out and the junction will be invisible. The wallpaper is cut with a thin-bladed stationery knife. They are pressed tightly against the stone with a spatula and cut along its edge with a knife. The spatula holds damp wallpaper and prevents it from tearing.
You can also stick a decorative stone over the wallpaper. However, work must be done carefully so as not to stain them with glue. To prevent this, you can outline the boundaries of the future fixing in advance, and stick masking tape on the wallpaper. At the end, the tape is removed and the canvas remains clean.
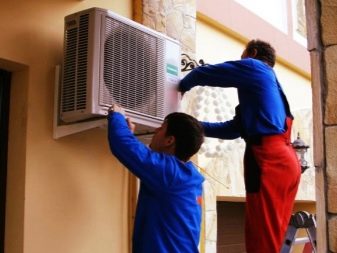
When is the air conditioner installed?
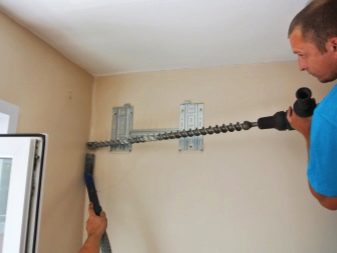
It is more correct to start the installation of the air conditioner before pasting the walls or covering them with plasterboard. The communications connecting the two blocks (indoor and outdoor) are hidden in the walls. At the same time, the outdoor unit is installed, thereby completing the dirtiest part of the work.
At the end of the interior decoration, the indoor unit is mounted. Its installation takes about an hour, and after that a test run is carried out and the operation of the air conditioner is checked.
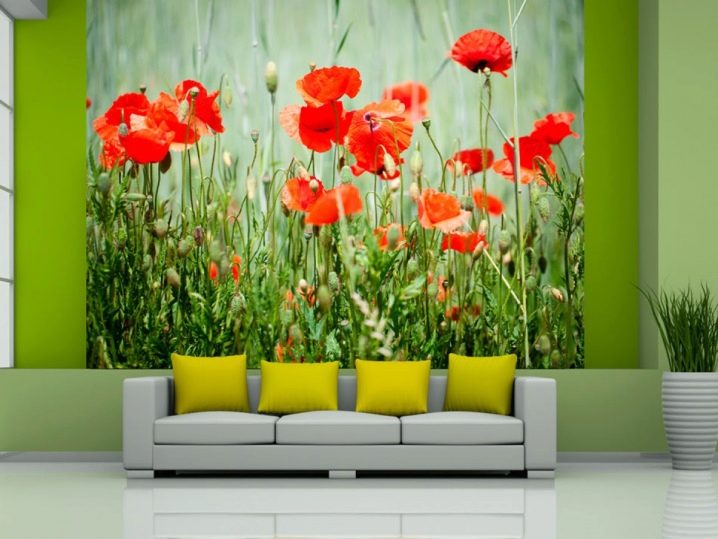
Wall mural or wallpaper first?
Initially, it is better to glue the wallpaper, then, after docking with them, glue the photowall-paper and again the strips of wallpaper. However, in order for the drawing to lie flat and not beveled anywhere, it is necessary to mark the vertical. The vertical is the standard against which the wall is aligned. It is useful for uneven and bumpy walls. This is not necessary, but it will help keep the drawing straight.
Examples in the interior
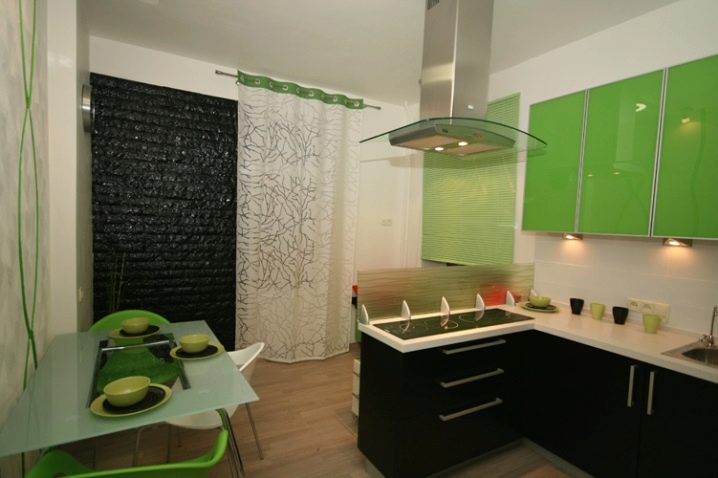
To accurately understand the progress of work, consider them using the example of finishing a kitchen.
It is necessary to decide on the layout of the premises and the interior. The interior can be designed by yourself or selected from ready-made works available on the Internet.
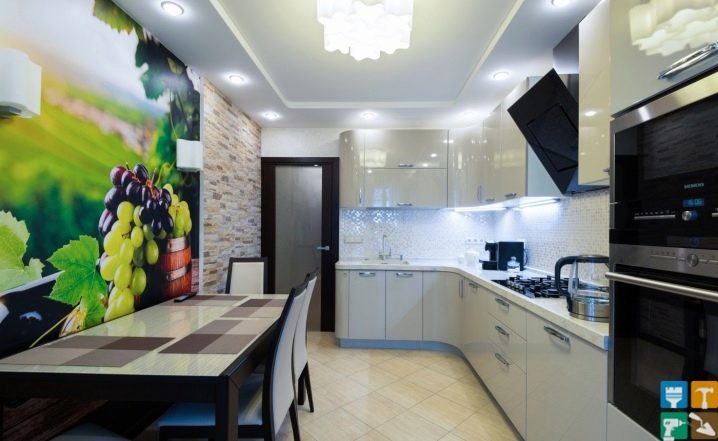
Further, the so-called "zones" are designed, to which the necessary materials are already selected. The kitchen should have two "zones" - this is the work area where food is prepared and the dining area. They are usually separated by different facing materials. The working area is finished with tiles, and the dining area - with wallpaper, thus creating a cozy atmosphere. Of course, this is an approximate standardized solution.
Work plan
- Dismantling. With light cosmetic repairs, old coatings are simply removed. If more complex overhaul is to be done, then everything will be dismantled here.
- Change of communications. Replacement of electrical wiring and, if necessary, water pipes.
- Alignment. Floor installation, wall plastering or plasterboard leveling are performed. At the same stage, multilevel ceilings are designed.
- Puttying. First, the ceiling is putty, then the walls.
- The last stage is finishing or finishing interior decoration premises.
The repair steps can be viewed in the following video.
Finishing interior decoration of the premises includes:
- We cover the walls and floor with tiles. Laying linoleum with laminate is given only after painting the ceiling.
- We cover the floor covering with a thick plastic wrap and glue the baguettes. We paint the ceiling, at least two layers. The paint must be washable. If a stretch ceiling is planned, then we will carry out its installation later.
- Finishing flooring (linoleum or laminate).
- We attach the ceiling plinths. We paste over the walls with wallpaper, preferably washable.
- Installation of sockets, switches, lamps and the actual furniture.
This is how the sequence of repairs in the kitchen looks like. It is worth remembering that the steps are not always strictly followed, it all depends on the materials used.


The comment was sent successfully.